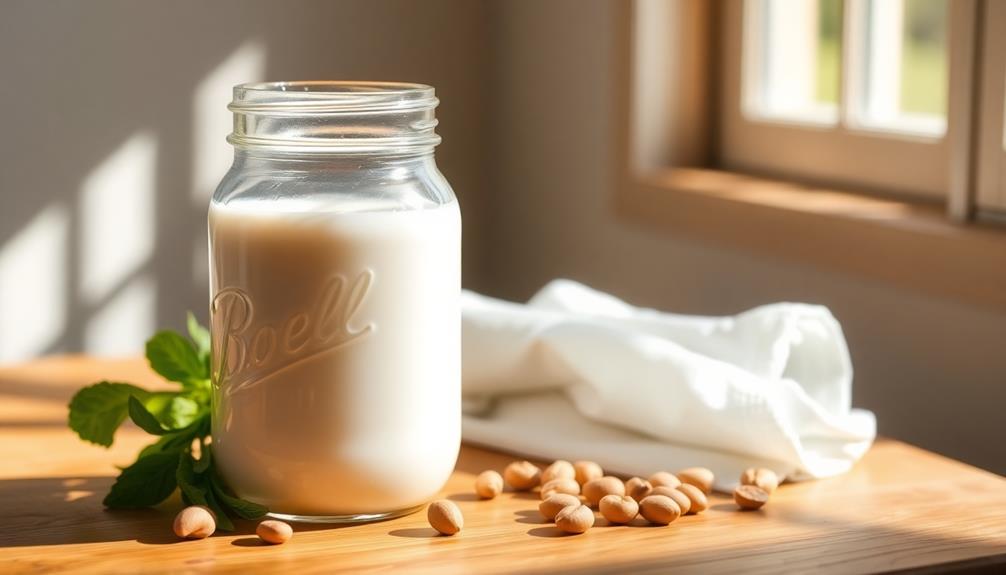
Dive into the flavorful world of nut milks! These ancient dairy-free alternatives offer endless possibilities for customization and creativity. Start by soaking nuts, then blend them with water for a smooth, creamy base. Strain out the pulp and store the liquid in the fridge for up to 5 days. Use your homemade nut milk in smoothies, cereal, baking, and more. Experiment with different nuts and add-ins like spices or sweeteners to craft unique flavor profiles. Not only is homemade nut milk free of preservatives, but you can utilize leftover pulp for other recipes. Get ready to discover the magic of nut milks and their versatile culinary applications.
Key Takeaways
- Homemade nut milks offer complete control over ingredients, reduced food waste, and superior freshness and taste compared to store-bought varieties.
- The process of making nut milk involves soaking, blending, and straining the nuts, allowing for customizable flavors and textures.
- Nut milks are versatile dairy-free alternatives that can be incorporated into various recipes, from smoothies to baked goods.
- Nut milks provide health benefits, such as reduced lactose intolerance issues and the inclusion of healthy fats and proteins.
- Experimenting with different nuts, spices, and sweeteners encourages culinary creativity and a deeper appreciation for homemade products.
History
Nut milks have a long and storied history, dating back thousands of years. Ancient civilizations, like those in Asia and the Middle East, pioneered the production of plant-based milk alternatives. They used almonds, cashews, and other nuts to create creamy, nutritious beverages.
Over time, nut milk-making spread to different regions and cultures. In the 13th century, Europeans began experimenting with almond milk, using it in cooking and baking. This dairy-free milk became especially popular during Lent when religious observers avoided animal products.
Today, nut milks have experienced a surge in popularity as more people seek out lactose-free, vegan options. With the rise of plant-based diets, the variety of nut milks has expanded. In addition to being lactose-free and vegan, nut milks also provide a good source of healthy fats and nutrients like calcium and vitamin D. Many people also appreciate that nut milks can be part of a sustainable diet, as they are often made from plantbased protein sources such as almonds, coconut, or cashews. With so many options to choose from, nut milks have become a versatile and convenient alternative to traditional dairy products.
You can now find milks made from almonds, cashews, hazelnuts, macadamia nuts, and even peanuts. No matter the nut, homemade nut milks offer a delicious, versatile alternative to dairy.
Recipe
Nut milk is a versatile and nutritious alternative to dairy milk. It's easy to make at home and can be tailored to suit your preferences. Whether you're looking for a plant-based option or simply want to experiment with new flavors, nut milk is a fantastic choice.
Homemade nut milk offers several advantages over store-bought varieties. You have complete control over the ingredients, ensuring that your milk is free from additives and preservatives. Plus, it's a great way to utilize leftover nut pulp, reducing food waste.
- 1 cup raw nuts (such as almonds, cashews, or walnuts)
- 4 cups filtered water
- Pinch of salt (optional)
- Sweetener of your choice (such as maple syrup, honey, or dates) (optional)
To make the nut milk, start by soaking the nuts in water for at least 4 hours, or overnight. Drain and rinse the soaked nuts, then add them to a high-speed blender along with the 4 cups of filtered water. Blend until the mixture is smooth and creamy.
Strain the nut milk through a nut milk bag or a fine-mesh strainer, pressing down on the solids to extract as much liquid as possible. Discard the nut pulp or save it for another use. If desired, stir in a pinch of salt or a sweetener of your choice. Enjoy the fresh, homemade nut milk immediately or store it in an airtight container in the refrigerator for up to 4 days.
When making nut milk, experiment with different nut varieties to find your favorite flavor profile. You can also add spices, extracts, or other ingredients to customize the taste. Remember that the longer you soak the nuts, the creamier the milk will be.
Enjoy your homemade nut milk as a dairy-free alternative in smoothies, cereal, baking, or simply on its own.
Cooking Steps
First, soak your nuts in water overnight to soften them up.
Once drained and rinsed, toss those soaked nuts into a blender with fresh water.
Blend until smooth, then strain the nut milk through a cheesecloth, and store it in the fridge for up to 5 days.
Step 1. Soak Nuts in Water Overnight
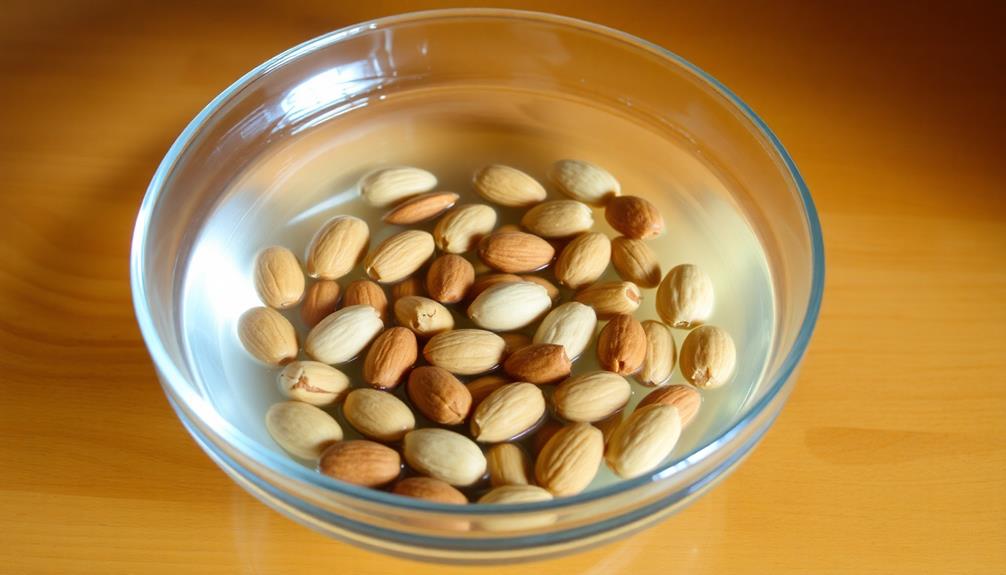
To begin the process of making nut milk, you'll want to soak your nuts overnight. This crucial step helps soften the nuts, making them easier to blend into a smooth, creamy milk. Simply place the nuts in a bowl and cover them with fresh water. Let them sit at room temperature for 8 to 12 hours, or even longer if you have the time.
As the nuts soak, they'll plump up and become more pliable. This allows them to break down more easily when blended, resulting in a thicker, richer nut milk.
Be sure to use the right ratio of nuts to water – generally 1 cup of nuts to 4 cups of water works well. Drain and rinse the soaked nuts before blending to remove any excess water.
With this simple prep work done, you're ready to start blending your homemade nut milk. The soaking step is key to achieving the perfect texture and flavor.
Step 2. Drain and Rinse Soaked Nuts
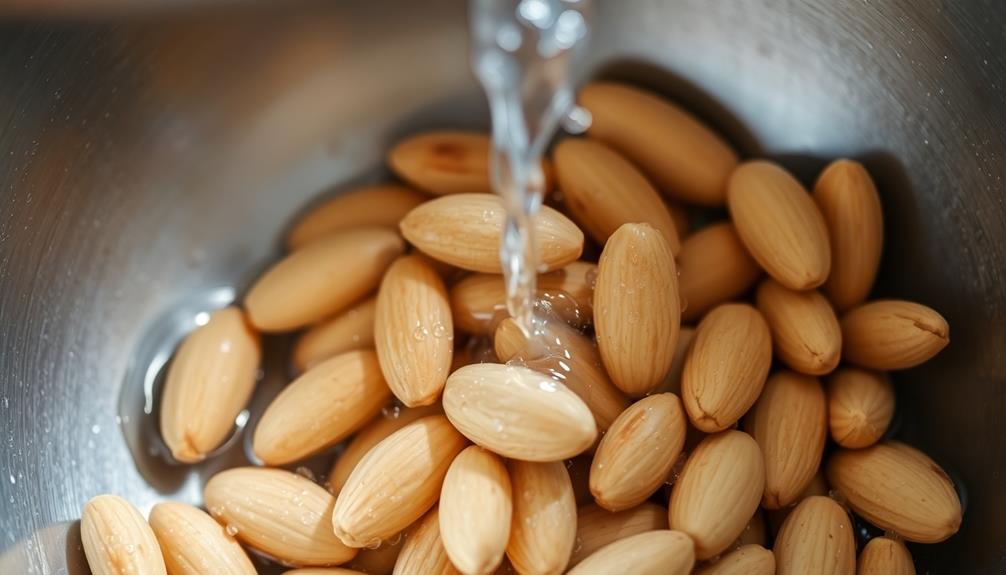
Once the nuts have finished soaking, you'll want to drain and rinse them. Place a fine-mesh strainer over the sink and carefully pour the soaked nuts into the strainer. This will allow the water to drain away, leaving just the plump, softened nuts behind.
Next, give the nuts a quick rinse under cool running water. This step helps remove any excess tannins or impurities that may have been released during the soaking process. Be gentle as you swish the nuts around – you don't want to damage their delicate texture.
After rinsing, give the strainer a few good shakes to remove as much water as possible. Then, transfer the drained and rinsed nuts to your blender or food processor.
You're now ready to start blending your homemade nut milk! The soaking and rinsing steps ensure your milk will have a smooth, creamy consistency without any gritty bits.
Step 3. Blend Soaked Nuts With Fresh Water
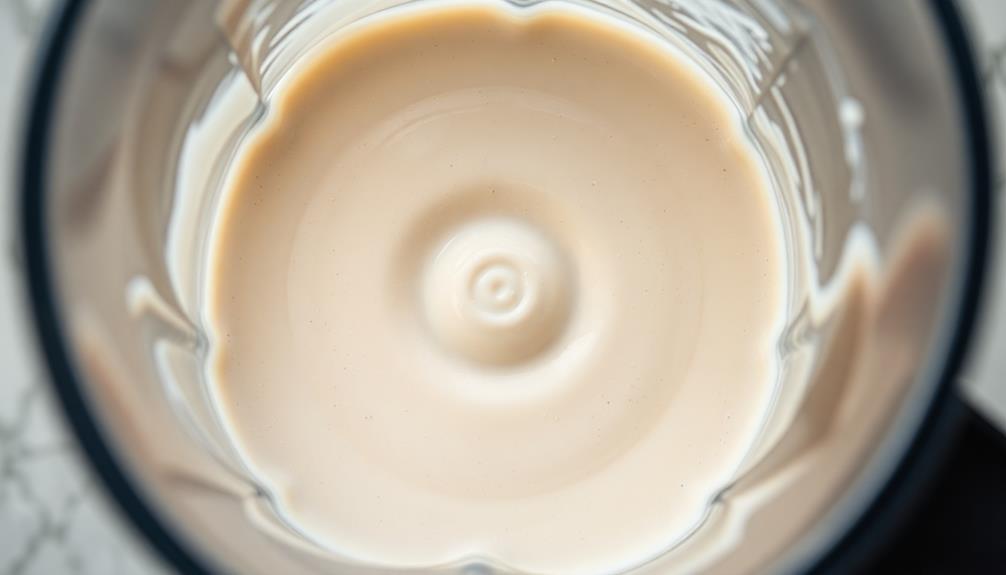
With your soaked and rinsed nuts at the ready, you can now begin blending them into a smooth, creamy nut milk. Start by adding the nuts to your high-powered blender, then pour in fresh, cold water. The amount of water you use will depend on the type of nuts and your desired consistency – generally, a 1:4 nut-to-water ratio works well.
Blend the mixture on high speed for 2-3 minutes, stopping to scrape down the sides as needed, until the texture is silky and free of any visible bits of nut.
Once blended, you'll need to strain the nut milk through a nut milk bag or fine-mesh sieve to remove any remaining solids. Gently squeeze or press the bag to extract as much liquid as possible.
The leftover nut pulp can be saved for other recipes. Finally, transfer the strained nut milk to an airtight container and refrigerate for up to 5 days. Enjoy your homemade, protein-packed nut milk in smoothies, cereal, or any recipe that calls for dairy milk!
Step 4. Strain Nut Milk Through Cheesecloth

After blending the nuts and water into a smooth mixture, it's time to strain the nut milk.
Grab a clean cheesecloth or nut milk bag and place it over a large bowl or pitcher. Carefully pour the blended nut mixture into the cheesecloth, letting the liquid drain through. Gently squeeze and twist the cheesecloth to extract as much of the creamy milk as possible. The pulp left behind in the cloth is called nut pulp, which you can save for other uses.
Once you've strained all the liquid, you'll have a smooth, silky nut milk. Pour it into a storage container and refrigerate for up to 4 days.
The nut milk may separate a bit, so give it a quick stir before using. You can use your homemade nut milk in all sorts of recipes, from smoothies and lattes to baked goods and sauces. Enjoy the fresh, delicious flavor of your own handcrafted nut milk!
Step 5. Store Nut Milk in Fridge
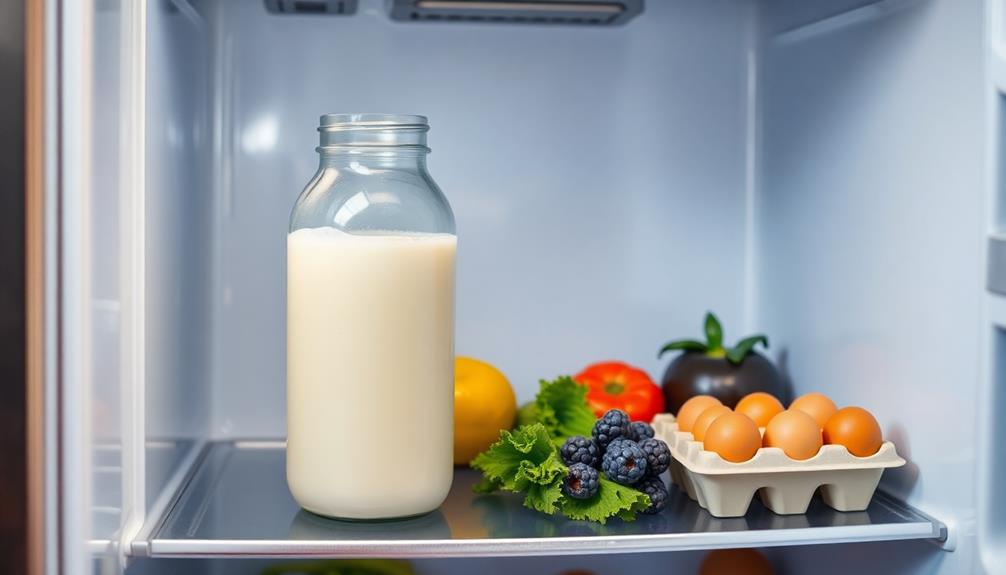
Pour the strained nut milk into an airtight container and refrigerate it for up to 4 days. This will help it stay fresh and prevent it from spoiling.
Be sure to label the container with the date so you can keep track of when you made it. Stored this way, your nut milk will have a creamy, delicious flavor that's perfect for all your recipes.
Additionally, incorporating herbal tea benefits into your diet can complement your dairy-free lifestyle, providing soothing and healthful options.
When you're ready to use it, give the container a gentle shake to remix the ingredients. The milk may separate a bit as it sits, but a quick stir will bring it back together.
You can use your nut milk in smoothies, cereal, baking, or enjoy it on its own. Just remember to consume it within 4 days for the best quality and taste.
With proper storage, you can enjoy the goodness of homemade nut milk all week long!
Final Thoughts
The versatility of homemade nut milks is a testament to the power of culinary experimentation. Whether you're whipping up a creamy smoothie, baking delectable treats, or simply enjoying a refreshing glass, these dairy-free alternatives offer endless possibilities.
With a little practice, you'll be able to craft nut milks that perfectly suit your taste buds and dietary needs.
Remember, the beauty of making your own nut milk lies in your ability to control the ingredients and customize the flavor. Feel free to experiment with different nuts, spices, or even add-ins like vanilla or honey.
The possibilities are endless! And don't forget to have fun in the process – the more you play, the more you'll discover the true magic of nut milk making.
Frequently Asked Questions
How Long Do Homemade Nut Milks Last in the Fridge?
Homemade nut milks typically last 3-5 days in the fridge. Make sure to store them in an airtight container and be mindful of any changes in smell or taste before consuming. Enjoy your fresh, dairy-free milk alternative!
Can Nut Milks Be Used for Baking and Cooking?
Absolutely! You can use homemade nut milks for baking and cooking. They work well as a dairy-free alternative in recipes, adding moisture and richness. Just be mindful of the specific flavor profile of the nut milk you choose.
Do Nut Milks Require Any Special Storage Conditions?
Nut milks do require some special storage conditions. You'll need to keep them refrigerated and use them within 3-5 days for optimal freshness. Avoid letting them sit at room temperature, as this can cause them to spoil quickly.
Can Nut Milks Be Frozen for Later Use?
Yes, you can freeze nut milks for later use. Just pour the milk into an airtight container, leaving some headspace for expansion, and freeze it. When you're ready, thaw it in the refrigerator before using.
What Are the Nutritional Differences Between Nut Milks and Dairy Milk?
Nut milks generally have fewer calories, less protein, and more healthy fats than dairy milk. However, they may lack the calcium and vitamin D found in fortified dairy milk. Consider your dietary needs when choosing between the two.
