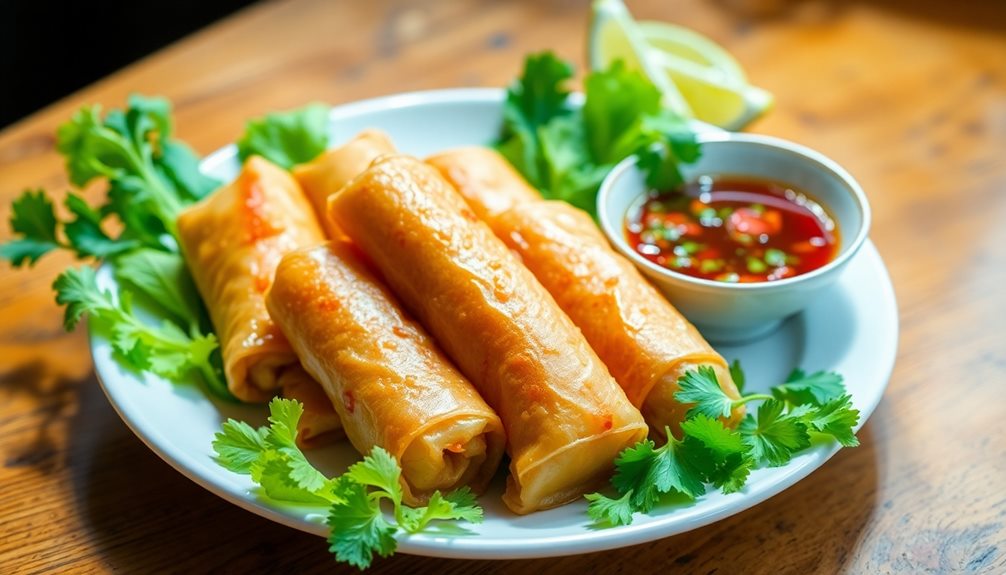
Nem rolls are crunchy, golden treasures from Vietnam that everyone loves! These tasty fried spring rolls are made with fresh ingredients like shrimp, pork, or tofu, all wrapped in delicate rice paper. The magic happens when you mix colorful veggies and fragrant herbs, giving every bite a burst of flavor. You soak the rice paper, fill it, and roll it up tight before frying until crispy and golden. Serve them with yummy dipping sauce for extra fun! These rolls are not just delicious but also connect to Vietnam's rich history. Keep exploring to discover even more about these delightful treats!
Key Takeaways
- Nem rolls are traditional Vietnamese fried spring rolls, originating from the Ly Dynasty, known for their fresh ingredients and communal preparation.
- They are made with rice paper wrappers, proteins like shrimp or tofu, fresh vegetables, and aromatic herbs for a flavorful filling.
- Cooking methods include deep frying for crispiness, pan-frying for a healthier option, or baking and steaming for lower-calorie variations.
- Nutritionally, nem rolls are high in protein and vitamins, offering a balance of macronutrients, especially when paired with fresh sides.
- Serve nem rolls with dipping sauces like nuoc cham, fresh herbs, and garnishes like peanuts for enhanced flavor and texture.
Top picks for "roll vietnamese crunchy"
Open Amazon search results for this keyword.
As an affiliate, we earn on qualifying purchases.
History
While you might think of nem rolls as a modern Vietnamese dish, their origins actually trace back centuries. These tasty rolls have a rich history that tells a story of tradition, culture, and delicious flavors.
You see, nem rolls are believed to have been created during the Ly Dynasty, around the 11th century. Back then, people used fresh ingredients, like vegetables and meats, to wrap them in rice paper, making a delightful meal that everyone loved.
As time went on, different regions of Vietnam added their own twists to these rolls. You might find some filled with shrimp, while others have pork or even vegetarian options!
The beauty of nem rolls is how they bring people together. Families often gather to prepare them, sharing stories and laughter while rolling each one up.
When you bite into a crispy nem roll, you're not just tasting food; you're enjoying a piece of history. This dish has traveled through time, holding the flavors of Vietnam in each crunchy bite.
Cooking Steps
How do you create the perfect nem rolls? First, gather your ingredients: rice paper, ground meat, veggies, and some spices.
Start by soaking the rice paper in warm water until it's soft. Be careful not to let it get too mushy! Lay the softened paper flat on a clean surface.
Now, it's time to fill it! Place a small amount of your meat and veggies in the center, sprinkle in some spices for flavor, and fold the sides over the filling. Roll it up tightly, just like a burrito, but keep it gentle so it doesn't tear.
Next, heat some oil in a pan until it's hot but not smoking. Carefully place your rolled nem into the oil. Fry them until they turn golden brown and crispy—this usually takes about 3 to 5 minutes.
Remember, don't overcrowd the pan; you want them to fry evenly.
Once they're cooked, let them drain on some paper towels. Serve the nem rolls with a tasty dipping sauce, and enjoy your crunchy, delicious creation!
You've just made a dish that's sure to impress your family and friends!
Step 1. Prepare Filling Ingredients
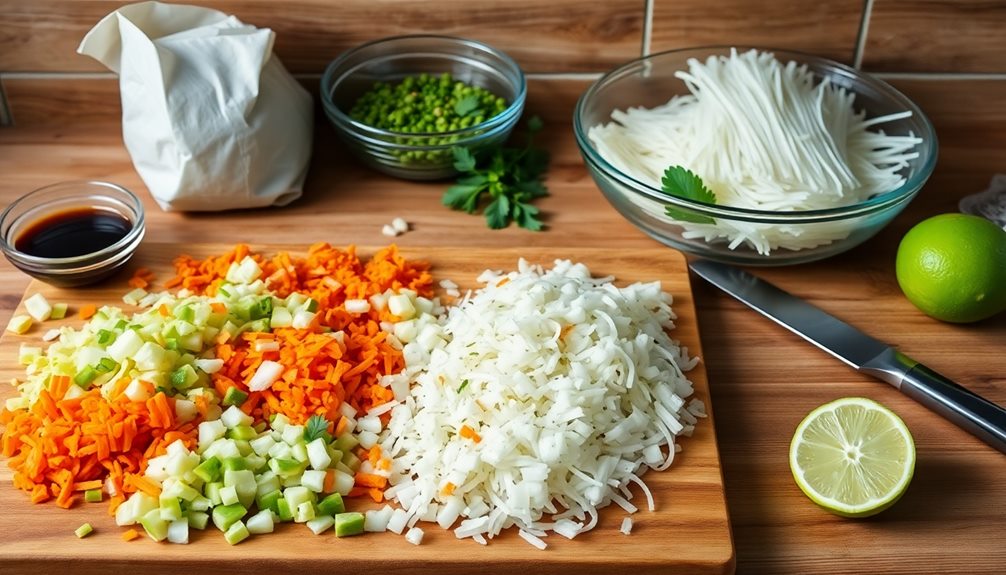
Gathering fresh ingredients is essential for creating delicious nem rolls. Start by picking up some ground pork or chicken, which adds a yummy flavor to your filling.
Next, chop up some crunchy veggies like carrots, cabbage, and mushrooms. These add a nice texture and taste, making your rolls extra special!
Don't forget to grab a handful of fresh herbs, like mint or cilantro; they bring a burst of freshness to each bite.
Now, let's spice things up! You'll need a little fish sauce and some salt for seasoning. Just a dash of sugar can balance everything out, too!
Mix all these ingredients in a big bowl, and make sure to combine them well. Use your hands if you like; it's fun and helps you feel the textures!
Once your filling is ready, give it a quick taste. Adjust the flavors if you think it needs a little more salt or sweetness. You want it to be just right!
Now that you've prepared your filling ingredients, you're one step closer to rolling up those tasty nem rolls. Exciting, right? Let's keep the fun going!
Step 2. Soak Rice Paper Sheets
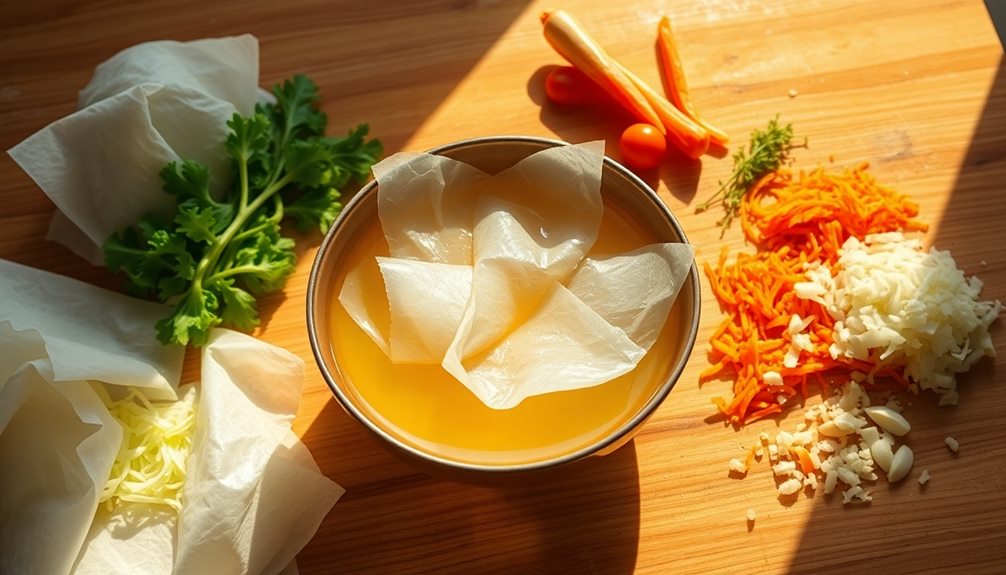
With your filling all set, it's time to prepare the rice paper sheets for your nem rolls.
Start by gathering a large, shallow dish and fill it with warm water. The water should be warm, not boiling, to help soften the rice paper without tearing it.
Next, take a rice paper sheet and gently dip it into the warm water. Make sure to submerge it for about 10 to 15 seconds, just until it becomes soft and pliable.
Don't let it soak too long, or it might fall apart! You'll notice the sheet will start to feel like a soft, smooth piece of fabric.
Once it's ready, carefully lift the sheet out of the water and let the excess water drip off. You can place it flat on a clean surface, like a cutting board or a clean countertop.
Repeat this process with more sheets, depending on how many nem rolls you want to make.
Step 3. Roll the Spring Rolls
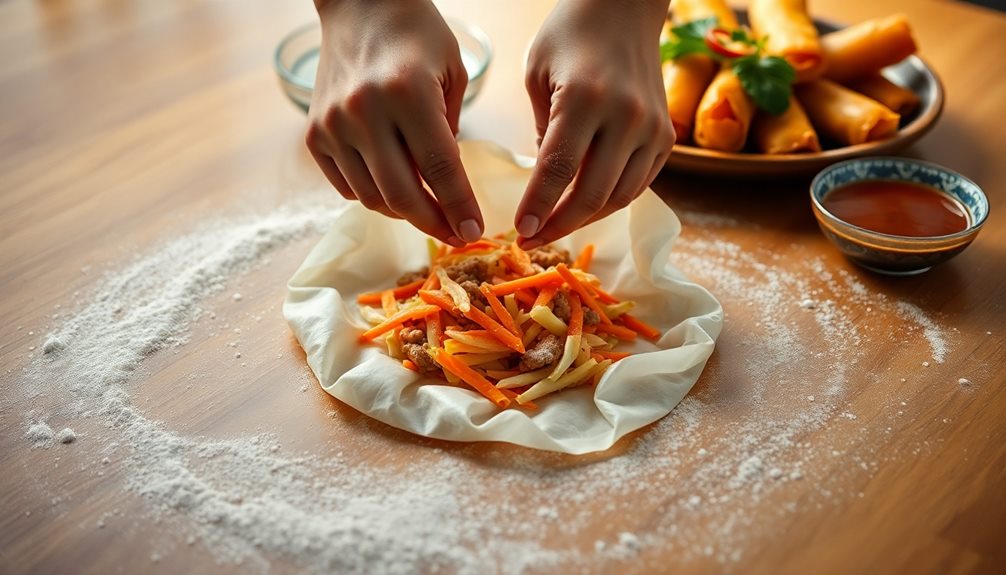
Now that your rice paper sheets are soft and ready, it's time to roll your spring rolls! First, lay one sheet on a clean surface. You want to work quickly, so the rice paper doesn't dry out.
Grab a small handful of your filling—this could be veggies, meat, or shrimp. Place the filling about one-third of the way up from the bottom of the sheet.
Next, fold the bottom of the rice paper over the filling, tucking it in gently. Now, fold in the sides, making sure to keep everything nice and tight. Then, roll the spring roll up towards the top, like you're wrapping a little present.
Don't worry if it's not perfect; practice makes it better!
Once you've rolled a few, you can place them on a plate. Make sure they're not touching, or they might stick together. Keep going until you've rolled all your filling. It's like creating little bundles of joy!
And remember, each roll is a chance to make it your own. Now, get ready to fry them up for that crunchy goodness!
Step 4. Fry Until Golden Brown
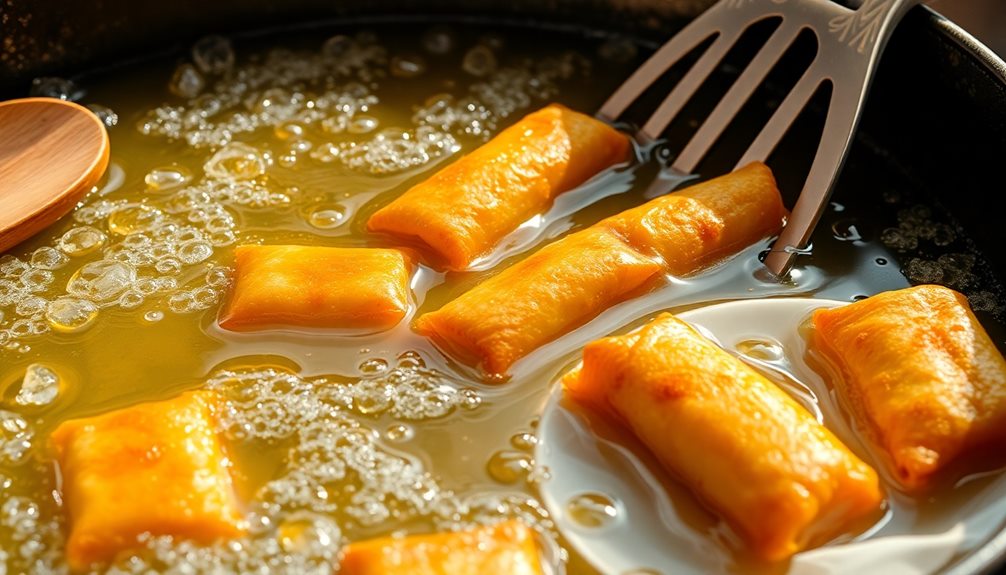
In a large skillet or deep pan, heat oil over medium-high heat until it shimmers. This shiny surface means the oil is hot enough for frying, which is super important for those crispy spring rolls!
Carefully place a few of your rolled spring rolls into the hot oil, making sure not to overcrowd the pan. You want them to have room to fry evenly.
Watch as they start to sizzle and bubble, which is a good sign! Fry them for about 3 to 5 minutes on one side, or until they turn a beautiful golden brown.
Then, using tongs or a slotted spoon, gently flip them over to fry the other side. Keep an eye on them because they can go from golden to burnt pretty quickly!
Once both sides are golden brown and crispy, it's time to take them out. You'll love how they look—golden and crunchy!
Trust me, the smell alone is enough to make your mouth water. Now, get ready for the next step to enjoy these delicious treats!
Step 5. Drain on Paper Towels
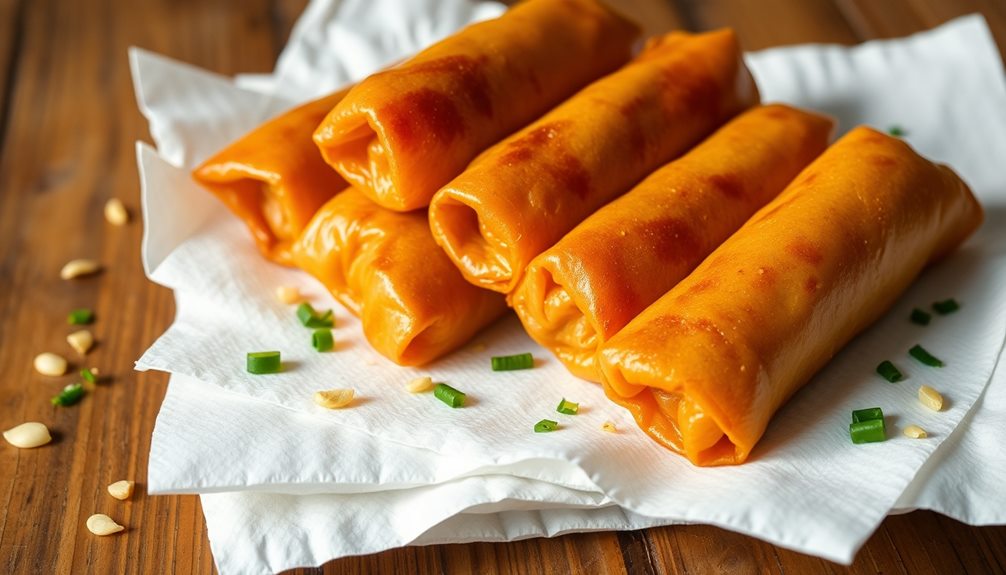
After frying, it's crucial to drain the spring rolls on paper towels to remove any excess oil. This step is super important because no one wants greasy spring rolls!
When you pull those golden-brown rolls out of the hot oil, hold them carefully with tongs or a slotted spoon. Let the excess oil drip off for a moment. Then, gently place them on a stack of paper towels arranged on a plate.
Make sure to spread the spring rolls out a bit so they don't stick together. The paper towels will soak up that extra oil, leaving your rolls crispy and delicious. You might want to sprinkle a little salt on top while they're still hot for extra flavor!
Let them sit for a few minutes to cool down before you dig in. This is the perfect time to prepare your dipping sauce. Trust me, the crunch of the spring rolls and the tangy sauce make a fantastic combination!
Final Thoughts
There's something undeniably special about crafting your own nem rolls at home. When you gather your ingredients, you're not just cooking; you're creating a fun experience for yourself and your loved ones.
Imagine the delicious smell filling your kitchen as you fry those crispy rolls! It's a treat that everyone can enjoy, and it brings smiles all around.
Making nem rolls lets you express your creativity. You can mix and match fillings, deciding if you want shrimp, pork, or veggies. You might even add your secret ingredient to surprise everyone!
Plus, it's a great chance to share stories and laughter while you prepare.
Once you take that first bite, you'll understand why these rolls are so popular. The crunch, the flavors, and the warmth all come together to create a yummy experience.
Whether you're hosting a party or enjoying a quiet evening, nem rolls make any meal special.
Frequently Asked Questions
What Are the Main Ingredients in Nem Rolls?
To make nem rolls, you'll need rice paper wrappers, a mix of vegetables like carrots and cabbage, protein such as shrimp or pork, and fresh herbs. These ingredients create that delicious crunch you'll love.
How Do I Store Leftover Nem Rolls?
To store leftover rolls, let them cool completely first. Then, wrap them tightly in plastic wrap or aluminum foil, and place them in an airtight container. Refrigerate for up to three days to maintain freshness.
Can I Make Nem Rolls Vegetarian?
Absolutely, you can make nem rolls vegetarian! Just substitute meat with a mix of vegetables, mushrooms, or tofu. Experiment with flavors and textures to create a delicious, satisfying filling that everyone will enjoy.
What Dipping Sauces Pair Well With Nem Rolls?
When enjoying your rolls, try pairing them with a tangy nuoc cham, a sweet chili sauce, or a creamy peanut sauce. Each option enhances the flavors and adds a delightful twist to your meal.
Are Nem Rolls Gluten-Free?
If you're wondering about gluten-free options, traditional nem rolls can be made gluten-free by using rice paper and ensuring all fillings are gluten-free. Always check labels for sauces and ingredients to be safe.