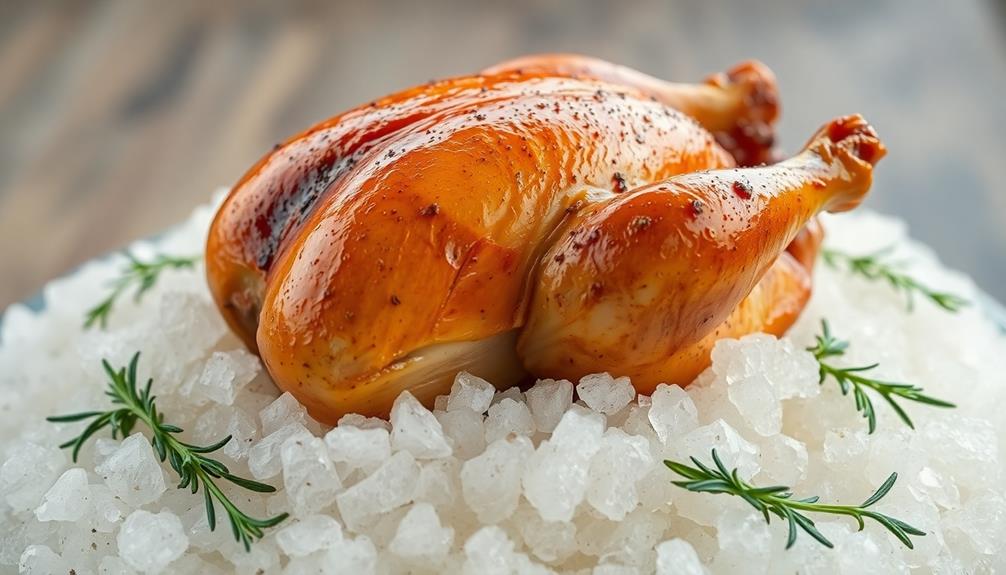
Salt-crusted baking is an ancient culinary technique that seals in incredible flavors and locks in natural juices, creating mouthwatering dishes with a delightful crunch. For centuries, cultures around the world have used this method to enhance the taste and texture of everything from whole fish and meats to select veggies. You'll love how it retains moisture while imparting a salty essence that complements the dish's natural flavors. It's a versatile technique that's easy to master, and the results are simply amazing. Keep reading to discover how this age-old method can transform your cooking.
Key Takeaways
- Salt-crusted baking is an ancient technique that enhances flavor and moisture retention in dishes, tracing its origins to ancient Greece and Rome.
- The method involves encasing food in a salt mixture, creating a protective crust that seals in natural juices for tender and flavorful results.
- Salt-crusted baking minimizes the need for additional oils or fats, making it a versatile technique suitable for various ingredients like fish, meats, and vegetables.
- Proper technique, such as using coarse sea salt and ensuring even coating, is crucial for achieving the desired crisp exterior and juicy interior.
- Experimentation with different herbs and spices in the salt mixture can further enhance the flavor profile of salt-crusted dishes, encouraging culinary creativity.
History
Salt-crusted baking has been a culinary technique used for centuries. This ancient method of cooking was first discovered by ancient civilizations, who recognized the benefits of using a salt crust to seal in flavors and moisture.
The earliest known uses of salt-crusted baking date back to ancient Greece and Rome, where chefs would bury whole fish, meats, and even entire birds in a thick layer of salt before roasting. The salt would create a protective barrier, trapping the juices and creating a wonderfully moist and flavorful dish.
Over time, the technique spread to other parts of the world, including the Middle East and Asia. In these regions, salt-crusted baking was often used to prepare specialty dishes like whole roasted lamb and whole fish.
The salt crust not only enhanced the flavor, but also helped to preserve the food, making it an invaluable cooking method in areas with limited refrigeration.
Recipe
Salt-Crusted Baking
Recipe
Baking with a salt crust is a simple and effective way to lock in moisture and impart a delightful salty essence to your dishes. This technique works particularly well for roasts, whole fish, and even certain vegetables. The salt creates a protective barrier, allowing the interior to cook gently and evenly while the crust develops a satisfying crunch.
When preparing a salt-crusted bake, it's important to use a generous amount of salt. The salt crust should be thick enough to fully encapsulate the item you're cooking. This ensures the interior stays moist and infused with flavor throughout the cooking process.
- 1 cup coarse sea salt or kosher salt
- 1 whole fish (such as a 2-3 lb whole snapper or branzino), cleaned and scaled
- 2 tablespoons olive oil
- Lemon wedges, for serving
Preheat your oven to 400°F (200°C). Spread a thick layer of salt, about 1/2 inch deep, in a baking dish or on a rimmed baking sheet. Place the fish on top of the salt and drizzle with olive oil, ensuring the entire surface is coated.
Bake for 25-30 minutes, until the salt crust is golden brown and the fish is cooked through.
To serve, simply crack the salt crust and gently remove the fish. The salt crust should peel off easily, leaving behind a moist, perfectly cooked fish. Accompany with fresh lemon wedges for a bright, zesty contrast to the salty flavors.
Cooking Steps
Preheat your oven to 400°F.
Spread the sea salt evenly on the surface, then place your food right on top.
Cover the food completely with more salt.
Bake it all for 30-45 minutes, and get ready for a delicious, salty dish!
Step 1. Preheat Oven to 400°F

To begin the baking process, preheat your oven to 400°F. This high temperature is crucial for creating the perfect salt crust that will lock in the flavors and moisture of your dish.
As the oven heats up, you'll want to ensure it reaches the desired temperature, as this will set the stage for the rest of your baking journey.
Once the oven is nice and toasty, you can start preparing your ingredients and get ready to assemble your salt-crusted masterpiece.
Remember, the hotter the oven, the better the results, so be sure to let it fully preheat before you begin.
This step may seem simple, but it's an essential part of the process that will help you achieve that delightful balance of crispy crust and juicy, flavorful interior.
Step 2. Spread Sea Salt Evenly on Surface
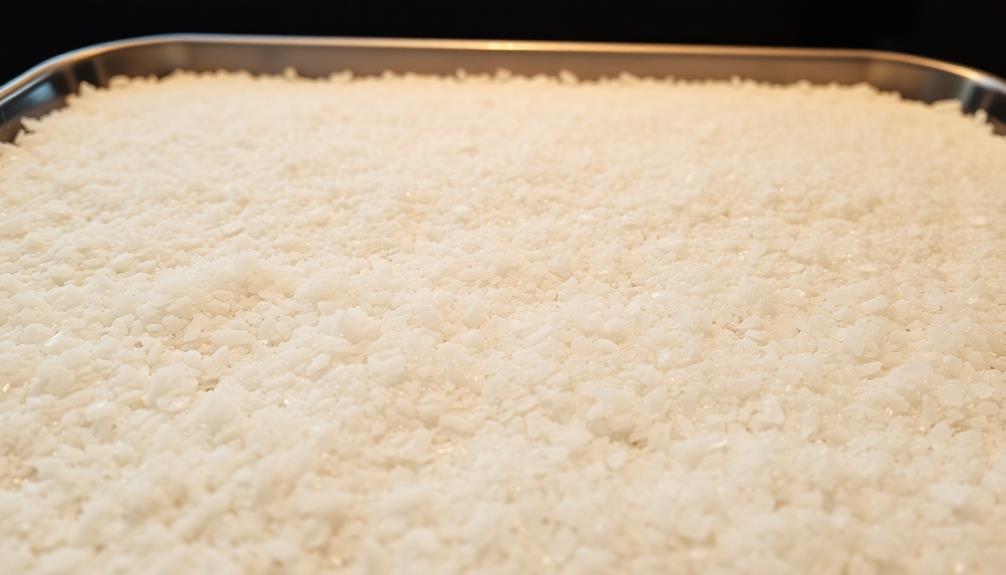
Next, liberally spread a layer of coarse sea salt over the entire surface of your dish.
You'll want to completely cover the area, leaving no spots uncovered. The salt will create a sturdy crust that seals in moisture and enhances the natural flavors of your ingredients, much like how butter enhances flavor in various savory dishes.
Grab a large pinch of salt between your fingers and gently sprinkle it across the surface, moving in a circular motion to ensure even distribution.
Don't be shy – you'll want to use a generous amount of salt to achieve the desired effect. As you sprinkle, the salt will cascade down the sides of the dish, creating a beautiful, crystallized border.
Once the surface is fully coated, give the dish a light shake to help the salt settle into any crevices.
This step is crucial, as you want the salt to adhere evenly for the best results. Now your dish is ready for the oven, where the heat will transform the salt into a delicious, crispy crust.
Step 3. Place Food on Salt Bed
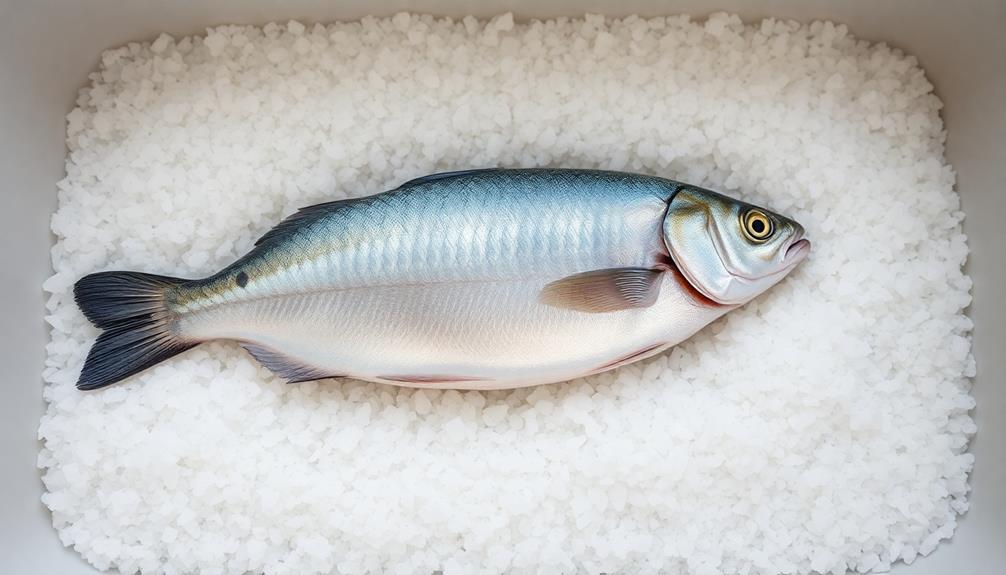
Once the salt is evenly distributed, carefully place your dish or food item directly on top of the salt bed.
Whether you're roasting a whole fish or baking a juicy cut of meat, the salt will create a protective barrier, locking in moisture and concentrating the flavors.
You'll be amazed at how the simple act of nestling your food atop the salt transforms the cooking process.
As the heat penetrates the salt, it will gently steam and season your dish from all sides.
The salt won't just season the surface – it'll infuse the interior as well, creating a wonderfully balanced, savory result.
Be sure to leave a little space between each item so the heat can circulate freely.
With the salt doing the heavy lifting, you can sit back and let the oven work its magic.
Step 4. Cover Food in Salt
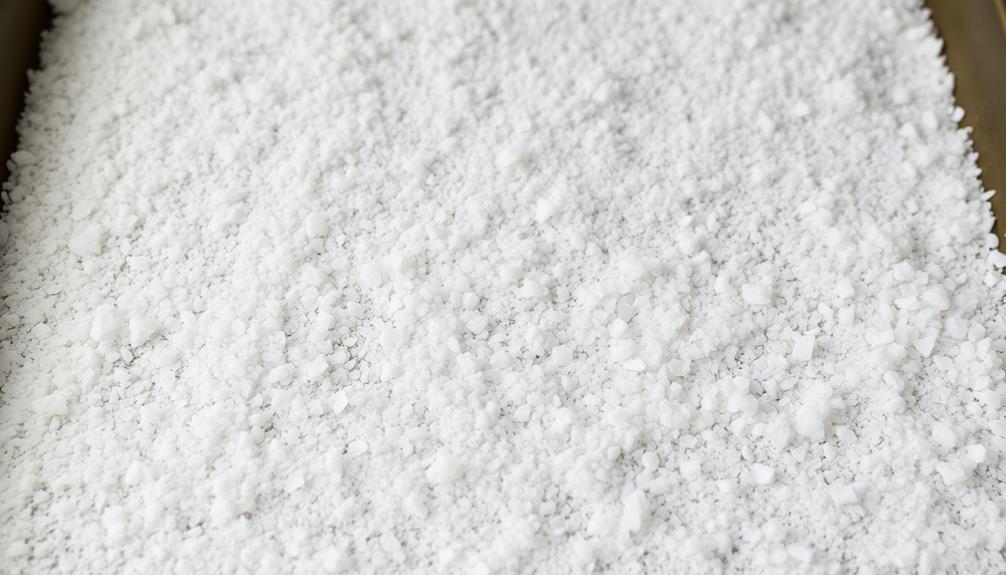
With the salt bed prepared, it's time to fully encapsulate your food in the savory crust. Grab a generous amount of salt and carefully cover the entire surface of your food. Gently press the salt into the nooks and crannies, ensuring an even coating. The salt should completely hide the food beneath, creating a thick, protective shell.
Once the food is entirely covered, you can add any extra seasonings or herbs you desire. Rosemary, thyme, or garlic powder work wonderfully to infuse additional flavors. Lightly press these into the salt to help them adhere. The salt will act as a sealant, locking in the natural juices and enhancing the overall taste.
Bake the salt-crusted dish according to your recipe's instructions. As the food cooks, the salt will harden, forming a crisp outer layer. This unique method helps retain moisture and concentrate the flavors, resulting in a truly remarkable dining experience.
Step 5. Bake for 30-45 Minutes
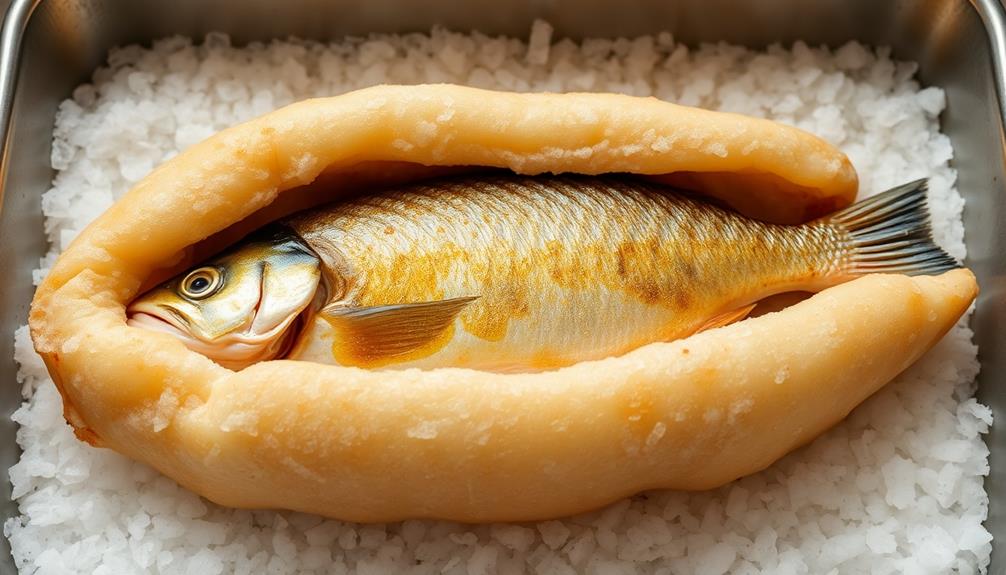
Pop the salt-encrusted dish into a preheated oven and let it bake for 30 to 45 minutes. The salt crust will lock in the food's natural juices and flavors, allowing them to intensify as the dish cooks.
You'll know it's ready when the crust turns a deep golden brown and the aroma fills your kitchen.
Be careful when removing the dish from the oven, as the salt crust will be extremely hot. Gently place it on a heatproof surface and let it rest for a few minutes.
Then, use a knife or the back of a spoon to crack open the crust. The inside will reveal a beautifully moist and flavorful dish.
Serve the salt-crusted baked creation immediately, allowing your guests to marvel at the dramatic presentation.
The simple yet sophisticated cooking method will impress everyone at the table. Enjoy the delicious results of your salt-crusted baking adventure!
Final Thoughts
As you've navigated the salt-crusted baking process, the final thoughts you take away can elevate your culinary prowess. The salt crust has sealed in the natural flavors and moisture, resulting in a truly remarkable dish.
You may have initially felt apprehensive about the technique, but now you understand the incredible benefits it provides. The crisp exterior and juicy interior are a testament to the power of this simple yet sophisticated method.
Moving forward, consider experimenting with different types of salt or adding aromatic herbs and spices to the crust. The possibilities are endless!
Embrace your newfound confidence in salt-crusted baking, and let it inspire you to explore even more adventurous culinary adventures. The joy of discovering new flavors and textures awaits.
With each successful salt-crusted creation, your skills will continue to grow, and you'll be well on your way to becoming a master of this captivating cooking technique.
Frequently Asked Questions
Can I Use Any Type of Salt for Salt-Crusted Baking?
You can use any type of salt for salt-crusted baking, but the flavor and texture will vary. Coarse sea salt or kosher salt work best, as they create a crunchy crust that seals in moisture and enhances the dish's overall taste.
How Do I Remove the Salt Crust After Cooking?
To remove the salt crust after cooking, simply tap the surface gently with a fork or the back of a knife. The crust should crack and lift off easily, revealing the moist and flavorful dish underneath.
Is Salt-Crusted Baking Suitable for All Types of Meats?
Salt-crusted baking isn't suitable for all meats. It works best with dense, thick cuts like pork or beef that can withstand the intense heat. Delicate proteins like fish may not hold up as well under the salt crust.
Can I Reuse the Salt Crust for Multiple Cooking Sessions?
You can't reuse the salt crust for multiple cooking sessions. The salt crust needs to be discarded after each use, as it's become saturated with juices and flavors from the previous dish, and won't provide the same effect.
How Long Does the Salt Crust Need to Be on the Food?
The salt crust needs to be on the food for the entirety of the cooking process. It seals in moisture and flavors, so don't remove it until the dish is fully cooked and ready to serve.
