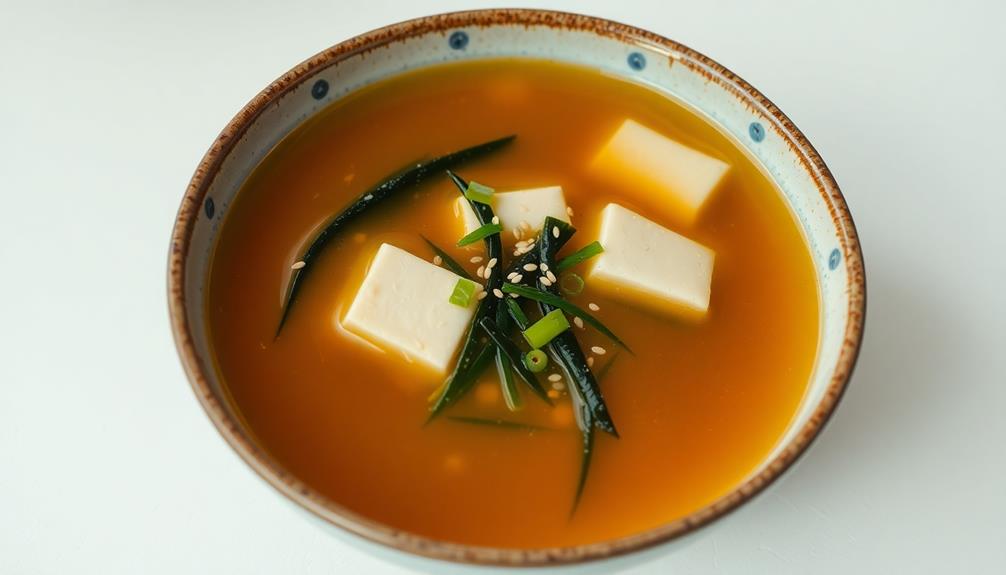
Hay-smoked dishes are a delightful culinary adventure, transporting you to the heart of the countryside with their rich, earthy aromas and captivating flavors. This ancient technique, deeply rooted in European traditions, invites you to explore the boundless creativity of cooking with nature's own ingredients, unlocking a world of sophisticated tastes that elevate any meal. Soak the hay, arrange your ingredients, and let the steady, low heat infuse your food with a unique smoky sweetness you won't soon forget. Discover how this simple, yet ingenious method can elevate your cooking and create unforgettable dining experiences. Explore the diverse range of dishes that benefit from smoky hay cooking techniques, from savory meats to delicate vegetables and even desserts. Whether you’re a seasoned chef or a home cook looking to add a new dimension to your repertoire, the smoky hay method offers endless possibilities for experimentation and refinement. Embrace this time-honored tradition and transform your meals into a showcase of rustic elegance and exceptional flavor.
Key Takeaways
- Hay-smoking is a centuries-old food preservation and flavoring technique, particularly popular in European cuisines, that imparts unique, earthy flavors to various ingredients.
- The cooking process involves soaking hay, arranging it on the cooking grate, and carefully smoking the food to achieve the desired flavor infusion.
- Hay-smoked dishes feature essential ingredients like proteins, fresh hay, and simple seasonings, offering a captivating aroma and taste profile reminiscent of the countryside.
- This cooking method can be applied to various dishes, including grilled meats, roasted vegetables, and baked goods, allowing for endless possibilities of experimentation and flavor exploration.
- Sharing hay-smoked creations with family and friends enhances the dining experience, fostering discussions about culinary innovation and the joy of discovering unique flavor combinations.
History
Smoking meats and other foods with hay has a long and storied history, dating back centuries. This traditional method of food preservation and flavoring has been used by cultures around the world for generations.
In ancient times, people would hang meats and cheeses above smoldering piles of fragrant hay, allowing the smoke to slowly infuse the ingredients with a unique, earthy taste.
Hay-smoking was particularly popular in European countries like France and Germany, where it became an integral part of regional cuisine. As the practice spread, cooks discovered that different types of hay, like timothy or alfalfa, could impart subtle variations in flavor. This allowed for endless experimentation and the development of signature local dishes.
Today, hay-smoking remains a cherished technique, with chefs and home cooks alike embracing its rustic charm and incredible flavor profiles. Whether used to enhance roasted meats, infuse cheese, or even smoke salt, the hay-smoking method continues to inspire culinary creativity and delight the senses.
Recipe
Hay-smoked dishes are a unique culinary experience that combines the earthy, grassy flavors of hay with the richness of the main ingredient. This method of smoking imparts a subtle, aromatic complexity that elevates the dish to new heights. The technique involves carefully selecting and preparing the hay, then using it to infuse the food with its distinctive taste and aroma.
Smoking food over hay is a traditional technique that has been practiced for centuries, particularly in rural communities where hay was readily available. The process involves carefully monitoring the temperature and duration of the smoking to ensure the perfect balance of flavor and texture. When done right, the result is a dish that's both visually striking and deeply satisfying to the palate.
Ingredients:
- 1 lb of your choice of protein (e.g., pork chops, chicken breasts, or salmon fillets)
- 1 cup of fresh hay (preferably local and pesticide-free)
- 2 tablespoons of olive oil
- Salt and pepper to taste
Instructions:
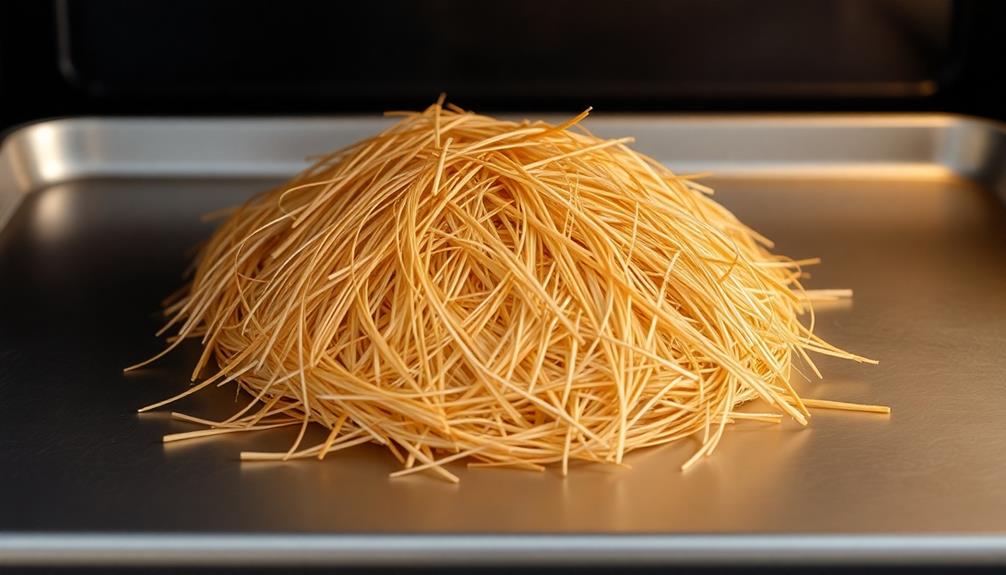
Preheat your oven to 275°F (135°C). Spread the hay on a baking sheet and place it in the oven for 15-20 minutes, or until the hay is lightly browned and fragrant. Remove the hay from the oven and allow it to cool slightly.
Place the protein of your choice in a smoker box or a foil packet with the hay, then close the lid or seal the packet. Smoke the protein for 30-45 minutes, depending on the thickness, until it's cooked through.
Tips:
When selecting the hay, choose a variety that's free of pesticides and other chemicals. This will ensure that the flavors of the hay are pure and unadulterated.
Additionally, be sure to monitor the smoking process closely to prevent the hay from burning and imparting a bitter taste to the dish. Lastly, consider pairing the hay-smoked protein with roasted vegetables or a fresh salad to create a well-balanced and flavorful meal.
Cooking Steps
First, you'll want to soak the hay overnight before smoking it.
Then, place the damp hay on the cooking grate and cover it up.
As the food cooks over the fragrant hay, you'll get a delightful smoky flavor.
When you're done, simply remove the smoking hay.
Step 1. Soak Hay Overnight Before Smoking

Before you can begin smoking your ingredients, you'll need to properly prepare the hay. Soak the hay in water overnight. This helps the hay absorb moisture, which is crucial for creating the perfect smoke. The water-logged hay will smolder and release a steady, flavorful smoke rather than burning quickly.
Once the hay has soaked, drain it well and spread it out on a baking sheet or in a shallow pan. Let the excess water drip off, but don't let the hay dry out completely. The goal is to have damp, pliable hay that's ready to be added to your smoker or grill.
Don't skip this crucial step! Properly soaking the hay is the key to unlocking its full smoky potential.
With the hay prepared, you can now start building your smoking setup and get ready to infuse your dishes with incredible, one-of-a-kind hay-smoked flavors.
Step 2. Place Hay on Cooking Grate
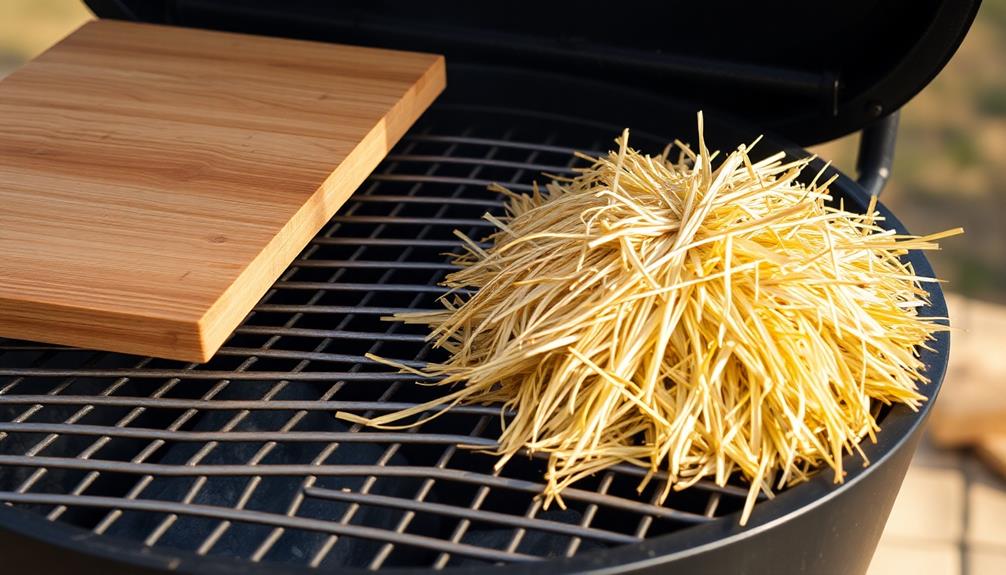
With the hay prepped and ready, you can now start building your smoking setup. Take the cooking grate from your grill or smoker and place it securely on the bottom of your cooking vessel. Whether you're using a designated smoker, a large pot, or even a deep baking dish, the grate will provide a sturdy surface for the hay.
The use of natural ingredients, like hay, mirrors the historical practices of ancient civilizations that valued simple, fresh elements in their cooking, similar to how butter was once a cherished ingredient in culinary traditions for its rich flavor and versatility, as discussed in butter's evolution.
Next, spread the soaked hay evenly across the grate, creating a uniform layer. Make sure to leave a bit of space around the edges so the smoke can circulate freely. You want the hay to smolder and release its aromatic compounds, not just burn up quickly.
Adjust the placement of the hay as needed to achieve the best smoking results. With the hay in place, you're ready to start cooking your dishes directly on the grate or add a second grate for layering ingredients.
The hay will impart a unique, earthy flavor as it slowly smokes, transforming your ordinary meals into something extraordinary.
Step 3. Cover the Hay
Cover the hay with the ingredients you want to smoke. Be sure to arrange them in a single layer so they cook evenly. You can smoke all kinds of foods – try vegetables, meats, cheeses, or even fruits!
Gently place your items right on top of the hay. Don't pack them too tightly, or the smoke won't circulate properly.
Once everything is arranged, grab a large piece of foil and loosely drape it over the top of your grill or smoker. This will trap the smoke and infuse your ingredients with that amazing hay-smoked flavor.
Make sure the foil isn't touching the food – leave a bit of space for the smoke to flow. Now just let it all smoke away for the recommended time. The aromas will be incredible!
When the time is up, carefully remove the foil and take a peek. Your hay-smoked goodies should be perfectly seasoned and ready to enjoy.
Step 4. Cook Food Over Hay
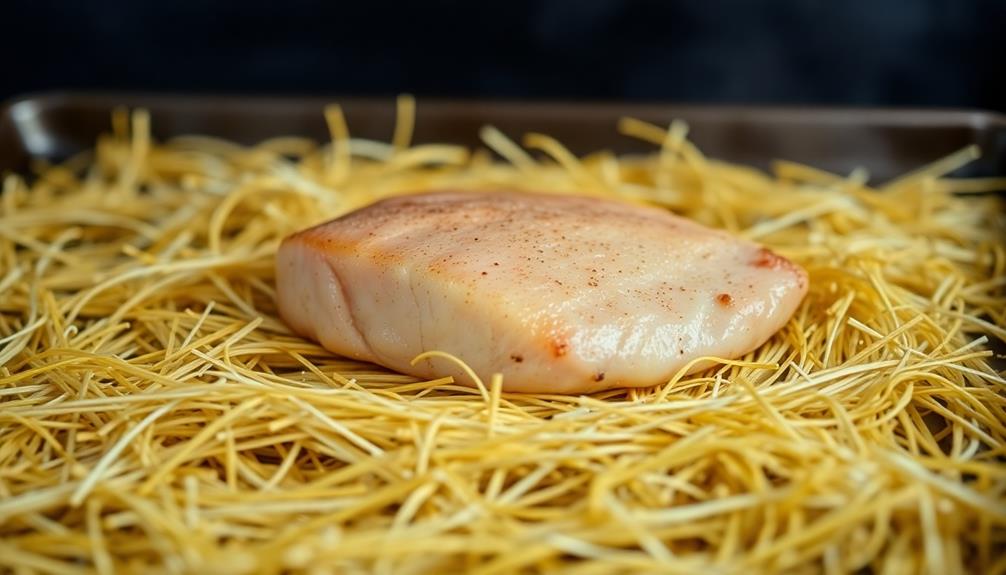
Once you've carefully arranged your ingredients on top of the hay, it's time to fire up your grill or smoker. This is where the magic happens!
Gently place your food items, whether it's succulent meats, fresh vegetables, or delicate seafood, right on the hay. As the heat begins to rise, the hay will start to smolder and release its earthy, aromatic smoke.
The key is to maintain a steady, low heat to allow the smoke to slowly infuse your food with its unique, rustic flavor.
Be patient and let the process unfold at its own pace. You'll know it's working when you catch that irresistible, smoky scent wafting through the air.
Keep an eye on your dish, turning or basting as needed, until it's cooked to perfection.
The result? A mouthwatering, hay-smoked masterpiece that will transport your taste buds straight to the heart of the countryside.
Get ready to wow your friends and family with this artisanal, farm-to-table delight!
Step 5. Remove Smoking Hay

After your food has absorbed the smoky essence from the hay, it's time to remove the remaining hay from your dish. Carefully lift the food out of the hay bed, using tongs or a slotted spoon. This will help you avoid losing any precious smoked morsels.
Next, gently shake or brush off any lingering bits of hay. You don't want your guests to end up with unexpected hay in their mouths!
Once the food is free of hay, give it a quick inspection. If there are any charred or blackened edges, you can simply trim them away. This will ensure your dish has an even, appetizing appearance.
With the hay removed, your food is now ready to serve. The smoky aroma and flavor will delight your guests, transporting them straight to the farm. Enjoy the unique, rustic qualities that hay-smoking has added to your meal.
Final Thoughts
Hay-smoked dishes offer a unique and captivating culinary experience. The rich, earthy aroma and delicate flavors of hay-smoked meats, vegetables, and even desserts can transport you to the heart of the countryside. As you explore these innovative preparations, you'll be amazed by the depth of flavor they can achieve.
Whether you're grilling hay-smoked steaks, roasting hay-smoked root vegetables, or baking hay-smoked bread, the possibilities are endless. The combination of the hay's subtle sweetness and the smoky notes creates a truly remarkable taste that's both familiar and extraordinary.
As you venture into the world of hay-smoked dishes, embrace the sense of adventure and discovery. Experiment with different types of hay, cooking techniques, and flavor pairings to find what resonates most with your palate.
Sharing these unique culinary creations with family and friends will only add to the joy and excitement.
Frequently Asked Questions
Where Can I Purchase High-Quality Hay for Smoking?
You can purchase high-quality hay for smoking at your local farm supply store or from specialty online retailers. Look for clean, untreated hay that's suitable for culinary purposes to ensure the best flavor results.
How Long Does the Hay-Smoking Process Take?
The hay-smoking process can take anywhere from 2 to 4 hours, depending on the type of hay used and the desired intensity of flavor. You'll need to monitor the smoke and adjust the temperature to achieve the perfect result.
Can I Substitute Different Types of Hay for Smoking?
You can substitute different types of hay for smoking, but the flavor profile will vary. Certain grasses and legumes will impart distinct aromas and tastes to the smoked dish, so experiment to find your preferred hay.
Is the Hay-Smoking Technique Suitable for All Types of Dishes?
The hay-smoking technique isn't suitable for all dishes. It works best with meats, cheeses, and certain vegetables that can withstand the intense smoky flavor. However, it may overpower more delicate ingredients or dishes.
How Do I Prevent the Hay From Catching Fire During Cooking?
To prevent the hay from catching fire during cooking, you'll need to soak the hay in water before using it. Additionally, monitor the hay closely and extinguish any flames that may start to ensure a safe cooking experience.

