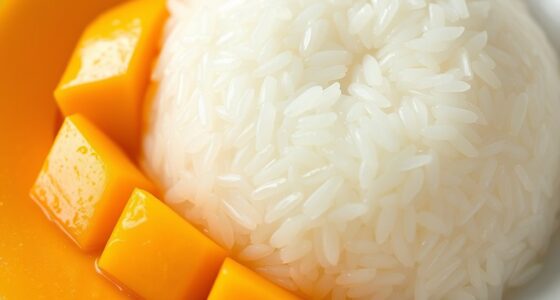
Khao Niao Sangkhaya, a beloved Thai dessert, seamlessly blends the chewy texture of sticky rice with the creamy indulgence of coconut milk custard, offering a harmonious balance of sweet and savory flavors that have captivated generations of Thais. You'll start by soaking and steaming the sticky rice to perfection, then create a luscious custard base with coconut milk, sugar, and eggs. Gently pour the custard over the warm rice, chill the dish, and enjoy its divine combination of textures and tastes. Whether served warm or at room temperature, this classic Thai treat continues to be a cherished part of the nation's culinary heritage. Let's dive deeper into the rich history and detailed recipe for this remarkable dessert. If you’re looking to elevate the dish even further, consider adding slices of ripe mango on top for a burst of fresh, tropical sweetness. The combination of mango and sticky rice, known as the mango sticky rice recipe, is a popular variation that adds a delightful twist to this traditional dessert. Whichever way you choose to enjoy it, Khao Niao Sangkhaya is sure to leave a lasting impression on your taste buds.
Key Takeaways
- Khao Niao Sangkhaya is a classic Thai dessert that combines sticky rice and creamy custard, offering a sweet and savory blend of flavors.
- The dish has its roots in ancient Siamese history, enjoyed by both royalty and commoners, and holds cultural significance in Thai cuisine.
- The core ingredients include sticky rice, coconut milk, sugar, and eggs, with optional pandan leaves for aroma and color enhancement.
- The recipe involves soaking and steaming the sticky rice, preparing the custard base, and pouring the custard over the warm rice.
- Khao Niao Sangkhaya is often served chilled, garnished with toppings like toasted coconut, and can be enjoyed as a dessert or during festivals and gatherings.
Top picks for "khao niao sangkhaya"
Open Amazon search results for this keyword.
As an affiliate, we earn on qualifying purchases.
History
Sticky rice with custard, a beloved Thai dessert, has a rich history dating back centuries. This iconic treat's origins can be traced to the ancient Siamese kingdom, where it was enjoyed by royalty and commoners alike.
The sticky rice, steamed to perfection, provides a delightfully chewy base, while the creamy custard, made with coconut milk and eggs, offers a smooth, sweet counterpoint.
Over time, the recipe has evolved, with different regions and households developing their own unique takes on the classic. Some add fragrant pandan leaves, lending a distinctive aroma, while others incorporate vibrant toppings like fresh mango or sweet corn.
Regardless of the variations, the core elements of sticky rice and custard have remained steadfast, connecting generations of Thais through the shared joy of this timeless delicacy.
Today, khao niao sangkhaya continues to be a beloved part of Thai culinary heritage, enjoyed as a comforting dessert, a special occasion treat, or a delightful anytime snack.
Its enduring popularity is a testament to the skill and ingenuity of Thai cooks who've refined and preserved this cherished tradition over the centuries.
Recipe
Sticky rice, a beloved Thai delicacy, is often served with a creamy, custard-like topping. This classic combination of sweet and savory flavors is a true delight for the senses.
To make this dish, you'll need to start by soaking the sticky rice. This step allows the rice to absorb the necessary moisture, resulting in a soft and pliant texture. Once the rice is ready, you'll then create a rich and silky custard to complement the stickiness of the rice.
Ingredients:
- 1 cup sticky rice, soaked for at least 4 hours or overnight
- 1 cup coconut milk
- 1/2 cup sugar
- 1/2 teaspoon salt
- 2 eggs, beaten
- 1/4 cup tapioca pearls (optional)
In a saucepan, combine the soaked sticky rice, coconut milk, sugar, and salt. Bring the mixture to a gentle simmer and cook, stirring occasionally, until the rice is tender and the liquid has been absorbed, about 20-25 minutes.
Remove from heat and let cool slightly.
In a separate bowl, whisk the beaten eggs. Slowly pour the egg mixture into the warm rice, stirring constantly to prevent the eggs from scrambling.
Continue cooking the custard over low heat, stirring frequently, until thickened, about 5-7 minutes. If using tapioca pearls, add them to the custard and cook for an additional 5 minutes, or until the pearls are translucent.
When serving, the sticky rice with custard can be presented in individual bowls or on a platter. The warm, comforting texture and sweetness of this dish make it a perfect dessert or snack.
Enjoy this delightful Thai treat!
Cooking Steps
First, you'll need to soak the sticky rice overnight to soften it up.
Next, steam the rice until it's tender and cooked through.
Then, make a creamy custard base to pour over the top.
Be sure to chill the dish before serving for the perfect sweet treat.
Step 1. Soak Sticky Rice Overnight
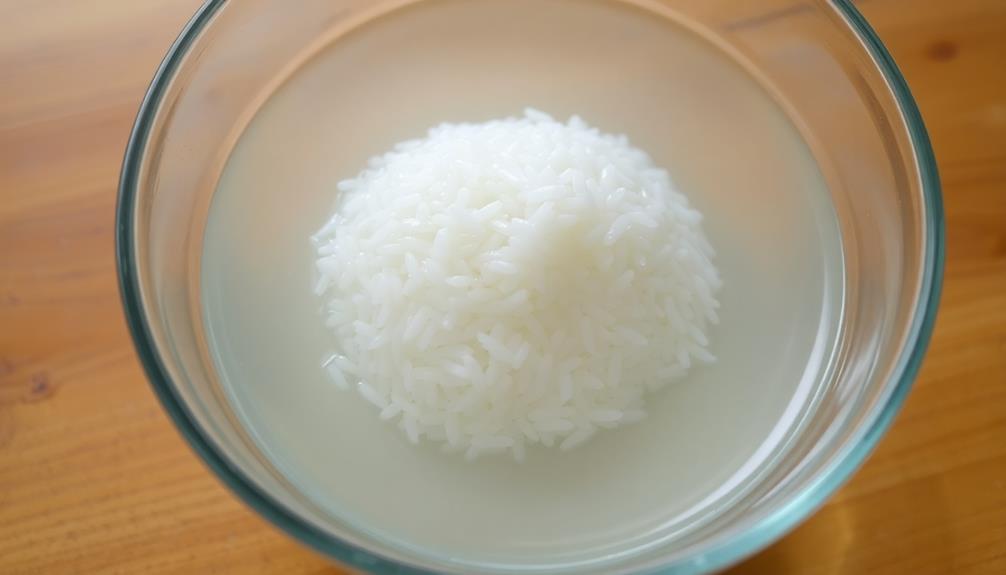
The overnight soaking of the glutinous grains is a crucial first step in the preparation of this aromatic delicacy.
Start by rinsing the sticky rice in a fine-mesh strainer until the water runs clear. Then, place the rice in a large bowl and cover it with clean water, ensuring the grains are fully submerged.
Cover the bowl with a lid or plastic wrap and let it sit at room temperature for at least 8 hours, or overnight. This soaking process softens the rice, making it more pliable and better able to absorb the flavors of the custard.
When you're ready to continue, drain the rice in the strainer, discarding the soaking water. The plump, hydrated grains are now perfectly prepped for the next steps in creating this classic Thai dessert.
Step 2. Steam the Sticky Rice
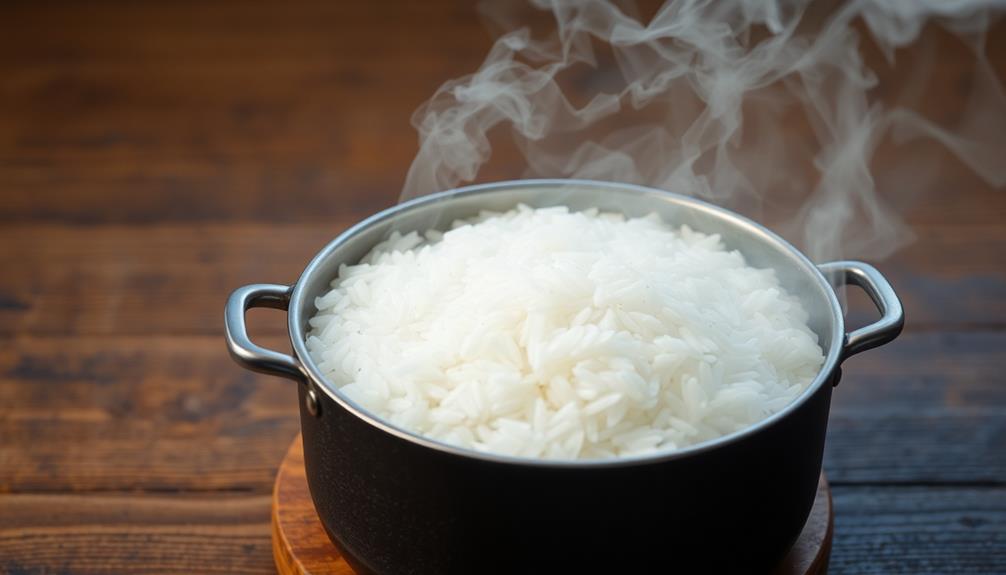
Steaming the soaked sticky rice is the next essential step.
You'll need a pot with a tight-fitting lid and a steamer basket. Make sure the water level in the pot is just below the bottom of the basket. Bring the water to a boil over high heat.
Once boiling, reduce the heat to maintain a gentle simmer. Carefully place the soaked sticky rice into the steamer basket, then cover with the lid.
Steam the rice for 20-25 minutes, until it's tender and translucent. Check the water level occasionally and add more if needed to prevent the pot from boiling dry.
When the time is up, remove the lid and let the rice sit for 5 minutes to finish cooking. Fluff the rice with a fork before serving.
The sticky, slightly chewy texture is perfect for enjoying with the creamy custard topping.
Step 3. Make Custard Base

With the sticky rice steamed to perfection, it's time to turn your attention to the custard base. In a medium saucepan, combine the coconut milk, sugar, and salt. Whisk the mixture together and place it over medium heat. Stir frequently until the sugar dissolves and the mixture is warm, but don't let it boil.
In a separate bowl, beat the eggs lightly. Slowly pour the warm coconut milk mixture into the beaten eggs, whisking constantly to prevent the eggs from curdling. Once fully incorporated, pour the custard base back into the saucepan.
Continue cooking the custard over medium heat, stirring slowly and constantly with a wooden spoon or spatula, until it thickens to a velvety, pudding-like consistency. This should take about 5-7 minutes. Be patient and don't rush the process.
Remove the custard from the heat and let it cool slightly before pouring it over the steamed sticky rice.
Step 4. Pour Custard Over Rice
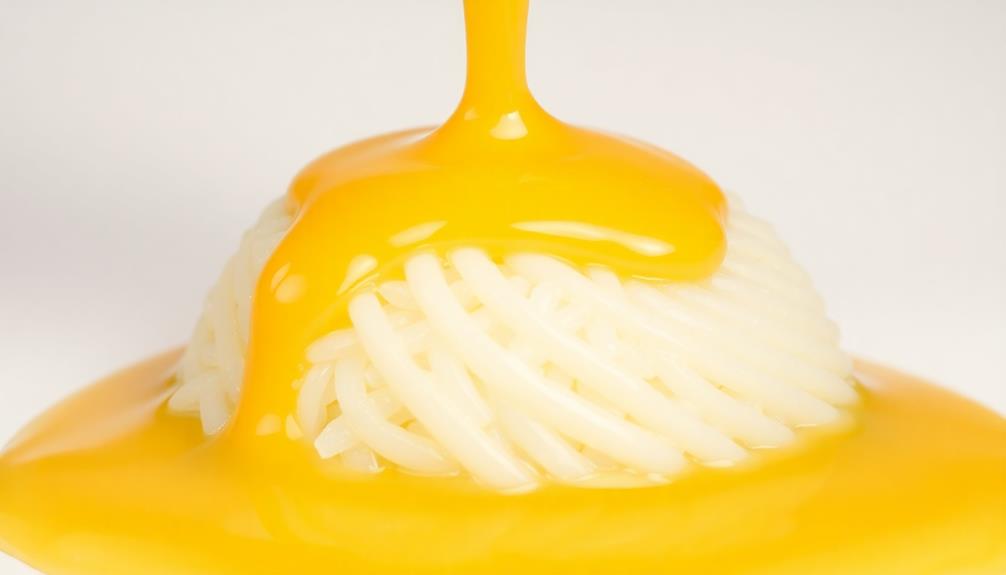
Once the custard has cooled slightly, gently pour it over the steamed sticky rice.
Take your time and pour it evenly, ensuring the rice is fully coated. The warm, creamy custard will soak into the rice, creating a delightful contrast of textures.
Be careful not to pour too quickly, as you don't want the custard to pool at the bottom. Use a spoon to gently stir and distribute the custard if needed.
The sticky rice should now be beautifully dressed in a silky, golden custard. Let the dish sit for a few minutes to allow the flavors to meld.
The sticky rice will absorb the custard, resulting in a decadent, spoonable treat. Serve this comforting dish warm, perhaps with a sprinkle of toasted coconut or a drizzle of honey for an extra special touch.
Step 5. Chill Before Serving
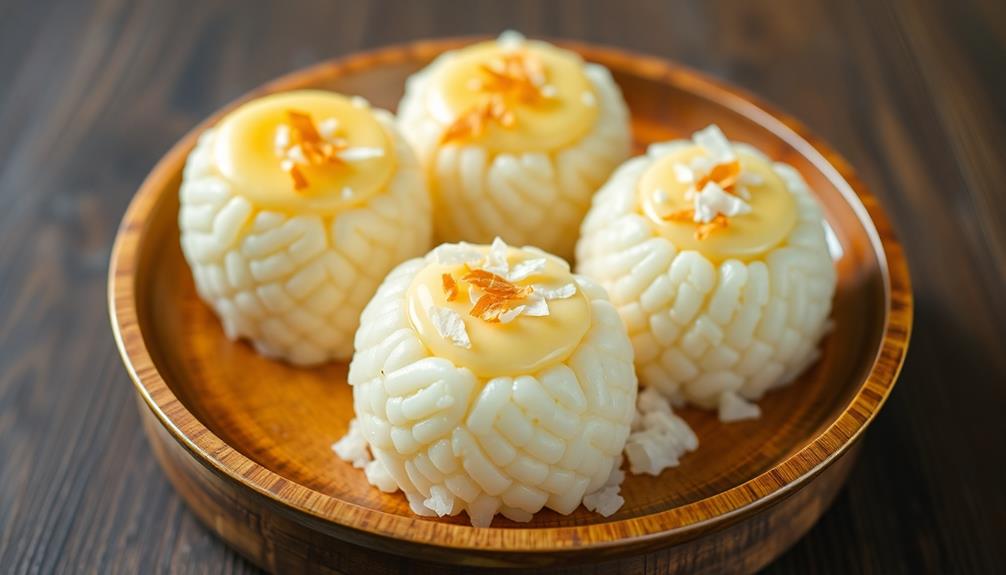
After allowing the flavors to meld for a few minutes, it's time to chill the dish before serving.
Carefully transfer the warm sticky rice and custard mixture into a shallow serving dish. Use a spoon to gently spread the rice and custard into an even layer. This will help the dish cool down more quickly.
Pop the dish into the refrigerator and let it chill for at least 30 minutes, or until the dessert is nicely chilled throughout. You'll know it's ready when the rice and custard have a cool, refreshing temperature.
Once chilled, the flavors will have deepened and the textures will be perfectly blended. Now, it's time to scoop and serve!
Garnish with a sprinkle of toasted sesame seeds or a drizzle of coconut milk for a stunning presentation. Your guests are sure to love this sweet and creamy Thai delight.
Final Thoughts
Overall, how did you enjoy the experience of making sticky rice with custard?
Hopefully, the process of preparing this classic Thai dessert was both satisfying and delicious. The combination of the sweet, creamy custard and the sticky, chewy rice is simply divine.
While it may have taken a bit of time and effort, the end result is well worth it. The flavors and textures blend together harmoniously, creating a truly indulgent treat.
Don't be afraid to experiment with different toppings or spices to customize the dish to your liking. Perhaps try adding a sprinkle of toasted coconut or a drizzle of honey for an extra layer of flavor.
Frequently Asked Questions
What Kind of Rice Is Used for Khao Niao Sangkhaya?
For this dish, you'll need to use sticky rice, also known as glutinous rice. This short-grain variety has a distinctive chewy texture that's essential for the traditional Thai dessert.
Can Khao Niao Sangkhaya Be Made Ahead of Time?
Yes, you can make khao niao sangkhaya ahead of time. The custard can be prepared a day in advance and stored in the fridge, and the sticky rice can be cooked and assembled with the custard just before serving.
How Long Does Khao Niao Sangkhaya Last in the Refrigerator?
Khao Niao Sangkhaya can last up to 3-4 days in the refrigerator when stored properly in an airtight container. However, the texture and flavor may start to degrade after the first day or two.
Can Khao Niao Sangkhaya Be Frozen?
Yes, you can freeze khao niao sangkhaya. It'll keep for up to 2 months in the freezer. Just be sure to store it in an airtight container to prevent freezer burn.
Is Khao Niao Sangkhaya Suitable for Vegetarians or Vegans?
Khao niao sangkhaya may not be suitable for vegetarians or vegans as it typically contains eggs and dairy products. However, you can find vegan or vegetarian versions that use plant-based alternatives to create a similar custard-like consistency.