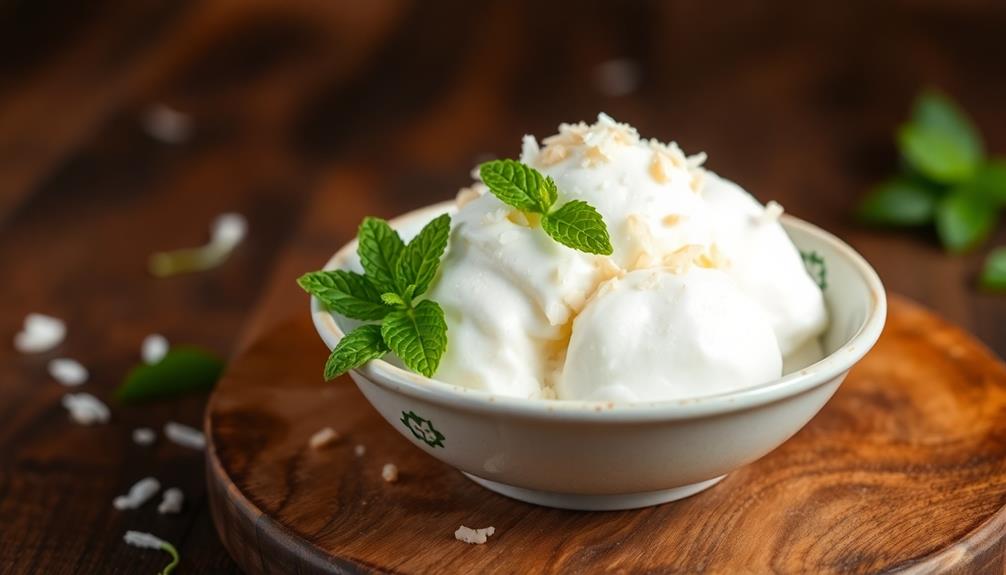

You'll love the rich, creamy deliciousness of I-Tim Kati, Thailand's iconic coconut ice cream. This tropical treat has been enjoyed for centuries, with its origins tracing back to ancient times. The key is the perfect blend of coconut milk, cream, sugar, and vanilla – creating an indulgent texture and flavor that'll transport you to a warm, sun-drenched beach. Customize it with tasty toppings like peanuts, corn, or sticky rice. It's a refreshing delight that's both nutritious and satisfying. Want to learn more about the vibrant history and versatile ways to enjoy this beloved dessert? One popular way to enjoy I-Tim Kati is by serving it in a coconut shell, adding a unique and authentic touch to this beloved dessert. Another traditional Thai treat that pairs perfectly with coconut ice cream is traditional Thai grilled sticky rice, offering a delightful combination of textures and flavors. Not only is I-Tim Kati a delicious indulgence, but it also holds cultural significance, making it a must-try for anyone looking to experience the true essence of Thai cuisine.
Key Takeaways
- I-Tim Kati is a traditional Thai coconut ice cream known for its creamy texture and rich coconut flavor.
- The key ingredients include coconut milk, heavy cream, sugar, salt, and vanilla extract, which contribute to the dessert's unique taste and texture.
- I-Tim Kati has a long history, with potential roots in Southeast Asia or the Caribbean, and has gained international recognition for its uniqueness and versatility.
- Coconut ice cream is a refreshing treat that connects people to the vibrant history and flavors of tropical regions, often served with various toppings.
- Homemade I-Tim Kati offers an indulgent treat that celebrates tropical ingredients and can be customized to suit different dietary preferences, including vegan options.
History
Coconut ice cream has long been a beloved treat in many tropical regions, with its origins tracing back to ancient times. In fact, some historians believe that coconut-based desserts have been enjoyed for centuries, with early recipes potentially originating in Southeast Asia or the Caribbean.
Over time, the recipe for coconut ice cream evolved, incorporating local ingredients and techniques to create the rich, creamy treat we know and love today. As coconut became more widely cultivated and traded, the popularity of coconut ice cream spread to other parts of the world.
Today, it's a common sight in tropical markets and street food stalls, where vendors churn out fresh batches to satisfy the cravings of locals and tourists alike. Whether you enjoy it on a hot day or as a special dessert, coconut ice cream remains a delightful and refreshing treat that connects us to the history and flavors of these vibrant regions.
Recipe
I-Tim Kati, or Coconut Ice Cream, is a beloved dessert in many parts of the world, particularly in Southeast Asia. This creamy and refreshing treat is perfect for cooling down on a warm day.
Coconut milk is the star ingredient, providing a rich, tropical flavor that pairs beautifully with the sweetness of sugar and the creaminess of dairy. The combination of these elements creates a smooth, velvety texture that's both indulgent and satisfying.
- 2 cups coconut milk
- 1 cup heavy cream
- 3/4 cup white sugar
- 1/4 teaspoon salt
- 1 teaspoon vanilla extract
In a medium saucepan, combine the coconut milk, heavy cream, sugar, and salt. Cook over medium heat, stirring constantly, until the sugar has dissolved and the mixture is hot but not boiling.
Remove from heat and stir in the vanilla extract. Allow the mixture to cool completely, then transfer to an ice cream maker and churn according to the manufacturer's instructions.
Once the ice cream has reached your desired consistency, transfer it to a freezer-safe container and freeze for at least 2 hours before serving.
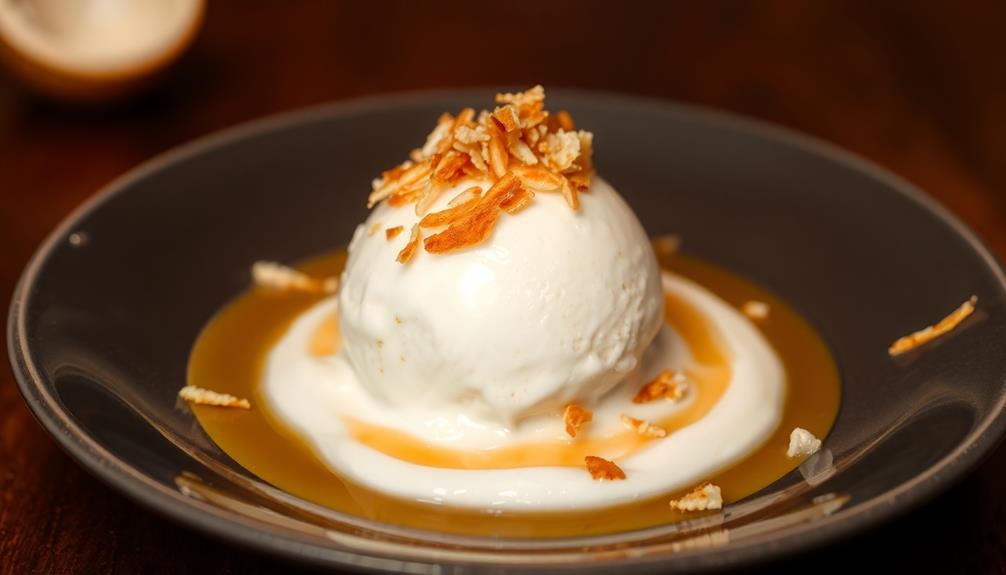
When serving, you can garnish the I-Tim Kati with toasted coconut flakes or a drizzle of coconut syrup for an extra touch of flavor and texture.
The key to achieving the perfect consistency is to chill the ice cream thoroughly before serving, allowing the flavors to meld and the texture to set.
Cooking Steps
Grate the coconut flesh to get the cream, then strain it through cheesecloth.
Next, add sugar and simmer the mixture.
Once that's done, pop it in the freezer until it's frozen.
Serve the chilled coconut ice cream with your favorite toppings.
Step 1. Grate Coconut Flesh for Cream
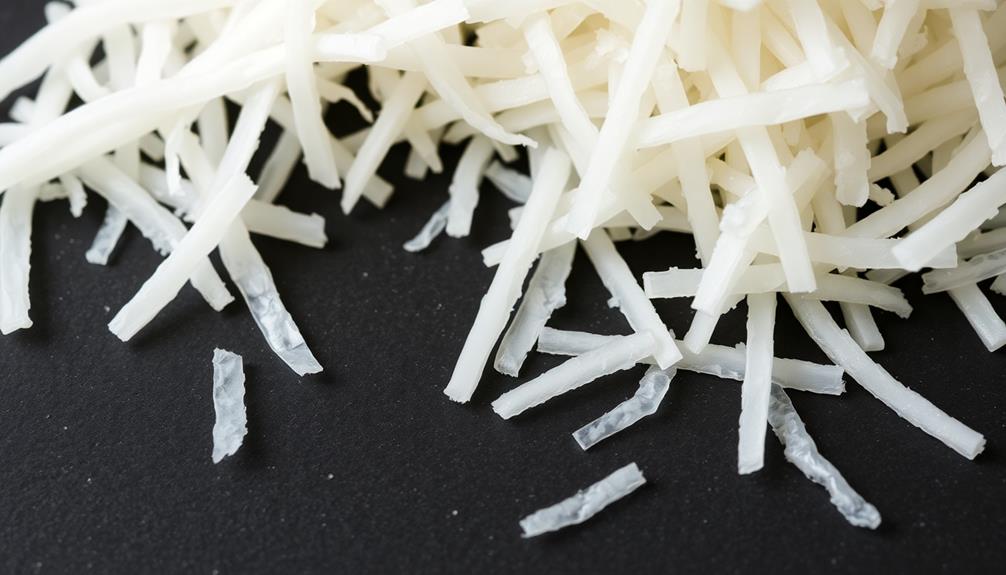
To begin the process, you'll need to grate the coconut flesh. Use a sharp grater or food processor to finely shred the meat from the coconut shell. Be careful as the edges can be quite sharp!
Grate the coconut in a circular motion, applying gentle pressure to remove the flesh. Work in small batches to ensure even and thorough grating.
Once you've grated the desired amount, you'll have a pile of fluffy, white coconut shreds. These will become the base for your rich and creamy coconut ice cream.
The grated coconut flesh contains the natural oils and fats that give coconut ice cream its signature texture and flavor. Make sure to grate enough to yield about two cups of packed coconut shreds. This should provide the perfect amount of coconut goodness for your homemade ice cream.
With the coconut flesh prepped, you're ready to move on to the next step in creating your delicious I-Tim Kati.
Step 2. Strain Coconut Cream Through Cheesecloth
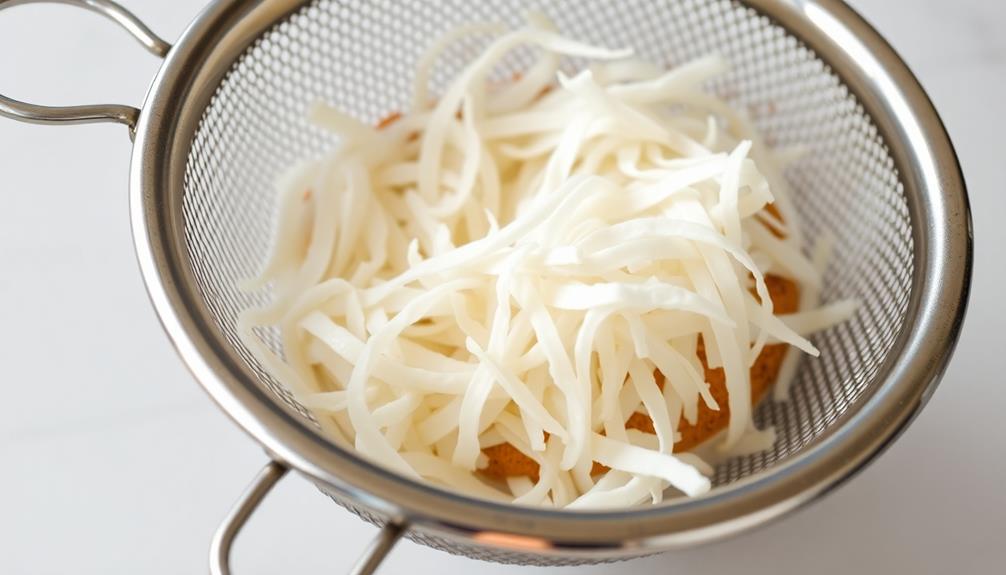
Straining the grated coconut through cheesecloth is the next crucial step to extract the rich, creamy coconut milk.
Take a clean cheesecloth and place it over a bowl. Slowly pour the grated coconut into the center of the cheesecloth.
Gather the edges of the cheesecloth and gently squeeze and twist the coconut to release the milk. The coconut milk will slowly drip into the bowl underneath.
Be patient and keep squeezing until you've extracted as much liquid as possible. Don't worry if some solid coconut meat remains in the cheesecloth – you can discard this or save it for another use.
The strained coconut milk is now ready to be used in your delicious I-Tim Kati (Coconut Ice Cream) recipe. This step ensures your ice cream will have a wonderfully creamy, coconut-y flavor.
Step 3. Add Sugar and Simmer
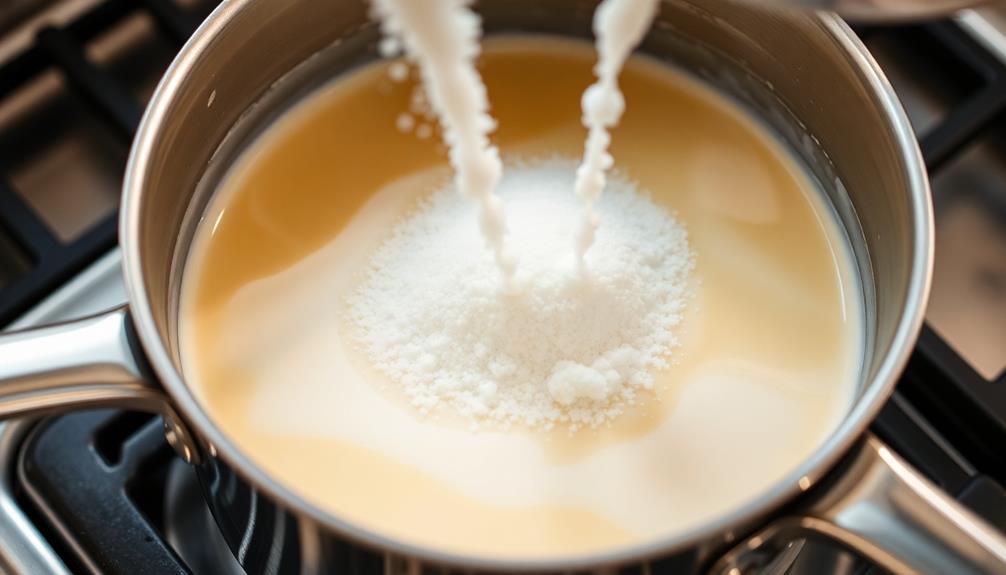
Next, you'll add the sugar to the strained coconut milk and simmer the mixture. This step helps dissolve the sugar completely and infuses the coconut flavor throughout the ice cream base.
Start by pouring the strained coconut milk into a saucepan. Then, sprinkle in the sugar and whisk the mixture continuously over medium heat. Bring it to a gentle simmer, stirring frequently, until the sugar has fully dissolved, about 5 minutes.
Be careful not to let the mixture boil, as that could cause it to curdle or separate. Once the sugar has dissolved, remove the pan from the heat and let the coconut milk cool to room temperature.
This cooling step is important, as you'll want the base to be completely chilled before churning it into ice cream. After the coconut milk has cooled, you're ready to move on to the next step of the ice cream making process.
Just pour the sweetened coconut milk into your ice cream maker and follow the manufacturer's instructions.
Step 4. Freeze the Coconut Cream Mixture
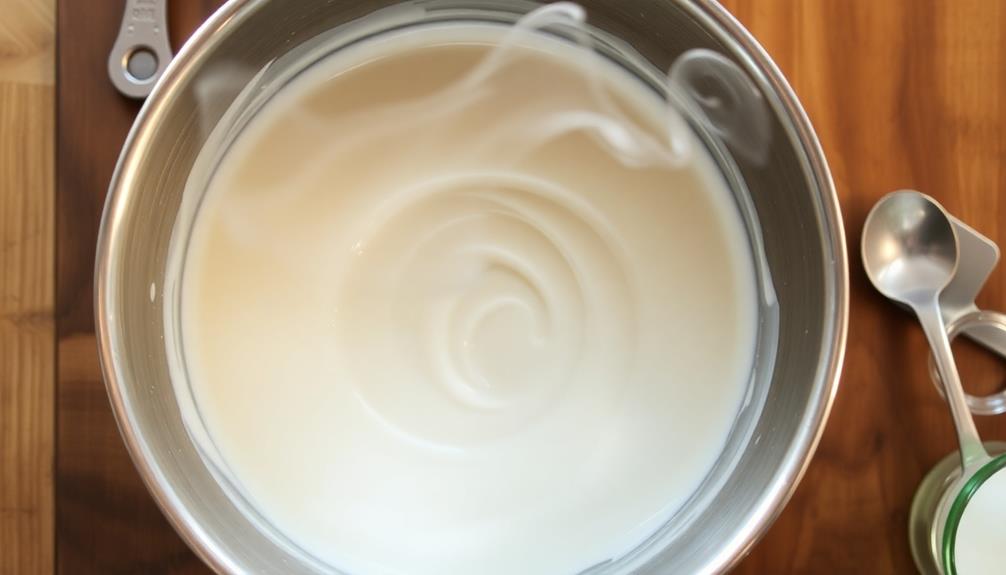
With the coconut milk cooled, you're ready to freeze the mixture. Pour the sweetened coconut cream into a shallow baking dish or ice cream maker.
If using a dish, place it in the freezer and stir the mixture every 30 minutes as it starts to freeze around the edges. This ensures the texture stays smooth and creamy. Freeze for 2-3 hours, until it's almost completely solid.
Alternatively, if you have an ice cream maker, simply pour the coconut cream into the machine and follow the manufacturer's instructions. The machine will churn and freeze the mixture for you.
Once it reaches your desired consistency, about 20-30 minutes, transfer the coconut ice cream to a freezer-safe container. Smooth the top and cover the surface with plastic wrap to prevent ice crystals from forming.
Freeze the coconut ice cream for at least 2 hours before serving. Scoop and enjoy this rich, tropical treat!
Step 5. Serve Chilled, With Desired Toppings
Chilling the coconut ice cream to the perfect temperature is key. Once your mixture has frozen completely, you'll want to take it out of the freezer and let it sit for 5-10 minutes. This allows the ice cream to soften slightly, making it easier to scoop and serve.
When you're ready, grab your favorite serving dishes and start scooping that delicious, creamy coconut goodness. Don't be afraid to pile it high – this stuff is sure to satisfy!
Top it off with any garnishes you like, such as toasted coconut flakes, chopped nuts, or a drizzle of honey or caramel sauce. Get creative and make it your own.
Serve the coconut ice cream immediately, while it's still nice and cold. Your guests will love the refreshing tropical flavors and the smooth, creamy texture. Enjoy every bite of this homemade delight!
Final Thoughts
The allure of I-Tim Kati lies in its ability to transport one's senses, evoking a sense of tropical bliss and comfort. This decadent coconut ice cream is a delightful treat that's sure to please any palate.
Whether you choose to enjoy it on its own or with your favorite toppings, the rich, creamy texture and sweet coconut flavor are sure to leave you feeling satisfied and refreshed.
As you savor each spoonful, let the flavors dance on your tongue and transport you to a warm, sun-drenched beach.
The versatility of I-Tim Kati makes it a perfect dessert for any occasion – from a casual backyard gathering to a formal dinner party.
Frequently Asked Questions
Is Coconut Ice Cream Suitable for Vegans?
Yes, coconut ice cream can be suitable for vegans if it's made without any animal-based ingredients like milk, cream, or eggs. Look for vegan-friendly coconut ice cream that uses plant-based milks and thickeners instead.
Can Coconut Ice Cream Be Made Without an Ice Cream Maker?
Yes, you can make coconut ice cream without an ice cream maker. Simply blend the ingredients, then freeze the mixture, stirring occasionally. With a little effort, you can enjoy homemade coconut ice cream without any special equipment.
How Long Can Homemade Coconut Ice Cream Be Stored?
You can store homemade coconut ice cream in the freezer for up to 2-3 months. Be sure to store it in an airtight container to prevent freezer burn and maintain its creamy texture.
Does Coconut Ice Cream Contain Dairy?
Coconut ice cream doesn't contain any dairy products. It's made with coconut milk, which is a dairy-free alternative to traditional ice cream. You can enjoy this creamy, tropical treat without any concerns about lactose or dairy.
Can Coconut Ice Cream Be Made With Fresh Coconut?
Yes, you can make coconut ice cream using fresh coconut. Simply blend the coconut meat and coconut water, then freeze the mixture in an ice cream maker. The fresh coconut will give your ice cream a richer, more authentic flavor.