Crafting the ultimate birthday cake is a joyous endeavor that allows you to infuse your personal style and cherished memories into the celebration. From the cake's ancient Greek origins to centuries of decorative evolution, personalization is now a cherished modern tradition – showcasing your creativity and catering to your individual tastes. Vibrant colors, beloved characters, and heartfelt messages bring the cake to life, creating a unique centerpiece for your special day. By incorporating quality ingredients and attention to detail, you'll craft an unforgettable dessert that will elevate your birthday festivities and leave lasting memories. Let's explore more ways to make your celebration truly unforgettable.
Key Takeaways
- Personalized birthday cakes showcase individual creativity, catering to the celebrant's unique tastes and reflecting their personality and interests.
- Decorative elements like vibrant colors, edible images, and personalized cake toppers bring the celebration to life and create a memorable visual experience.
- The baking process involves quality ingredients and techniques to achieve a fluffy, flavorful cake base that serves as a canvas for personalization.
- Decorating the cake with customized frosting styles, sprinkles, and other embellishments allows for endless creative possibilities and a one-of-a-kind celebration.
- The joy of creating a personalized birthday cake adds significance to the celebration, making it a cherished tradition that reflects the celebrant's unique story.
Top picks for "ultimate birthday cake"
Open Amazon search results for this keyword.
As an affiliate, we earn on qualifying purchases.
History
The personalization of birthday cakes dates back to ancient times, when people would adorn cakes with decorations to celebrate special occasions. In ancient Greece, for example, the first birthday cakes were round, representing the moon, and often included lit candles to symbolize the "light of life."
Over time, the tradition evolved, with cakes becoming more elaborate and personal. By the Middle Ages, birthday cakes were commonly decorated with intricate designs, such as flowers, leaves, and even small figurines. This allowed the cake to reflect the individuality of the person being celebrated.
As the centuries passed, the art of cake decorating continued to advance, with the introduction of new tools, techniques, and ingredients. Today, the personalization of birthday cakes is more popular than ever.
From incorporating a person's favorite colors and characters to adding special messages or edible images, the options for customization are endless. Celebrating a birthday with a personalized cake has become a cherished tradition that brings joy and excitement to the special occasion.
Recipe
Birthdays are a time to celebrate and what better way to make the occasion extra special than with a personalized birthday cake? Crafting a custom cake allows you to showcase your creativity and cater to the celebrant's unique tastes. Whether it's a classic vanilla cake adorned with their favorite frosting or a rich chocolate masterpiece, the possibilities are endless.
In 2024, personalized gifts and experiences, like a custom cake, are highly valued, making it an ideal way to celebrate a loved one's special day, especially with a focus on individuality and creativity in personalized gifts.
When it comes to personalizing a birthday cake, the options are truly limitless. From intricate designs and edible decorations to heartfelt messages and creative shapes, the cake can be a reflection of the recipient's personality, interests, or a special milestone in their life.
- All-purpose flour
- Granulated sugar
- Unsalted butter
- Eggs
- Baking powder
- Salt
- Milk
- Vanilla extract
Preheat your oven to 350°F (175°C). Grease and flour your cake pans. In a large bowl, cream the butter and sugar together until light and fluffy. Beat in the eggs one at a time, then stir in the vanilla.
In a separate bowl, whisk together the flour, baking powder, and salt. Gradually add the dry ingredients to the wet ingredients, alternating with the milk, until just combined. Pour the batter into the prepared pans and bake for 30-35 minutes, or until a toothpick inserted in the center comes out clean. Allow the cakes to cool completely before decorating.
Remember to have fun with the decorating process and don't be afraid to get creative. Use vibrant food coloring, edible glitter, or personalized cake toppers to make the birthday cake truly one-of-a-kind.
With a little imagination and attention to detail, you can create a birthday cake that will leave a lasting impression and make the celebrant feel extra special on their big day.
Cooking Steps
Preheat your oven to 350°F, then get ready to cream the butter and sugar until they're thoroughly combined.
Next, gently incorporate the eggs one at a time.
Finally, fold in the dry ingredients with a light touch, and bake for 30-35 minutes.
This easy-to-follow process will have your birthday cake ready in no time!
Step 1. Preheat Oven to 350°F
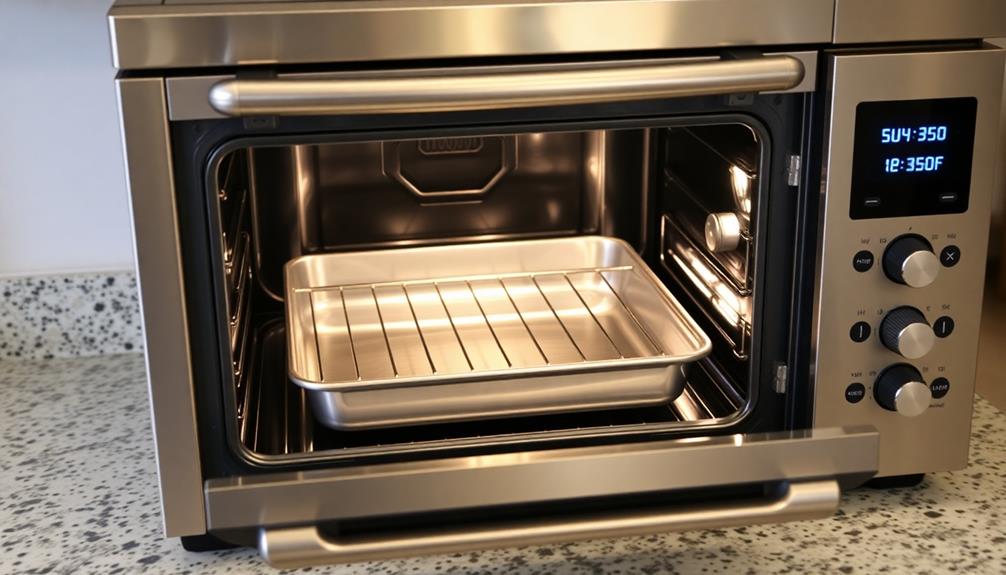
Before you can begin baking the birthday cake, you'll need to preheat your oven to 350°F. This important step ensures your oven is at the perfect temperature when you're ready to pop the cake in.
Once you've checked that the oven rack is in the middle position, go ahead and turn the knob to 350°F. You'll hear the oven start to heat up, and it'll likely take around 10-15 minutes to reach the desired temperature.
Keep an eye on the oven's display to know when it's ready. This preheating step is crucial for getting the cake to bake evenly and rise properly.
With the oven ready, you can now move on to mixing up the batter and pouring it into your prepared pan. Just be sure to set a timer so you don't forget to check on the cake while it's in the oven.
Step 2. Cream Butter and Sugar Thoroughly
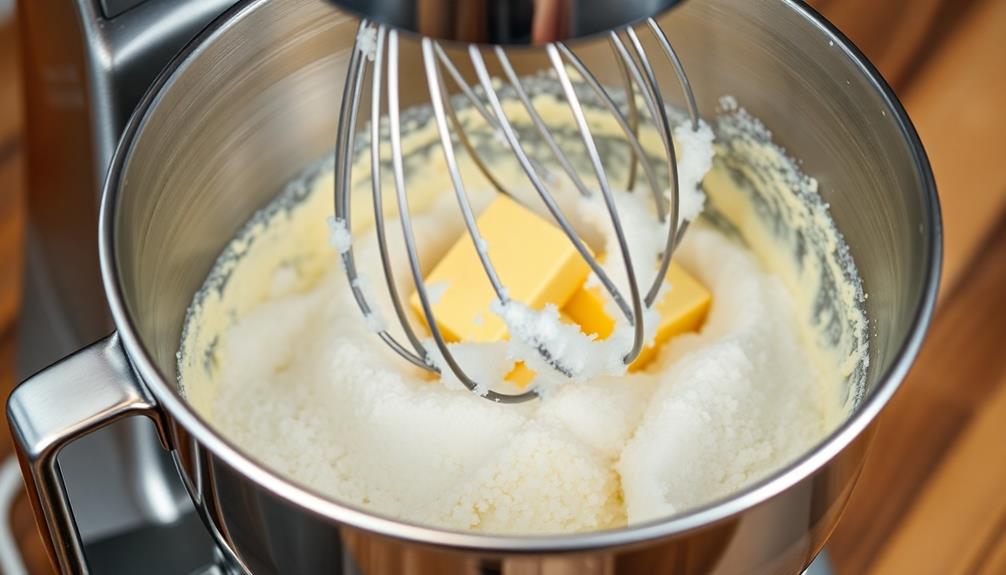
Next, you'll want to cream the butter and sugar thoroughly. This important step helps to incorporate air into the batter, resulting in a light and fluffy cake.
Start by placing the butter in a large mixing bowl. Using an electric hand mixer or a stand mixer fitted with the paddle attachment, beat the butter on medium speed until it's smooth and creamy, about 2-3 minutes.
Now, it's time to add the sugar. Gradually pour in the sugar while the mixer is running, scraping down the sides of the bowl as needed.
Continue beating until the mixture is light and fluffy, about 5 minutes. This process allows the sugar to dissolve into the butter, creating a cohesive emulsion that will help the cake rise evenly.
Once the butter and sugar are properly creamed, you're ready to move on to the next step in creating your personalized birthday masterpiece.
Step 3. Add Eggs One at a Time
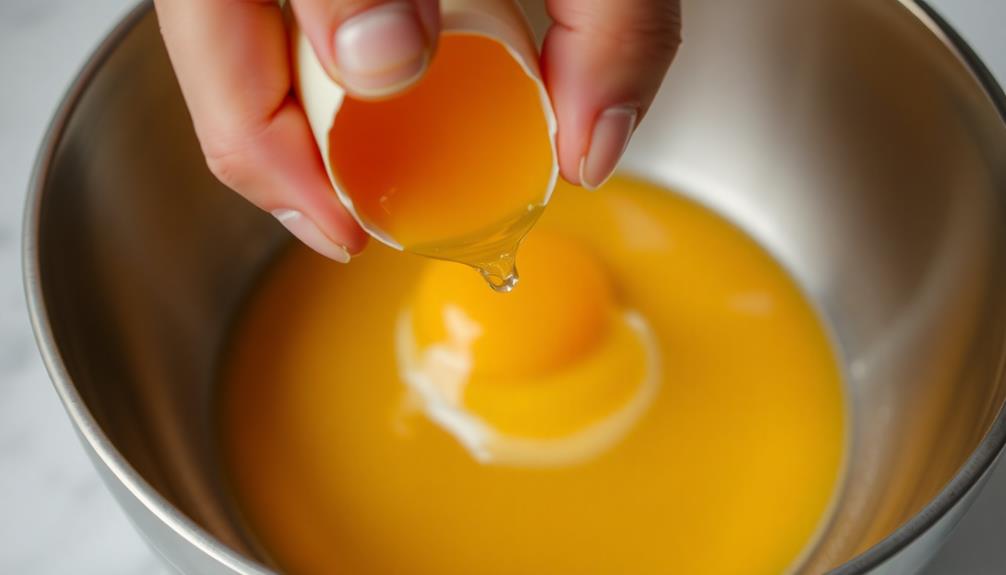
Now that you've properly creamed the butter and sugar, it's time to add the eggs one at a time. This step is crucial for creating a light and fluffy texture in your birthday cake.
Begin by cracking the first egg into a small bowl. Gently slip the egg into the batter and use your mixer on medium speed to incorporate it fully. Don't rush – take your time to ensure the egg is completely blended before moving on to the next one.
Repeat this process, adding the eggs one by one, until you've incorporated all of them. Be sure to scrape down the sides of the bowl as needed to keep the batter well-combined.
The eggs will help bind the ingredients together, creating a sturdy yet moist crumb.
Once all the eggs are mixed in, your birthday cake batter is one step closer to perfection. Next, you'll add the dry ingredients to finish bringing your personalized cake to life.
Step 4. Fold in Dry Ingredients Gently
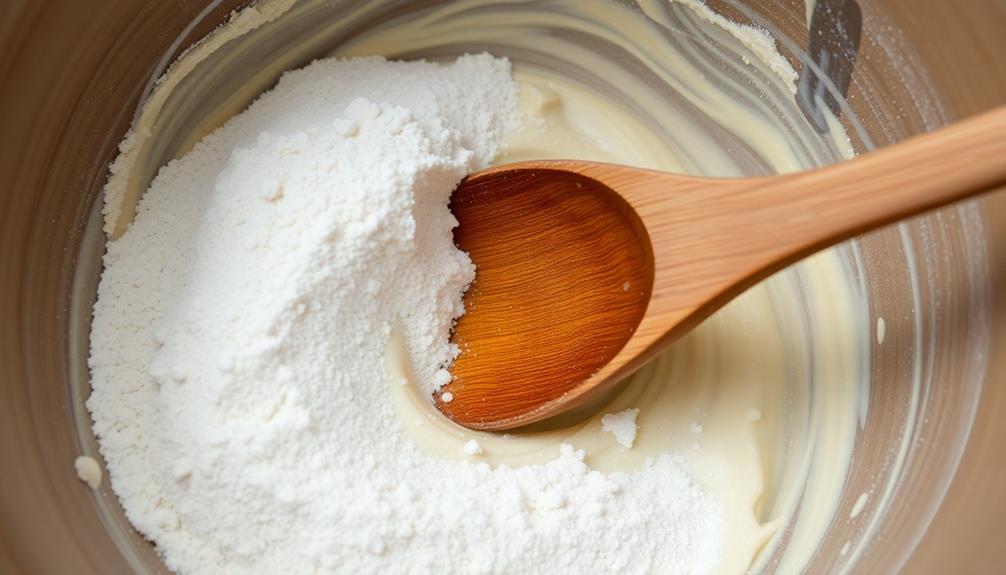
With the eggs fully incorporated, it's time to gently fold in the dry ingredients. This step is all about handling the mixture with care to preserve the light, airy texture you've worked so hard to achieve.
The technique is similar to preparing Dirt Cups, where gentle layering is key to maintaining a playful aesthetic. Using a rubber spatula, scoop the dry ingredients into the wet mixture, folding them in with a gentle, circular motion.
Be mindful not to overmix, as that can make the cake dense and tough. Slowly and steadily, continue folding until the dry bits disappear, and the batter is evenly combined. This delicate technique helps trap air bubbles, ensuring your cake rises beautifully.
Take your time and enjoy the zen-like process – the rewards will be well worth it when you slice into your perfectly fluffy, personalized birthday cake.
Now that the dry ingredients are folded in, you're one step closer to baking up a masterpiece that will wow your guests.
Step 5. Bake for 30-35 Minutes
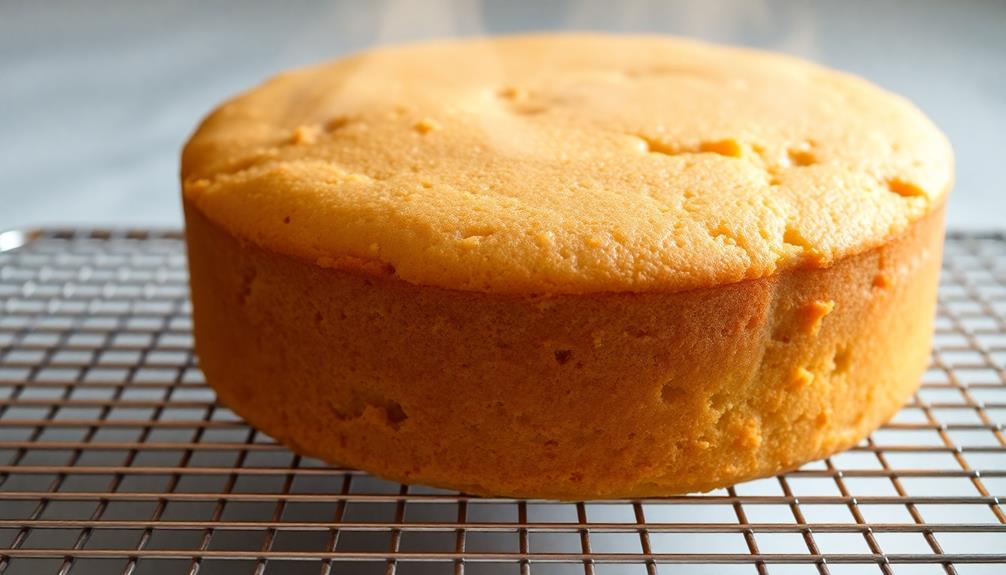
Preheat your oven to 350°F (175°C) and grease a 9-inch round cake pan. This is the crucial step that sets the stage for your delicious birthday cake.
Once your oven is ready, carefully pour the batter into the prepared pan, ensuring it's evenly distributed. Now, it's time to bake your creation for 30-35 minutes.
As the cake bakes, your kitchen will be filled with the mouthwatering aroma of vanilla and sugar. Keep a close eye on it, checking occasionally to ensure it doesn't overbake. When a toothpick inserted into the center comes out clean, your cake is ready.
Allow it to cool completely on a wire rack before you begin the fun part – decorating! This is where you can truly personalize your birthday treat, adding your favorite frosting, sprinkles, and other decorative touches to make it uniquely yours.
With a little patience and attention to detail, you'll have a one-of-a-kind birthday cake that will wow your guests.
Final Thoughts
Personalization is the essence of creating a memorable birthday cake. When you infuse your unique style and personal touches, the cake becomes a reflection of the celebrant's personality and interests.
Factors such as nutrition's role in development can also inspire healthier ingredients that enhance not just the cake's flavor but its overall enjoyment. From vibrant colors to playful designs, the decorative elements bring the birthday celebration to life. Whether it's a beloved character, a favorite hobby, or a meaningful symbol, incorporating these personalized details will make the cake truly one-of-a-kind. There’s nothing quite like seeing a child’s eyes light up at the sight of a cake designed just for them. It’s not just about the taste, but about the joy and excitement that comes with celebrating a special occasion. This is why it’s so important to not only create a visually stunning cake, but also to celebrate with delicious party food that reflects the same level of care and creativity. After all, every child deserves to feel truly special on their big day.
As you put the finishing touches on your masterpiece, remember that the joy is in the creation. Savor the process of bringing your vision to life, and let the cake be a testament to your creativity and love.
When the candles are lit and the birthday song is sung, the personalized cake will shine brighter than ever, serving as the centerpiece of an unforgettable celebration.
Frequently Asked Questions
Can I Use Any Type of Cake for the Personalization?
You can use any type of cake for personalization, from classic sponges to rich chocolate cakes. The key is choosing a base that complements your desired decorations and celebrates the occasion.
Do I Need Special Equipment to Decorate the Cake?
You don't necessarily need special equipment to decorate a cake, but it can make the process easier. Consider using basic tools like spatulas, piping bags, and food coloring to add your personal touch without expensive specialty items.
How Far in Advance Should I Make the Cake?
You can make the cake a few days in advance, but it's best to decorate it on the day of the celebration. This will ensure the decorations stay fresh and the cake looks its best for the big event.
Can I Customize the Cake for Dietary Restrictions?
Absolutely! You can customize the cake to accommodate dietary restrictions. Whether it's gluten-free, dairy-free, or vegan, most bakeries are happy to create a personalized cake that fits your needs and celebrates your special occasion.
How Do I Keep the Personalized Cake Fresh?
To keep your personalized cake fresh, refrigerate it as soon as possible after receiving it. Cover the cake tightly and don't remove it from the fridge until you're ready to serve it. This will help maintain its flavor and texture.