You'll love the spiderweb nacho spread – it's a fun and festive appetizer that originated in a small Mexican town back in the 1950s! A clever cook used leftover tortilla chips to create a spiral arrangement, then topped it with melted cheese and spicy salsa. It quickly became a local favorite for celebrations and gatherings. The recipe combines crunchy chips, melty cheese, savory olives, and a kick of taco seasoning. The presentation is truly eye-catching, with a drizzled sour cream spiderweb design. It's the perfect shareable snack that's sure to impress your guests. Keep reading to learn the full recipe and cooking steps!
Key Takeaways
- The Spiderweb Nacho Spread is a fun and festive appetizer, often served during events like Halloween, featuring a spiral arrangement of melted cheese and spicy seasonings.
- The dish's origins can be traced back to the 1950s in a small Mexican town, where a cook used leftover tortilla chips to create the initial version.
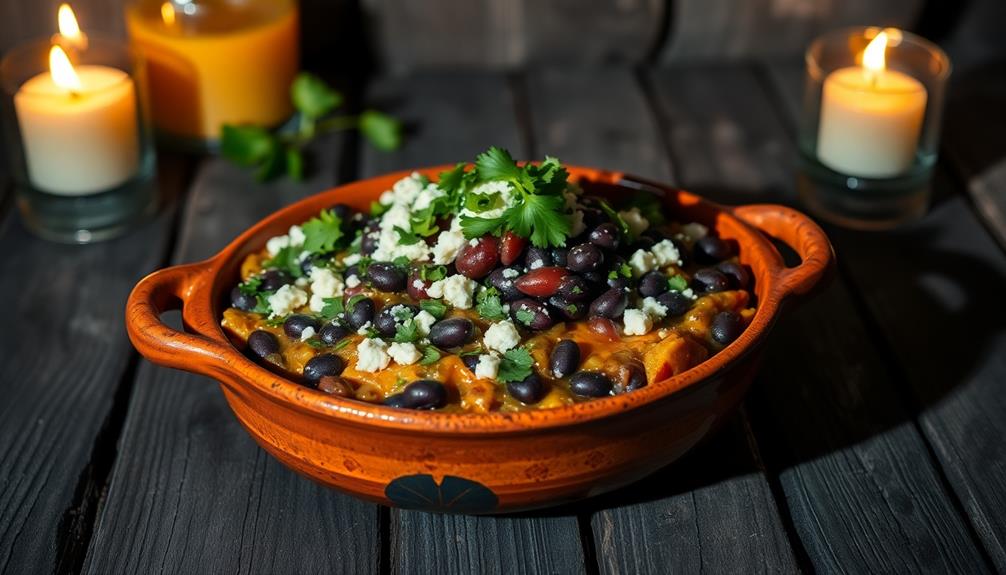
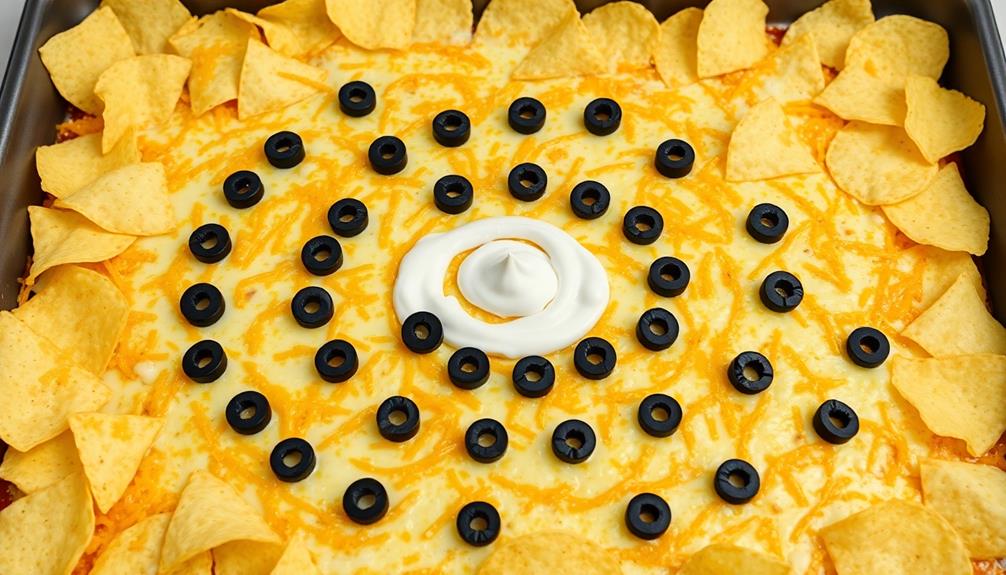
- The recipe combines a base of tortilla chips with a creamy layer of melted cheese, black olives, and sour cream, which is then drizzled in a spiderweb pattern for visual appeal.
- The flavor profile of the Spiderweb Nacho Spread is a balance of savory, tangy, and creamy elements, with a kick of spice from taco seasoning.
- Serving the Spiderweb Nacho Spread warm enhances the texture and flavor, making it an ideal choice for sharing with friends and family during gatherings.
Top picks for "spiderweb nacho spread"
Open Amazon search results for this keyword.
As an affiliate, we earn on qualifying purchases.
History
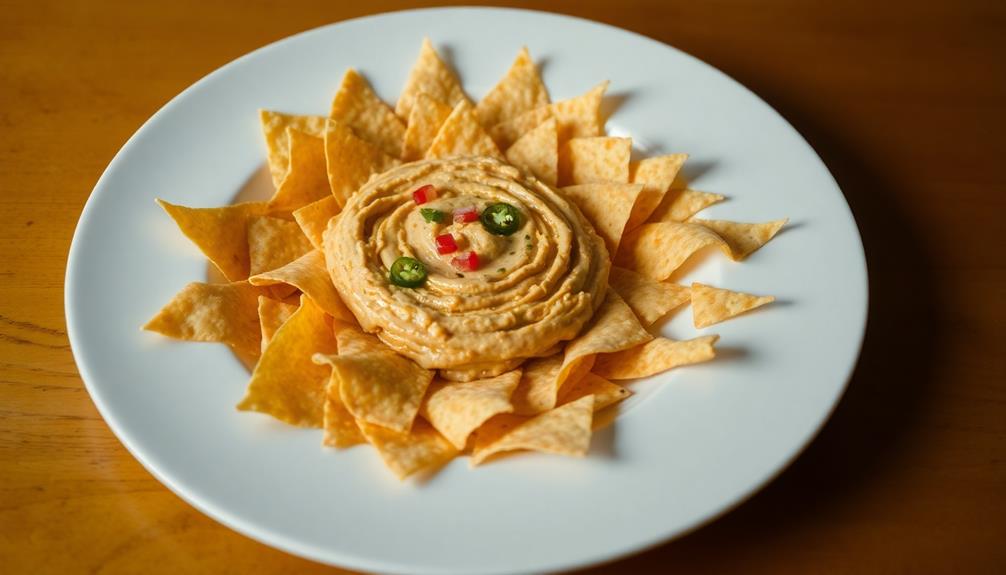
Spiderweb nachos have a rich history that can be traced back to the 1950s. It all started when a resourceful cook in a small Mexican town decided to get creative with leftover tortilla chips. They carefully arranged the chips in a spiral pattern, then topped them with melted cheese, salsa, and other tasty toppings. The result was a stunning spiderweb-like design that not only looked amazing but also tasted delicious.
Word of this unique dish quickly spread, and soon, spiderweb nachos became a beloved staple at local celebrations and family gatherings.
As the years passed, the recipe evolved, with cooks experimenting with different ingredients and flavors. Today, spiderweb nachos are enjoyed all over the world, capturing the hearts and taste buds of people from all walks of life.
Whether you're enjoying them at a party or making them at home, these colorful, flavorful nachos are sure to bring a smile to your face and delight your taste buds.
Recipe
Spiderweb Nacho Spread is a fun and delicious appetizer that combines the savory flavors of melted cheese and spicy seasonings. This dish is perfect for Halloween parties or any gathering where you want to impress your guests with a creative and tasty snack.
The secret to the spiderweb design is in the layering and swirling of the cheese and toppings. By carefully piping the sour cream and arranging the olives, you can create a visually stunning presentation that's sure to be the talk of the party. To make the spider web design really pop, use a contrasting color for the sour cream, such as green or red, depending on the occasion. The spider web dip recipe is a fun and creative way to serve a classic appetizer, and it’s guaranteed to impress your guests. With just a little bit of patience and creativity, you can turn a simple dip into a show-stopping centerpiece for any gathering.
Ingredients:
- 1 bag of tortilla chips
- 2 cups of shredded cheddar cheese
- 1 cup of shredded mozzarella cheese
- 1 can of black olives, sliced
- 1 cup of sour cream
- 1 tablespoon of taco seasoning
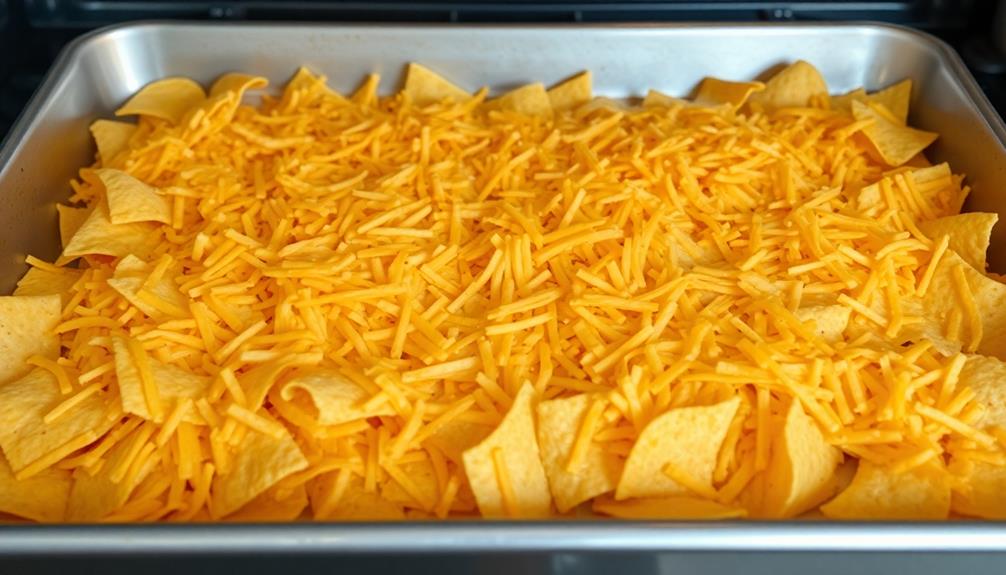
Instructions: Preheat your oven to 375°F (190°C). Spread the tortilla chips out on a large baking sheet. In a bowl, mix the cheddar and mozzarella cheeses together. Sprinkle the cheese mixture evenly over the tortilla chips. Bake the nachos in the preheated oven for 10-12 minutes, or until the cheese is melted and bubbly.
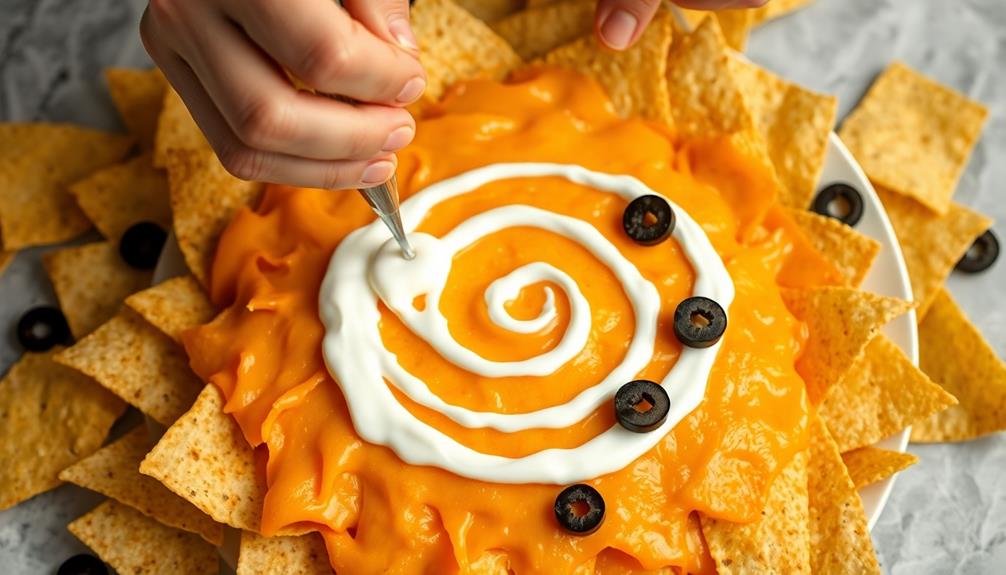
While the nachos are baking, transfer the sour cream to a piping bag or a small zip-top bag with a small hole cut in the corner. Once the nachos are out of the oven, pipe the sour cream in a spiral pattern over the top of the cheese. Arrange the sliced olives in the center of the spiral to create the "spiderweb" effect. Sprinkle the taco seasoning over the entire dish.
Serve the Spiderweb Nacho Spread warm, and enjoy the combination of melted cheese, sour cream, and olives. Remember to have fun with the presentation and let your creativity shine!
Cooking Steps
Preheat your oven to 350°F.
Spread the creamy cheese mixture evenly over the tortilla.
Bake until the edges are lightly browned, then sprinkle the shredded cheese on top and drizzle the spiderweb topping.
Step 1. Preheat Oven to 350°F

To begin the cooking process, preheat your oven to 350°F. This crucial first step ensures your oven is at the perfect temperature, ready to bake your delicious Spiderweb Nacho Spread.
Once the oven is preheated, you'll know it's reached the desired temperature when the indicator light turns off. This signals that your oven has finished warming up and is now perfectly hot, just the way you need it to be.
Now that your oven is preheated, you can move on to the next step in the recipe. This will help your Spiderweb Nacho Spread bake evenly and turn out perfectly every time.
Maintaining the right oven temperature is key to achieving the best results, so be sure to preheat it thoroughly before proceeding. With your oven ready, you're one step closer to enjoying this delightful appetizer.
Step 2. Spread Cream Cheese Mixture
With your oven preheated, you can now move on to spreading the cream cheese mixture.
Take the softened cream cheese and place it in a bowl. Using a spoon or a hand mixer, blend the cream cheese until it's smooth and creamy.
Next, add the ranch seasoning and stir until it's fully incorporated. The ranch seasoning will give the cream cheese a delicious, tangy flavor that pairs perfectly with the nachos.
Once the cream cheese mixture is ready, use a spatula to spread it evenly over the bottom of a baking dish or a large oven-safe skillet.
Be sure to cover the entire surface, creating a nice, even layer. This cream cheese base will act as the foundation for the rest of the toppings, so it's important to get it right.
With the cream cheese spread, you're one step closer to enjoying your spiderweb nacho spread.
Step 3. Bake Until Lightly Browned
Once the cream cheese mixture is spread, slide the baking dish or skillet into the preheated oven. Set the temperature to 350°F and let the nachos bake for about 15-20 minutes. Keep a close eye on them, as you want the cheese to get lightly browned and bubbly, but not burnt.
During this time, you might be tempted to make some cake pops as a fun treat to accompany your nachos!
As the nachos bake, the cheese will melt and the edges will start to turn golden. The wonderful aromas will fill your kitchen, making your mouth water in anticipation.
When the timer goes off, use oven mitts to carefully remove the dish from the oven. The nachos should look crisp and inviting, ready to be topped with your favorite spiderweb-inspired garnishes.
Let the nachos cool for a couple of minutes before serving. This will allow the cheese to set and make them easier to scoop up and enjoy.
Once they're ready, start decorating with the spiderweb design and dig in! The combination of the melted cheese, crisp tortilla chips, and your creative spiderweb topping is sure to delight everyone at your Halloween party.
Step 4. Sprinkle Shredded Cheese Evenly

Sprinkling the shredded cheese evenly across the surface of the nachos is a critical step. You'll want to make sure the entire dish is covered, creating a delicious cheesy layer that will melt and blend perfectly with the other toppings.
This step is similar to how daily cranberry juice consumption can enhance overall health by providing beneficial antioxidants. Take your time and sprinkle the cheese gently, aiming for an even distribution. Don't be afraid to use your fingers to spread it out if needed.
The goal is to have each bite packed with that irresistible cheesy goodness. Once the cheese is evenly dispersed, you're one step closer to enjoying your tasty spiderweb nacho spread.
The next phase involves baking the dish until the cheese is melted and lightly browned, sealing in all the fantastic flavors. Get ready for a truly satisfying nacho experience that's sure to impress your friends and family.
Step 5. Drizzle Spiderweb Topping
Now that the cheese is evenly distributed across the nachos, it's time to add the finishing touch – the spiderweb topping. This is where the real magic happens!
Grab your squeeze bottle filled with the spiderweb topping mixture. Start by squeezing the bottle in a spiral motion, working from the outside of the nachos towards the center. Apply just the right amount of pressure to create those delicate, web-like drizzles.
Don't worry if it doesn't look perfect at first – the beauty of the spiderweb design is in its imperfections. Keep going, overlapping the lines to build up the intricate pattern.
Once you've covered the entire surface, step back and admire your handiwork. The contrast of the creamy cheese and the web-like topping is simply mesmerizing.
Now your Spiderweb Nacho Spread is ready to be devoured. Gather your friends and family, and get ready for some serious snacking satisfaction!
Final Thoughts
As you've now had a chance to explore the delightful Spiderweb Nacho Spread, I'm confident you'll agree it's a delightful and whimsical dish that's sure to impress your guests.
The intricate spiderweb design created by the drizzled sour cream topping not only looks enchanting, but adds a delicious creaminess to the bold flavors of the nachos.
What's more, this spread is incredibly easy to prepare, making it the perfect addition to your Halloween party or any gathering where you want to wow your friends and family.
With its perfect balance of savory, tangy, and creamy elements, the Spiderweb Nacho Spread is sure to have your guests raving.
The combination of melted cheese, spicy taco seasoning, and the cooling sour cream creates a flavor explosion in every bite.
Plus, the visual appeal of the spiderweb design is sure to have everyone reaching for seconds.
Frequently Asked Questions
How Long Does the Spiderweb Nacho Spread Last?
The shelf life of a prepared dish depends on various factors, such as the ingredients used and storage conditions. To maximize freshness, it's best to consume the spread within a few days of preparation and store it properly in the refrigerator.
Can I Use a Different Type of Cheese?
You can definitely use a different type of cheese in your recipe. Feel free to experiment with cheddar, Monterey Jack, or even a blend of cheeses to find the flavor profile you enjoy most.
Is the Spiderweb Design Difficult to Create?
Creating a spiderweb design isn't overly complicated, but it does take a bit of practice. With the right technique and a steady hand, you can craft an intricate pattern that'll impress your guests.
Can I Make This Dish in Advance?
You can absolutely make this dish in advance. Simply prep the components, assemble, and refrigerate until ready to serve. Just be sure to let it come to room temperature before popping it in the oven for a quick reheat.
How Do I Store Leftover Spiderweb Nacho Spread?
To store leftover spread, place it in an airtight container and refrigerate. It'll keep for 3-4 days. When ready to use, give it a stir to recombine the ingredients before serving.
Conclusion
You'll love this spiderweb nacho spread! It's a creepy-crawly delight that's sure to impress your friends. The gooey cheese and crunchy chips create an irresistible texture, while the spiderweb design adds a spooky touch. Whip this up for your next Halloween party, and watch it disappear in no time! It's a deliciously easy way to bring some festive fun to your snacking.