
Transform your leftover Halloween candy into a delightful treat with homemade Halloween Candy Bark! This classic confection traces its origins to the late 19th century, when clever confectioners began melting and crushing candies to create a new treat. Today, the recipe has evolved, often incorporating nuts, dried fruit, or pretzels for an irresistible crunch. Making your own candy bark is a simple process that's suitable for all skill levels, allowing you to customize it with your favorite Halloween sweets. The result is a visually stunning and tasty dessert that's perfect for sharing – and you'll discover why this festive creation has become a beloved holiday tradition.
Key Takeaways
- Halloween candy bark is a popular way to repurpose and enjoy leftover Halloween sweets, with a simple recipe that can become a new household tradition.
- The recipe combines the crunch of candy pieces with smooth melted chocolate, and can be customized with various candies, nuts, and dried fruits.
- The melted chocolate is spread on a baking sheet, topped with desired ingredients, and refrigerated until hardened, then broken into bite-sized pieces.
- Homemade candy bark allows for creativity and personal touches, enhancing the festive spirit and providing a visually appealing and delicious treat.
- Preparing the candy bark can be a fun activity that develops baking skills and creates lasting memories with loved ones.
Top picks for "halloween candy bark"
Open Amazon search results for this keyword.
As an affiliate, we earn on qualifying purchases.
History
The origins of Halloween candy bark can be traced back to the late 19th century, when confectioners began experimenting with new ways to utilize leftover Halloween candies.
As the popularity of trick-or-treating grew, candy makers found themselves with an abundance of small, individually wrapped treats that were challenging to sell. Inspired, they started crushing and melting these leftover candies, then pouring the molten mixture onto a flat surface to create a unique and festive treat – Halloween candy bark.
Over time, the recipe evolved, with confectioners adding all sorts of spooky and delightful mix-ins, like chopped nuts, dried fruit, and even pretzels or crackers.
The result was a delicious, crunchy, and visually appealing dessert that quickly became a Halloween staple.
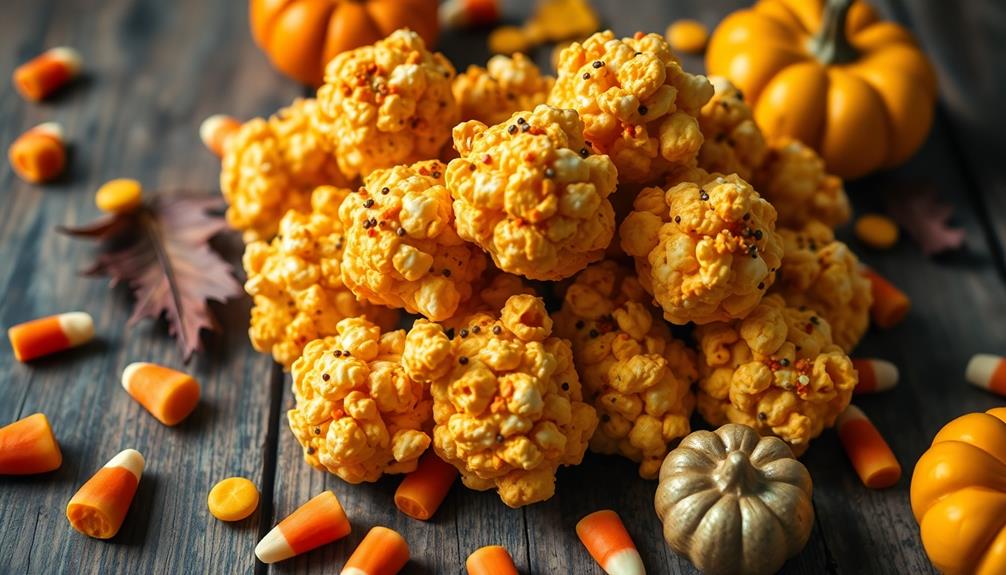
Today, candy bark remains a beloved way to repurpose and enjoy those extra Halloween sweets, making it a fun and creative tradition that's sure to delight young and old alike. For those looking to try their hand at making candy bark at home, there are many easy recipes available online, including an easy candy corn bark recipe. This simple and delicious treat only requires a few ingredients and is a great way to use up any leftover Halloween candy. Whether it’s for a party or just a sweet treat at home, making candy bark is a fun activity that allows for personalization with various types of candy and toppings.
Recipe
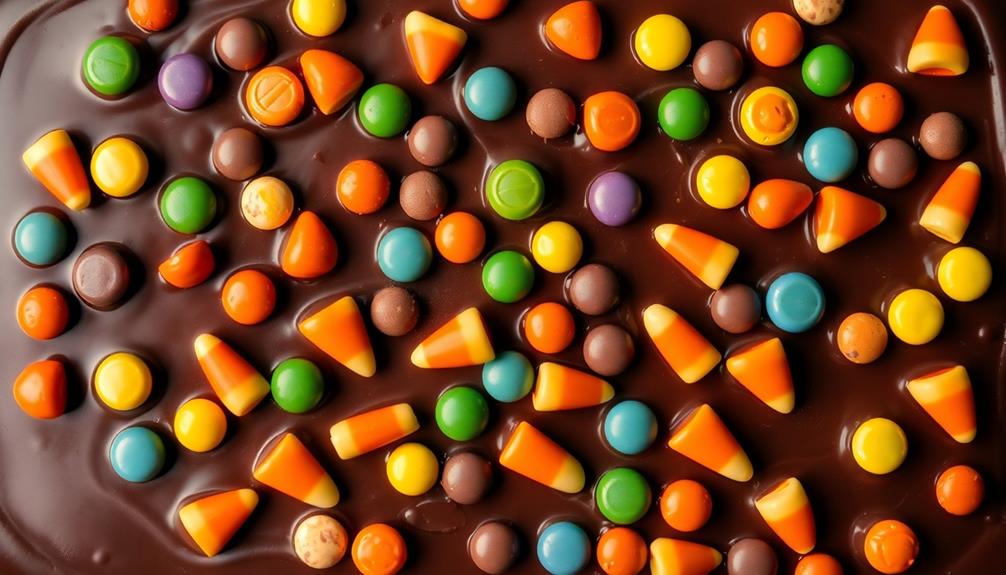
Halloween Candy Bark is a delightful and easy-to-make treat that perfectly captures the spirit of the spooky season. This festive confection combines the crunch of candy pieces with the smooth, rich texture of melted chocolate, creating a decadent and visually striking dessert. For an added health boost, consider incorporating chia seeds and digestive health, as they provide essential nutrients and fiber that can enhance overall wellness, even during the indulgent holiday season.
Preparing this Halloween Candy Bark is a simple and straightforward process, making it an ideal project for both seasoned bakers and those new to the culinary arts. The end result is a unique and eye-catching treat that's sure to delight family and friends at your Halloween gathering.
Ingredients:
- 12 ounces of high-quality dark chocolate, chopped or broken into pieces
- 1 cup of assorted Halloween candy, such as miniature chocolate bars, peanut butter cups, and candy corn
- 1/2 cup of crushed graham crackers or cookie crumbs (optional)
Instructions:
Melt the chopped dark chocolate in a double boiler or in the microwave, stirring frequently until smooth and fully melted.
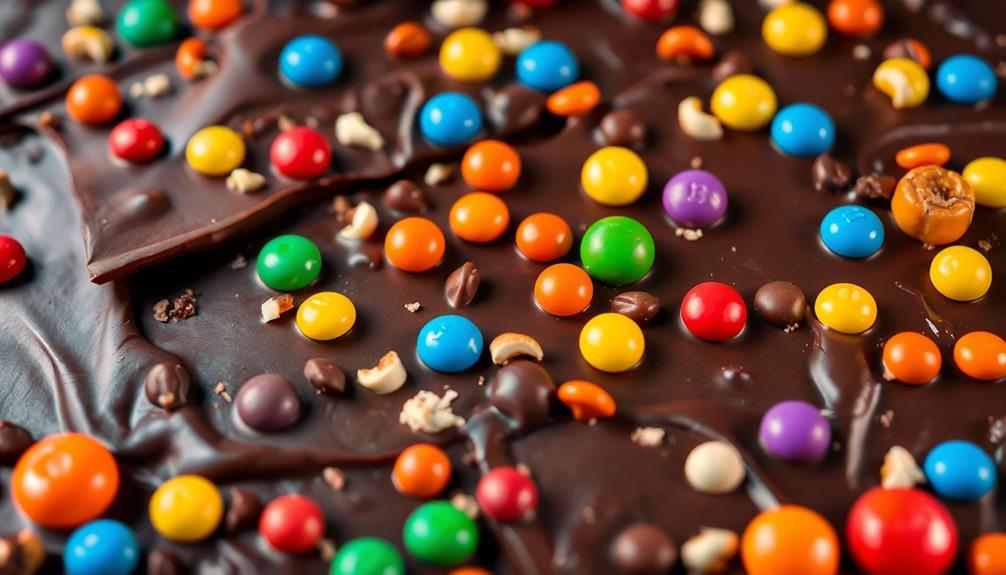
Pour the melted chocolate onto a parchment-lined baking sheet, spreading it evenly into a thin layer. Sprinkle the assorted Halloween candy pieces and the graham cracker or cookie crumbs (if using) over the top of the chocolate. Gently press the toppings into the chocolate to ensure they adhere.
Allow the bark to cool at room temperature or in the refrigerator until the chocolate has hardened, approximately 30 minutes to 1 hour. Once set, break the bark into irregular pieces and serve.
Additional Tips:
For a more vibrant and festive appearance, consider using a mix of dark, milk, and white chocolate to create a colorful and layered effect.
Additionally, you can experiment with different types of candy, nuts, or dried fruit to customize the flavors and textures to your liking. This Halloween Candy Bark can be stored in an airtight container at room temperature for up to 1 week, making it a perfect homemade gift or party favor.
Cooking Steps
First, melt the chocolate in a double boiler.
Once melted, spread the chocolate evenly on a baking sheet.
Next, sprinkle your favorite Halloween candies on top of the chocolate.
Step 1. Melt Chocolate in Double Boiler

Start by adding water to a medium-sized saucepan and bringing it to a gentle simmer.
Once the water is simmering, place a heatproof bowl over the saucepan, making sure the bowl doesn't touch the water. This creates a double boiler setup.
Add your chopped chocolate to the bowl and let it melt slowly, stirring occasionally with a spatula. The gentle heat from the steam will melt the chocolate without burning or seizing it.
Keep a close eye on the chocolate, as you don't want it to get too hot.
When the chocolate is almost completely melted, remove the bowl from the saucepan. Continue stirring the chocolate until it's silky smooth and fully melted.
This method ensures the chocolate melts evenly and maintains its glossy, tempered texture.
Once the chocolate is ready, you can pour it onto your prepared baking sheet or pan to create the Halloween candy bark.
Step 2. Spread Chocolate on Baking Sheet

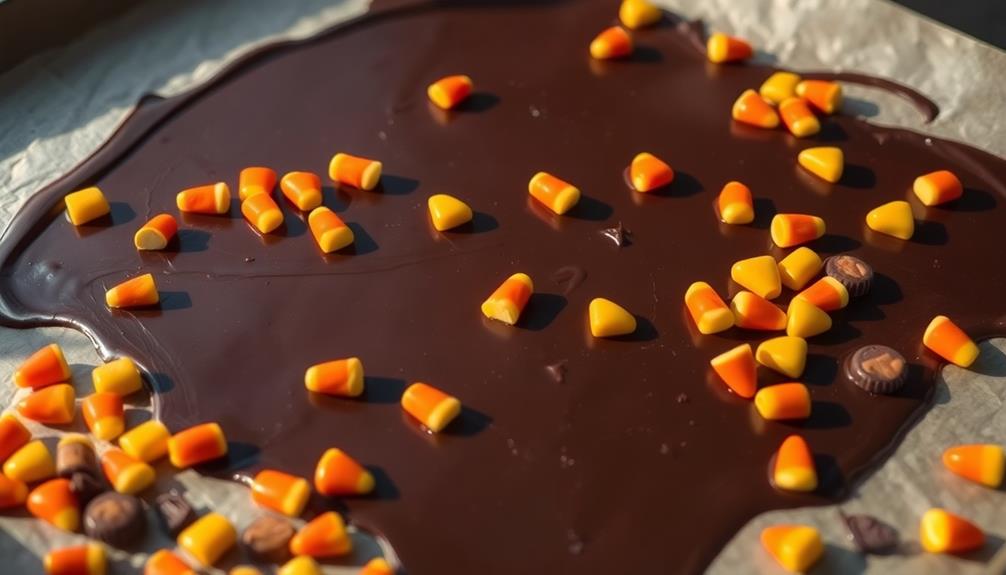
Once the chocolate is melted and smooth, pour it onto a parchment-lined baking sheet or silicone mat.
Spread the chocolate evenly using a spatula, ensuring it covers the entire surface. Don't be afraid to get a little creative – you can swirl the chocolate or create fun patterns. Just be sure to work quickly before the chocolate starts to set.
Next, it's time to add your favorite Halloween candies! Sprinkle them generously over the chocolate, pressing them lightly to help them stick.
You can use a mix of different candies, like mini chocolate bars, M&Ms, and candy corn, to create a colorful and festive bark. Just be mindful of the flavors and textures, as you want a harmonious blend.
Once you're satisfied with your creation, place the baking sheet in the refrigerator to allow the chocolate to harden, about 30 minutes.
When it's firm, break the bark into irregular pieces and serve or package it as a delightful Halloween treat.
Step 3. Sprinkle Desired Candies on Chocolate
Generously sprinkle your desired Halloween candies over the smooth, melted chocolate. This is where the fun really begins! Chopped-up chocolate bars, mini marshmallows, and colorful sprinkles make a delightful combination. Don't be shy – cover that chocolate completely! Crushed candy canes or graham cracker crumbs also add a festive touch.
Once you've covered the chocolate, gently press down on the candies to help them adhere. This ensures they won't slip and slide around.
Next, place the baking sheet in the refrigerator for about 30 minutes. This allows the chocolate to harden, setting the candies in place.
After chilling, your Halloween Candy Bark is ready to break into pieces. Carefully lift the hardened chocolate from the baking sheet and place it on a cutting board. Use a sharp knife to cut or snap the bark into irregular shapes and sizes. The uneven edges create an appealing, homemade look.
Now you can package up your Halloween treats or enjoy them straight away!
Step 4. Refrigerate Until Chocolate Hardens
Next, place the baking sheet in the refrigerator for about 30 minutes. This will allow the chocolate to harden completely.
You'll know it's ready when the chocolate is no longer soft to the touch.
Once the chocolate has hardened, you can take the baking sheet out of the fridge. The colorful candies you sprinkled on top should now be firmly set in the chocolate.
Isn't it looking fantastic? The different textures and shapes of the candies make the bark so visually appealing.
Now, you can break the chocolate bark into pieces. Feel free to make the pieces as big or as small as you'd like.
The great thing about bark is that there's no need to be too precise. Rustic, uneven pieces add to the charming, homemade look.
Carefully transfer the bark pieces to a serving platter or container. Your delicious Halloween candy bark is ready to enjoy or share with friends and family!
Step 5. Break Into Bite-Sized Pieces

Break the hardened chocolate bark into bite-sized pieces. Use your hands to gently snap the bark into smaller chunks, about 1-inch in size. Don't worry if the pieces aren't perfectly uniform – the rustic look adds to the charm!
For larger sections, you can use a sharp knife to carefully slice through the chocolate. Be sure to work slowly and avoid putting too much pressure, as the bark can be delicate.
Once you've broken the bark into smaller bites, it's time to arrange them on a serving platter or in a decorative bowl. This will make it easy for your guests to grab a piece and enjoy the sweet, crunchy treat.
Feel free to mix and match the different colors and shapes of the bark for a visually appealing presentation.
Final Thoughts
With the Halloween Candy Bark now complete, you can sit back and admire your handiwork. You poured your heart and creativity into this delightful treat, and the results speak for themselves.
The vibrant colors and festive mix of candies create a visually stunning display that's sure to impress everyone who lays eyes on it.
As you break off a bite-sized piece, the satisfying crunch and blend of flavors will remind you of all the fun you'd making this. It's the perfect way to celebrate the spooky season and share the joy with your friends and family.
Take a moment to savor the moment and feel proud of what you've accomplished. This homemade Halloween Candy Bark is a testament to your skills and will surely become a new tradition in your household.
Enjoy every delicious morsel and get ready to make it again next year!
Frequently Asked Questions
Can I Use Different Types of Candy for the Bark?
Absolutely, you can use different types of candy for the bark. Feel free to experiment with a mix of your favorite candies to create a unique and personalized treat. The possibilities are endless!
How Long Does the Halloween Candy Bark Last?
The shelf life of the candy bark depends on the ingredients used. Generally, it'll last 1-2 weeks if stored properly in an airtight container at room temperature. However, the exact duration may vary based on the specific candies you incorporate.
Can I Make the Bark Ahead of Time?
Yes, you can make the bark ahead of time. It'll stay fresh for up to 1 week when stored in an airtight container at room temperature. This makes it a convenient homemade treat to prepare in advance.
Is the Bark Suitable for Those With Nut Allergies?
You'll need to check the ingredients carefully if you have nut allergies. Many bark recipes contain nuts, so it's crucial to ensure there are no nut-based products in the recipe you plan to use.
How Should I Store the Finished Halloween Candy Bark?
To store the finished bark, place it in an airtight container at room temperature. Avoid refrigerating it, as this can cause the texture to become soft and unappetizing. Keep it in a cool, dry place until ready to enjoy.
Conclusion
You'll be thrilled with this Halloween candy bark! It's a cinch to make and so much fun. Layer your favorite candies and sprinkle with crushed cookies or nuts. Pop it in the fridge, then break it up into spooky-good pieces. This sweet treat's perfect for parties, trick-or-treaters, or a ghoulish movie night. What are you waiting for? Get cooking and enjoy every bite!