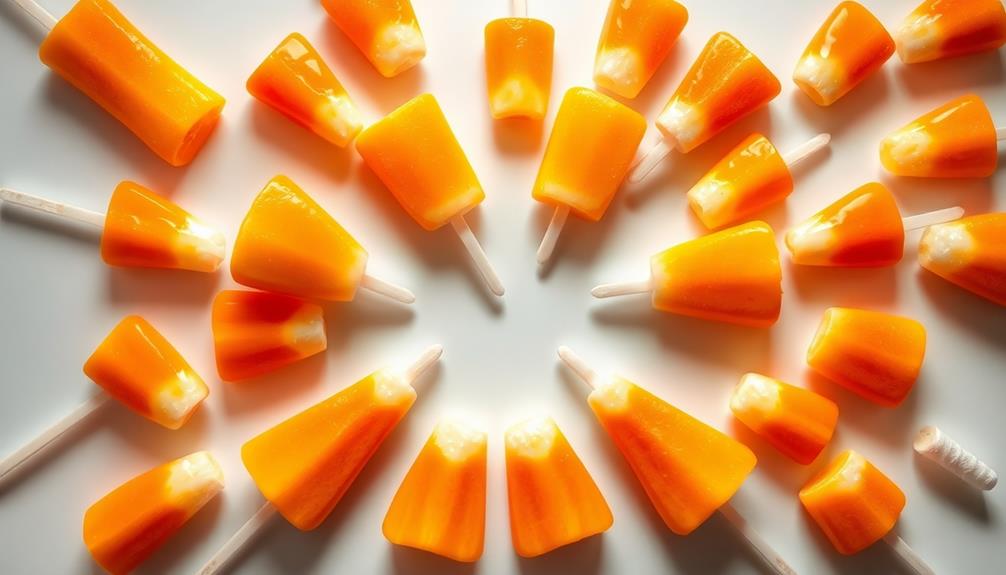
You'll love these festive Candy Corn Fruit Pops! They take the iconic autumn candy corn and transform it into a healthy, refreshing frozen treat. Made with juicy, colorful fruits like pineapple, mango, and strawberries, these popsicles are dipped in melted chocolate to mimic the classic tri-color design. After freezing on skewers, the fruit is completely dried so the candy coating adheres perfectly. Not only are these pops visually stunning, but they're packed with vitamins, antioxidants, and probiotics from the yogurt. Serve them as a cooling summer snack or a fun dessert – you'll be amazed at how they capture the nostalgic spirit of candy corn. Want to learn more about the delicious history and easy steps behind these fruit-filled frozen delights?
Key Takeaways
- Candy Corn Fruit Pops are a healthier alternative to traditional frozen treats, providing a refreshing and nutritious snack option.
- The recipe involves dipping fresh fruit in melted chocolate and freezing it on skewers to achieve a candy corn-inspired appearance and texture.
- The versatile recipe allows for customization, with a variety of fruit options and the ability to add yogurt, honey, and other mix-ins for diverse flavors.
- Proper preparation techniques, such as slicing the fruit into shapes, drying the coated fruit completely, and freezing the pops, are crucial for successful results.
- Candy Corn Fruit Pops can be served as a cooling treat during hot weather or as a colorful addition to brunch menus and picnic spreads.
History
The origins of candy corn can be traced back to the late 19th century, when confectioners began experimenting with ways to mimic the look and texture of fresh corn kernels. They wanted to create a treat that captured the essence of this beloved autumnal vegetable, and their efforts led to the development of the iconic candy corn.
Over the years, this tri-colored sweet has become a beloved part of the fall season, gracing candy dishes and Halloween festivities alike. Its distinctive shape and satisfying crunch have made it a favorite among both children and adults.
Today, candy corn remains a nostalgic and much-anticipated treat, evoking memories of crisp autumn days and the cozy feeling of the harvest season. Whether enjoyed on its own or incorporated into creative recipes, the timeless appeal of candy corn continues to delight candy lovers everywhere.
Recipe
Candy Corn Fruit Pops are a delightful and refreshing treat that capture the essence of the classic Halloween candy. These vibrant popsicles are a healthier alternative, made with real fruit and a touch of sweetness.
They're perfect for cooling off on a warm day or as a fun snack for the whole family. Additionally, much like protecting your retirement income from inflation using annuities, these pops offer a nutritious option that can help maintain a balanced diet while enjoying seasonal festivities.
These pops aren't only visually appealing but also incredibly simple to make. With just a few ingredients and minimal effort, you can create a batch of these colorful and flavorful treats.
They're sure to be a hit at any gathering, whether you're hosting a Halloween party or just looking for a fun and festive way to enjoy the season.
- 2 cups cubed pineapple
- 1 cup cubed mango
- 1/2 cup orange juice
- 1/4 cup honey
- 1/4 cup water
In a blender, combine the pineapple, mango, orange juice, honey, and water. Blend until smooth and well-combined.
Carefully pour the mixture into popsicle molds, leaving a small amount of space at the top for expansion. Insert popsicle sticks and freeze for at least 4 hours or until completely solid.
To easily remove the popsicles from the molds, run the outside of the molds under warm water for a few seconds before gently pulling them out.
Enjoy these refreshing and vibrant Candy Corn Fruit Pops as a healthy and delightful treat!
Cooking Steps
Slice your favorite fruits into fun shapes for this recipe.
Next, dip the fruit in melted chocolate to create a candy corn-inspired coating.
Then, freeze the fruit on skewers for a delightful frozen treat.
Step 1. Slice Fruit Into Shapes
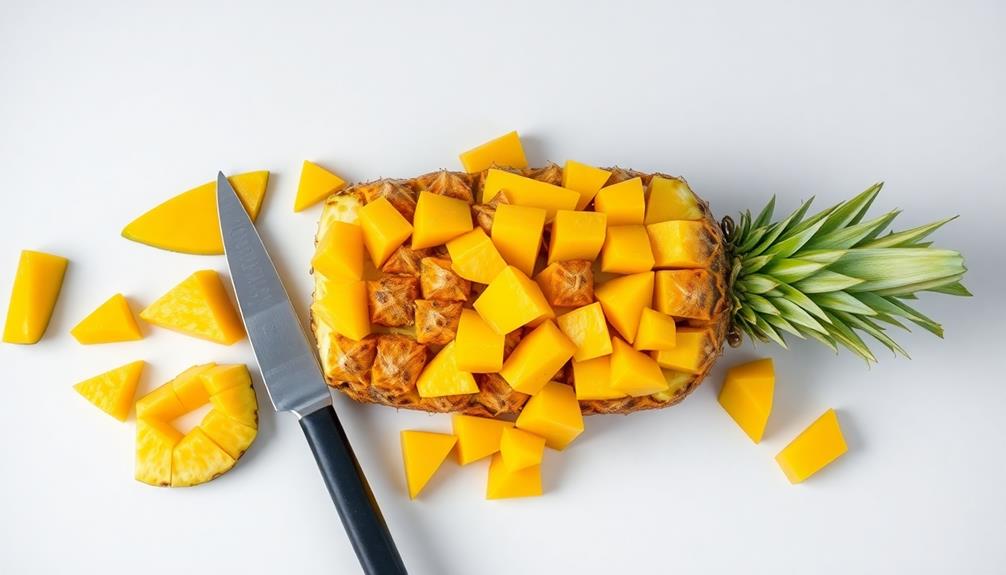
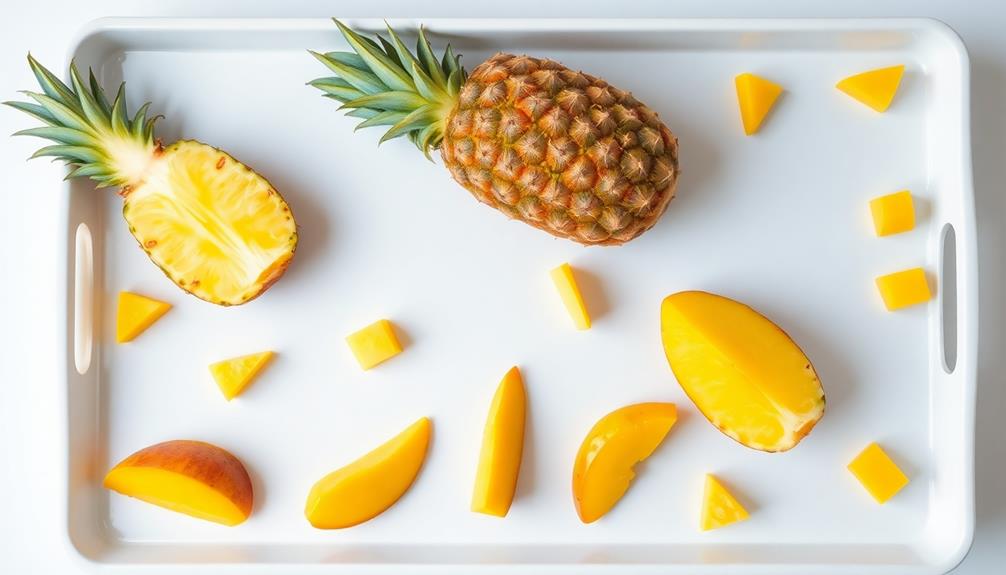
To create the desired fruit shapes, begin by slicing the various fruits into thin, uniform pieces. For the candy corn design, you'll want to cut the pineapple, mango, and kiwi into triangular wedges. Carefully slice each fruit to ensure the pieces are of similar size and thickness. This will help them stack neatly on the popsicle sticks.
Next, use a small circular cookie cutter or a sharp knife to cut the strawberries into round discs. Try to make the strawberry slices as even as possible. These will serve as the "centers" of your candy corn pops.
Finally, cut the oranges into thin, crescent-shaped slices. These vibrant orange pieces will make up the tips of your candy corn-inspired treats. After cutting the oranges, set them aside and begin preparing the other components of your candy corn rice krispie treats. To get started, gather the ingredients for the pumpkin rice krispie treats recipe, including the marshmallows, butter, and rice krispie cereal. Once you have all the ingredients ready, follow the recipe instructions to create the base layer for your candy corn treats. Then, layer the orange slices on top to give them a festive and eye-catching look.
With all the fruit cut into the desired shapes, you're ready to assemble your Candy Corn Fruit Pops. Remember to handle the delicate fruit pieces with care to maintain their appealing appearance.
Step 2. Dip Fruit in Melted Chocolate
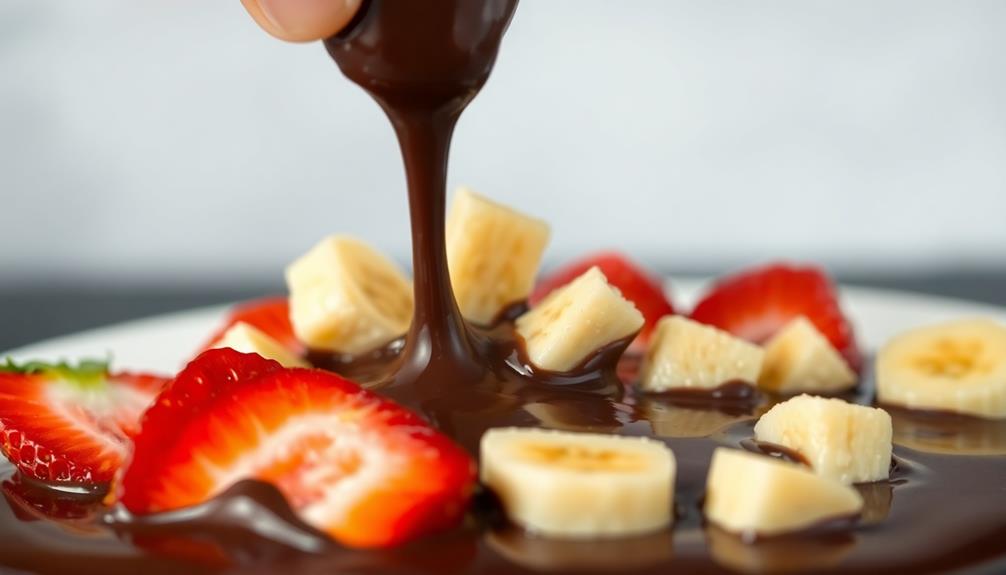
With the fruit pieces neatly prepared, it's time to dip them in melted chocolate.
You'll need to melt some chocolate in a double boiler or microwave, being careful not to overheat it. Once the chocolate is smooth and silky, it's ready for the fruit.
Gently dip each piece into the chocolate, making sure to coat it evenly. You can use a fork or a skewer to help with this. Once the fruit is coated, hold it above the bowl to let any excess chocolate drip off.
Now, place the chocolate-covered fruit on a parchment-lined baking sheet. This will allow the chocolate to set. You can pop the baking sheet in the fridge or freezer to speed up the process.
Once the chocolate has hardened, your candy corn fruit pops are ready to enjoy! The combination of juicy fruit and rich chocolate is simply divine.
Have fun experimenting with different types of fruit and get creative with your presentations.
Step 3. Freeze Fruit on Skewers
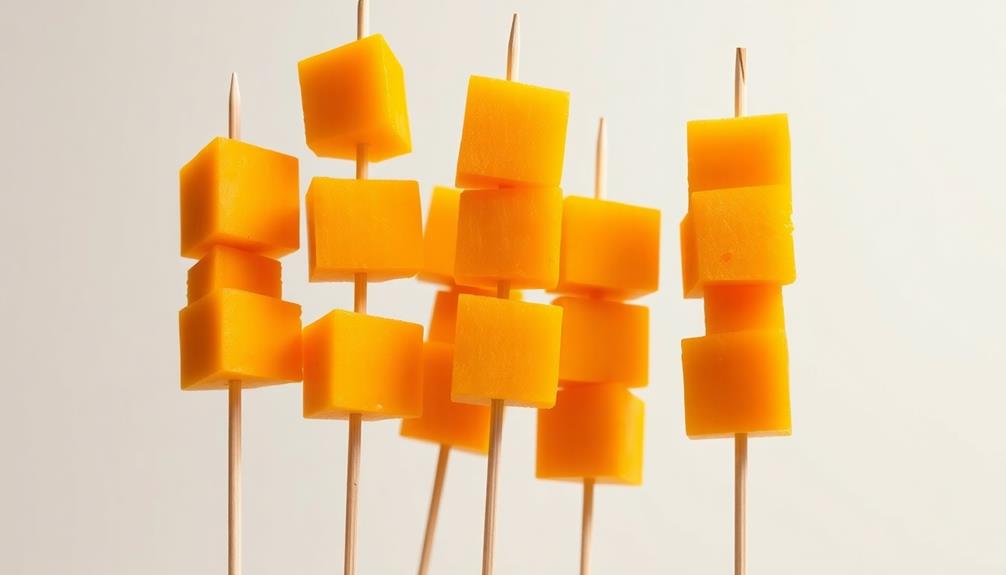
Next, you'll want to freeze the fruit on skewers. Start by cutting your favorite fruits into bite-sized pieces. Watermelon, pineapple, and grapes work great!
Carefully thread the fruit onto wooden skewers, making sure to leave a little space between each piece. This will help the fruit freeze evenly.
Once all your fruit is on the skewers, place them on a baking sheet lined with parchment paper. Pop the sheet into the freezer and let the fruit freeze for at least 2 hours, or until the fruit is completely solid.
This step is important to ensure the fruit holds its shape when you dip it in the candy corn coating later.
When the fruit is frozen, you're ready to move on to the next step of coating the pops in candy corn. Get ready for a delicious and fun treat that's perfect for any occasion!
Step 4. Let Fruit Dry Completely
Once your fruit is frozen on the skewers, you'll need to let it dry completely before moving on to the next step. This is an important part of the process, as removing any excess moisture will help the candy coating adhere better.
Take the skewers out of the freezer and place them on a clean, dry surface. Make sure the fruit is arranged in a single layer, not touching each other. Let the fruit sit at room temperature for several hours, or until it feels completely dry to the touch. This could take 2-4 hours, depending on the type and amount of fruit you're using.
As the fruit dries, the outsides will become slightly tacky. This is exactly what you want – it will help the candy coating stick nicely.
Once the fruit is fully dried, you can move on to coating it in the candy mixture. Be patient during this step, as drying the fruit properly is key to achieving the best candy corn pops.
Step 5. Enjoy Chilled Frozen Treats
Now that your fruit is fully dried, you can begin dipping it into the candy coating. Gently dip each piece of fruit into the melted candy, making sure it's fully coated.
Once coated, place the fruit pops on a parchment-lined baking sheet.
Freeze the coated fruit for at least 2 hours, or until completely solid. This will help the candy coating set and create a delightful frozen treat.
Once frozen, you can remove the fruit pops from the baking sheet and store them in an airtight container in the freezer.
When you're ready to enjoy your chilled frozen treats, simply take them out of the freezer. The candy coating will provide a delightful crunch, while the frozen fruit inside will be refreshingly cool and juicy.
Savor the perfect balance of sweet and tart in every bite. These candy corn fruit pops are sure to delight your taste buds and cool you off on a warm day.
Final Thoughts
These candy corn fruit pops are a delightful treat that can satisfy your sweet tooth while offering a healthier alternative to traditional candy. The vibrant colors and fun shapes are sure to delight both kids and adults.
Best of all, they're incredibly easy to make at home with just a few simple ingredients.
Whether you're hosting a party, enjoying a summer day, or looking for a nutritious snack, these candy corn fruit pops are the perfect choice. The combination of fresh fruit, yogurt, and a touch of honey creates a refreshing and flavorful frozen treat.
Plus, you can customize the flavors to suit your personal preferences.
Indulge in the sweet and tangy goodness of these candy corn fruit pops, knowing you're making a healthier choice. They're a wonderful way to cool off and savor the season's bounty.
Frequently Asked Questions
Are the Fruit Pops Made With Real Candy Corn?
No, the fruit pops aren't made with real candy corn. They likely use a flavoring that mimics the taste of candy corn, but the pops themselves don't contain the actual Halloween candy.
How Long Do the Fruit Pops Take to Freeze?
The time it takes to freeze the fruit pops will depend on a few factors, like the size and thickness of the pops and the temperature of your freezer. Generally, you can expect them to take anywhere from 2 to 4 hours to fully freeze.
Can I Use Any Type of Fruit for the Pops?
You can use any type of fruit for your homemade pops. Whether it's berries, tropical fruits, or stone fruits, the possibilities are endless. Just make sure to adjust the sweetness and consistency to your liking.
Are the Fruit Pops Gluten-Free?
Yes, the fruit pops can be gluten-free as long as you use gluten-free ingredients. Most fruits are naturally gluten-free, so you can choose any fruit you like for your pops. Just be mindful of any added ingredients that may contain gluten.
Can I Make the Fruit Pops Ahead of Time?
You can certainly make the fruit pops ahead of time. They'll hold up well in the freezer, so you can prepare them in advance and have them ready to serve whenever you need them.
Conclusion
You'll love these candy corn fruit pops! They're a fun and festive treat that's perfect for the fall season. The vibrant colors and sweet flavors will delight your taste buds. Plus, they're easy to make, so you can whip up a batch in no time. Enjoy the delicious combination of fresh fruit and the classic taste of candy corn. These pops are sure to be a hit with the whole family!