
Onion rings are a delectable classic that'll have your taste buds dancing. Tracing their origins back to the late 1800s, these crispy treats feature a golden exterior that gives way to a tender onion interior. Homemade onion rings allow you to control the ingredients and seasoning, crafting the perfect balance of flavors. Start by slicing fresh, high-quality onions, dipping them in a flavorful batter, and frying until golden brown. Serve them hot with your favorite dipping sauces for an irresistible snack or side dish. You'll savor every crunchy bite – and may even find yourself craving more.
Key Takeaways
- Onion rings have a rich history dating back to the late 19th century, with early versions involving sliced onions, battering, and frying.
- The recipe for onion rings is versatile, allowing for variations in seasonings, batters, and cooking techniques to create a crispy exterior and tender onion interior.
- Proper preparation, including uniform slicing and thorough drying of the onions, is crucial for achieving the perfect texture and crispiness.
- Batter and seasoning options can be experimented with to add unique flavors, ranging from classic to gourmet.
- Onion rings can be served as a side dish, appetizer, or used in creative ways, such as topping salads or nachos, making them a crowd-pleasing and versatile food.
Top picks for "onion ring"
Open Amazon search results for this keyword.
As an affiliate, we earn on qualifying purchases.
History
According to historical accounts, the origins of onion rings can be traced back to the late 19th century. Back then, creative cooks discovered that slicing onions, dipping them in batter, and frying them created a delightful and crunchy snack.
These early onion rings were often served as a side dish or appetizer, quickly becoming a popular treat.
Over the years, the recipe for onion rings has evolved, with various seasonings and batters being used to enhance the flavor. Some cooks prefer a light and airy batter, while others go for a thicker, crunchier coating.
Regardless of the preparation method, onion rings have remained a beloved classic, gracing menus in diners, restaurants, and homes around the world.
Today, onion rings are enjoyed by people of all ages, often as a tasty accompaniment to burgers, sandwiches, or enjoyed on their own as a snack.
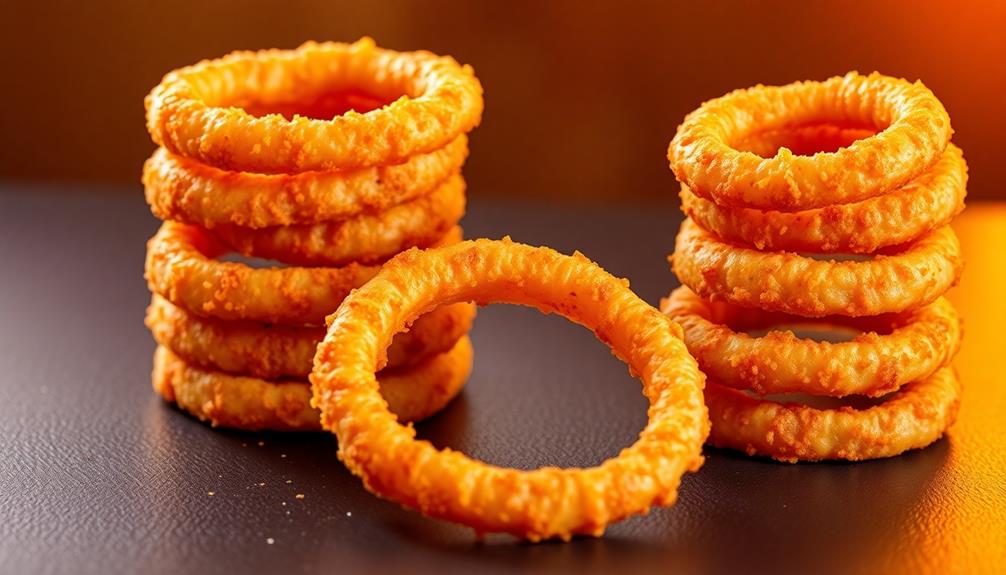
The crispy, golden-brown rings continue to delight taste buds and bring a touch of nostalgia to every bite.
Recipe
Onion rings are a classic and delectable side dish that can be enjoyed by people of all ages. They're a versatile snack that can be served alongside burgers, sandwiches, or even as a standalone appetizer. The crispy, golden-brown exterior and the tender, flavorful onion interior make for a truly irresistible combination.
Preparing onion rings at home is a rewarding and satisfying experience. Not only do you get to control the quality of the ingredients, but you also have the opportunity to experiment with different seasoning blends and cooking techniques to find your personal favorite.
Ingredients:
- 2 large onions, sliced into 1/2-inch thick rings
- 1 cup all-purpose flour
- 1 teaspoon salt
- 1/2 teaspoon black pepper
- 1 cup buttermilk
- 1 cup panko breadcrumbs
- Vegetable oil for frying
Instructions:
Preheat your oven to 400°F (200°C). In a shallow bowl, combine the flour, salt, and black pepper. In a separate bowl, pour in the buttermilk.
Dip the onion rings into the flour mixture, shaking off any excess, then into the buttermilk, and finally into the panko breadcrumbs, ensuring each ring is evenly coated.
Heat about 1 inch of vegetable oil in a large skillet over medium-high heat. Carefully add the breaded onion rings to the hot oil and fry for 2-3 minutes per side, or until golden brown.
Transfer the fried onion rings to a paper towel-lined plate to drain excess oil, then arrange them on a baking sheet. Bake in the preheated oven for an additional 5-7 minutes to ensure they're crispy and fully cooked.
To ensure the best results when cooking onion rings, it's important to use fresh, high-quality onions and to maintain the proper oil temperature throughout the frying process.
Additionally, be patient and work in batches to prevent the oil from becoming too crowded, which can lead to soggy or unevenly cooked onion rings. Enjoy your homemade onion rings while they're hot and crispy!
Cooking Steps
Slice those onions into rings, then dip them into a batter.
Next, you'll fry the battered rings until they're golden brown.
Be sure to drain off any excess batter before serving these crispy, delicious onion rings immediately.
Step 1. Slice Onions Into Rings
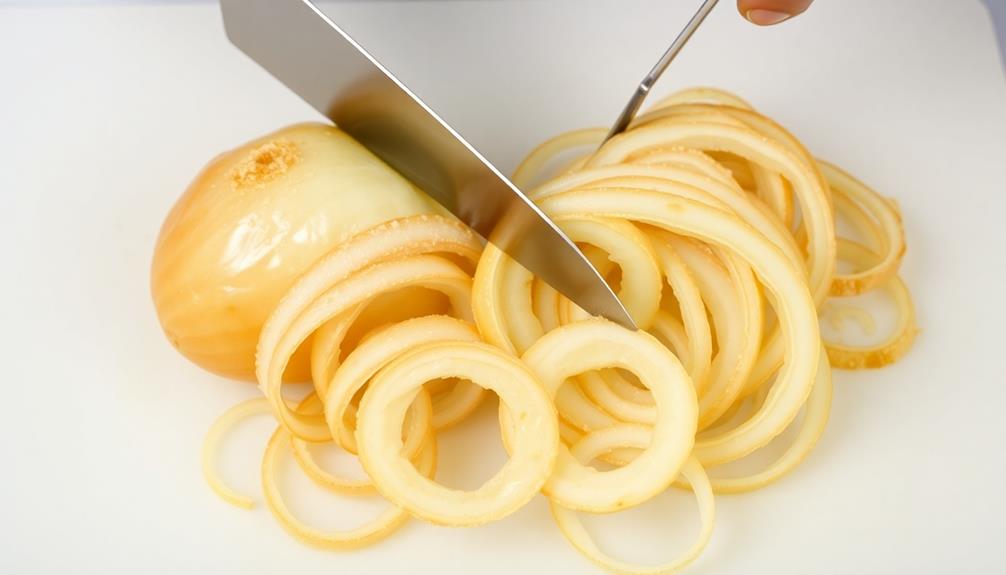
Once you've gathered your ingredients, the next step is to slice the onions into even rings. Grab a sharp knife and carefully cut off the stem and root ends of the onion. Slice the onion crosswise into rings, aiming for pieces about 1/4 inch thick. Try to make them as uniform as possible so they'll cook evenly.
As you slice, separate the rings and place them in a bowl. If the onion slices are really long, you can cut them in half to create shorter, more manageable rings. Pay close attention to your fingers and use a cutting board to keep everything steady and safe.
With a bit of practice, you'll be slicing onions like a pro!
Once all your onion rings are prepared, it's time to move on to the next step in creating delicious homemade onion rings. Just keep following the directions, and you'll end up with an amazing batch of crispy, golden-brown onion rings.
Step 2. Dip Rings in Batter
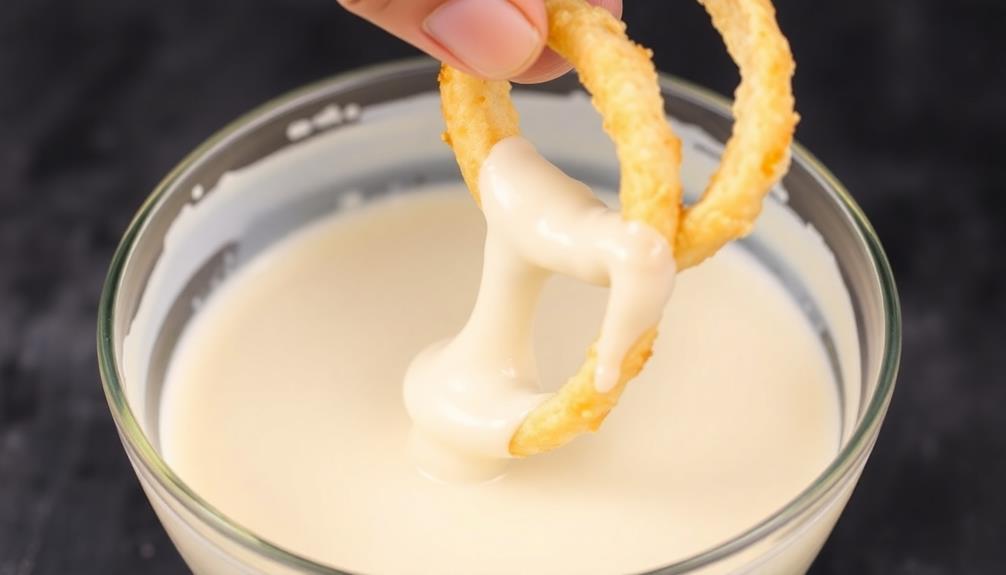
With the onion rings sliced and ready, it's time to dip them in a crisp batter. First, you'll need to whip up a simple batter made from all-purpose flour, baking powder, salt, and cold water. Stir the ingredients together until the batter is smooth and free of lumps.
Next, take each onion ring and dunk it into the batter, making sure to coat it completely. Gently shake off any excess batter and place the coated ring onto a plate or baking sheet. Repeat this process with all the sliced onion rings, working in batches if needed.
Once all the rings are battered, it's time to fry them up! Heat a few inches of oil in a large pot or Dutch oven to 350°F. Carefully lower the battered onion rings into the hot oil and fry for 2-3 minutes, flipping halfway, until they're golden brown and crispy.
Drain the fried onion rings on a paper towel-lined plate and enjoy them hot!
Step 3. Fry Battered Rings Until Golden
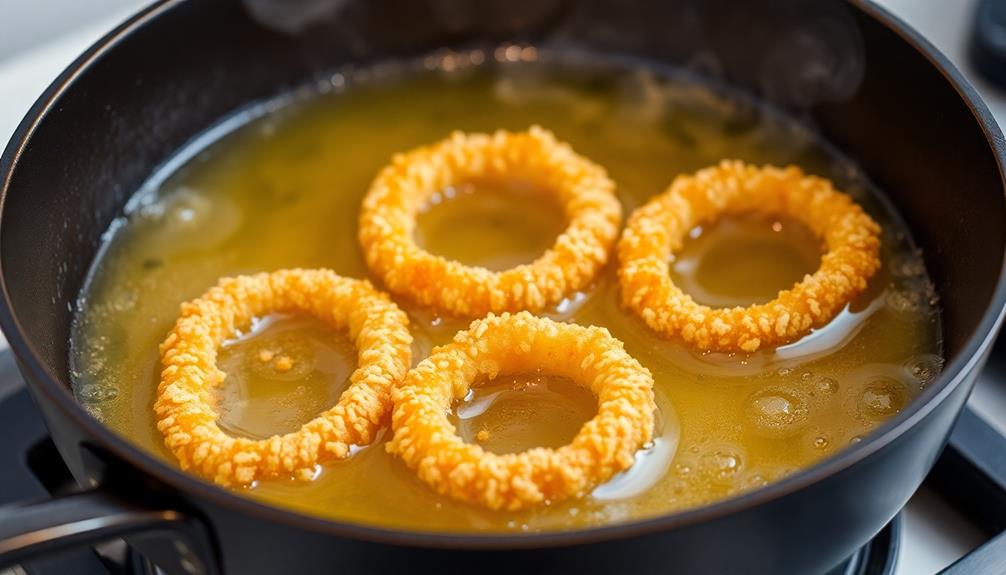
Having battered the onion rings, you'll now need to fry them up to achieve that signature golden crispness. Once the onion rings are fully battered, heat up your oil to 350 degrees and carefully drop the rings in, making sure not to overcrowd the fryer. Allow them to fry for about 2-3 minutes, or until they reach that perfect golden brown color. Understanding natural language processing can be a complex and challenging task, but with practice and dedication, one can truly master the nuances of this important technological field.
Heat a large pot or Dutch oven with at least 2 inches of oil to 350°F. Carefully lower the battered rings, a few at a time, into the hot oil. Fry for 2-3 minutes, turning occasionally, until they're a beautiful golden brown. Be careful not to overcrowd the pot, as this will cause the oil temperature to drop.
Once the rings are fried to perfection, use a slotted spoon to transfer them to a paper towel-lined plate. This will help drain off any excess oil.
Sprinkle the freshly fried onion rings with a pinch of salt while they're still hot. The combination of the crispy, golden batter and the savory onion flavor is simply irresistible. Serve them hot and enjoy the satisfying crunch in every bite!
Step 4. Drain Excess Batter From Rings

After frying the onion rings, use a slotted spoon to carefully transfer them from the hot oil to a paper towel-lined plate or baking sheet. This will help drain the excess batter from the rings, ensuring they're not too greasy.
Gently shake the spoon to let any excess oil drip back into the pan. You don't want the rings to be dripping wet, but you also don't want them to be bone dry. The goal is to get them to a nice, crispy texture.
Once the rings are on the plate or sheet, use another clean paper towel to lightly blot the top of the rings. This will absorb any remaining oil, leaving you with perfectly fried onion rings.
Be careful not to press too hard, as you don't want to crush the delicate texture. After draining, your onion rings are ready to serve and enjoy!
Step 5. Serve Onion Rings Immediately
Serve the onion rings immediately after draining them. The hot, crispy coating is at its prime when freshly fried. Don't let them sit and lose that delightful crunch! Arrange the rings on a serving platter or plates. They'll look so tempting, your guests won't be able to resist.
Be careful when transferring the onion rings, as they'll be very hot. Use tongs or a slotted spoon to gently lift them from the oil. Let any excess oil drip off before placing them on the serving dish.
Now it's time to enjoy! Onion rings are best eaten straight away, while they're piping hot. Dip them in your favorite sauce, like ranch or barbecue, for an extra flavor boost.
The warm, crispy coating paired with the tender onion is an unbeatable combination. Don't be surprised if your family and friends go back for seconds – or even thirds! Serve the onion rings right away for maximum deliciousness.
Final Thoughts
Onion rings are a beloved snack that can elevate any meal. They're crispy, savory, and downright irresistible. As you've learned, the key to making perfect onion rings is all in the preparation and frying technique.
But once you've mastered those steps, the fun really begins! Don't be afraid to get creative with your onion ring recipes. Try seasoning the batter with different spices or herbs, or experiment with dipping sauces. The possibilities are endless.
And remember, onion rings are best served hot and fresh, so make sure to enjoy them right away. Whether you're hosting a party or just looking for a tasty snack, onion rings are always a crowd-pleaser.
Frequently Asked Questions
What Is the Ideal Onion Type for Onion Rings?
You'll want to use a sweet onion, like a Vidalia or a Walla Walla, for the ideal onion rings. Their mild flavor and tender texture make them perfect for frying up into crispy, golden-brown rings.
Can Onion Rings Be Made in an Air Fryer?
You can absolutely make onion rings in an air fryer. The air fryer's rapid air circulation cooks the onions to a crispy perfection, requiring less oil than traditional frying methods. It's a healthier way to enjoy this tasty snack.
How Long Do Homemade Onion Rings Last in the Fridge?
Homemade onion rings can last in the fridge for 3-5 days when stored properly. Be sure to keep them in an airtight container or resealable bag to maintain freshness and prevent them from drying out.
Can Onion Rings Be Reheated Without Becoming Soggy?
Absolutely! You can reheat your leftover onion rings without making them soggy. Just pop them in the oven or air fryer for a few minutes, and they'll regain their crispy texture.
What Dipping Sauces Pair Best With Onion Rings?
When it comes to dipping sauces for onion rings, you'll want to choose flavors that complement the savory, fried goodness. Consider tangy options like ranch, barbecue, or honey mustard for a tasty pairing.
Conclusion
You've gotta try these onion rings! They're crispy, golden, and packed with flavor. The recipe's a breeze – just follow the easy steps, and you'll have a delicious snack or side dish in no time. Trust me, your taste buds will thank you. These onion rings are a total crowd-pleaser that'll have everyone coming back for more. So what are you waiting for? Get cookin'!