You'll love lemon bars! These classic American treats combine a buttery, flaky crust with a tangy, creamy lemon filling – it's a heavenly balance of flavors. Originating in the Southwest, lemon bars became popular at bake sales and family gatherings, and they're still a favorite today. The key is perfecting the ratio of sweetness and tartness in the filling. You'll need just a few simple ingredients like butter, sugar, flour, eggs, and fresh lemon juice and zest. The preparation is easy, too – just mix the crust, whisk the filling, and bake. Top it off with a dusting of powdered sugar, and you've got a delightful dessert that's sure to impress. Let's dive into making these irresistible lemon bars!
Key Takeaways
- Lemon bars are a beloved American dessert originating in the Southwest, characterized by a buttery shortbread crust and tangy, creamy lemon filling.
- The first known lemon bar recipe appeared in the Chicago Tribune in 1925, and the dessert gained popularity at bake sales, picnics, and family gatherings.
- The recipe requires a balance of sweetness and tartness, with key ingredients including unsalted butter, granulated sugar, all-purpose flour, eggs, fresh lemon juice, and optional lemon zest.
- The cooking process involves preparing the crust, whisking the eggs, adding the lemon components, and baking the filling, with a final dusting of powdered sugar for presentation.
- Lemon bars can be stored in an airtight container in the refrigerator for up to a week and can also be frozen for longer storage.
Top picks for "lemon bars"
Open Amazon search results for this keyword.
As an affiliate, we earn on qualifying purchases.
History
Originating from the American Southwest, lemon bars have been a beloved dessert for generations.
These tangy treats have a rich history that stretches back to the early 20th century. The first known recipe for lemon bars appeared in a 1925 edition of the Chicago Tribune, though variations likely existed even earlier.
As the popularity of lemon-flavored sweets grew, lemon bars became a staple at bake sales, picnics, and family gatherings across the United States.
What makes lemon bars so special? It's the perfect balance of a buttery, flaky crust and a tangy, creamy lemon filling.
The contrast of flavors and textures creates a delightful experience with each bite. Over the years, bakers have experimented with different twists, like adding a dusting of powdered sugar or a drizzle of lemon glaze, but the classic recipe remains a timeless favorite.
Today, lemon bars continue to delight taste buds and evoke nostalgic memories for people of all ages.
Their enduring popularity is a testament to the simple joys of this beloved dessert.
Recipe
Lemon bars are a classic dessert that combine a buttery shortbread crust with a tangy, creamy lemon filling. These bright, refreshing treats are perfect for any occasion, from casual gatherings to elegant dinner parties. If you’re looking for a delicious and easily transportable dessert, lemon bars are a great option. Their portable nature makes them an excellent choice for picnics or potlucks. And if you’re in the mood for something different, you can also try experimenting with different flavors and textures, such as sweet s’mores treats. These versatile and tasty bars are sure to be a hit wherever you take them.
The key to successful lemon bars is balancing the sweetness and the tartness. The crust should be rich and buttery, providing a sturdy base for the tangy filling. The filling, in turn, should be silky smooth and bursting with fresh lemon flavor.
Ingredients:
- 1 cup (2 sticks) unsalted butter, softened
- 1/2 cup granulated sugar
- 2 cups all-purpose flour
- 1/4 teaspoon salt
- 4 large eggs
- 1 1/2 cups granulated sugar
- 1/4 cup all-purpose flour
- 1/2 cup fresh lemon juice (about 3-4 lemons)
- 1 tablespoon grated lemon zest
- Powdered sugar for dusting
Instructions:
In a medium bowl, cream the softened butter and 1/2 cup of granulated sugar until light and fluffy. Gradually add in the 2 cups of all-purpose flour and the 1/4 teaspoon of salt, mixing until a dough forms. Press the dough evenly into a 9×13 inch baking pan. Bake at 350°F for 20-25 minutes, or until the crust is lightly golden.
While the crust is baking, prepare the filling. In a large bowl, whisk together the 4 eggs and the 1 1/2 cups of granulated sugar until combined. Whisk in the 1/4 cup of all-purpose flour, the fresh lemon juice, and the lemon zest until smooth.
Pour the filling over the hot crust and return the pan to the oven. Bake for an additional 20-25 minutes, or until the filling is set.
Allow the lemon bars to cool completely, then dust the top generously with powdered sugar. For the best texture, refrigerate the bars for at least 2 hours before cutting and serving. Store any leftovers in the refrigerator.
Cooking Steps
Preheat your oven to 350°F.
In a large bowl, whisk the eggs, then add the lemon juice and zest.
Finish by sprinkling powdered sugar on top before baking until the filling is set.
Step 1. Preheat Oven to 350°F

First, preheat your oven to 350°F. This is an important first step in making delicious lemon bars. By heating the oven to the right temperature, you'll ensure your treats bake evenly and develop a perfect golden-brown crust.
Take a moment to double-check that your oven is set to 350°F. You can use the dial or digital display to confirm the temperature. Once you've verified it's ready, you can move on to the next steps. Preheating the oven typically takes 10-15 minutes, so use this time to gather the rest of your ingredients and prepare your baking pan.
When the oven is fully heated, you'll be ready to pop in the lemon bar batter and let the baking begin!
The preheat step may seem simple, but it's crucial for getting the best possible results. With your oven at the right temperature, you're one step closer to enjoying deliciously tart and sweet lemon bars.
Step 2. In a Large Bowl, Whisk Eggs

In a large bowl, whisk the eggs until they're light and frothy. This step is crucial for creating the perfect lemon bar texture. The whisking incorporates air into the eggs, making them light and airy.
Be sure to whisk vigorously for about a minute to really get those eggs nice and fluffy.
Next, add the granulated sugar to the whisked eggs and whisk again until the mixture is smooth and well combined. The sugar will help to thicken and set the lemon filling once the bars are baked.
Don't be afraid to give it a good whisk to make sure everything is evenly distributed.
Step 3. Add Lemon Juice and Zest

After whisking the eggs and sugar together, it's time to add the lemon juice and zest. Lemon juice and zest are the stars of the show when it comes to lemon bars. The bright, tangy flavor is what everyone loves!
First, grab a lemon and use a zester or the small holes on a cheese grater to grate the yellow peel. Be careful not to grate too deep, as you only want the thin, flavorful outer layer. The zest is packed with lemon oil, giving the bars an intense citrus punch.
Next, squeeze the lemon to extract the fresh juice. You'll need about 1/4 cup of lemon juice. The juice adds even more zing and tartness to balance the sweetness.
Whisk the lemon juice and zest into the egg mixture until fully combined. The lemon components are crucial for making these bars irresistible.
With the eggs and sugar already whisked, you're well on your way to creating the perfect lemon bars!
Step 4. Add Powdered Sugar to Top

Once the lemon bars have fully baked and cooled, it's time to add the finishing touch – a generous dusting of powdered sugar on top. This final step is the perfect way to elevate the already delicious lemon bars. The powdered sugar creates a beautiful snowy-white topping that contrasts beautifully with the bright yellow of the lemon filling.
To apply the powdered sugar, simply take a fine-mesh sieve and hold it about 6 inches above the bars. Gently tap the side of the sieve, allowing the powdered sugar to drift down in a gentle shower over the entire surface.
Make sure to cover every inch for an even, consistent coating. The powdered sugar will melt slightly, creating a lovely glazed effect.
Once the bars are dusted, they're ready to serve. The powdered sugar adds a wonderful sweetness that perfectly balances the tangy lemon flavor.
Dig in and enjoy the irresistible combination of tart and sweet in every bite!
Step 5. Bake Until Filling Is Set
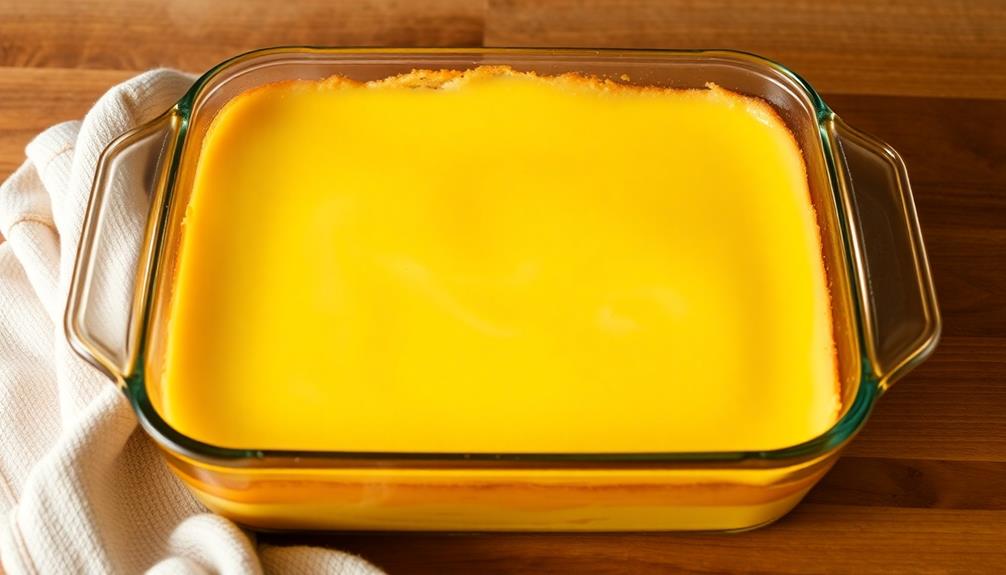
Preheat your oven to 350°F and prepare the baking pan by lightly greasing it or lining it with parchment paper.
Once your oven is ready, carefully pour the lemon filling into the prepared pan. Be sure to spread it out evenly so it bakes consistently.
Now, it's time to bake the lemon bars until the filling is set. This will take about 20-25 minutes. Keep an eye on them, as you want the edges to be lightly golden, but the center should still have a slight jiggle when you gently shake the pan.
The filling should be firm to the touch when it's done. Don't worry if it looks a little soft in the middle – it will continue to set as it cools.
Once the bars are baked, remove them from the oven and let them cool completely on a wire rack. This step is crucial, as it allows the filling to fully set and the bars to develop their perfect texture.
With patience, your delicious lemon bars will be ready to enjoy!
Final Thoughts
Lemon bars are a delightful treat that can brighten up any occasion. These tangy and sweet desserts are the perfect balance of flavors, making them a crowd-pleasing favorite.
Baking them to perfection can take a bit of practice, but the final result is well worth the effort.
Once the lemon bars have cooled and the filling is set, it's time to slice and serve them. The combination of the buttery crust and the tart lemon filling is simply divine.
Whether you're enjoying them with family, bringing them to a potluck, or treating yourself to an indulgent snack, lemon bars are sure to put a smile on your face.
Frequently Asked Questions
Can I Use a Different Type of Citrus Fruit?
You can certainly use a different type of citrus fruit in place of lemons. Try substituting limes, oranges, or grapefruit for a unique twist on the classic recipe. The key is to adjust the sweetness to your taste.
How Long Do Lemon Bars Last on the Counter?
How long they last depends on the recipe, but you can typically keep homemade lemon bars on the counter for 3-5 days. Just be sure to store them in an airtight container to maintain their freshness.
Can I Use a Premade Crust Instead of Homemade?
Sure, you can use a pre-made crust instead of homemade. It'll save you time and effort, and the final result will still be delicious. Just be sure to follow the instructions on the pre-made crust package.
What Can I Do if the Lemon Filling Is Too Tart?
If the lemon filling is too tart, you can try adding a bit more sugar to balance out the acidity. You can also consider adding a touch of cream or milk to mellow the flavor.
Is It Possible to Make Lemon Bars Gluten-Free?
You can certainly make lemon bars gluten-free. Use gluten-free flour, such as almond or coconut flour, in the crust and adjust the ingredient ratios to achieve the desired texture and flavor. With a few simple substitutions, you can enjoy gluten-free lemon bars.
Conclusion
You've gotta try these lemon bars – they're the perfect balance of sweet and tart! The buttery crust and creamy lemon filling make for a heavenly treat. Whip up a batch and enjoy them with friends and family. These lemon bars are sure to become a new favorite. Just one bite, and you'll be hooked! Get ready for a burst of sunshine in every delectable morsel.