Fruit tarts are a timeless delight, tracing their origins to ancient civilizations. Over the centuries, these versatile desserts have evolved, showcasing the bounty of regional produce and culinary innovations. Today, you can enjoy endless flavor combinations, from classic cherry tarts to vibrant berry mixes. The secret lies in the perfect balance of a flaky, buttery crust and sweet-tart fruit fillings. With just a few simple ingredients, you can create an impressive, homemade treat that celebrates the seasons. Intrigued? Let's dive deeper into the world of fruit tarts and uncover the secrets to crafting these delectable delights.
Key Takeaways
- Fruit tarts are versatile desserts that balance flaky pastry crust and sweet-tangy fruit fillings, offering endless flavor combinations.
- The history of fruit tarts can be traced back to ancient civilizations, with the Middle Ages and Renaissance era seeing their evolution.
- Preparing fruit tarts at home is a rewarding experience, requiring simple ingredients like flour, butter, sugar, and fresh seasonal fruits.
- Fruit tarts can be customized with classic and exotic fruits, and garnished with whipped cream or glaze for an impressive presentation.
- Fruit tarts are a seasonal delight, celebrating the bounty of fresh produce and reflecting the essence of natural flavors.
History
The history of fruit tarts can be traced back to ancient civilizations, where bakers experimented with combining sweet fruit fillings with flaky pastry crusts.
These early tarts were often made with locally-grown fruits, showcasing the bounty of the land. Over time, as trade routes expanded, new ingredients and techniques were introduced, allowing bakers to create increasingly complex and delectable tarts.
In the Middle Ages, fruit tarts became a staple of the royal courts, where chefs vied to impress with their culinary innovations.
The Renaissance era saw a flourishing of fruit tart recipes, as European countries shared their unique cultural influences. From the decadent cherry tarts of France to the zesty lemon tarts of Italy, each region developed its own signature style.
Today, fruit tarts continue to delight and inspire bakers around the world, with endless possibilities for flavor combinations and presentation. With a variety of fruits in season throughout the year, bakers can experiment with different textures and tastes to create unique and delicious fruit tart variations. Whether using a classic pastry crust or a more contemporary almond or oat-based crust, the possibilities are truly endless. For those looking to try their hand at a simple and satisfying dessert, an easy fruit cobbler recipe can provide a delightful alternative to the traditional fruit tart.
Whether enjoyed as a light dessert or a showstopping centerpiece, the enduring appeal of fruit tarts is a testament to their timeless charm.
Recipe
Fruit tarts are a delightful and versatile dessert that can be enjoyed year-round. The flaky pastry crust, combined with the sweet and tangy fruit filling, creates a harmonious balance of flavors that's sure to delight.
Whether you prefer classic flavors or want to experiment with more exotic fruits, fruit tarts are the perfect canvas for your culinary creativity.
Preparing fruit tarts at home can be a rewarding and satisfying experience. With a few simple ingredients and a bit of time, you can create a dessert that will impress your family and friends.
Ingredients:
- 1 1/2 cups all-purpose flour
- 1/2 cup unsalted butter, chilled and cubed
- 1/4 cup granulated sugar
- 1/4 teaspoon salt
- 3-4 tablespoons ice water
- 2 cups assorted fresh fruit (such as berries, stone fruits, or citrus)
- 1/4 cup granulated sugar (for filling)
- 2 tablespoons cornstarch (for filling)
Instructions:
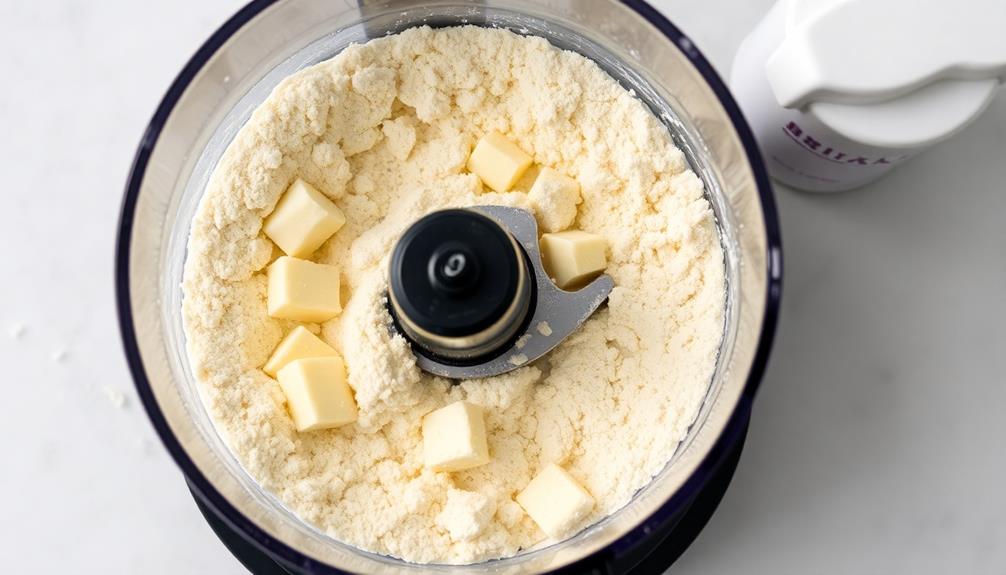
In a food processor, combine the flour, butter, 1/4 cup sugar, and salt. Pulse until the mixture resembles coarse crumbs.
Add the ice water, one tablespoon at a time, and pulse until the dough just begins to come together. Form the dough into a disc, wrap in plastic, and refrigerate for at least 30 minutes.
Preheat your oven to 375°F (190°C). Roll out the chilled dough and press it into a tart pan with a removable bottom. Trim any excess dough from the edges.
Prick the bottom of the tart crust with a fork and bake for 15-20 minutes, or until lightly golden. Allow the crust to cool completely.
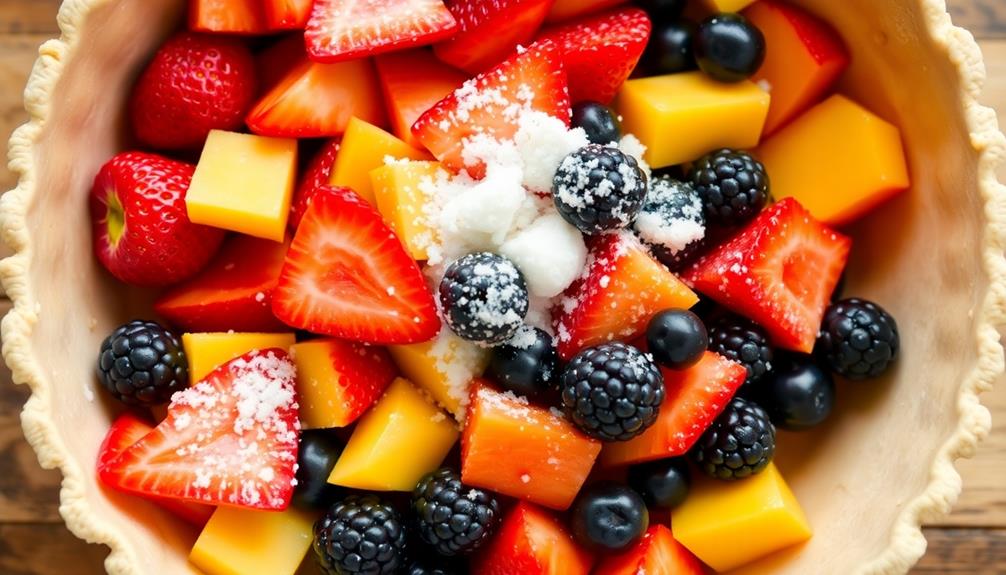
In a bowl, toss the fresh fruit with the 1/4 cup of sugar and cornstarch. Spoon the fruit mixture into the cooled tart crust.
Bake for an additional 25-30 minutes, or until the fruit is bubbling and the crust is golden brown.
When baking fruit tarts, it's important to use fresh, ripe fruit for the best flavor and texture. You can also experiment with different fruit combinations to create your own unique creations.
Serve the tart warm or at room temperature, and enjoy the delicious balance of sweet and tangy flavors.
Cooking Steps
To make a delectable fruit tart, you'll first need to create a perfect pastry crust.
Then, prepare a tasty fruit filling mixture.
Next, assemble and bake the tart shells.
Step 1. Make Pastry Crust
First, you'll want to gather your ingredients for the pastry crust – all-purpose flour, unsalted butter, granulated sugar, and a pinch of salt.
In a large bowl, mix the flour, sugar, and salt together. Then, cut in the cold butter using a pastry cutter or two forks until the mixture resembles coarse crumbs.
Next, gradually add a couple of tablespoons of ice-cold water, mixing just until the dough starts to come together. Be careful not to overmix.
Shape the dough into a disk, wrap it in plastic wrap, and refrigerate for at least 30 minutes. This resting time allows the gluten to relax, making the dough easier to roll out.
When you're ready to use the dough, lightly flour a clean surface and roll it out to the desired size and shape to fit your tart pan.
Carefully transfer the dough to the pan, gently pressing it into the edges and removing any excess. Your pastry crust is now ready for the next step!
Step 2. Prepare Fruit Filling Mixture
With the pastry crust prepared, you can now turn your attention to the fruit filling.
First, gather your favorite fresh or canned fruits. Apples, berries, peaches, and plums all make delicious tart fillings.
Gently wash and pat dry the fresh fruit, then peel, core, and slice it into bite-sized pieces. If using canned fruit, drain the syrup and set the fruit aside.
In a bowl, combine the fruit, a sprinkle of sugar, a pinch of cinnamon, and a squeeze of lemon juice. Stir everything together until the fruit is evenly coated.
The sugar will help bring out the natural sweetness, while the cinnamon and lemon add a touch of warmth and brightness.
Taste the mixture and adjust the seasonings as needed.
With the flavorful filling ready, you can now spoon it into the prepared pastry crust and bake your tart to fruity perfection.
Step 3. Assemble and Bake Tart Shells

Preheat your oven to 375°F (190°C). Take your chilled tart dough and place it onto a lightly floured surface.
Using a rolling pin, gently roll the dough out until it's about 1/8 inch thick. Carefully transfer the dough into your tart pans, pressing it firmly into the edges and sides. Trim any excess dough from the top.
Grab a fork and gently prick the bottom of the tart shells. This will help prevent the dough from bubbling up during baking.
Place the tart pans onto a baking sheet and bake for 12-15 minutes, or until the shells are lightly golden. Keep a close eye to ensure they don't over-bake.
Once the tart shells are done, remove them from the oven and let them cool completely on a wire rack.
Now you're ready to fill them with your delicious fruit filling! Be sure to refrigerate the filled tarts until you're ready to serve.
Step 4. Fill Baked Tart Shells
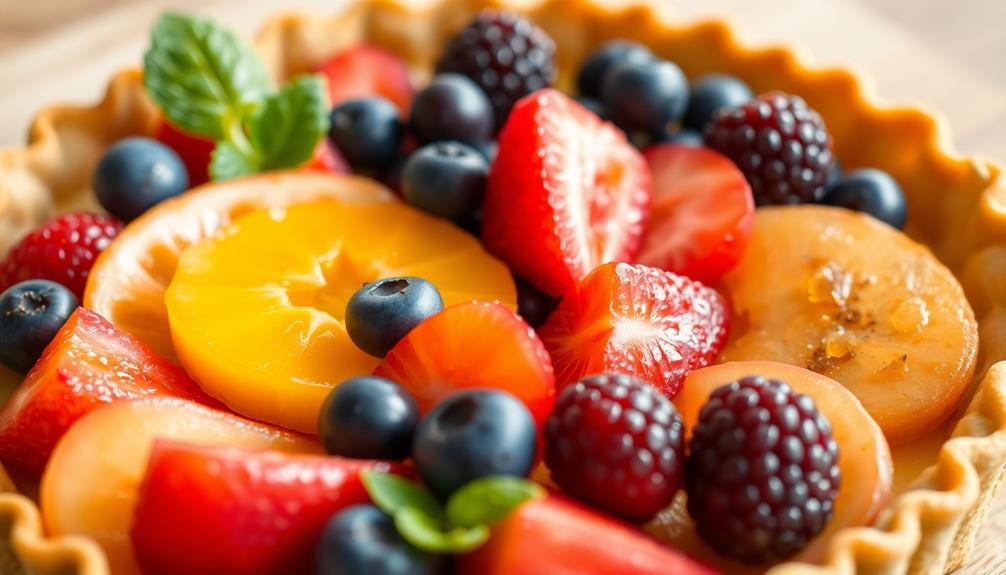
Once your tart shells have cooled completely, it's time to fill them with your desired fruit. Choose from a variety of fresh, juicy options like berries, stone fruits, or citrus.
Gently arrange the fruit in the tart shells, taking care not to overcrowd them. If you're using smaller fruits like raspberries or blackberries, you can pile them high, creating a lovely, overflowing effect. For larger fruits, like sliced peaches or kiwi, lay them in a neat, overlapping pattern.
Now, it's time to add any finishing touches. You can drizzle a light glaze over the fruit, or dust the tarts with a sprinkle of powdered sugar. This won't only enhance the flavors but also give your tarts a beautiful, professional-looking shine.
Step 5. Garnish With Whipped Cream
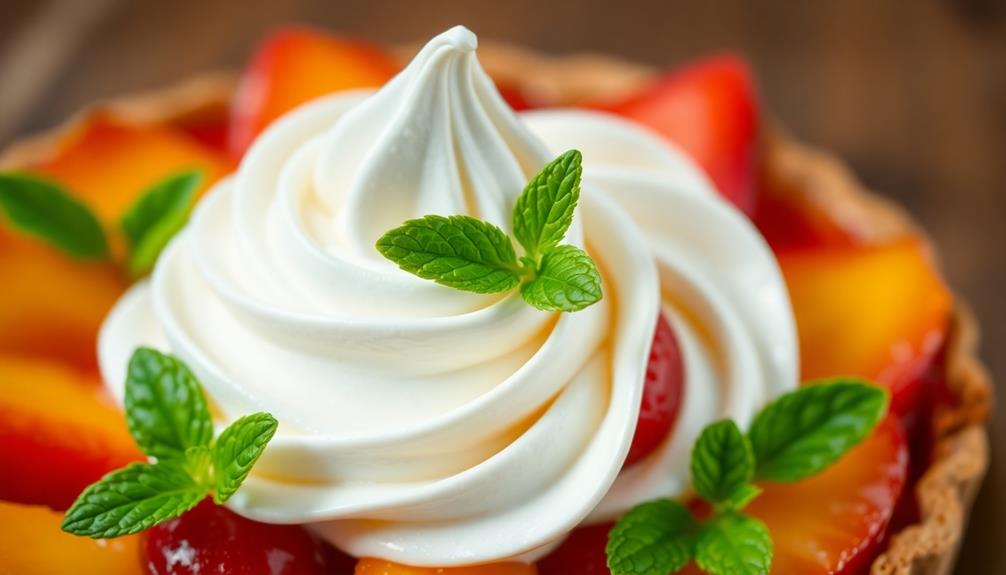
Whipped cream makes a delightful finishing touch for your fruit tarts. To create this luscious topping, pour chilled heavy cream into a large bowl.
Using a hand mixer or stand mixer, whisk the cream on high speed until it starts to thicken and form soft peaks. Be careful not to overwhip, as the cream can quickly turn into butter.
Once the cream has reached the perfect consistency, use a spoon or piping bag to dollop or pipe the whipped cream onto the cooled tart shells.
Spread it evenly, leaving a little room around the edges to showcase the vibrant fruit inside. The cool, creamy whipped cream provides a lovely contrast to the sweetness of the fruit, creating a heavenly flavor and texture combination.
Final Thoughts
As you put the final touches on your delectable fruit tarts, a sense of accomplishment should wash over you. You've skillfully crafted these beautiful desserts, layering vibrant fruits and a buttery crust. The aromas of citrus, berries, and warm pastry fill the air, inviting everyone to indulge.
These tarts aren't just a treat for the taste buds; they're works of art. The careful arrangement of the fruit, the gleaming glaze, and the delicate crust all come together to create something truly special.
When you serve these tarts, you'll delight your guests with not only the flavors but the stunning presentation.
As you take that first bite, savor the perfect balance of sweetness and tartness. Enjoy the way the flaky crust melts in your mouth, complementing the juicy fruit.
This is the culmination of your efforts, a true celebration of the season's bounty.
Frequently Asked Questions
What Is the Nutritional Value of Fruit Tarts?
The nutritional value of fruit tarts can vary widely depending on the ingredients used. Generally, they may provide vitamins and minerals from the fruit, but they're often high in added sugars and fats from the pastry and toppings.
Can I Use Frozen Fruit in My Fruit Tarts?
You can absolutely use frozen fruit in your fruit tarts. Frozen fruit is just as nutritious as fresh and can be a convenient option, saving time on prep. Go ahead and give it a try!
How Long Do Homemade Fruit Tarts Last?
Homemade fruit tarts typically last 2-3 days when stored properly in the refrigerator. The exact shelf life depends on the ingredients used and how you've stored them, but they're best enjoyed fresh within a few days of baking.
Can I Make Fruit Tarts Ahead of Time?
Yes, you can make fruit tarts ahead of time. Prepare the tart shells and fillings in advance, then assemble and bake them just before serving to ensure maximum freshness and flavor.
Are Fruit Tarts Gluten-Free or Vegan?
Fruit tarts can be made gluten-free or vegan, depending on the ingredients used. Check the recipe to ensure it meets your dietary needs, and you can enjoy these treats without worrying about gluten or animal products.
Conclusion
You'll be over the moon once you taste these delightful fruit tarts! The buttery crust and fresh fruit fillings create a mouthwatering combination that'll have you craving more. Whether you prefer classic flavors or like to experiment, these tarts are sure to satisfy your sweet tooth. Go on, give them a try – you won't regret it!