
Roasted acorn squash is a delicious and nutritious dish that's been enjoyed for centuries. You'll love the sweet, caramelized outside and tender, flavorful inside. The brown sugar glaze makes it extra special, with a hint of cinnamon that'll have your taste buds dancing. It's packed with fiber, vitamins, and minerals, plus it's low in calories – perfect for staying healthy. Roast it up and serve it as a side dish or the base for a tasty salad or grain bowl. It's easy to make and sure to impress. Keep reading to discover more about this autumn gem!
Key Takeaways
- Roasted acorn squash is a versatile and nutritious winter squash that can be enhanced with a brown sugar glaze.
- Roasting the squash brings out its natural sweetness and creates a caramelized exterior.
- Acorn squash is an excellent source of dietary fiber, vitamins A and C, and antioxidants that support overall health.
- The recipe is simple to prepare, making it accessible for cooks of all levels.
- Roasted acorn squash can be served as a side dish or incorporated into various recipes, providing a satisfying culinary experience.
Top picks for "roast acorn squash"
Open Amazon search results for this keyword.
As an affiliate, we earn on qualifying purchases.
History
Acorn squash, a staple in many households, has a rich history that dates back centuries. This versatile vegetable was first cultivated by Native American tribes, who recognized its bountiful nutritional benefits and used it in a variety of traditional dishes.
As European settlers arrived in the New World, they were quick to adopt the acorn squash, incorporating it into their own recipes and culinary traditions.
Over the years, the popularity of acorn squash has only grown, with its distinctive shape, buttery texture, and sweet flavor making it a beloved ingredient in kitchens around the world.
Today, you can find acorn squash in a wide range of recipes, from roasted and stuffed variations to soups and even desserts.
Whether you're a seasoned cook or just starting to explore the wonders of this remarkable vegetable, the history of acorn squash is sure to inspire and delight.
Recipe
Acorn squash is a versatile and nutritious winter squash that's easy to prepare and makes for a delightful side dish.
Roasting brings out the natural sweetness of the squash and creates a tender, caramelized exterior.
Acorn squash is a great source of dietary fiber, vitamins, and minerals, making it a healthy addition to any meal. Its distinct, slightly nutty flavor pairs well with a variety of seasonings, allowing you to customize the dish to your taste.
Ingredients:
- 2 medium acorn squash, halved and seeded
- 2 tablespoons olive oil
- 1 teaspoon salt
- 1/2 teaspoon black pepper
- 1 teaspoon ground cinnamon (optional)
Instructions:
Preheat your oven to 400°F (200°C). Arrange the acorn squash halves, cut-side up, on a baking sheet. Drizzle the olive oil over the squash and use your hands to evenly coat the surfaces.
Sprinkle with salt, pepper, and cinnamon (if using). Roast for 35-45 minutes, or until the squash is tender and caramelized, turning the halves over halfway through the cooking time.
Tip: For a more tender texture, cover the baking sheet with aluminum foil for the first 20 minutes of roasting, then remove the foil and continue cooking until the squash is caramelized and fork-tender.
Serve the roasted acorn squash as a side dish or use it as a base for other recipes, such as stuffed squash or in a grain salad.
Cooking Steps
Preheat your oven to 400°F and get ready to create a delicious roasted acorn squash.
First, you'll need to cut the squash in half lengthwise and scoop out the seeds.
Then, place the cut-side up on a baking sheet and brush the squash with a tasty combination of melted butter and brown sugar.
Step 1. Preheat Oven to 400°F
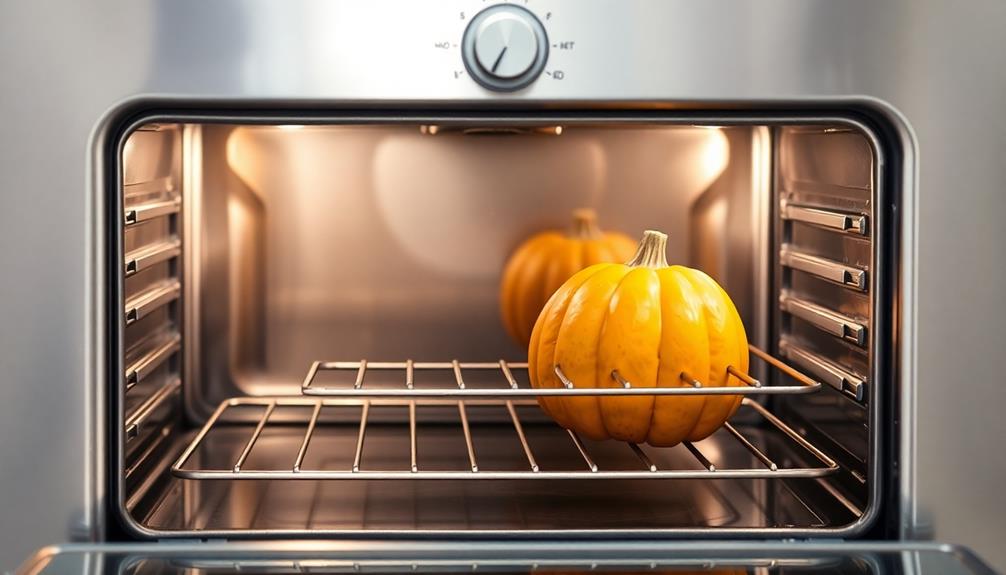
Preheating the oven to a toasty 400°F is the first crucial step in roasting your acorn squash to perfection. This high heat will ensure your squash gets beautifully browned and caramelized on the outside, while staying tender and creamy on the inside.
Make sure to set your oven rack to the middle position so the squash cooks evenly. While the oven is heating up, you can start preparing the rest of your ingredients. Soon, the comforting aroma of roasted squash will fill your kitchen, making your mouth water in anticipation.
Once the oven beeps, indicating it's reached the perfect temperature, you'll be ready to slide in your seasoned acorn squash and let the roasting begin. This simple step lays the foundation for a delicious and wholesome meal that's sure to delight your family and friends.
Step 2. Cut Squash Lengthwise

Begin by carefully slicing the acorn squash in half lengthwise. Use a sharp knife and take your time – you don't want any accidents!
Once the squash is split, you'll see the bright orange flesh and seeds inside. Use a spoon to scoop out the seeds and stringy bits, leaving you with two nice, clean squash halves. Isn't that satisfying?
Now, place the squash halves cut-side up on a baking sheet or in a roasting pan. This will help them cook evenly in the oven.
You can drizzle a little olive oil over the top if you'd like, or leave them plain. Either way, they'll come out deliciously roasted.
Just be sure to save those seeds – you can clean them up and roast them for a tasty snack later!
With the squash prepped, you're well on your way to a delicious roasted acorn squash dish. Yum!
Step 3. Scoop Out and Discard Seeds
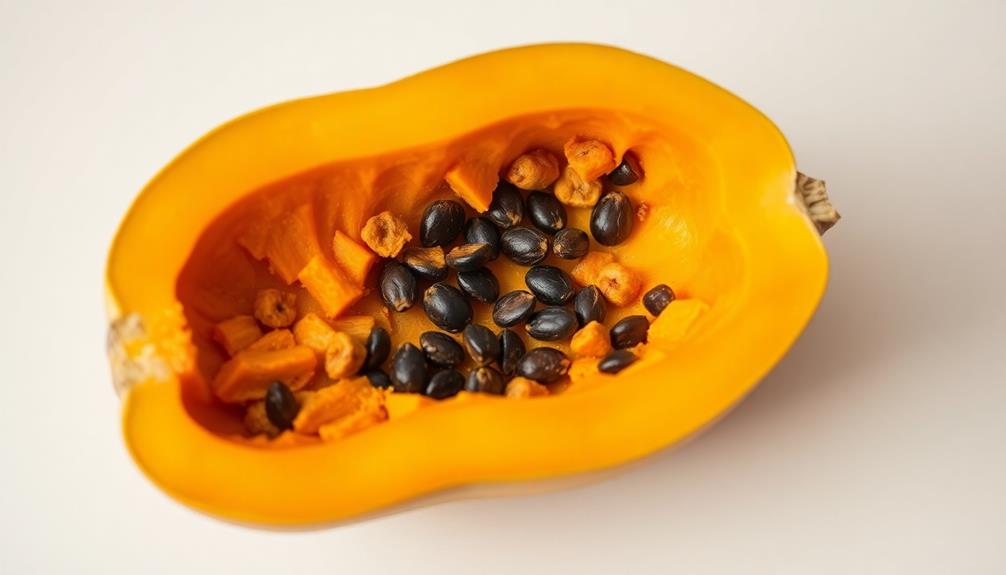
Next, use a spoon to scoop out the seeds and stringy bits from the center of each squash half. This part's easy – just dig right in!
You'll want to get all those messy seeds out so your squash can roast up nice and tender. Don't worry if you can't get every single strand – just do your best to clean things out.
Once the insides are nice and smooth, you can discard the seeds. You don't need those for this recipe. Feel free to save them if you'd like, though – you can roast the seeds for a crunchy snack later.
With the seeds removed, your squash halves are ready for the next step. Grab your baking sheet and let's move on to coating those squash halves in a sweet brown sugar mixture.
Your kitchen is about to smell absolutely amazing!
Step 4. Place Cut-Side up on Baking Sheet

With the seeds removed, place the squash halves cut-side up on a baking sheet. This exposes the tender, orange flesh to the oven's heat, allowing it to become perfectly roasted and caramelized.
Make sure to arrange the squash in a single layer, giving each piece plenty of room to cook evenly. The cut-side up position also makes it easy to brush or drizzle the squash with butter, brown sugar, or any other tasty toppings you'd like to add.
As the squash roasts, the natural sugars will concentrate, creating a delightful sweetness. You'll be able to smell the aroma of the squash filling your kitchen – it's sure to have your mouth watering in anticipation!
When the squash is tender and lightly browned, it'll be ready to enjoy. Scoop out the soft, flavorful flesh and savor every bite of this autumn delight.
Step 5. Brush With Melted Butter and Brown Sugar
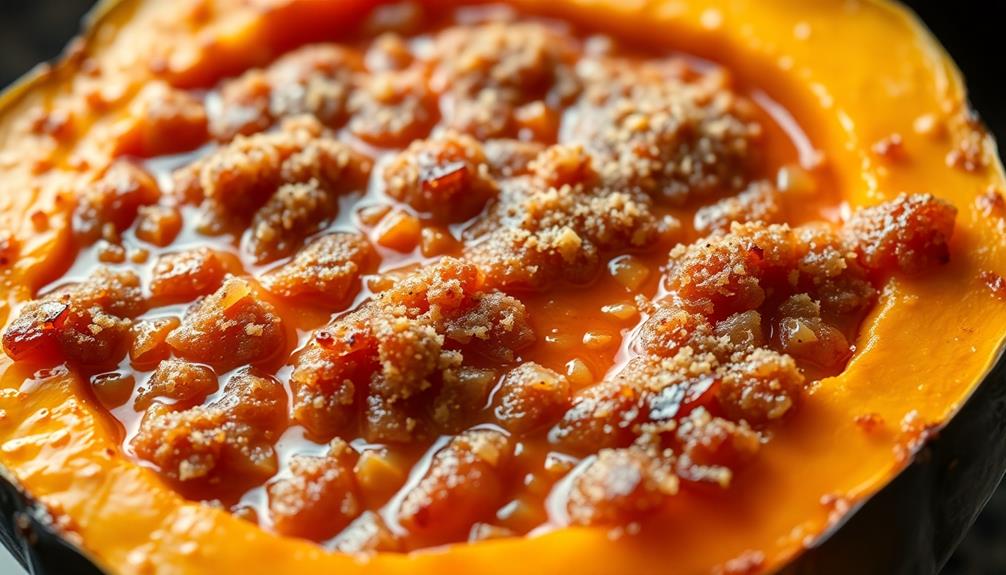
The acorn squash's cut sides are the perfect canvas for a simple yet delicious topping. Grab your trusty brush and get ready to paint those surfaces with a rich, golden mixture.
First, melt the butter in a small bowl until it's silky smooth. Then, sprinkle in a generous amount of brown sugar and mix it all together until it becomes a sweet, gooey glaze.
Carefully brush this irresistible blend all over the exposed flesh of the squash halves. Make sure to get into every nook and cranny, coating the surface evenly.
As the butter and sugar blend melts into the squash, it'll create a caramelized crust that's out of this world. The aroma alone will have your mouth watering in anticipation.
Get ready for a flavor explosion that's both comforting and indulgent. With this simple technique, you're well on your way to roasting up a batch of squash that's sure to impress.
Final Thoughts
After roasting the acorn squash to perfection, you'll be rewarded with a delightfully tender and flavorful dish. The golden-brown, caramelized exterior gives way to a soft, sweet interior that's simply irresistible.
The combination of the roasted squash and the sweet, buttery glaze is a true delight for the senses. You can almost smell the warm aroma wafting through your kitchen, beckoning you to dive in.
Once you take that first bite, you'll be amazed by the depth of flavor and the satisfying texture. The acorn squash's natural sweetness is perfectly complemented by the rich brown sugar, creating a harmonious balance that will have your taste buds dancing.
This dish isn't only delicious but also incredibly easy to prepare, making it the perfect weeknight meal or impressive side dish for any occasion. Enjoy the comforting warmth and the cozy, autumn-inspired flavors of this roasted acorn squash creation.
Frequently Asked Questions
How Long Can Roasted Acorn Squash Be Stored?
Roasted acorn squash can typically be stored for 3-5 days in the refrigerator. Make sure to store it in an airtight container, and it'll stay fresh and flavorful. Enjoy your leftover squash as a nutritious side dish or snack.
Can I Substitute Brown Sugar With Maple Syrup?
Yes, you can substitute brown sugar with maple syrup in your recipe. The maple syrup will add a unique flavor and sweetness to the roasted acorn squash. Just adjust the amount to your taste preference.
How to Choose a Ripe and Flavorful Acorn Squash?
To choose a ripe and flavorful acorn squash, look for one that's heavy for its size with a hard, dull rind. Avoid squash with soft spots or blemishes. Give it a gentle tap – it should have a hollow sound.
Can the Roasted Squash Be Used in Other Dishes?
The roasted squash can certainly be used in other dishes. Its versatile flavor and soft texture make it a great addition to soups, stews, casseroles, or even blended into a smooth puree for dips and spreads.
Is It Possible to Make This Recipe Vegan?
Sure, you can absolutely make this recipe vegan. Simply swap out the brown sugar for a plant-based sweetener like maple syrup or agave, and you've got a delicious, animal-free version of the dish. Additionally, you can use vegan butter or olive oil instead of regular butter to keep the dish fully plant-based. For a delicious twist, try incorporating toasted nuts or seeds to enhance the texture and flavor. This adjustment works particularly well if you’re preparing a classic **green beans almondine recipe**, as the crunch from the almonds or other toppings complements the tender green beans beautifully.