The Pavlova Wreath is a dreamy dessert that'll make your tastebuds dance! Inspired by the legendary ballerina Anna Pavlova, this light and airy creation features a crisp meringue shell wrapped around a soft, pillowy center. You'll love watching your fork sink into the fluffy texture, with fresh fruits like kiwi and strawberries adding pops of sweet flavor. It's the perfect showstopper for any celebration, and you can even customize it with your favorite toppings! Want to learn more about whipping up this elegant treat? Keep reading to discover the full recipe and creative ways to make it your own.
Key Takeaways
- The Pavlova Wreath is a classic meringue-based dessert that originated in the 1920s, inspired by the graceful ballet performances of Anna Pavlova.
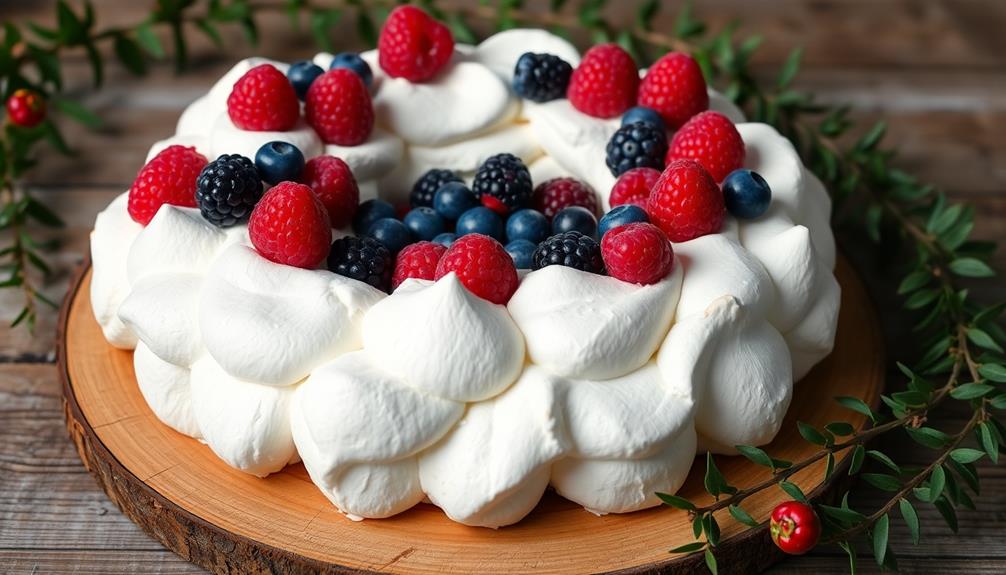
- The dessert features a crisp meringue shell with a soft, fluffy center, typically topped with fresh fruits like kiwi and strawberries.
- The wreath shape enhances the presentation, making it a centerpiece for celebrations and gatherings.
- Pavlova Wreath offers endless customization options, including seasonal fruits, sauces, and liqueurs, catering to diverse palates and preferences.
- The light and airy texture, visual appeal, and ease of preparation make the Pavlova Wreath an impressive and indulgent dessert.
History
According to culinary historians, the Pavlova wreath originated in the 1920s, when it was created in honor of the renowned Russian ballerina Anna Pavlova.
You see, back then, Anna Pavlova was taking the world by storm with her graceful and mesmerizing ballet performances. Fans were simply enchanted by her elegant and ethereal style, which inspired chefs to create a dessert that captured her essence.
The Pavlova wreath is a delightful confection made with a crisp, light meringue shell and a fluffy, creamy center. It's topped with fresh, juicy fruit, often kiwi and strawberries, which give it a lovely, vibrant appearance.
The dessert's airy texture and refreshing flavors are said to mirror the delicate movements and ethereal beauty of Anna Pavlova's legendary dances.
Today, the Pavlova wreath remains a beloved classic, enjoyed by people of all ages for its delicious taste and its connection to the timeless artistry of one of the greatest ballerinas of all time.
Recipe
Pavlova, a classic meringue-based dessert, is a delightful treat that combines a crisp outer shell with a soft, marshmallow-like interior. The Pavlova Wreath is a visually stunning variation that's perfect for festive occasions.
The key to a successful Pavlova Wreath lies in the perfect meringue. The meringue should be baked until it's crisp on the outside, yet still soft and gooey on the inside. The wreath shape adds an elegant and impressive presentation, making it a showstopping centerpiece for your table.
- 6 egg whites, at room temperature
- 1 1/2 cups (300g) granulated sugar
- 1 teaspoon white vinegar
- 1 teaspoon vanilla extract
Preheat the oven to 250°F (120°C). Line a baking sheet with parchment paper.
In a large, clean bowl, beat the egg whites with an electric mixer until they form stiff peaks. Gradually add the sugar, 1 tablespoon at a time, while continuing to beat until the meringue is glossy and thick. Gently fold in the vinegar and vanilla.
Spoon the meringue onto the prepared baking sheet, forming a wreath shape with a hole in the center. Bake for 1 hour and 15 minutes, or until the meringue is crisp on the outside and still soft inside. Turn off the oven and leave the Pavlova in the oven with the door slightly ajar for an additional 30 minutes.
When serving, top the Pavlova Wreath with your desired toppings, such as whipped cream, fresh berries, or lemon curd. The contrast of the crisp meringue and the soft, creamy toppings creates a delightful and memorable dessert. Enjoy your Pavlova Wreath!
Cooking Steps
Whisk those egg whites until they're light and fluffy, then gradually fold in the sugar for a sweet and smooth meringue.
Pipe the meringue onto a baking sheet, creating a beautiful wreath shape.
Pop it in the oven and let it bake until it's lightly browned and crisp on the outside, then allow it to cool completely before serving.
Step 1. Whisk Egg Whites Until Stiff
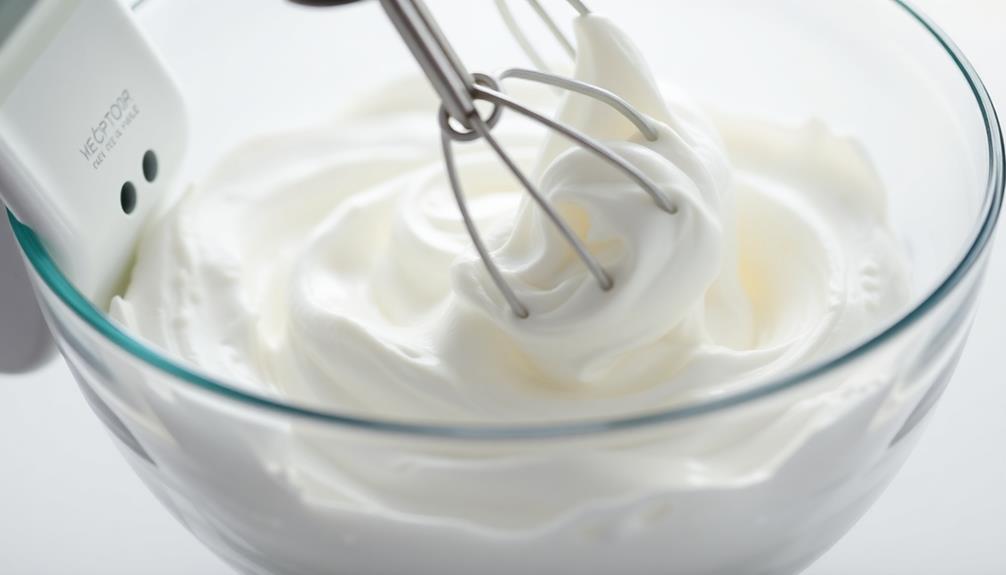
Vigorously whisk the egg whites in a clean, grease-free bowl until they form stiff, glossy peaks.
You'll know they're ready when the whites cling to the whisk and stand up straight without drooping. This might take a few minutes, so be patient and keep whisking with determination.
As the whites get thicker, you'll start to see beautiful, shiny swirls forming. Isn't that satisfying?
Now, gently fold in the sugar, a little at a time, continuing to whisk until the meringue is smooth and silky.
It should have a lovely, cloud-like texture that holds its shape perfectly. Great job! You're well on your way to creating a stunning Pavlova wreath.
Just wait until you see how impressive it looks when it's all done.
Step 2. Fold in Sugar Gradually
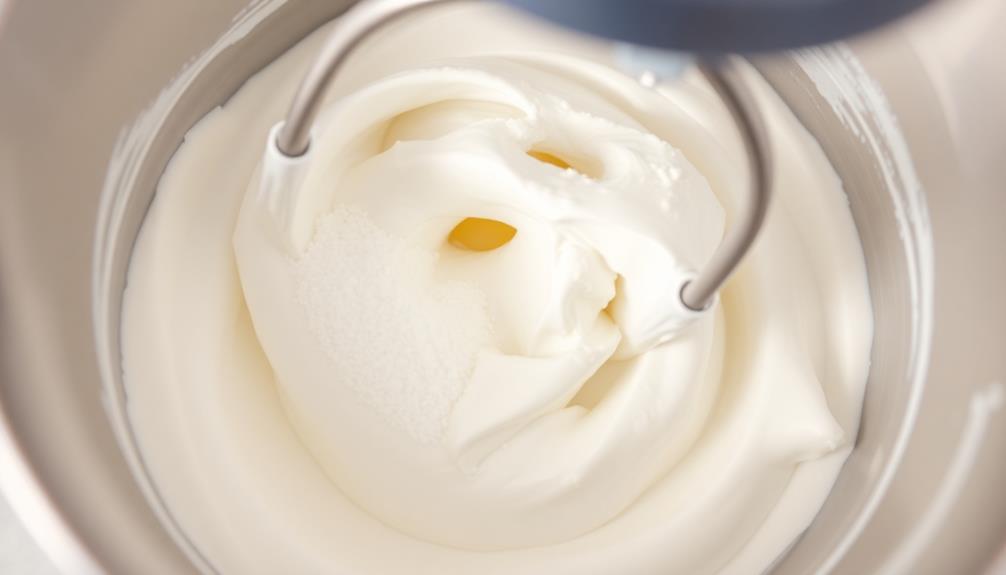
After whipping the egg whites to stiff, glossy peaks, it's time to gradually fold in the sugar. This is an important step that requires patience and a gentle touch.
Grab a big spoonful of the fluffy whites and gently fold it into the bowl of sugar, making sure not to overmix and deflate all that hard work. Repeat this process, slowly incorporating the sugar a little at a time, until it's all blended in seamlessly.
You'll notice the mixture becoming thicker and glossier as the sugar dissolves. Keep folding carefully, making sure to scrape the sides of the bowl to get every last bit.
The gradual addition of sugar is key to achieving that perfect pavlova texture – crisp on the outside and soft and marshmallowy on the inside. Stick with it, and soon you'll have a beautifully sweetened meringue base ready for the next step!
Step 3. Pipe Meringue Onto Baking Sheet
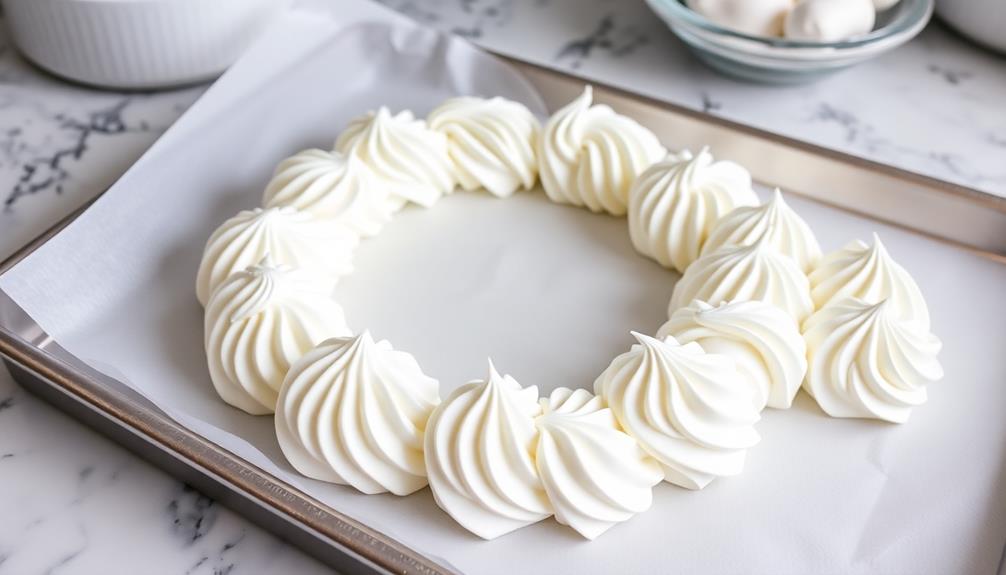
With the sugar now fully incorporated, it's time to transfer the luscious meringue to your baking sheet.
Grab your trusty piping bag and fit it with a large round tip. Gently scoop the silky, cloud-like meringue into the bag, being careful not to deflate it.
Position the bag over your baking sheet and pipe the meringue into a beautiful circular wreath shape. Start from the outside and work your way in, creating a mesmerizing spiral pattern.
Make sure to leave a bit of space between each dollop of meringue – this will allow the pavlova to bake evenly.
Once you've created your stunning wreath, use the back of a spoon to create little peaks and swirls, adding texture and visual interest.
With a quick dusting of powdered sugar, your pavlova wreath is ready for the oven!
Bake it until the meringue is crisp on the outside but still soft and gooey on the inside.
Get ready to wow your guests with this showstopping dessert.
Step 4. Bake Until Lightly Browned
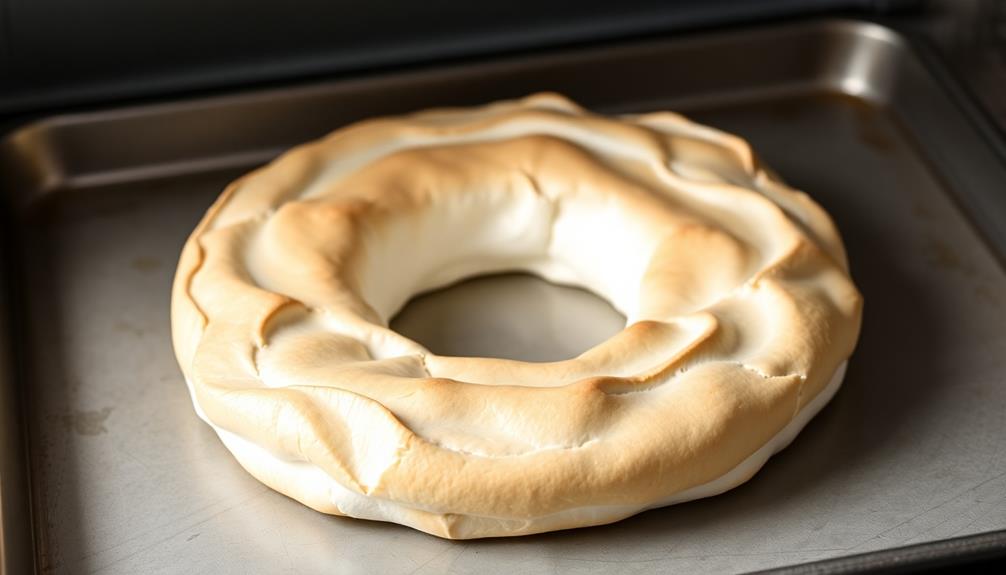
Once your pavlova wreath is carefully piped, it's time to bake it to perfection! Preheat your oven to a toasty 300°F (150°C) and grab a trusty baking sheet.
Gently slide the tray with your masterpiece into the center of the oven. As the heat embraces your creation, you'll start to see the meringue transforming before your eyes. The delicate peaks and swirls will slowly turn a lovely golden-brown, filling your kitchen with the sweet, comforting scent of vanilla.
Keep a close eye, as it shouldn't take more than 30-35 minutes for the pavlova to bake. You'll know it's ready when the exterior is crisp and the center is still slightly soft.
Once that perfect moment arrives, carefully remove the tray and let your wreath cool completely. With patience and care, you've now baked your pavlova to light, airy perfection – ready to be adorned with your favorite toppings!
Step 5. Allow to Cool Completely

Your pavlova wreath has now reached that perfect golden-brown hue, signaling it's time to let it cool completely.
Take a deep breath and step back – the hard work is done! Now, you can relax and let the pavlova work its magic.
Over the next several hours, your creation will transform from a crisp, airy shell into a soft, pillowy meringue. As it cools, the center will gently collapse, creating a beautiful, nest-like shape.
Resist the urge to peek – opening the oven door could cause the pavlova to crack or lose its shape.
Once the oven has fully cooled, you can finally admire your handiwork. Gently transfer the wreath to a serving platter, being careful not to break the delicate meringue.
The exterior should be crisp and slightly golden, while the interior is delightfully soft and cloud-like.
Now, the fun part begins – it's time to top your masterpiece and serve it to eager family and friends!
Final Thoughts
As you reflect on creating this delectable Pavlova wreath, don't forget the endless possibilities it offers. This show-stopping dessert can be customized to suit any occasion or personal taste.
Imagine adorning it with fresh seasonal fruit for a vibrant, colorful display. Or, drizzle it with chocolate sauce and sprinkle with toasted nuts for a decadent twist. The meringue base acts as a blank canvas, inviting you to let your creativity shine.
You can even experiment with different flavors, like infusing the whipped cream with vanilla, citrus, or even liqueur. The options are truly endless!
And don't be afraid to get creative with the presentation – the Pavlova wreath looks stunning when placed on a rustic wooden board or tiered platter. For a festive holiday cheese board, you can add some seasonal fruits, nuts, and maybe even some edible flowers to complement the Pavlova wreath. The combination of colors and textures will make for a beautiful and enticing spread for your guests. Don’t forget to add some festive accents like gold or silver serving utensils and a sprinkle of powdered sugar to give it that extra touch of holiday magic.
No matter how you choose to serve it, this dessert is sure to impress and delight your family and friends. Savor every bite of this light, airy, and absolutely delicious Pavlova creation.
Frequently Asked Questions
What Is the Significance of the Wreath Shape?
The wreath shape symbolizes continuity, unity, and completion. It represents the cyclical nature of life, with no beginning or end. The circular form evokes a sense of wholeness and interconnectedness, making it a meaningful design choice.
How Can I Ensure the Meringue Is Perfectly Crispy?
To ensure your meringue is perfectly crisp, bake it at a low temperature for an extended period, let it cool completely in the oven, and avoid any humidity which can soften the delicate structure.
Can I Make the Pavlova Wreath in Advance?
You can make the pavlova wreath in advance, but it's best to assemble it just before serving. The meringue shells can be made a day or two ahead and stored in an airtight container.
What Are Some Creative Ways to Decorate the Wreath?
You can get creative with your wreath's decoration! Try adding fresh fruit, edible flowers, or even chocolate shavings. Get playful and make it your own unique creation that reflects your personal style.
Can I Substitute Any Ingredients in the Recipe?
You can certainly substitute ingredients in a recipe, but be mindful of how it may affect the final outcome. Consider flavors that complement each other and experiment cautiously to ensure the dish turns out as desired.