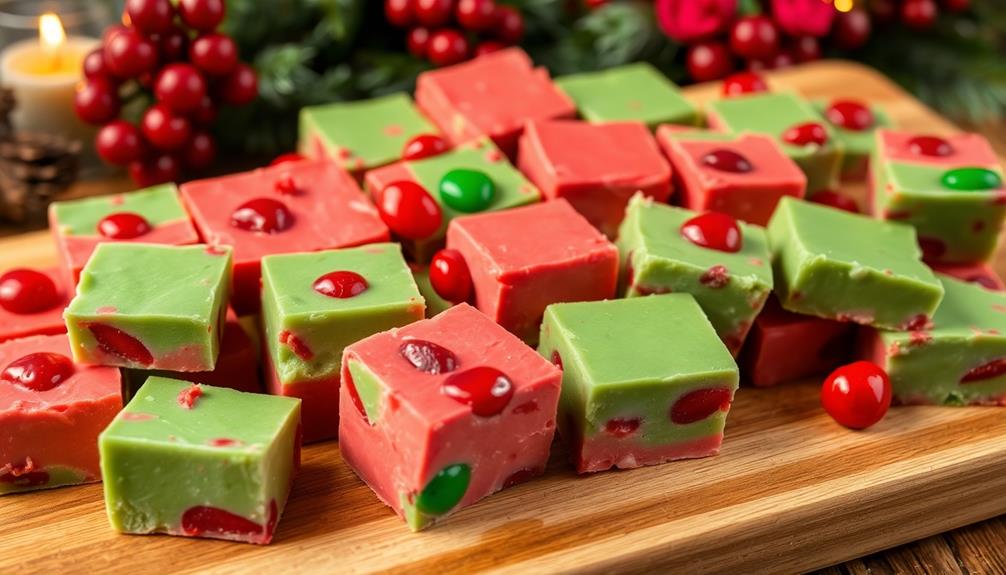

Christmas fudge is a classic holiday treat that's been delighting families for generations! This rich, creamy confection has its origins in the late 1800s, when candy makers started experimenting with new recipes. Today, you can find all sorts of festive flavors, from traditional chocolate to peppermint or white chocolate. Making your own fudge is easy – just mix sugar, cream, and chocolate, then pour it into a pan to chill. Top it with crushed candy canes or pecans for a fun twist. Christmas fudge is the perfect way to spread holiday cheer, and you'll want to keep reading to discover even more mouthwatering ways to enjoy it!
Key Takeaways
- Christmas fudge is a classic holiday treat that gained popularity in the late 1800s, evoking nostalgia and warmth during the festive season.
- The key to successful Christmas fudge lies in proper temperature and cooking method, ensuring a rich and creamy confection.
- Serving suggestions for Christmas fudge include cutting into squares, topping with crushed peppermint or nuts, and packaging in decorative boxes for gifting.
- Christmas fudge can be stored in the refrigerator for up to 2 weeks or frozen for up to 3 months to maintain freshness.
- Variations of Christmas fudge can include different flavors such as peanut butter, mint, or white chocolate, as well as added textures like dried fruits or marshmallows.
Top picks for "christma fudge"
Open Amazon search results for this keyword.
As an affiliate, we earn on qualifying purchases.
History
Although the exact origins of Christmas fudge are unclear, the treat's popularity has long been associated with the holiday season. Historians believe the delectable confection first gained traction in the late 1800s, when enterprising candy makers began experimenting with new recipes to delight their customers during the festive time of year.
As word of this rich, creamy delicacy spread, families eagerly awaited the chance to indulge in a decadent slice of fudge, often homemade with love and care.
Today, Christmas fudge remains a beloved tradition, with flavors ranging from classic chocolate to creative seasonal varieties like peppermint or eggnog.
The aroma of freshly-made fudge fills the air, conjuring feelings of warmth, nostalgia, and the true spirit of the holidays.
Whether gifting a batch to loved ones or savoring a piece by the fireplace, this timeless treat continues to bring joy and celebration to the most wonderful time of the year. For those looking to put a new spin on an old classic, try incorporating this nostalgic confection into a festive coleslaw recipe. The addition of chocolate peppermint bark adds a delightful crunch and hint of sweetness to the traditional dish. Whether serving it at a holiday gathering or enjoying it as a side dish with a cozy meal at home, this creative twist is sure to be a hit with friends and family alike.
Recipe
Christmas Fudge is a classic holiday treat that's sure to delight your loved ones. This rich and creamy confection is the perfect homemade gift or addition to your holiday spread.
Fudge is a simple yet delicious candy that can be made with just a few basic ingredients. The key to success is understanding the proper temperature and method for cooking the sugar mixture to achieve the perfect texture.
Ingredients:
- 2 cups granulated sugar
- 1/2 cup unsalted butter
- 1/2 cup milk
- 1/4 cup unsweetened cocoa powder
- 1/4 teaspoon salt
- 1 teaspoon vanilla extract
- 1 cup semi-sweet chocolate chips
Directions:
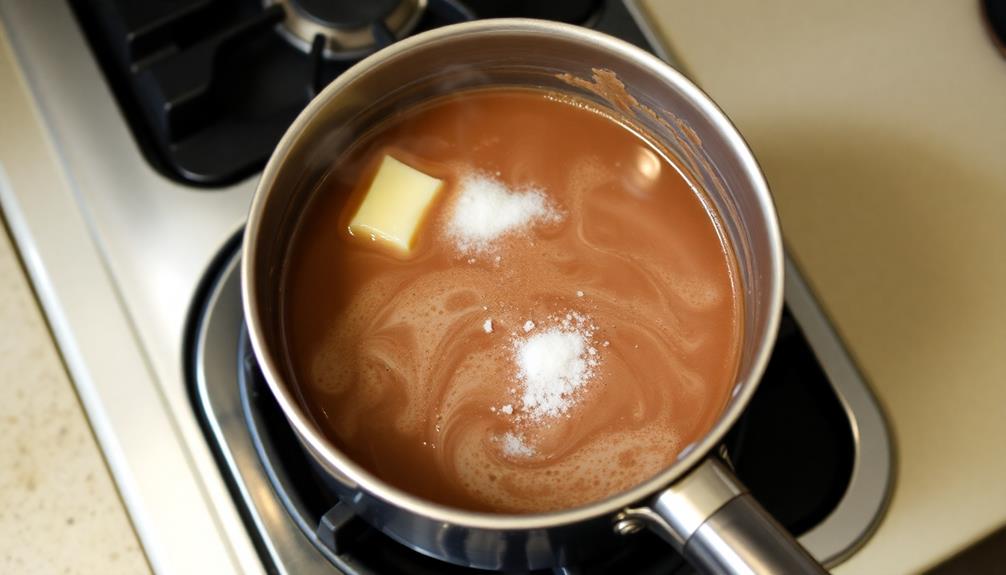
In a medium saucepan, combine the sugar, butter, milk, cocoa powder, and salt. Cook over medium heat, stirring constantly, until the mixture comes to a boil.
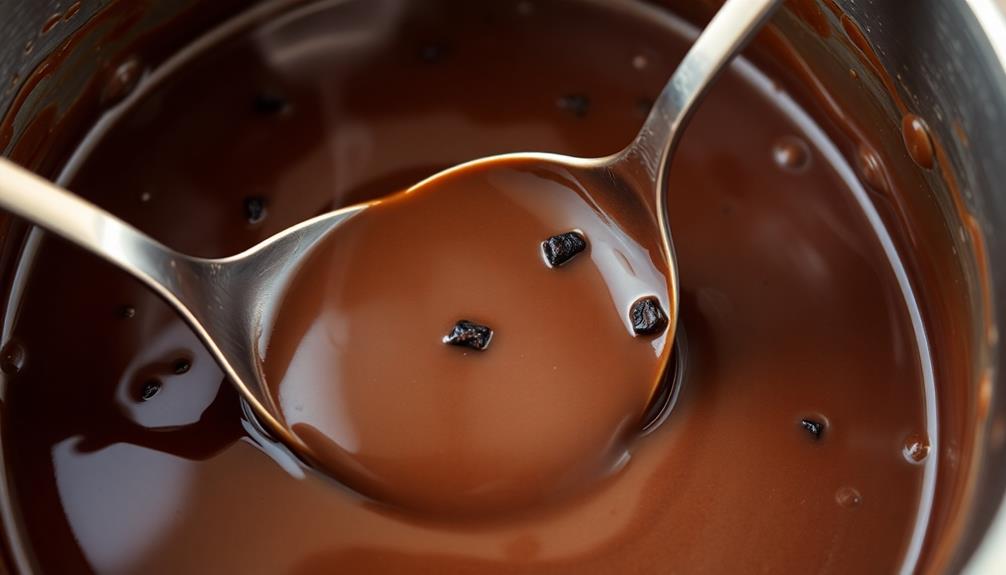
Continue to cook, stirring, for 5 minutes. Remove from heat and stir in the vanilla and chocolate chips until the chips are melted and the mixture is smooth.
Pour the fudge into an 8-inch square baking pan lined with parchment paper. Smooth the top and allow to cool at room temperature for at least 2 hours before cutting into squares.
For best results, chill the fudge in the refrigerator for 30 minutes before cutting. Store the fudge in an airtight container at room temperature for up to 1 week.
Cooking Steps
In a large saucepan, you'll combine the sugar, milk, and butter, then bring the mixture to a boil.
Once it's nice and bubbly, you'll remove it from the heat and stir in the vanilla extract.
Step 1. Combine Sugar, Milk, and Butter
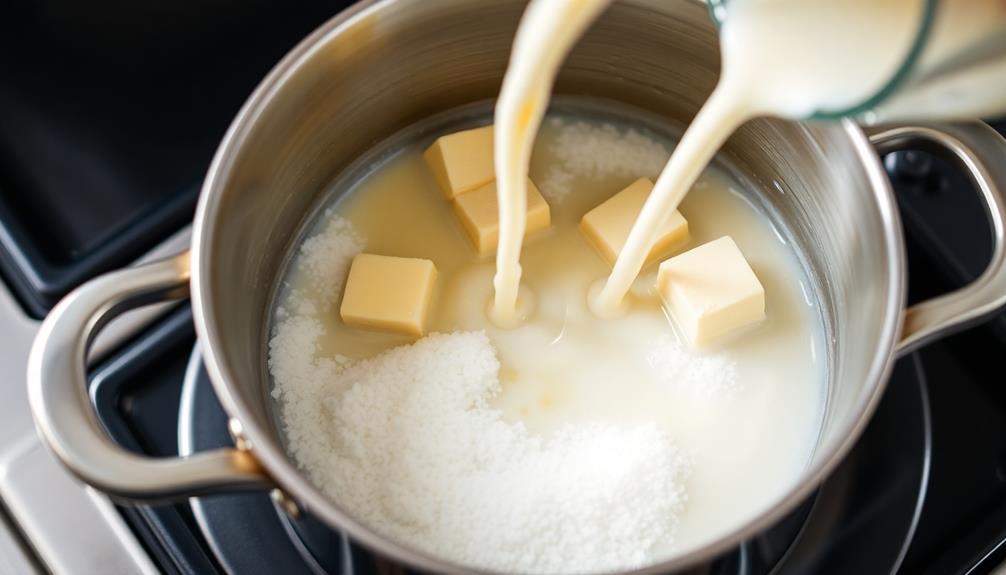
Gather the sugar, milk, and butter in a heavy-duty saucepan. You'll need one cup of white granulated sugar, one cup of milk, and four tablespoons of unsalted butter. Carefully measure each ingredient and add them to the pan.
Now, turn the stove on to medium heat and stir the mixture continuously with a wooden spoon. As the ingredients heat up, you'll see the sugar dissolve and the butter melt, creating a smooth, creamy texture.
Be patient and keep stirring – it might take about 5-7 minutes for the mixture to reach a gentle boil. Once it starts bubbling, let it cook for 5 more minutes, stirring all the while.
This step is crucial, as it allows the fudge to thicken and develop its rich, decadent flavor. Get ready for the next exciting stage of the recipe!
Step 2. Bring Mixture to a Boil
Once the sugar has dissolved and the butter has melted, you'll notice the mixture start to gently bubble. As the heat builds, the bubbles will become larger and more vigorous, signaling that the fudge is on its way to being perfectly cooked.
Keep a close eye on the pot, stirring occasionally with a wooden spoon, as the mixture comes to a full, rolling boil. You'll see the color deepen to a rich, caramel hue and the aroma will fill the air, making your mouth water in anticipation.
Be careful, as the bubbling liquid can be very hot. Maintain a steady, medium heat, allowing the fudge to boil for exactly 5 minutes, stirring constantly.
This time is crucial, as it allows the ingredients to blend seamlessly and develop the signature creamy, smooth texture of classic Christmas fudge. Keep that timer handy and don't let yourself get distracted – your delicious holiday treat is just moments away!
Step 3. Remove From Heat

After exactly 5 minutes of boiling, immediately remove the pot from the heat. You don't want your fudge to overcook and become grainy!
Carefully pour the hot, bubbly mixture into a large, greased baking pan. Work quickly, as the fudge will start to thicken rapidly. Use oven mitts to protect your hands from the steam. With the heat off, the fudge will cool and firm up, transforming into a smooth, creamy texture.
Now, it's time to let the fudge set. Resist the temptation to touch or taste it – you'll have to wait at least 2 hours before it's ready. During this time, the fudge will harden and develop its signature Christmas flavor.
Once it's set, you can cut it into perfect little squares, ready to share with family and friends. Isn't homemade fudge the best? The aroma alone is enough to fill your home with holiday cheer. Get ready for rave reviews when you serve this delectable treat!
Step 4. Stir in Vanilla Extract
Next, stir in the vanilla extract. This step adds a lovely, aromatic flavor to your Christmas fudge. As you pour in the vanilla, your kitchen will fill with a delightful, sweet scent.
Gently fold the vanilla into the fudge mixture using a wooden spoon or spatula. Stir slowly and carefully to incorporate the flavor evenly throughout. The vanilla extract will blend seamlessly with the other ingredients, creating a harmonious taste.
Keep stirring until the mixture is smooth and uniform. This step is important, as it ensures your fudge has a consistent, mouthwatering flavor in every bite. The vanilla extract complements the rich chocolate and creamy texture, making your Christmas fudge even more irresistible.
Once the vanilla is fully incorporated, your fudge is one step closer to being ready to pour into the pan. Get ready to enjoy the delicious results of your hard work!
Step 5. Pour Into Prepared Pan
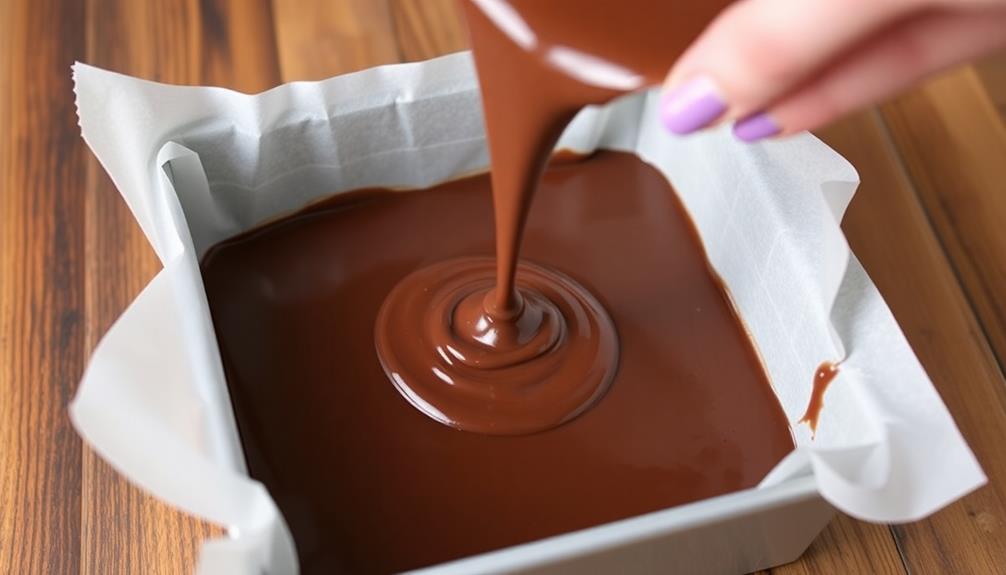
With the vanilla extract incorporated, you'll want to pour the fudge mixture into the prepared pan.
Make sure to use a nice, big pan – it'll give your fudge plenty of room to spread out and get that perfect, smooth texture.
Slowly and carefully, pour the rich, chocolatey goodness into the pan, making sure to get every last bit.
You'll want to use a spatula to gently spread the fudge out evenly, so it sets up nice and level.
Once it's all in the pan, you can give it a little tap on the counter to help settle any air bubbles.
Now, pop that pan in the fridge and let the fudge chill for at least 2 hours.
The wait might feel long, but trust me, it'll be worth it when you've got that perfect, creamy Christmas fudge ready to enjoy!
Final Thoughts
Christmas fudge is a delectable treat that can bring joy to any holiday gathering.
Now that you've poured the fudge into the prepared pan, it's time to take a step back and admire your handiwork. Imagine the rich, creamy texture and the sweet, indulgent flavor melting in your mouth. Can't you just smell the enticing aroma of chocolate and sugar wafting through the air?
As the fudge sets and becomes firm, you'll be eager to slice it into perfect squares. Each bite will be a delightful explosion of holiday cheer.
Serve this homemade fudge to your family and friends, and watch their faces light up with delight. They'll be impressed by your baking skills and grateful for the thoughtful gesture.
The best part? You can customize the flavor to suit everyone's tastes. From classic chocolate to festive peppermint, the possibilities are endless.
Frequently Asked Questions
Can I Use Chocolate Chips Instead of Melting Chocolate?
You can use chocolate chips instead of melting chocolate, but the texture may be grainier. The chips may not melt as smoothly, and the fudge might not have the same rich, creamy consistency.
How Long Does Homemade Christmas Fudge Last?
Homemade fudge typically lasts 1-2 weeks when stored properly in an airtight container at room temperature. The shelf life can vary depending on the ingredients used and how you've handled the fudge during preparation.
Can I Add Nuts or Other Mix-Ins to the Fudge?
Yes, you can absolutely add nuts or other mix-ins to your fudge. Feel free to customize it with your favorite ingredients to make it your own unique creation. Just be sure not to overload it.
Is It Possible to Make Fudge Without a Candy Thermometer?
Yes, you can make fudge without a candy thermometer. Use the soft-ball test instead – drop a small amount of the fudge mixture into cold water and check if it forms a soft, pliable ball. This method works just as well!
Can I Store the Fudge in the Freezer for Later?
You can absolutely store the fudge in the freezer for later enjoyment. Just be sure to wrap it tightly in plastic or aluminum foil to prevent freezer burn. This will allow you to savor the delicious fudge whenever you crave it.