Chocolate truffles are a decadent delight that have captivated taste buds for nearly a century! These rich, velvety treats were born in the 1920s when a French confectioner accidentally drizzled melted chocolate over chilled cream. The result was a smooth, indulgent ganache that quickly became a beloved delicacy. Today, creative confectioners have crafted all sorts of tantalizing truffle variations, from classic cocoa-coated bites to unique flavor combinations. Whether enjoyed at a fancy dinner or a casual gathering, these irresistible truffles are sure to satisfy your sweet tooth. With just a few simple ingredients, you can even whip up a batch at home – but that's just the start of the delicious truffle experience.
Key Takeaways
- Chocolate truffles are a beloved confectionery that originated in the 1920s, created accidentally by French confectioner Louis Dufour.
- Truffles are made by melting high-quality dark chocolate and cream, then rolling the mixture into bite-sized balls and coating them in cocoa powder.
- The distinct crunch of the outer shell complements the luscious, creamy center, providing a delightful textural experience with a balance of sweetness and richness.
- Chocolate truffles are versatile and can be enjoyed for various occasions, from fancy dinners to casual gatherings, and can be packaged as gifts.
- While truffles are indulgent, dark chocolate varieties may offer health benefits, such as antioxidants, and homemade versions allow for healthier ingredient choices.
Top picks for "chocolate truffl"
Open Amazon search results for this keyword.
As an affiliate, we earn on qualifying purchases.
History
Chocolate truffles trace their origins back to the 1920s, when a French confectioner named Louis Dufour accidentally drizzled melted chocolate over chilled cream, forming a rich, decadent truffle-shaped treat.
Intrigued by this happy accident, Dufour began experimenting, perfecting the recipe and sharing his creation with the world.
Soon, chocolate truffles became a beloved delicacy, capturing the hearts and taste buds of chocolate lovers everywhere. Their smooth, velvety texture and intense cocoa flavor made them an instant hit, and the fun, bite-sized shape was perfect for indulging.
As the years passed, creative confectioners started adding their own unique twists, playing with different flavors and coatings to make each truffle a one-of-a-kind delight.
Today, chocolate truffles are enjoyed by people of all ages, from fancy dinner parties to casual movie nights.
Whether you prefer classic dark chocolate or a playful fruit-filled variety, these tiny treats continue to bring joy and satisfaction with every delectable bite.
Recipe
Chocolate truffles are a delectable, bite-sized indulgence that can be easily made at home. These rich, velvety confections are the perfect treat for chocolate lovers or as an elegant dessert option.
The key to creating the perfect chocolate truffle lies in the quality of the ingredients and the technique used. By following a few simple steps, you can craft these decadent morsels in your own kitchen.
Ingredients:
- 8 ounces high-quality dark chocolate, chopped
- 1/2 cup heavy cream
- 2 tablespoons unsalted butter, softened
- 1/4 cup unsweetened cocoa powder, for dusting
Cooking Instructions:
In a medium saucepan, heat the heavy cream over medium heat until it just begins to simmer. Remove from heat and add the chopped chocolate. Let stand for 2-3 minutes, then stir until the chocolate is completely melted and the mixture is smooth.
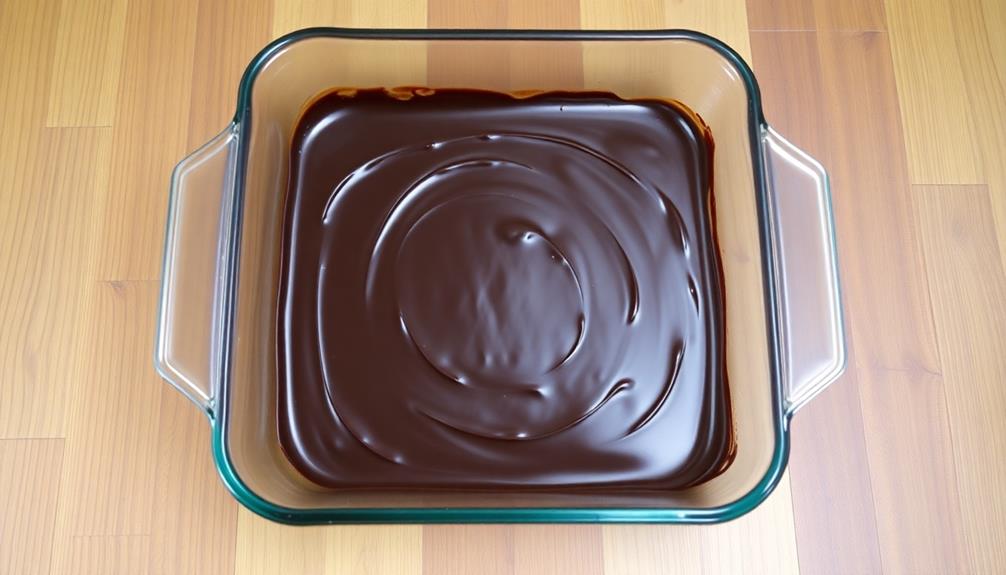
Stir in the softened butter until fully incorporated. Pour the mixture into a shallow baking dish and refrigerate for at least 2 hours, or until firm.
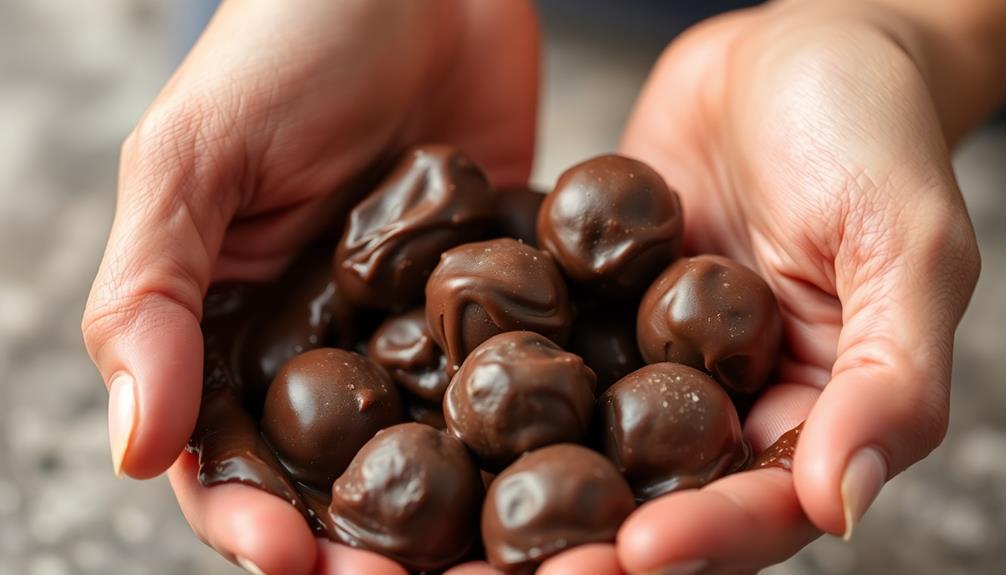
Once the truffle base is chilled, use a small scoop or spoon to portion out bite-sized balls. Gently roll each portion between your palms to create a smooth, round shape. Toss the truffles in the unsweetened cocoa powder until fully coated.
Store the finished truffles in an airtight container in the refrigerator until ready to serve. Enjoy these decadent homemade chocolate truffles within 5-7 days for optimal freshness.
Cooking Steps
First, you'll melt the chocolate and cream together, stirring until they're smooth and creamy.
Then, let the mixture cool down just a bit before you start rolling it into little balls.
Step 1. Melt Chocolate and Cream Together

To begin, you'll need to carefully melt the chocolate and cream together. In a medium-sized saucepan, combine the chopped chocolate and heavy cream.
Place the pan over low heat, stirring the mixture constantly with a whisk or wooden spoon. As the chocolate starts to melt, the mixture will become smooth and velvety.
Keep a close eye on it, making sure the chocolate doesn't burn or seize up. The key is to go slowly and stir continuously until the chocolate has completely melted and the mixture is well combined. The rich, glossy liquid should have a uniform consistency, almost like hot fudge.
Once the chocolate and cream are perfectly melted and blended, remove the pan from the heat. Be careful, as the mixture will be very hot!
Let it cool for a few minutes, stirring occasionally, until it thickens to a truffle-like consistency. Now you're ready for the next step in crafting your delectable chocolate truffles.
Step 2. Let Chocolate Mixture Cool Slightly

Once the chocolate and cream have melted together perfectly, you'll want to let the mixture cool slightly. This is an important step, as you don't want the chocolate to be too hot when you start shaping the truffles.
As the mixture cools, it will become thicker and creamier, making it easier to work with.
Take this time to get your hands ready. Lightly dust them with cocoa powder or cornstarch to prevent the chocolate from sticking. You can also prepare a baking sheet lined with parchment paper or a silicone mat, where you'll place the shaped truffles later.
Keep an eye on the chocolate mixture, stirring it occasionally. You're looking for it to thicken up and become slightly firm, but still smooth and pliable.
This should take around 5-10 minutes, depending on the quantity and temperature of your ingredients. Once it's at the perfect consistency, you're ready to start scooping and shaping your delicious chocolate truffles!
Step 3. Roll Chocolate Mixture Into Balls
With your chocolate mixture now cooled and ready, you can begin scooping and rolling it into bite-sized balls. Grab a small spoon or melon baller and scoop out a bit of the rich, velvety chocolate.
Gently roll the chocolate between the palms of your hands, forming it into a smooth, round truffle. As you work, the warmth of your hands will help the chocolate soften and take shape. Be careful not to overwork it, or the texture might become too soft.
Once you've created a perfect little ball, place it on a clean, flat surface, like a baking sheet lined with parchment paper.
Repeat this process, working in batches, until you've transformed the entire chocolate mixture into an assortment of uniform truffles. Feel free to get creative and roll the truffles in cocoa powder, chopped nuts, or sprinkles for added texture and flavor.
With each bite-sized treat you create, you'll be one step closer to a delectable homemade chocolate masterpiece.
Step 4. Coat Truffles With Cocoa Powder

Dust a clean, flat surface with a light coating of cocoa powder. This is where the real magic happens! Gently roll each chocolate truffle in the powder, making sure to cover every inch. The rich, dark cocoa will create a beautiful contrast against the smooth, velvety centers.
As you roll, the aroma of chocolate will fill the air, making your mouth water in anticipation.
Once fully coated, transfer the truffles to a serving dish or box. The cocoa powder will help preserve the truffles, keeping them fresh and ready to enjoy.
Nibble on one straight away if you can't resist – the burst of flavor will have you reaching for another! Share the rest with your family and friends, or keep them all to yourself as a special treat.
Either way, these homemade chocolate truffles are sure to impress and delight.
Step 5. Refrigerate Truffles Until Firm
After coating the truffles in cocoa powder, place them in the refrigerator to firm up. This is a crucial step – it'll help the chocolate truffles hold their shape and get that perfect, melt-in-your-mouth texture.
As they chill, the chocolate mixture will harden, making the truffles nice and firm. You'll want to leave them in the fridge for at least 30 minutes, or until they feel solid to the touch.
Once they're nice and chilled, you can take them out and start enjoying them! The cold temperature will also heighten the rich, chocolatey flavor.
Mmm, can you just imagine biting into one of those smooth, velvety truffles? The cooling sensation as the chocolate melts on your tongue is absolutely divine.
Final Thoughts
Chocolate truffles, a decadent treat, are the perfect conclusion to any meal or gathering. Whether you prefer them dusted in cocoa powder, coated in chopped nuts, or drizzled with caramel, these bite-sized wonders are sure to delight your taste buds. The rich, velvety texture and intense chocolate flavor make them simply irresistible.
As you savor each truffle, let the silky smooth ganache melt on your tongue, releasing a symphony of flavors that dance across your palate. The satisfying crunch of the shell gives way to the luscious center, creating a textural experience that's both indulgent and satisfying. For an extra touch of indulgence, pair these truffles with a glass of your favorite red wine or a rich, creamy espresso. And if you’re feeling adventurous, try making your own batch at home using a traditional trifle recipe. The combination of high-quality chocolate and a time-tested method will surely elevate your dessert game to new heights.
Homemade or store-bought, chocolate truffles are a timeless classic that never fails to impress. Whether you're hosting a dinner party or treating yourself to an afternoon snack, these decadent delights are sure to leave you craving more.
Embrace the joy of chocolate truffles and savor every blissful bite.
Frequently Asked Questions
How Long Do Homemade Chocolate Truffles Last?
Homemade truffles typically last 7-10 days when stored properly in the fridge. The rich, creamy texture and delicate flavors are best enjoyed within this time frame for optimal freshness and taste. Proper storage is key to extending their shelf life.
Can I Use Milk Chocolate Instead of Dark Chocolate?
You can certainly use milk chocolate instead of dark chocolate for your homemade truffles. The flavor will be creamier and sweeter, but the overall texture and preparation process will remain the same.
Are Chocolate Truffles Gluten-Free?
Yes, chocolate truffles are typically gluten-free since they're made primarily from chocolate, cream, and occasionally other ingredients that don't contain gluten. Just be sure to check the specific recipe and ingredients to confirm there's no gluten present.
How Should I Store Chocolate Truffles?
To store chocolate truffles, keep them in an airtight container in the refrigerator. Avoid direct sunlight and high temperatures, which can cause the truffles to melt or become stale. Enjoy your truffles within a week for best quality.
Can I Freeze Chocolate Truffles for Later?
Yes, you can freeze chocolate truffles for later. Just make sure to place them in an airtight container or bag to prevent freezer burn. When ready to enjoy, thaw them at room temperature before serving.