
You'll love the history behind this beloved American classic! Apple pie traces its roots back to ancient Greece and Rome, arriving in the U.S. with 17th-century colonists. Today, it's an iconic part of our cuisine, often enjoyed during special occasions. The perfect apple pie starts with a buttery, flaky crust and a filling of tart Granny Smith apples, sweetened with sugar and spices. Bake it to golden perfection, then serve warm with vanilla ice cream – a true taste of comfort. Want to learn more about mastering the art of apple pie baking?
Key Takeaways
Key points about apple pie:
- Apple pie has a rich history tracing back to ancient Greece and Rome, with the modern concept developing in Europe during the 1300s.
- The classic apple pie recipe features a flaky crust and a filling made with tart Granny Smith apples, sugar, and spices.
- Baking the perfect apple pie requires attention to detail, from selecting the right apples to crimping the edges for visual appeal.
- The sensory experience of apple pie, from its warm aroma to the first bite, creates a sense of comfort and indulgence.
- Sharing and enjoying apple pie is a cherished tradition that brings people together and fosters connection and happiness.
Top picks for "apple"
Open Amazon search results for this keyword.
As an affiliate, we earn on qualifying purchases.
History
Although the exact origins of apple pie are unclear, it's believed that the earliest versions of the dish can be traced back to the ancient Greeks and Romans. They were the first to bake pastry with fruit fillings, though they didn't use apples.
The idea of the apple pie we know and love today didn't come about until the 1300s in Europe. As apples became more widely available, bakers began experimenting with new recipes, creating the classic treat we enjoy today.
During the 17th century, colonists brought apple pie recipes to America, and it quickly became a beloved dessert across the country.
Today, apple pie is an iconic part of American cuisine, often served at special occasions and holidays. Its sweet, cinnamon-infused filling and flaky, buttery crust make it a true comfort food that brings back warm memories for many.
Whether you enjoy it à la mode or on its own, apple pie is a timeless delight that has stood the test of time.
Recipe
Apple Pie
Recipe
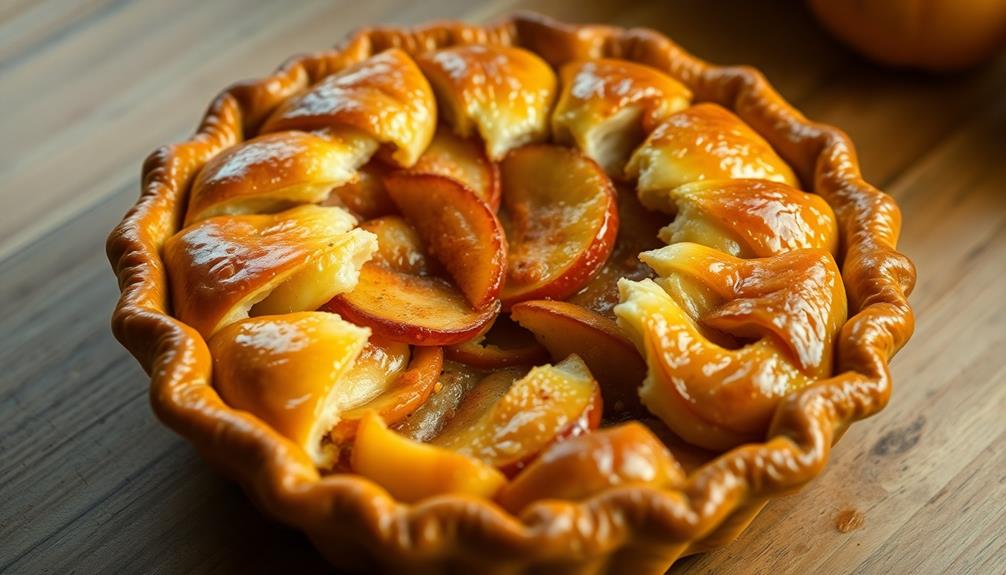
Baking a homemade apple pie is a time-honored tradition that fills the home with the irresistible aroma of warm apples, cinnamon, and buttery crust. This classic recipe is a delightful combination of sweet, tart, and flaky perfection. Whether you're celebrating a special occasion or simply craving a comforting dessert, this apple pie is sure to delight.
The key to a successful apple pie lies in using the right balance of flavors and textures. The filling should be a harmonious blend of crisp, tart apples and warm spices, while the crust should be flaky, tender, and golden brown.
- 2 1/2 cups all-purpose flour
- 1 teaspoon salt
- 1 cup unsalted butter, chilled and cubed
- 1/4 cup ice water
For the Filling:
- 6-8 Granny Smith apples, peeled, cored, and sliced
- 3/4 cup granulated sugar
- 2 tablespoons all-purpose flour
- 1 teaspoon ground cinnamon
- 1/4 teaspoon ground nutmeg
- 1/4 teaspoon ground cloves
- 2 tablespoons unsalted butter, cubed
Preheat your oven to 425°F (220°C). In a large bowl, combine the flour and salt. Cut in the chilled butter using a pastry blender or two forks until the mixture resembles coarse crumbs. Gradually add the ice water, mixing just until the dough begins to come together.
Divide the dough in half, shape each half into a disc, wrap in plastic, and refrigerate for at least 30 minutes.
In a separate bowl, mix the sliced apples, sugar, flour, cinnamon, nutmeg, and cloves until the apples are well coated. Roll out one disc of dough and place it in a 9-inch pie dish. Pour the apple filling into the crust and dot the top with the cubed butter.
Roll out the remaining dough and place it over the filling, crimping the edges to seal. Cut several slits in the top crust to allow steam to escape. Bake for 25 minutes, then reduce the temperature to 350°F (180°C) and continue baking for an additional 30-35 minutes, or until the crust is golden brown and the filling is bubbly.
For best results, allow the pie to cool completely before slicing. Serve with a scoop of vanilla ice cream or a dollop of whipped cream for a truly indulgent treat. Enjoy the perfect balance of sweet and tart in every bite of this homemade apple pie.
Cooking Steps
Preheat your oven to 425°F and get ready to create a delicious apple pie!
First, roll out the bottom crust and place it in your pie dish.
Next, add the juicy apple filling, then carefully place the top crust over the filling.
Step 1. Preheat Oven to 425°F

To prepare your oven, set the temperature to 425°F. This nice warm temperature is perfect for baking a delicious apple pie!
You'll want to make sure your oven is ready to go before you start assembling the pie. Once you've set the oven, it will begin heating up and getting toasty inside.
While the oven is preheating, take a moment to admire your shiny, clean oven racks. They'll be the perfect spot to place your pie when it's ready to bake.
Can you already imagine the heavenly aroma of apples, cinnamon, and a buttery crust wafting through your kitchen? Mmm, it's making my mouth water just thinking about it!
When the oven beeps, indicating it's reached the perfect temperature, you'll know it's time to slide that delectable pie right on in.
Get ready for your house to smell absolutely amazing as that apple pie bakes to golden perfection.
Step 2. Roll Out Bottom Crust
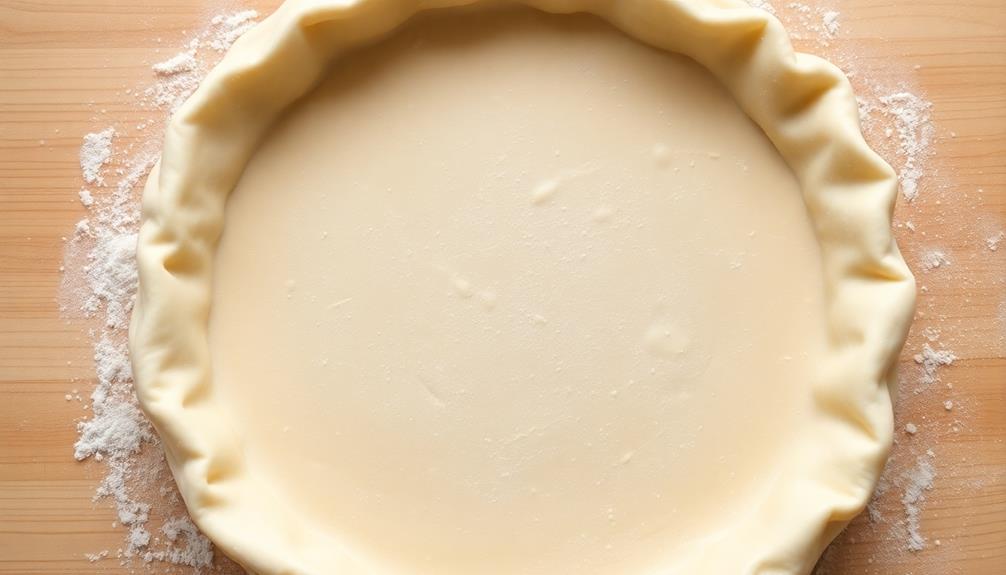
Start by lightly flouring your clean work surface. This will help prevent the dough from sticking as you roll it out.
Gently place the dough on the floured surface and use a rolling pin to roll it out into a circle, about 12 inches wide. Take your time and apply even pressure, turning the dough as you go to ensure it's an even thickness.
Don't be afraid to sprinkle a bit more flour if the dough starts to stick. Once it's the right size, carefully transfer the dough to a 9-inch pie plate.
Gently press it into the bottom and up the sides, making sure there are no air bubbles. Trim any excess dough from the edges, leaving about an inch hanging over the sides. This will allow you to crimp the edges and create a beautiful crust.
Great job! Now you're ready to add the apple filling and top it with the second crust.
Step 3. Add Filling
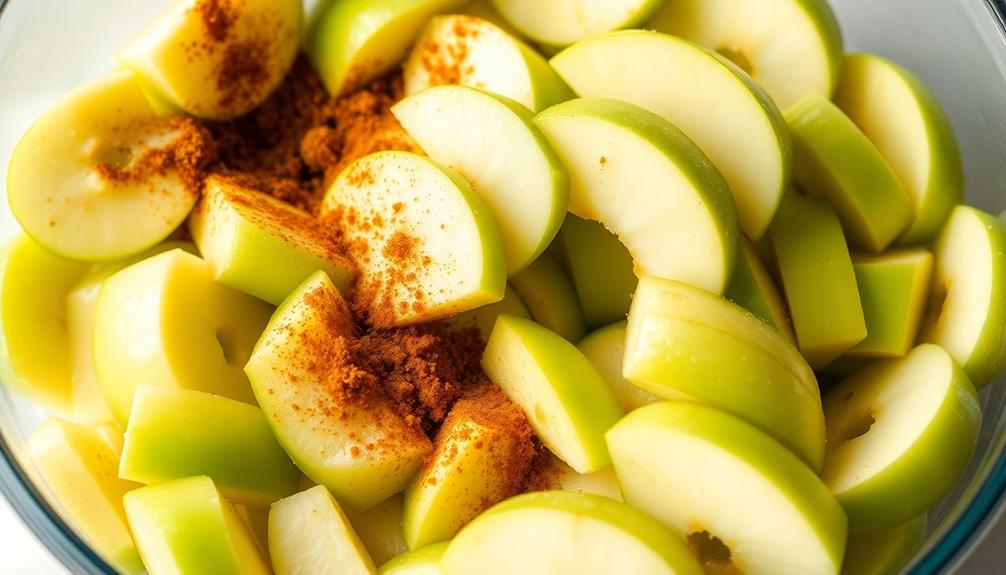
With the bottom crust in place, it's time to add the delicious apple filling.
Start by peeling, coring, and slicing your crisp, juicy apples. Arrange the apple slices in the pie dish, packing them in tightly. Sprinkle the apples with a mixture of sugar, cinnamon, and a pinch of nutmeg. The sweet and fragrant spices will complement the tart apples perfectly.
For an extra touch of flavor, dot the top of the filling with small pieces of butter. This will create a rich, buttery sauce as the pie bakes. The butter will melt and blend with the other ingredients, adding depth and richness to the filling. Many people also like to sprinkle a little bit of cinnamon or nutmeg on top of the butter to enhance the flavor even further. This technique is especially popular with apple and pumpkin pies, making it a popular festive treat during the holiday season.
Now that the filling is ready, it's time to add the top crust and finish assembling your homemade apple pie.
Get ready for the mouthwatering aromas to fill your kitchen as this scrumptious pie bakes to golden perfection!
Step 4. Place Top Crust Over Filling
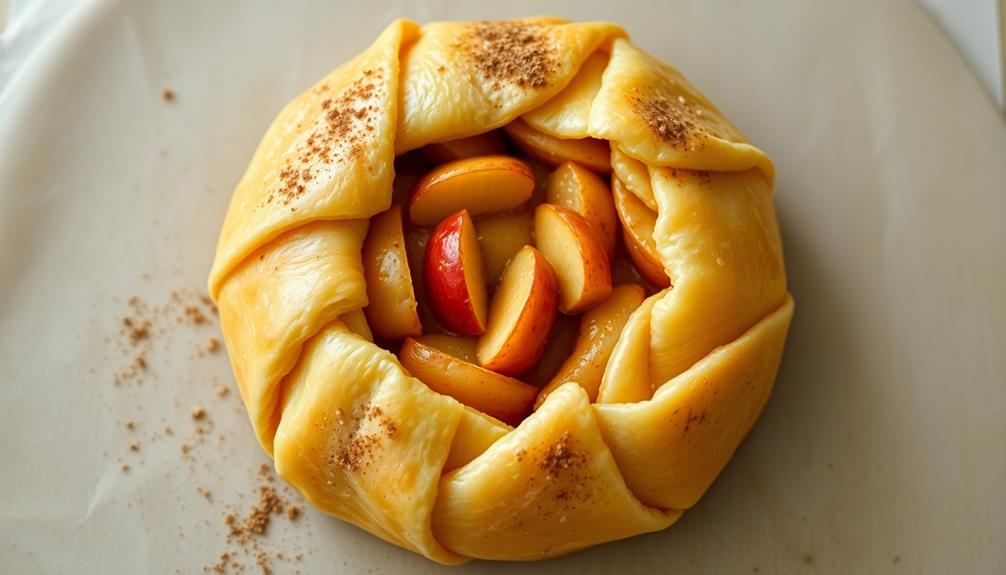
Take the top crust and gently place it over the filled pie dish. Smooth it out with your hands, making sure it covers the entire surface and tucks neatly along the edges.
Now, use your fingers to crimp and seal the crust to the bottom layer, creating a beautiful, fluted edge. This not only looks fantastic but also helps prevent any of the delicious apple filling from bubbling out during baking. For an extra touch, consider adding some spices like cinnamon or nutmeg to enhance the flavor, just as you'd with a classic crab cake, which features a blend of savory seasonings for added depth a classic and savory appetizer.
Next, use a sharp knife to cut several slits in the top crust. This allows steam to escape, preventing the pie from becoming a soggy mess. You can even get creative and cut out fun shapes, like little leaves or hearts, to let the filling peek through.
Step 5. Crimp Edges to Seal Crust
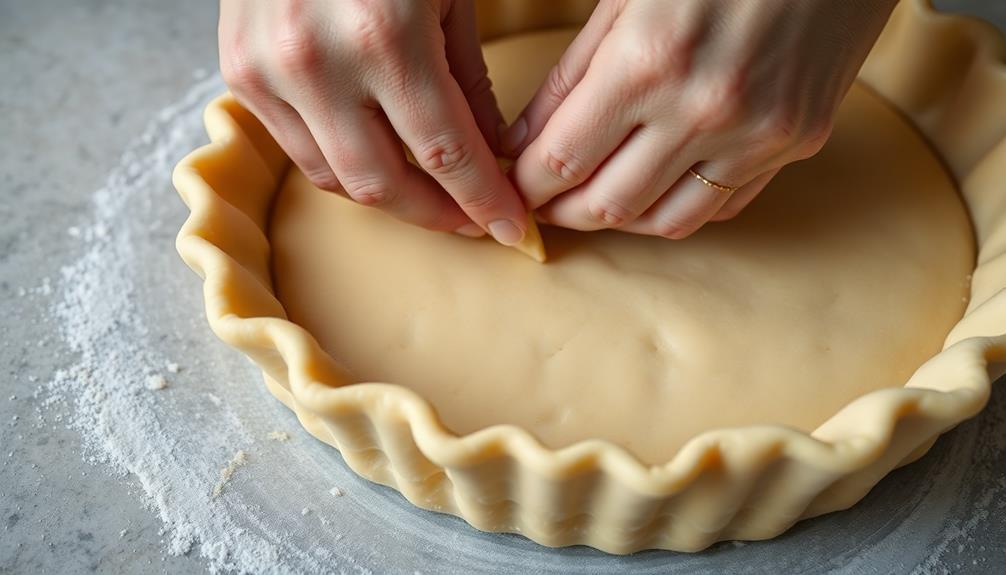
After gently placing the top crust over the filled pie dish, it's time to crimp and seal the edges. Using your thumb and forefinger, start at one edge and gently press the top and bottom crusts together, creating a fluted or scalloped pattern all the way around. This not only seals in the delicious apple filling, but also gives the pie a lovely, decorative touch.
Be sure to crimp the edges tightly, so no juices can escape during baking. Run your fingertips along the crimped edge, applying gentle pressure to reinforce the seal. Don't be afraid to add a few extra pinches here and there for good measure.
The crimped crust will bake up beautifully golden brown, and when you slice into the pie, the filling will stay perfectly contained.
Crimping the edges is an important final step that transforms your homemade apple pie into a true work of art, ready to be enjoyed by all.
Final Thoughts
Ultimately, the process of crafting the perfect apple pie is a rewarding one. You've carefully selected the best apples, blended the filling with precision, and crimped the edges of the crust to perfection.
Now, as you admire your handiwork, you can't help but feel a sense of pride and accomplishment. The aroma of the freshly baked pie fills the air, enticing your senses and making your mouth water in anticipation.
As you take that first bite, the flavors burst on your tongue – the tart sweetness of the apples, the flaky texture of the crust, and the comforting warmth that envelops you.
It's a moment of pure bliss, a testament to the time and effort you've invested. Whether you're sharing this pie with family, friends, or simply indulging in it yourself, you know that the joy it brings is truly priceless.
With each delicious morsel, you're reminded that the journey of creating the perfect apple pie is just as rewarding as the final result.
Frequently Asked Questions
How Long Can an Apple Pie Be Stored?
How long can an apple pie be stored? You can typically store an apple pie at room temperature for 2-3 days, or in the refrigerator for up to 4-5 days. Proper storage is key to maintaining freshness.
What Is the Best Type of Apples for Apple Pie?
When choosing the best apples for your pie, look for a balance of sweetness and tartness. Granny Smith and Honeycrisp are popular choices that will hold their shape and provide the perfect flavor profile.
Can I Use a Store-Bought Pie Crust?
You can definitely use a store-bought pie crust for your dessert. It's a convenient and time-saving option that can still result in a delicious homemade-style pie. Just be sure to follow the package instructions carefully.
How Can I Prevent a Runny Apple Pie Filling?
To prevent a runny filling, you can thicken it with a small amount of cornstarch or flour. Additionally, be sure not to overfill the crust, and let the pie cool completely before slicing to allow the filling to set.
Is It Necessary to Peel the Apples?
While peeling the apples is not strictly necessary, it can help prevent a runny filling. The skin can retain excess moisture, leading to a soggy texture. Try peeling the apples and see if it improves the consistency of your pie.