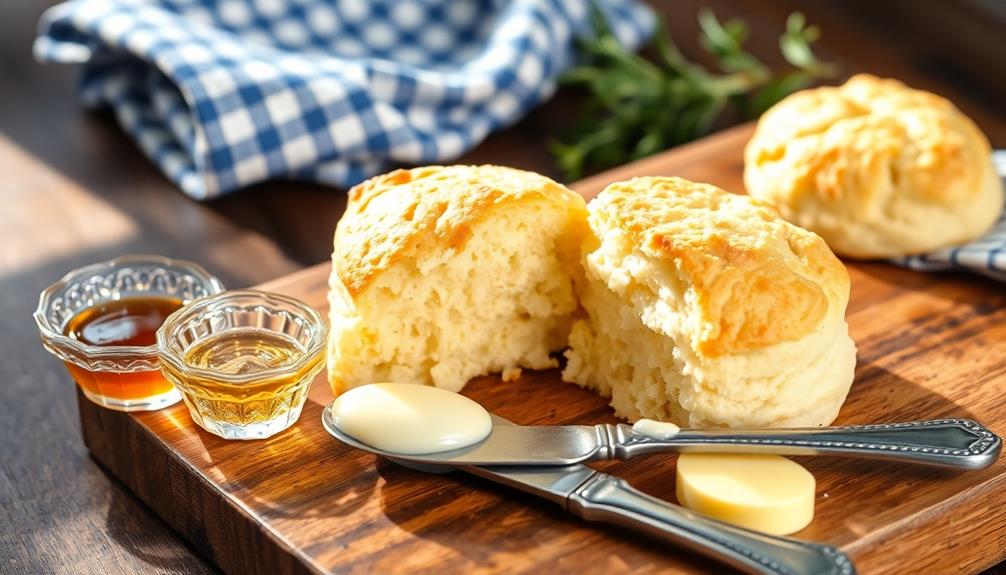

Buttermilk biscuits are a beloved Southern treat with a rich history. You'll love their flaky texture and buttery flavor! These biscuits are easy to make with just a few simple ingredients like flour, buttermilk, and cold butter. The key to perfect biscuits is keeping everything cold and handling the dough gently. You'll mix, knead, and cut the dough before baking at a high temperature for golden-brown perfection. Serve them warm with butter and jam for breakfast, or use them to make tasty sandwiches. With a little practice, you'll be a biscuit-making pro in no time. There's so much more to discover about these delicious treats!
Key Takeaways
- Buttermilk biscuits are flaky, tender Southern-style quick breads made with flour, buttermilk, and cold butter.
- Key ingredients include all-purpose flour, buttermilk, baking powder, salt, and cold butter for optimal texture and flavor.
- The recipe requires minimal handling of cold ingredients to achieve flaky layers and a light, fluffy texture.
- Biscuits are typically baked at 425°F (220°C) for 12-15 minutes until golden brown.
- Serve warm with butter and jam for breakfast, or use as a base for sandwiches and savory dishes.
Top picks for "buttermilk biscuit"
Open Amazon search results for this keyword.
As an affiliate, we earn on qualifying purchases.
History
Buttermilk biscuits' origins can be traced back to the early 19th century in the Southern United States. You might wonder how these delicious treats came to be! Well, it all started when settlers brought their baking traditions from Europe. They'd to adapt their recipes to use ingredients available in their new home.
At first, biscuits were made with just flour and water. But as dairy farming grew in the South, buttermilk became more common. Clever cooks discovered that adding buttermilk to their biscuit dough made them fluffier and tastier. This was a game-changer!
Biscuits quickly became a staple in Southern kitchens. They were easy to make and could be enjoyed at any meal. Families would gather around the table, eager to taste warm, fresh biscuits.
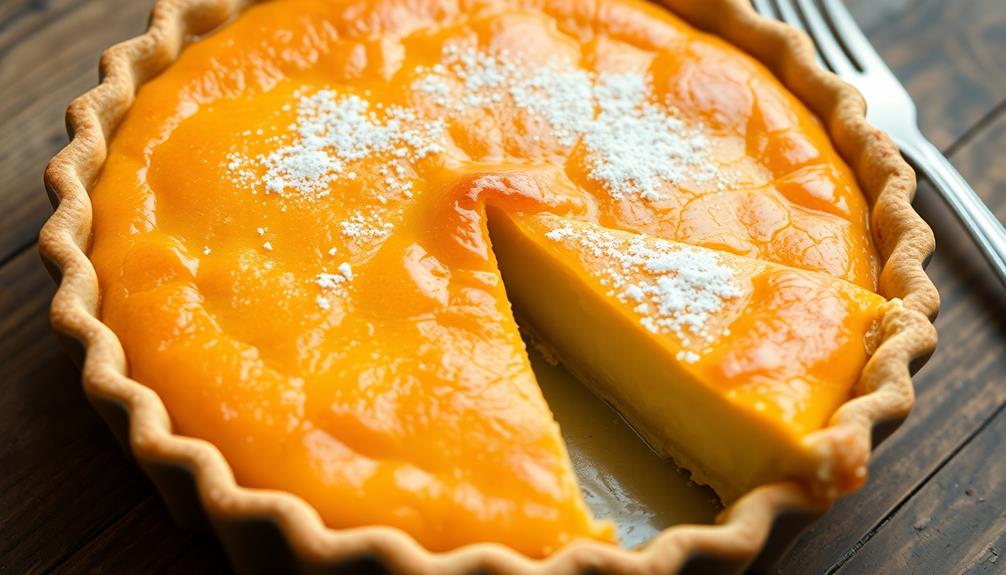
Over time, different regions developed their own special recipes and techniques. Today, buttermilk biscuits are loved all across America. You'll find them in homes, restaurants, and even fast-food chains. They've come a long way from their humble beginnings, but their delicious taste and comforting appeal remain the same. Those who appreciate the traditional buttermilk biscuit may also enjoy the classic dessert called traditional buttermilk pie recipe. This old-fashioned Southern dessert is made with simple ingredients like buttermilk, eggs, sugar, and butter, all baked in a flaky pie crust. Just like buttermilk biscuits, this pie has stood the test of time and continues to be a beloved treat in homes and restaurants throughout the country.
Recipe
Buttermilk biscuits are a classic Southern staple, known for their flaky, tender texture and rich, buttery flavor. These light and airy biscuits are perfect for breakfast, as a side dish for dinner, or as the base for a delicious sandwich.
Making buttermilk biscuits from scratch is a simple process that yields impressive results. With just a few basic ingredients and some careful handling, you can create biscuits that rival those found in the best bakeries. The key to achieving the perfect texture lies in keeping the ingredients cold and handling the dough as little as possible.
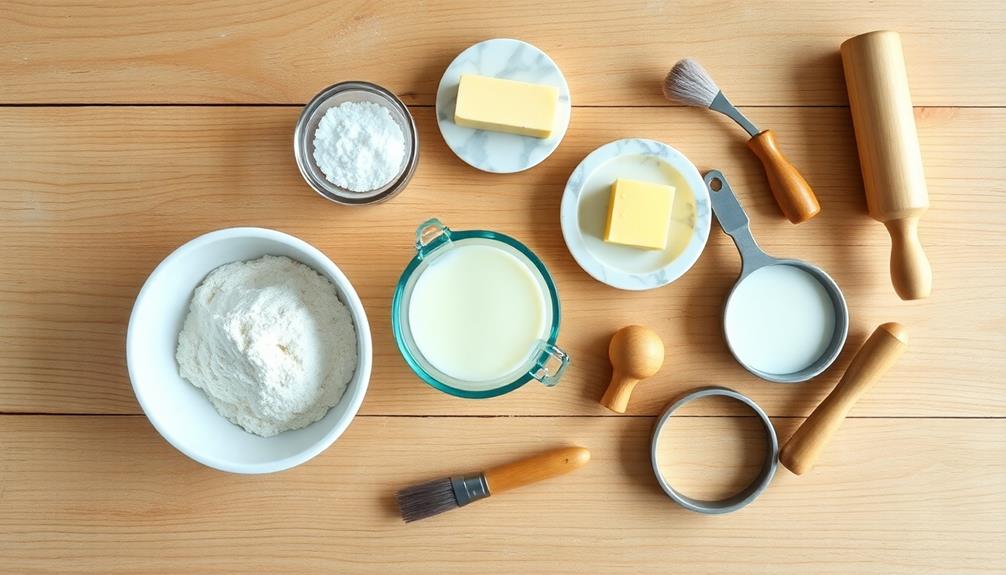
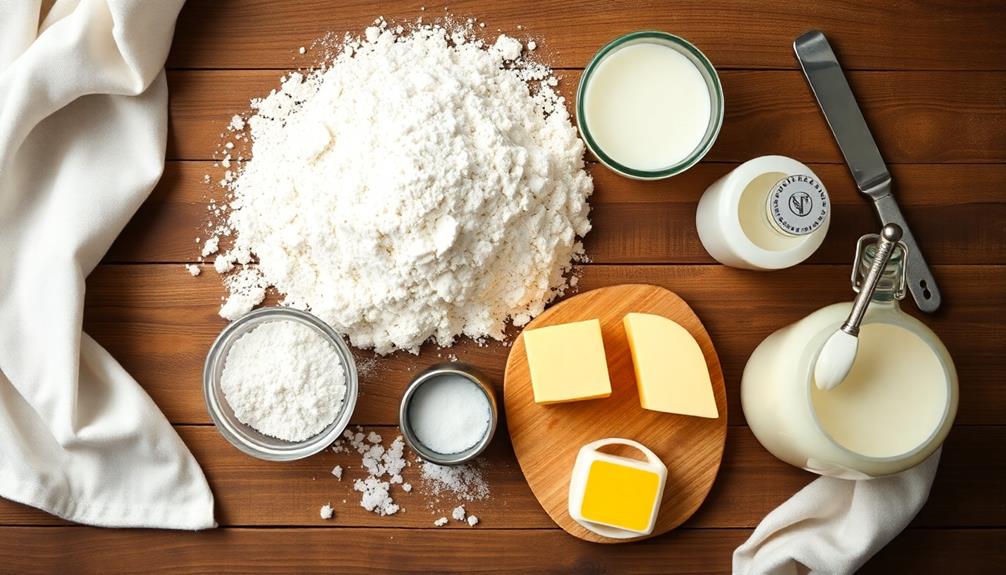
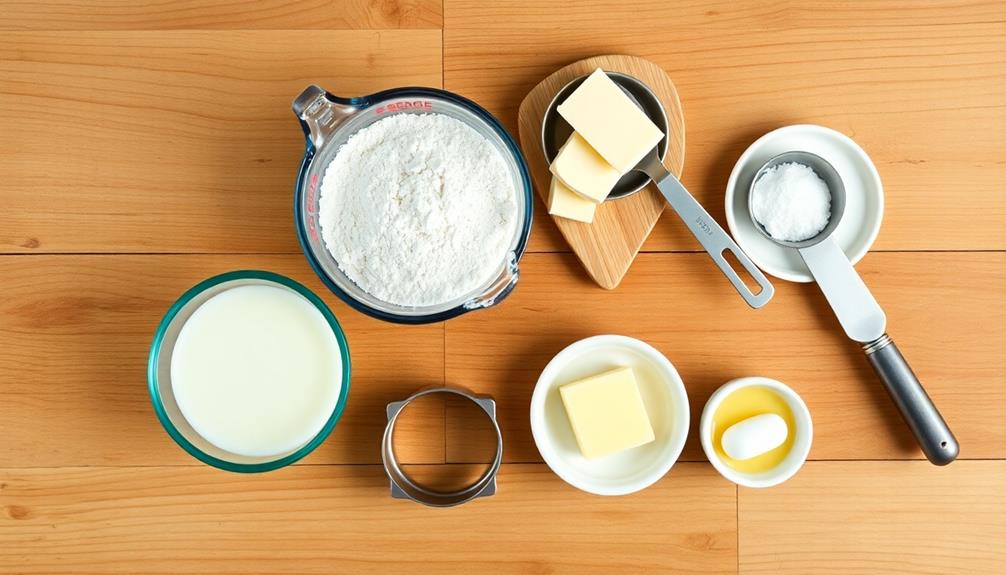
- 2 1/2 cups all-purpose flour
- 2 tablespoons baking powder
- 1 teaspoon salt
- 1/2 cup cold unsalted butter, cubed
- 1 cup cold buttermilk
- 2 tablespoons melted butter (for brushing)
Preheat the oven to 425°F (220°C). In a large bowl, whisk together the flour, baking powder, and salt. Add the cold butter cubes and use a pastry cutter or your fingers to work the butter into the flour mixture until it resembles coarse crumbs.
Gradually add the cold buttermilk, stirring until the dough comes together. Turn the dough out onto a lightly floured surface and gently pat it into a 1-inch thick rectangle. Fold the dough in thirds, like a letter, and pat it out again. Repeat this process two more times.
Cut the dough into rounds using a 2 1/2-inch biscuit cutter, and place them on a baking sheet. Brush the tops with melted butter and bake for 12-15 minutes, or until golden brown.
For the best results, ensure all your ingredients are cold before starting. This helps create those coveted flaky layers. Avoid twisting the biscuit cutter when cutting out the dough, as this can seal the edges and prevent proper rising.
If you don't have buttermilk on hand, you can make a quick substitute by adding a tablespoon of lemon juice or white vinegar to a cup of regular milk and letting it sit for 5 minutes before using.
Cooking Steps
Get ready to make some amazing buttermilk biscuits!
You'll start by mixing the dry ingredients and adding cold butter chunks, then pour in cold buttermilk to bring it all together.
Next, you'll knead the dough on a floured surface before cutting and shaping your biscuits.
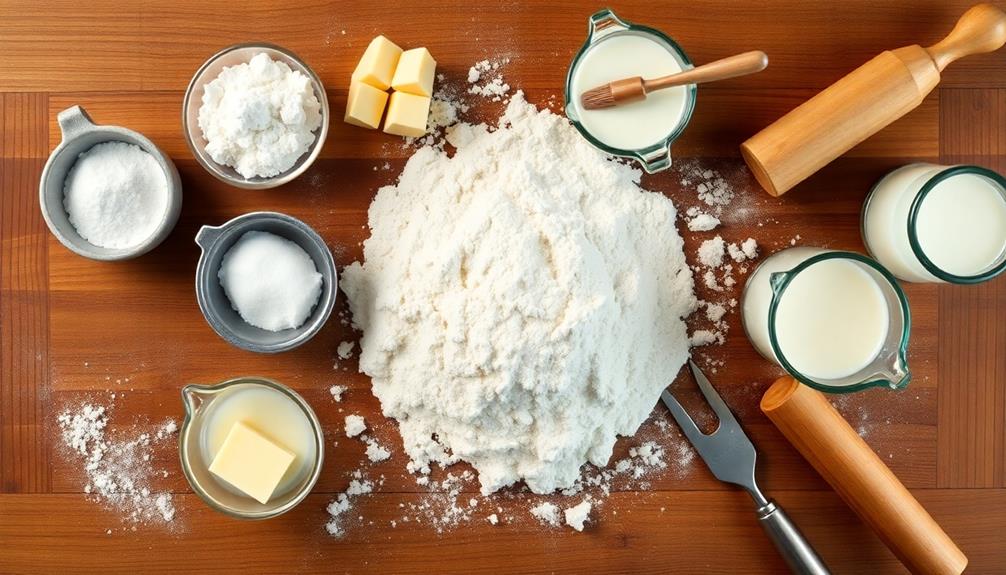
Step 1. Mix Dry Ingredients Together
In a large mixing bowl, combine the dry ingredients for your buttermilk biscuits. You'll need all-purpose flour, baking powder, salt, and a pinch of sugar.
Use a whisk or a fork to mix these ingredients thoroughly. This step is crucial because it ensures that the leavening agents are evenly distributed throughout the flour.
As you're mixing, take a moment to enjoy the process. Baking is all about creating something delicious from simple ingredients.
Once you've mixed the dry ingredients, make a well in the center of the bowl. This is where you'll add the wet ingredients later.
Step 2. Add Cold Butter Chunks
Now that your dry ingredients are mixed, it's time to incorporate the cold butter. You'll need to work quickly to keep the butter as cold as possible.
Start by cutting your chilled butter into small cubes, about 1/4 inch in size. Drop these butter chunks into your bowl of dry ingredients.
Using your fingertips or a pastry cutter, begin to work the butter into the flour mixture. Your goal is to create a crumbly texture that resembles coarse sand with some pea-sized butter pieces remaining.
Don't overwork the dough, as this can lead to tough biscuits. The cold butter chunks are crucial for creating flaky layers in your biscuits.
If you're using your hands, remember to work fast. The heat from your fingers can start to melt the butter. You want those little pockets of cold butter to stay intact.
They'll create steam as the biscuits bake, resulting in those delicious, flaky layers we all love. Once you've achieved the right texture, you're ready for the next step in creating your perfect buttermilk biscuits!
Step 3. Pour in Cold Buttermilk
Pour the cold buttermilk into the center of your flour and butter mixture. It's time to bring your dough together! Using a fork or your hands, gently mix the ingredients. Start from the center and work your way outward. As you mix, you'll see the dough begin to form.
Don't overmix! You want to stop when the dough is just combined. It might look a bit shaggy, and that's okay. The key is to keep some of those butter chunks intact. They'll create pockets of flakiness in your biscuits.
If the dough seems too dry, add a splash more buttermilk. If it's too wet, sprinkle in a bit more flour. You're aiming for a dough that's moist but not sticky.
Once you've got the right consistency, gently shape it into a ball.
Now, turn the dough out onto a lightly floured surface. Pat it down into a rectangle about 1 inch thick. You're almost ready to cut out your biscuits and bake them to golden perfection!
Step 4. Knead Dough on Floured Surface

Turn your attention to the floured surface where your dough awaits. It's time to get your hands a little messy!
Gently turn the dough out onto the surface, and don't worry if it looks a bit shaggy at first. That's perfectly normal.
Now, here's the fun part. Using your hands, start to knead the dough. Press it down and fold it over, then give it a quarter turn.
Repeat this process about 8 to 10 times. You're not looking for a smooth dough like you'd make for bread. Instead, you want it just barely held together.
As you knead, you'll feel the dough become less sticky. That's a good sign!
If it's still too wet, you can sprinkle a little more flour on your surface. But be careful not to add too much, or your biscuits might end up dry.
Step 5. Cut and Shape Biscuit Dough
Once you've finished kneading, it's time to shape your biscuits. Grab your rolling pin and gently roll the dough out on a floured surface. Aim for a thickness of about half an inch.
Don't worry if it's not perfect – that's part of the charm of homemade biscuits!
Now, let's cut those biscuits. You can use a round cookie cutter or the rim of a clean glass. Press straight down into the dough and give it a little twist. This helps create clean edges that'll rise better in the oven.
Lift the cutter straight up, and there's your biscuit! Place it on a baking sheet lined with parchment paper.
Keep cutting biscuits until you've used all the dough. You can gather the scraps and re-roll them, but be gentle. Over-working the dough can make tough biscuits.
Space your biscuits about an inch apart on the baking sheet. This gives them room to grow and get nice, golden edges. If you like, brush the tops with a little melted butter for extra flavor and color.
Your biscuits are now ready for the oven!
Final Thoughts
Why not elevate your baking game with these delectable buttermilk biscuits? They're sure to impress your family and friends with their flaky layers and rich, buttery flavor.
Remember, practice makes perfect when it comes to biscuit-making. Don't be discouraged if your first batch isn't picture-perfect. Each time you make them, you'll get better at handling the dough and achieving that ideal texture.
These biscuits are versatile, too. Serve them warm with butter and jam for breakfast, or use them to make savory sandwiches for lunch. You can even experiment with adding herbs or cheese to the dough for a twist on the classic recipe. The possibilities are endless!
As you become more comfortable with the process, you'll find yourself whipping up batches of biscuits in no time. It's a skill that'll serve you well for years to come.
Frequently Asked Questions
Can Buttermilk Biscuits Be Frozen Before Baking?
Yes, you can freeze buttermilk biscuits before baking. It's a great way to prep ahead. Just shape your dough, place the unbaked biscuits on a tray, freeze until solid, then transfer to a freezer bag for storage.
What's the Best Way to Reheat Leftover Buttermilk Biscuits?
You'll get the best results by reheating in an oven at 350°F for 5-7 minutes. If you're short on time, microwave them for 20-30 seconds. Don't forget to wrap them in a damp paper towel first.
How Long Do Homemade Buttermilk Biscuits Stay Fresh?
Your homemade biscuits will stay fresh for about 1-2 days at room temperature. If you store them in an airtight container in the fridge, they'll last up to a week. For longer storage, freeze them for up to 3 months.
Can I Substitute Regular Milk for Buttermilk in Biscuit Recipes?
You can substitute regular milk for buttermilk in biscuit recipes, but it'll affect the taste and texture. To mimic buttermilk's acidity, add 1 tablespoon of lemon juice or white vinegar per cup of milk you're using.
Are Buttermilk Biscuits Suitable for People With Lactose Intolerance?
You'll likely find buttermilk biscuits challenging if you're lactose intolerant. They're made with dairy, which contains lactose. However, you can try lactose-free alternatives or enzyme supplements to potentially enjoy them without discomfort.