Amagwinya, or South African fried dough, is a delightful treat you'll crave! It starts with simple ingredients like flour, yeast, sugar, and salt. You mix these together and let the dough rise until it's fluffy. After kneading, you shape it into little balls and fry them until golden brown. The result is warm and soft dough that's perfect for sharing. People love to eat amagwinya plain or fill it with meats or jams. This tasty snack holds a special place in South African culture, celebrating togetherness and joy. Excited to learn how to make your own?
Key Takeaways
- Amagwinya, also known as vetkoek, is a beloved South African fried dough originating from early settlers and indigenous cultures.
- The dough is made from simple ingredients: flour, sugar, salt, yeast, and warm water, creating a fluffy texture.
- Traditionally enjoyed with savory fillings like minced meat or sweet options such as jam, making them versatile snacks.
- The preparation process involves mixing, kneading, and allowing the dough to rise, ensuring deliciously light and airy results.
- Making amagwinya fosters connections and shared experiences, reflecting South African culture and tradition in every bite.
History
The history of South African fried dough, often referred to as "vetkoek," is a delicious blend of cultural influences and culinary traditions. This tasty treat has roots that stretch back many generations, making it a beloved snack across the country.
Originally, vetkoek was made by early settlers and indigenous people, who used simple ingredients to create a filling and satisfying dish.
As you explore its history, you'll discover how different cultures contributed to its evolution. The Dutch settlers brought their recipes, and local tribes added their spices and techniques.
Over time, vetkoek became a popular choice for family gatherings, street vendors, and special occasions. People love to enjoy it plain, or stuffed with savory fillings like minced meat or sweet treats such as jam and syrup.
What's exciting is that vetkoek isn't just a snack; it's a symbol of unity and togetherness in South Africa. Sharing this fried dough brings friends and family together, creating memories that last a lifetime.
Cooking Steps
How do you turn simple ingredients into delicious South African fried dough? First, gather your essentials: flour, sugar, salt, yeast, and warm water.
In a large bowl, mix the flour, sugar, and salt together. Then, sprinkle the yeast on top and gently mix it in. Next, pour in the warm water and stir until a dough forms. You might need to add a bit more flour if it's too sticky!
Once your dough is nice and smooth, cover the bowl with a clean cloth. Let it rise for about an hour in a warm place. This is where the magic happens!
After it's doubled in size, knead it for a few minutes on a floured surface.
Now, roll the dough into small balls, about the size of a golf ball. Heat oil in a deep pan over medium heat, and once it's hot, carefully drop in the dough balls. Fry them until they're golden brown on both sides.
Step 1. Mix Warm Water and Yeast
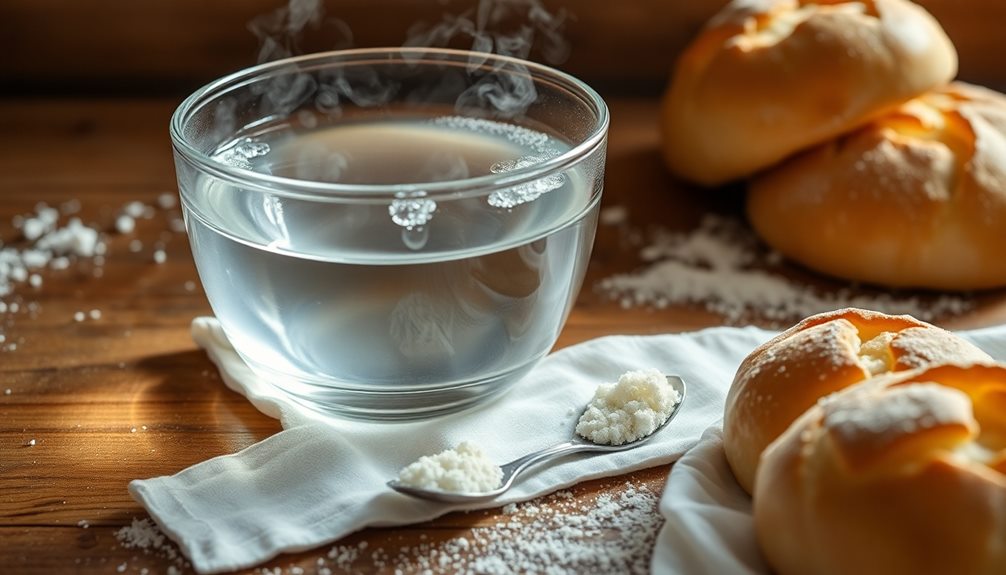
Now, sprinkle the yeast into the warm water.
Give it a gentle stir with a spoon, making sure all the yeast gets wet. This is where the magic begins!
You'll notice tiny bubbles starting to form, and that means your yeast is waking up and getting ready to help your dough rise.
Let this mixture sit for about five to ten minutes.
During this time, you can feel the excitement building! The yeast is munching on the sugars in the water, and soon it'll be ready to work its magic in your dough.
Once you see those bubbles and foam, you'll know it's time to move on to the next step.
Get ready, because delicious amagwinya is just around the corner!
Step 2. Add Sugar and Salt

To create the perfect flavor balance in your amagwinya, you'll want to add a couple of tablespoons of sugar and a pinch of salt to the yeast mixture. This simple step helps to enhance the taste and gives your fried dough that irresistible sweetness.
First, grab your measuring spoons and scoop out the sugar. Sprinkle it evenly over the warm yeast mixture. The sugar will feed the yeast, making your amagwinya rise beautifully.
Next, take that pinch of salt and add it to the mix. Salt isn't just for taste; it also helps bring out the flavors in your dough.
Once you've added the sugar and salt, give the mixture a gentle stir. You don't want to overdo it; just a light mix will do the trick! The warm water will help dissolve the sugar and salt, creating a fragrant blend.
This delightful aroma will make your kitchen feel cozy and inviting.
Now that you've added these key ingredients, you're one step closer to making delicious amagwinya. Just wait for the yeast to work its magic, and soon you'll be ready to knead your dough!
Step 3. Knead the Dough Thoroughly
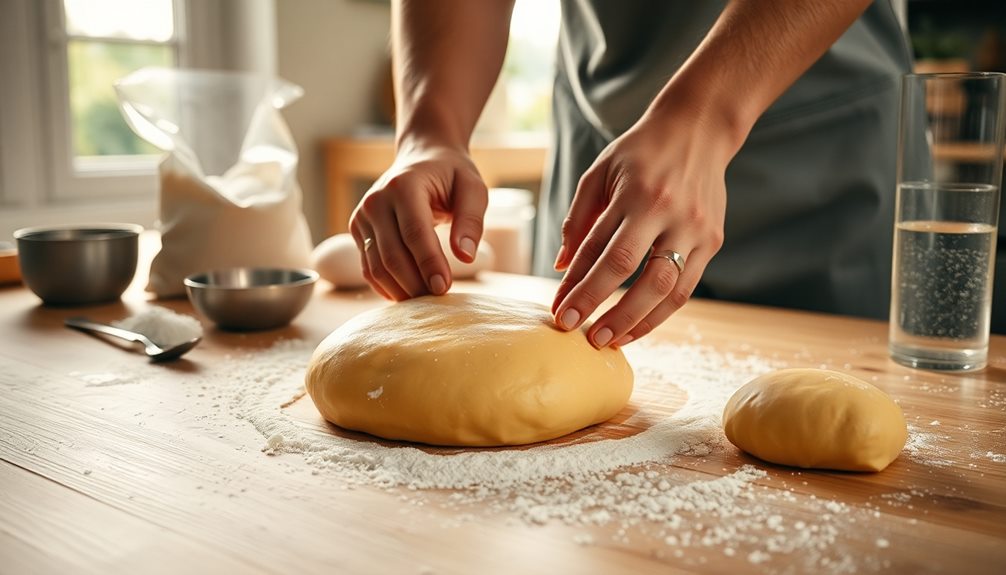
With the yeast mixture ready and fragrant, it's time to knead the dough thoroughly. This step is super important because it helps develop the gluten, which gives your amagwinya that perfect fluffy texture.
Start by sprinkling some flour on your clean countertop. Then, pour your dough onto the floured surface.
Using your hands, push the dough down and away from you. Fold it back over itself, and then give it a gentle turn. Keep doing this for about 8 to 10 minutes. Don't worry if the dough feels sticky at first; just add a little more flour as needed. You want it to be smooth and elastic, so it feels nice to touch.
As you knead, imagine you're giving the dough a little workout! It'll start to come together beautifully, and you might even feel a little bit of a workout yourself.
Once you're done, the dough should bounce back when you poke it with your finger. It's a clear sign you've kneaded it just right! Now, you're ready for the next exciting step in making your delicious amagwinya!
Step 4. Let Dough Rise Covered
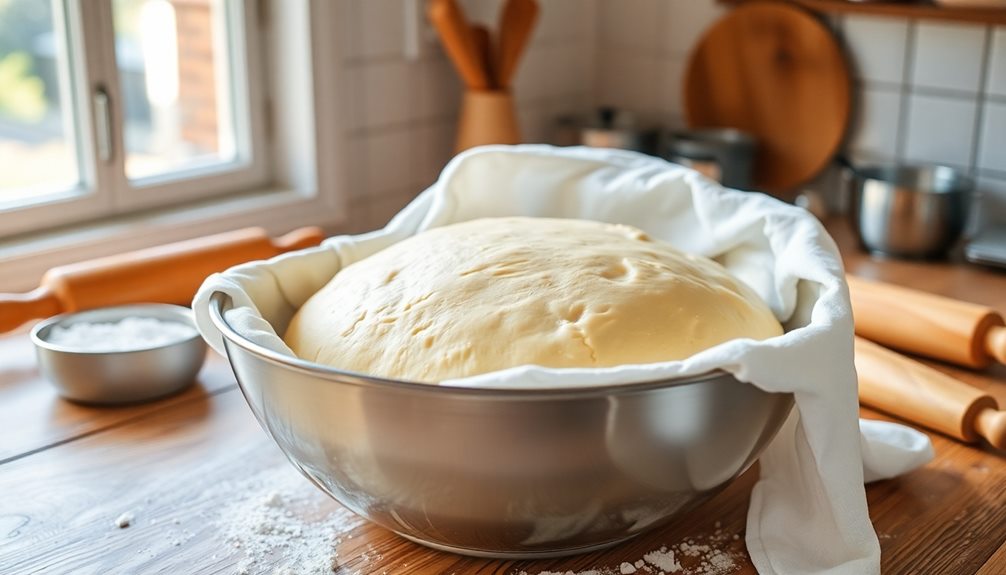
After kneading the dough, it's crucial to let it rise covered to develop its flavor and texture. This step is super important!
When you cover the dough, you create a warm, cozy environment for it to grow. You can use a clean kitchen towel or plastic wrap. Just make sure it's snug but not too tight, so the dough has room to expand.
Find a warm spot in your kitchen, like near the oven or on the counter. The dough will love the warmth and start to rise! Leave it alone for about an hour, but keep an eye on it. You want it to double in size, which means it's happy and ready for the next step.
This rising time helps the dough become fluffy and light, making your amagwinya even more delicious!
While you wait, you can think about all the yummy fillings you might want to add later. The smell of the dough rising is fantastic, and it'll make you even more excited to cook.
Step 5. Shape Dough Into Balls
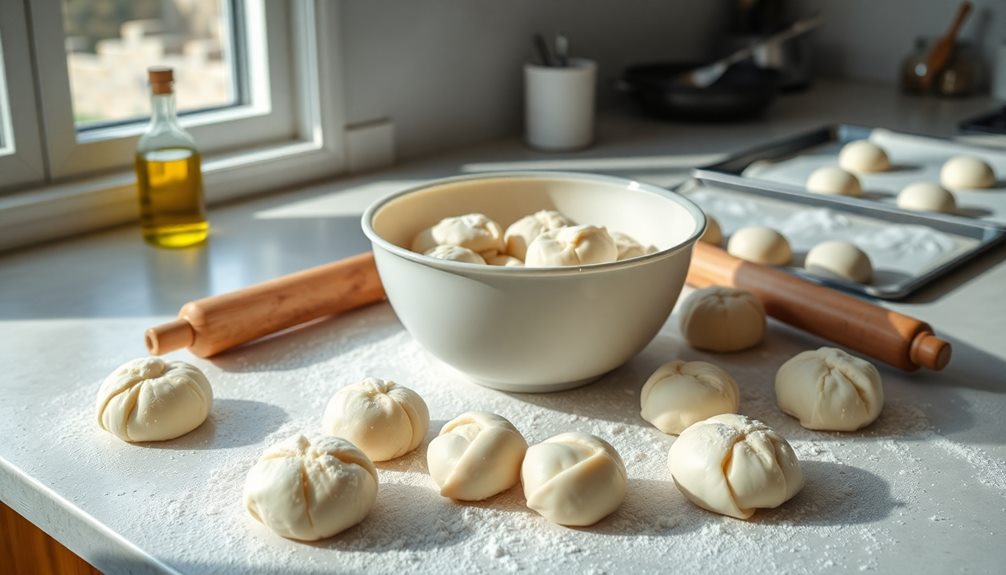
Shaping the dough into balls is an exciting step that brings your amagwinya closer to perfection. First, make sure your hands are clean and lightly dusted with flour. This helps prevent the dough from sticking.
Take a portion of the risen dough, about the size of a golf ball. Gently flatten it in your palms, then fold the edges toward the center, creating a smooth ball. Don't worry if it's not perfect—each ball will have its own character!
Once you've shaped all the dough into balls, place them on a floured surface, leaving a little space between each one. This allows them to rise a bit more before frying.
Cover the balls with a clean kitchen towel, and let them rest for about 15-20 minutes. This little break helps them become light and fluffy when they hit the hot oil.
As you work, you might notice the smell of the dough, and it'll make you even more excited to fry them!
Keep up the great work, and get ready for the delicious amagwinya that'll soon fill your kitchen with warmth and joy!
Final Thoughts
When it comes to South African fried dough, there's more than just a delightful taste; it's a celebration of culture and tradition.
Amagwinya isn't just food; it's a connection to the past and a way to share joy with friends and family. You'll find that each bite tells a story, whether it's enjoyed on a busy street corner or at a festive gathering.
Making amagwinya is an adventure! As you mix, knead, and fry, you're not just creating a snack, but also making memories.
You might even discover your own twist to the recipe, adding flavors that you love. And let's be honest, who wouldn't crave that warm, fluffy goodness fresh from the fryer?
Frequently Asked Questions
What Are the Best Toppings for Amagwinya?
When you're thinking about toppings, consider savory options like minced meat or cheese, or sweet choices such as jam or syrup. Experimenting with different combinations will make your amagwinya experience even more enjoyable!
Can I Make Amagwinya Gluten-Free?
Yes, you can make amagwinya gluten-free! Substitute regular flour with a gluten-free blend or almond flour. Experiment with different ratios to achieve the desired texture, and enjoy your delicious, gluten-free treat!
How Long Do Amagwinya Stay Fresh?
Amagwinya stay fresh for about one to two days when stored in an airtight container at room temperature. If you want them to last longer, consider freezing them for later enjoyment.
What Drinks Pair Well With Amagwinya?
When you enjoy amagwinya, consider pairing them with refreshing drinks like ginger beer, rooibos tea, or a sweet fruit juice. These options enhance the flavors and provide a delightful contrast to the savory dough.
Are There Regional Variations of Amagwinya in South Africa?
Yes, there're regional variations of amagwinya across South Africa. You'll find different ingredients and styles, like those with sweet or savory fillings, varying by area. Exploring these versions can enhance your culinary experience significantly!
