
Naleśniki, the cherished Polish crepes, have captivated palates for centuries. These delicate wonders come alive with both savory and sweet fillings – from hearty cheese and mushrooms to luscious fruits and chocolate. The batter's silky texture and paper-thin perfection create a culinary dance in the pan, flipping and swirling with ease. Whether savored at a family gathering or an intimate moment, naleśniki forge connections to Poland's vibrant culinary heritage. Craft these versatile crepes at home, and discover the joy of exploring their endless flavor possibilities. There's more to uncover about these treasured naleśniki.
Key Takeaways
- Naleśniki are traditional Polish crepes with origins dating back to the 13th century, deeply rooted in Polish culture and cuisine.
- They are versatile, suitable for both savory and sweet fillings, and prepared with a simple crepe batter resulting in a delicate final product.
- The cooking process involves pouring, swirling, and flipping the batter to create the thin, visually appealing crepes.
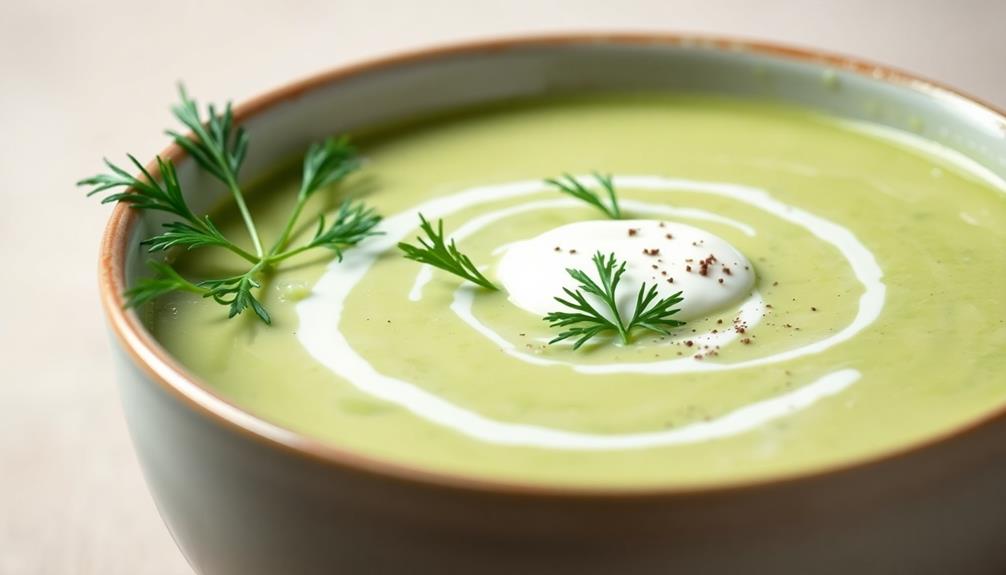
- Savory fillings like cheese, mushrooms, and vegetables, as well as sweet options such as fruits and chocolate, offer diverse flavor experiences.
- Crafting naleśniki allows for creativity in both preparation and presentation, making them a cherished part of Polish culinary traditions.
Top picks for "nale niki polish"
Open Amazon search results for this keyword.
As an affiliate, we earn on qualifying purchases.
History
Naleśniki, the beloved Polish crepes, have a rich and storied history that stretches back centuries.
These delicate, paper-thin pancakes have been a beloved staple of Polish cuisine for generations, with recipes and techniques passed down through families.
The origins of naleśniki can be traced to the 13th century, when they were first mentioned in Polish culinary records.
Back then, they were a simple dish made with just a few basic ingredients – flour, eggs, and milk.
Over time, the recipe evolved, with creative cooks adding a variety of sweet and savory fillings, from fresh fruit to savory meats and cheeses. The traditional kisiel recipe has been passed down through generations, with each family adding their own unique twist to the classic dish. Some variations include adding a touch of cinnamon or vanilla for extra flavor, while others opt for a more modern spin by incorporating trendy ingredients like chia seeds or coconut milk. Regardless of the specific ingredients used, kisiel continues to be a beloved and versatile treat that can be enjoyed as a dessert, snack, or even a satisfying breakfast option.
Today, naleśniki remain a cherished part of Polish culture.
They're often served as a sweet treat, but can also be enjoyed as a hearty main course.
Whether you prefer them plain or piled high with your favorite toppings, these delightful crepes continue to delight and nourish generations of Poles.
Recipe
Naleśniki, or Polish crepes, are a beloved dish in Polish cuisine. These thin, delicate pancakes can be enjoyed in a variety of sweet or savory ways, making them a versatile and beloved treat.
The key to delicious naleśniki is in the batter. The combination of eggs, milk, and flour creates a silky, pourable consistency that results in crepes with a delicate, lacy texture. With the right technique, you can create naleśniki that are the perfect canvas for your favorite fillings and toppings.
Ingredients:
- 2 cups all-purpose flour
- 2 eggs
- 1 1/2 cups milk
- 1/4 teaspoon salt
- 2 tablespoons unsalted butter, melted, plus more for cooking
Instructions:
In a large mixing bowl, whisk together the flour, eggs, milk, and salt until a smooth, lump-free batter forms. Cover and let the batter rest for 30 minutes. This will help the gluten relax and result in more tender crepes.
Heat a 8-inch non-stick skillet or crepe pan over medium heat. Brush the surface lightly with melted butter. Pour about 1/4 cup of the batter into the center of the pan, then tilt and swirl the pan to spread the batter evenly across the surface.
Cook for 1-2 minutes, or until the edges start to curl and the center is set. Carefully flip and cook the other side for an additional 30 seconds to 1 minute.
Tips:
For best results, use a crepe pan or a non-stick skillet with gently sloping sides. This will make it easier to spread the batter and flip the crepes.
Serve the naleśniki warm, with your choice of sweet or savory toppings, such as fruit, cheese, or even sautéed mushrooms and onions.
Cooking Steps
First, you'll whisk up the crepe batter until it's smooth and lump-free.
Next, heat a lightly oiled pan over medium heat and pour in a small amount of the batter, swirling it around to create a thin, even layer.
Carefully flip the crepe when the edges start to curl, then fill it with your favorite sweet or savory ingredients.
Step 1. Prepare the Crepe Batter
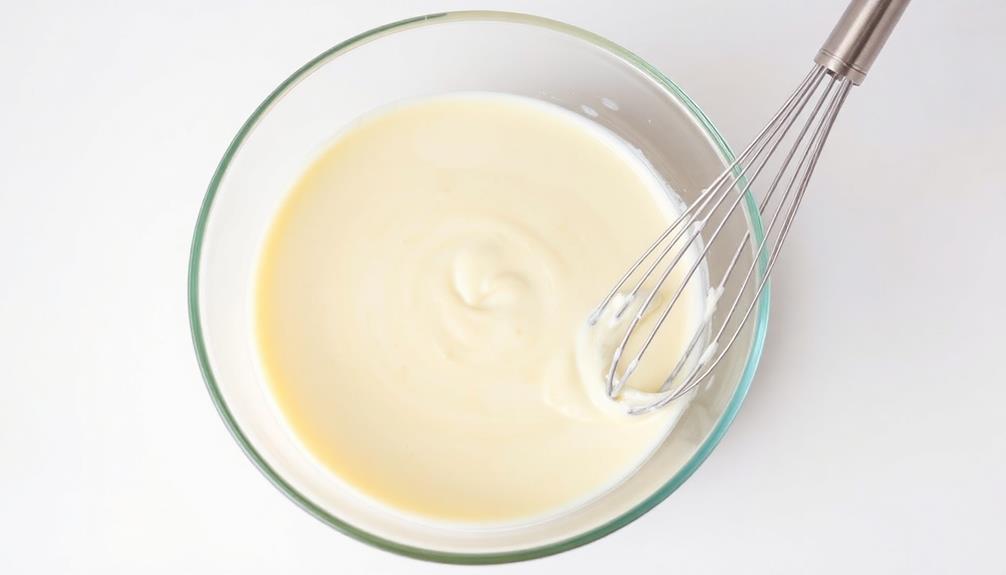
Creating the crepe batter is the first step in making delectable Polish naleśniki. In a large bowl, whisk together 1 cup of all-purpose flour, 2 large eggs, 1 cup of milk, 2 tablespoons of melted butter, and a pinch of salt. Whisk the ingredients until the batter is smooth and free of lumps. You'll want a consistency that's slightly thinner than heavy cream. If the batter seems too thick, add a splash more milk and whisk again.
Next, let the batter rest for 30 minutes. This allows the flour to fully hydrate, resulting in lighter, more tender crepes.
While you wait, prepare your crepe pan or nonstick skillet by lightly greasing it with butter or oil. When ready, give the batter a final whisk before pouring a small amount, about 1/4 cup, into the hot pan. Tilt and swirl the pan to evenly distribute the batter, creating a thin, even layer.
Cook for 1-2 minutes until the edges begin to lightly brown, then gently flip and cook for 30 seconds more. Repeat with the remaining batter, stacking the cooked crepes on a plate.
Step 2. Heat the Pan
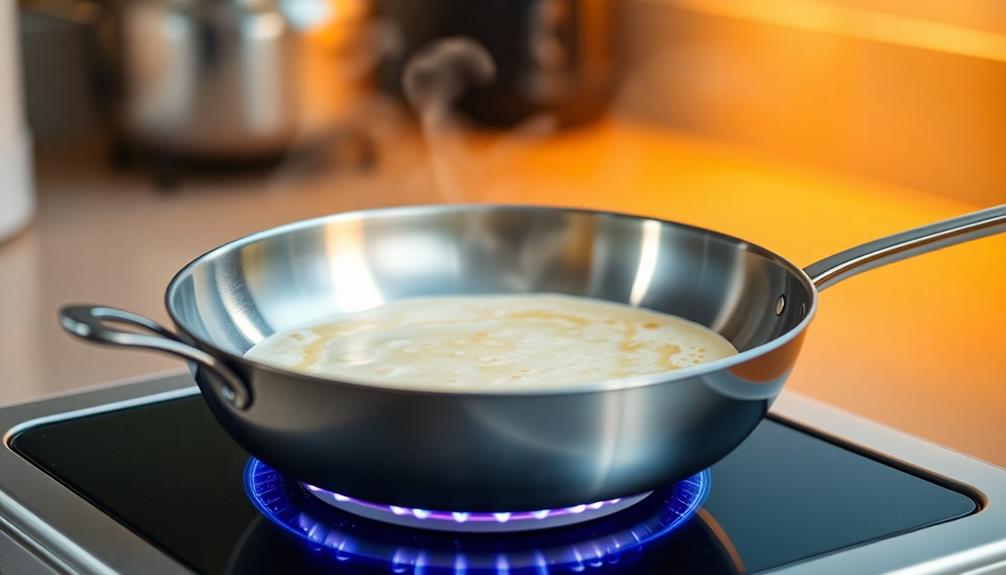
With your crepe batter ready, it's time to heat the pan. You'll want to use a nonstick skillet or crepe pan for the best results.
Place the pan over medium heat and let it warm up for a minute or two. Now, gently brush the surface with a thin layer of melted butter or oil. This will help the crepes release easily later on.
Once the pan is nicely heated, it's time to start cooking! Scoop about 1/4 cup of the batter into the center of the pan.
Quickly tilt and swirl the pan to spread the batter into a thin, even circle. Cook the crepe for 1-2 minutes, until the edges start to curl up and the center looks slightly set.
Flip the crepe gently with a spatula and cook for another 30 seconds to 1 minute on the other side. The crepe should be lightly golden and delicate.
Step 3. Pour Batter Onto Heated Pan
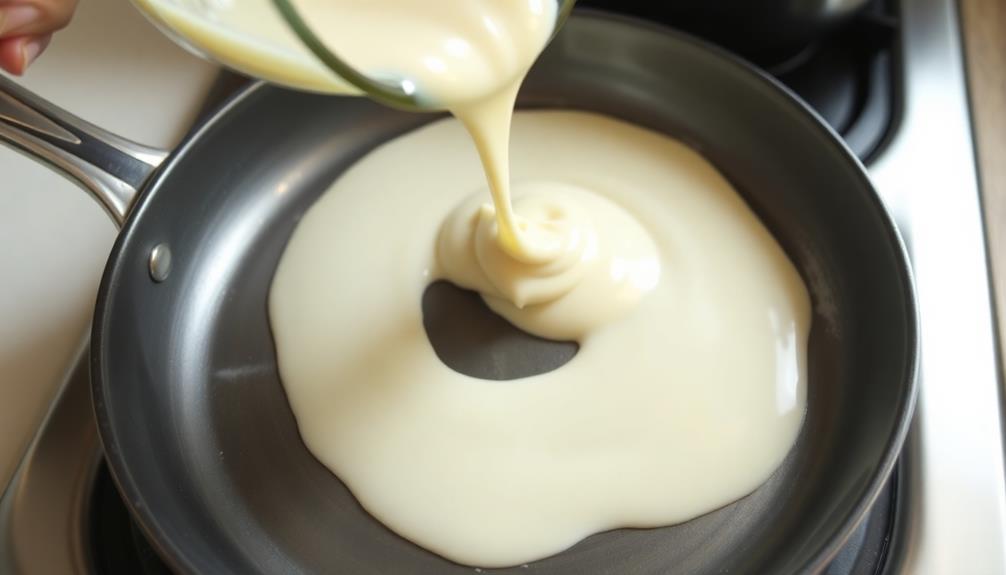
Pouring the batter onto the heated pan is a crucial step in achieving those delicate, evenly-cooked crepes. You'll want to work quickly and confidently, using a small ladle or measuring cup to scoop up just the right amount of batter.
Gently pour it onto the center of the pan, then tilt and rotate the pan to help the batter spread out into a thin, even circle.
Pay close attention as the crepe begins to cook. When the edges start to turn golden and lift away from the pan, it's time to slip your spatula underneath and carefully flip it over.
The other side should cook just as quickly, so keep a watchful eye. With a bit of practice, you'll be flipping and folding those Polish crepes like a true pro!
The key is finding the perfect balance – not too much batter, not too little, and just the right amount of time on the heat. Get this part right, and you're well on your way to crepe perfection.
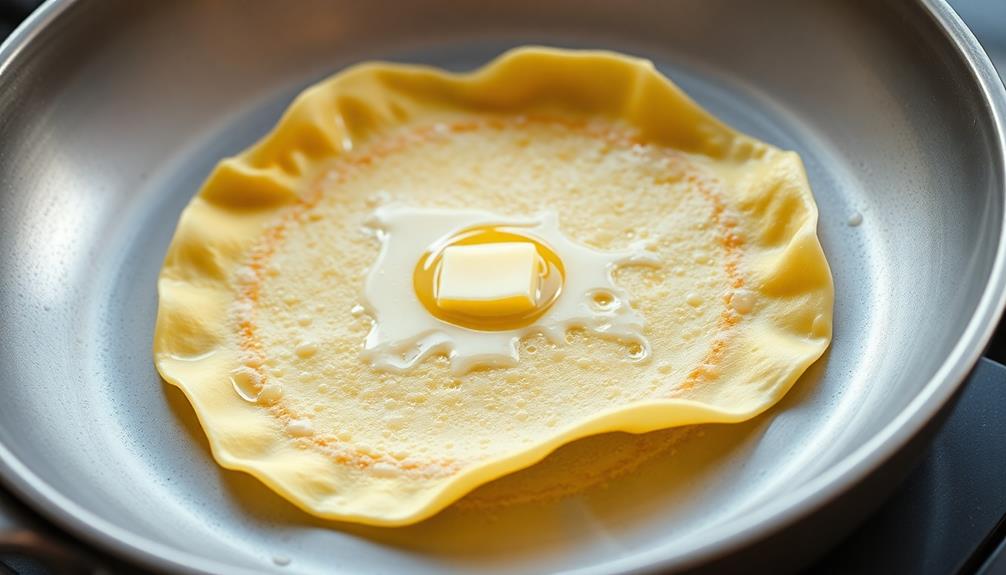
Step 4. Flip the Crepe Carefully

As the edges of the crepe begin to turn golden and lift away from the pan, it's time to carefully slip your spatula underneath.
Gently slide the spatula all the way under the crepe, supporting it from the center to the edges. With a swift but gentle motion, flip the crepe over, allowing it to land smoothly in the pan. You'll know you've done it right if the uncooked side is now facing up, sizzling and turning a lovely shade of golden brown.
Take a moment to admire your handiwork – the perfectly flipped crepe is a testament to your skillful technique.
Don't worry if it doesn't look picture-perfect on the first try; with a little practice, you'll be flipping crepes like a pro. Remember to keep the heat at a medium setting and resist the urge to press down on the crepe as you flip it. Gently guiding it over with the spatula is the key to achieving that delicate, lacy texture.
Step 5. Fill the Crepe
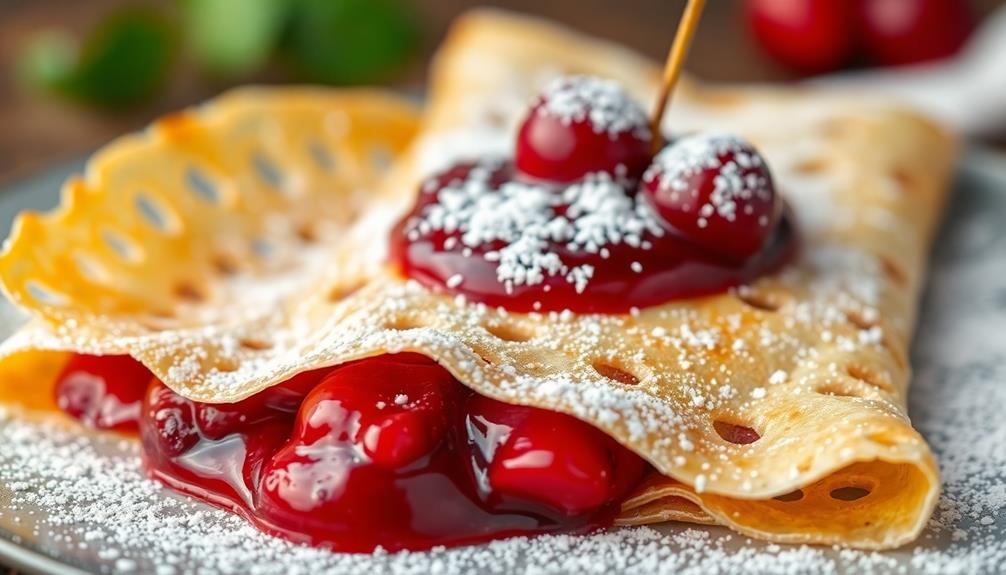
Once the crepe is flipped, it's time to add your desired fillings. The possibilities are endless! You could go for a sweet option, like a generous spoonful of your favorite jam or a sprinkle of cinnamon sugar.
Or, if you're in the mood for something savory, try a hearty dollop of sautéed mushrooms, spinach, and feta cheese.
Gently fold the crepe in half, then in half again to create a triangle shape. This will help the fillings stay neatly inside as you enjoy your creation.
Don't be afraid to get creative – you could even layer different ingredients for a flavor-packed experience. Just be sure not to overstuff the crepe, or it may become difficult to roll up.
Once your crepe is filled, it's time to dig in! The combination of the delicate, golden crepe and the flavorful fillings is simply divine.
Savor each bite and let the tastes dance on your tongue. Naleśniki are a true delight, and now you get to experience the joy of crafting your own delicious masterpiece.
Final Thoughts
Whipping up a batch of these delectable Polish crepes is a rewarding experience that will leave you craving more. The process may seem daunting at first, but with a little practice, you'll be rolling and filling these versatile treats like a pro.
Whether you prefer savory fillings like cheese and mushrooms or sweet options like fruit and chocolate, the possibilities are endless. The thin, delicate crepe batter comes together quickly, and the satisfying sensation of pouring, swirling, and flipping the pan is genuinely satisfying.
As you assemble your nalesniki, allow your creativity to shine, experimenting with different flavor combinations that tantalize your taste buds. The final result is a work of art – a delicate, golden crepe wrapped around a delectable filling, ready to be shared and enjoyed.
Embrace the ritual of nalesniki-making, and savor each bite as you transport yourself to the heart of Polish cuisine.
Frequently Asked Questions
What Is the Difference Between Nalesniki and Traditional Crepes?
You know traditional crepes, right? Well, nalesniki are a Polish version that have a few key differences.
They're usually a bit thicker, with a heartier texture that holds up better to fillings. The flavors also tend to be a bit richer, with savory options like cheese, meat, or vegetables instead of just sweet toppings.
It's a delicious take on the classic crepe that's well worth trying if you get the chance!
Can Nalesniki Be Made Gluten-Free or Vegan?
Absolutely! You can definitely make gluten-free or vegan nalesniki.
Just swap out the traditional wheat flour for gluten-free options like rice, buckwheat, or almond flour.
And for a dairy-free version, use plant-based milk and butter alternatives.
The process is the same – you'll still get those thin, delicate pancakes that you can fill with your favorite sweet or savory toppings.
Give it a try and have fun experimenting with different dietary-friendly ingredients!
How Long Do Leftover Nalesniki Last in the Refrigerator?
Leftover nalesniki can last in the fridge for 3-4 days if stored properly.
Just place them in an airtight container or wrap them tightly in plastic wrap.
When you're ready to enjoy them again, you can simply reheat them in the microwave or oven.
Just be sure to keep an eye on them so they don't dry out.
With a little care, you can enjoy your tasty crepes for days to come!
Can I Freeze Nalesniki for Later Use?
Yes, you can definitely freeze nalesniki for later use!
Once cooled, simply place the crepes in a single layer on a baking sheet and pop them in the freezer.
Once frozen, you can transfer them to an airtight container or freezer bag.
This way, you can enjoy your delicious homemade nalesniki anytime, without having to start from scratch.
Just thaw and reheat when you're ready to savor their scrumptious flavors.
Freeze them for up to 3 months for best quality.
What Are Some Popular Fillings for Nalesniki?
When it comes to nalesniki, the possibilities for delicious fillings are endless!
You can go the sweet route with fruit jams, chocolate-hazelnut spreads, or sweetened cottage cheese. For a savory twist, try sautéed mushrooms, caramelized onions, or even shredded chicken.
The best part is you can get creative and experiment with your favorite flavors. Whether you prefer sweet or savory, nalesniki are the perfect canvas for all sorts of tasty fillings!