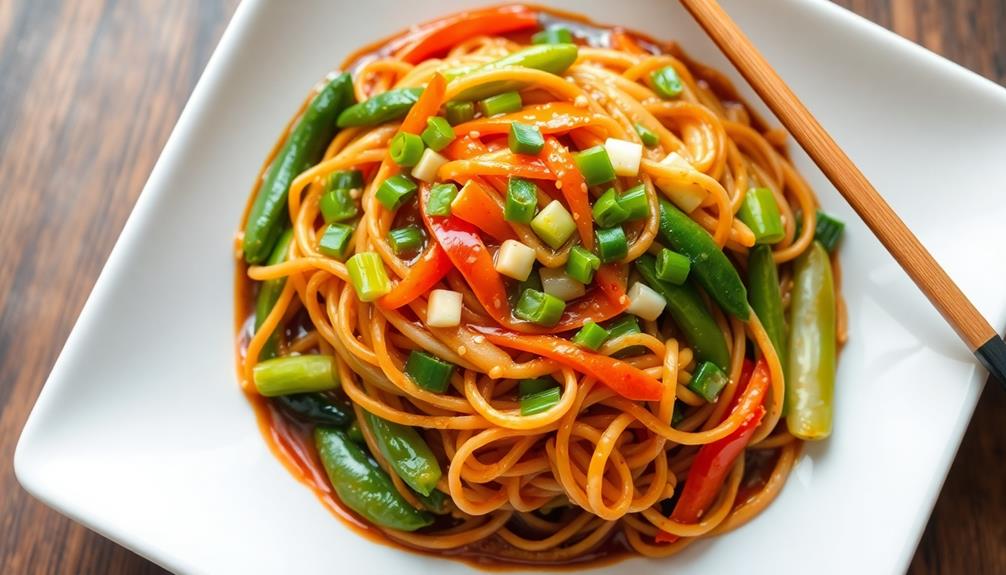
If you love the idea of rich, slow-cooked meals with minimal cleanup, Dutch oven cooking is the perfect solution. This centuries-old method traps moisture and flavor, resulting in tender, mouthwatering dishes that practically make themselves. You'll start by preheating your oven and sautéing aromatic veggies. Then, you'll add broth, seasonings, and whatever fresh produce inspires you. After that, just cover and bake for 1-2 hours. The thick walls of the Dutch oven do all the work, leaving you with heartwarming meals that impress family and friends. Discover the joys of this versatile cooking technique and…
Key Takeaways
- Dutch ovens are ideal for slow-cooking hearty and flavorful meals, ranging from stews and roasts to breads and desserts, with minimal cleanup required.
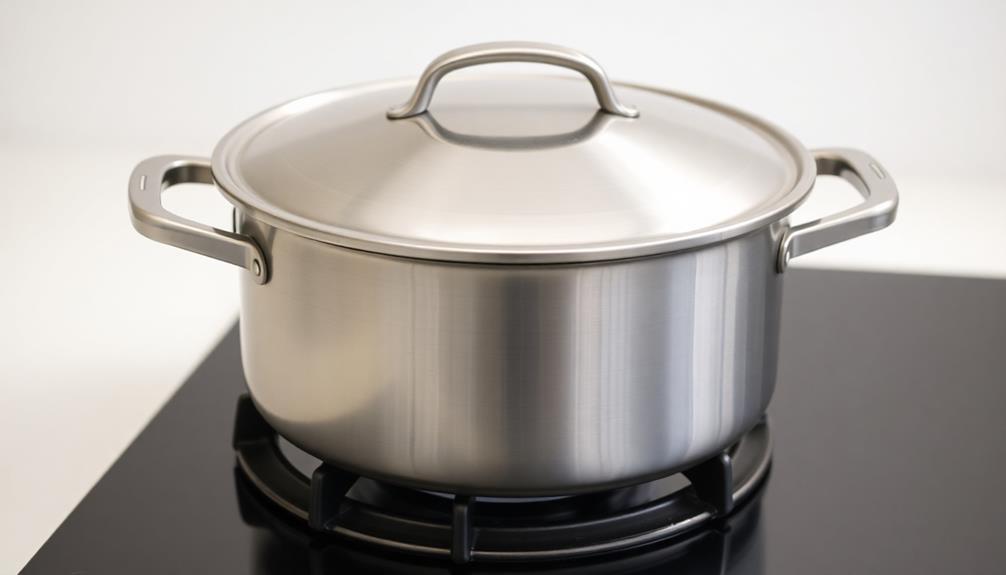
- The thick walls of Dutch ovens trap steam, resulting in tender and juicy dishes, while the versatile design allows for cooking on the stovetop or in the oven.
- Preheating the Dutch oven, adding aromatic vegetables, and incorporating broth and seasonings are key steps in the cooking process for optimal flavor and texture.
- Dutch ovens are user-friendly and durable, making them suitable for both novice and experienced cooks, and encouraging experimentation in home cooking.
- The enjoyment and satisfaction of creating hearty, comforting meals with Dutch ovens is enhanced by the minimal cleanup required, simplifying the overall cooking experience.
Top picks for "dutch oven delight"
Open Amazon search results for this keyword.
As an affiliate, we earn on qualifying purchases.
History
The origins of the Dutch oven can be traced back to the 17th century, when European settlers in the Americas first began experimenting with this versatile cooking vessel.
These early Dutch ovens were made of cast iron, with a heavy lid that allowed heat to circulate evenly, making them perfect for slow-cooking stews, roasts, and baked goods.
As settlers explored the new frontier, they quickly realized the value of the Dutch oven, which could be used over an open fire or buried in hot coals to create delicious, hearty meals with minimal cleanup.
Over the centuries, the design of the Dutch oven has evolved, but its core function has remained the same – to provide a simple, efficient way to prepare nourishing, flavorful dishes.
Today, the Dutch oven is a beloved tool in many home kitchens, allowing cooks to create a wide variety of mouthwatering meals with ease and convenience.
Recipe
A Dutch oven is a versatile and indispensable tool for any home cook, especially when you're out camping and want to prepare hearty meals with minimal cleanup. Its thick, heavy construction and tight-fitting lid make it perfect for braising, stewing, and baking, allowing you to enjoy delicious meals in the great outdoors while embracing camping cooking essentials.
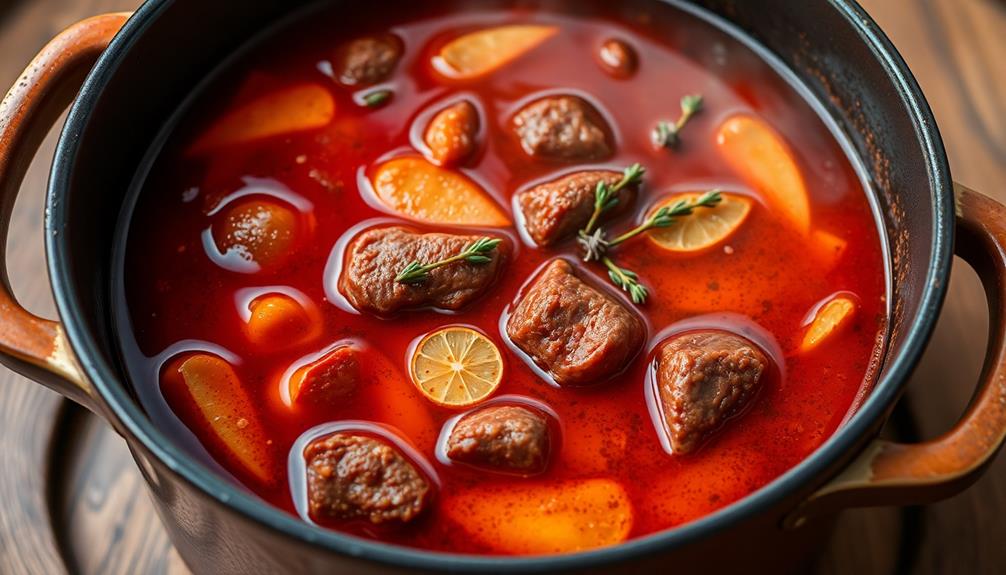
In this recipe, we'll showcase the Dutch oven's ability to create a delectable and comforting dish. The key to success with this recipe is to take your time and let the flavors meld together. The slow cooking process allows the ingredients to develop deep, rich notes, resulting in a truly satisfying meal.
Ingredients:
- 3 lbs beef chuck roast, cut into 2-inch cubes
- 2 tablespoons olive oil
- 1 large onion, diced
- 4 cloves garlic, minced
- 2 carrots, peeled and sliced
- 2 celery stalks, sliced
- 2 cups beef broth
- 1 cup red wine
- 2 bay leaves
- 2 sprigs fresh thyme
- Salt and pepper to taste
Cooking Instructions:
In a large Dutch oven, heat the olive oil over medium-high heat. Add the beef cubes and brown them on all sides, about 3-4 minutes per side. Remove the beef from the pot and set aside.
Reduce the heat to medium, add the onions, garlic, carrots, and celery to the pot, and cook for 5-7 minutes, stirring occasionally, until the vegetables are softened. Pour in the beef broth and red wine, scraping up any browned bits from the bottom of the pot.
Return the beef to the pot and add the bay leaves and thyme. Bring the mixture to a boil, then reduce the heat to low, cover, and simmer for 2-3 hours, or until the beef is tender and the sauce has thickened.
Tips:
For best results, use a high-quality, well-marbled beef chuck roast. The long, slow cooking process will make the meat incredibly tender and flavorful.
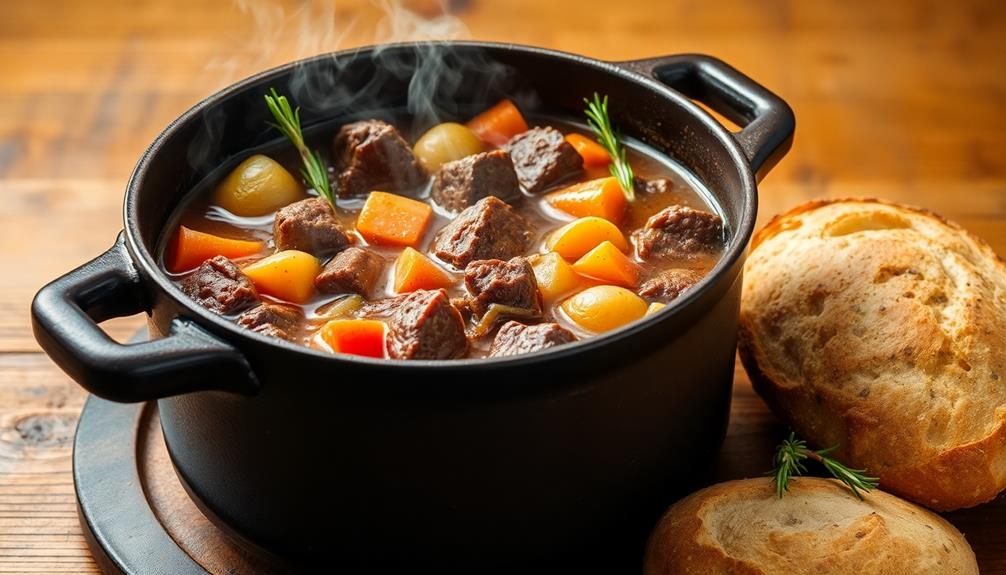
You can also experiment with different vegetables, such as potatoes, parsnips, or mushrooms, to customize the dish to your liking. Serve the Dutch oven beef stew with crusty bread or mashed potatoes to soak up the delicious sauce. For an extra kick of flavor, consider adding a sprinkle of fresh herbs like thyme or rosemary before serving. This hearty beef stew recipe is perfect for a cozy night in or to impress dinner guests with its rich and comforting flavors. No matter how you choose to customize it, this dish is sure to be a hit.
Cooking Steps
Preheat your oven to 350°F and let's get started!
First, add your aromatics like onions, garlic, and herbs to the Dutch oven.
Next, toss in your chopped vegetables and let them soak up all the flavors.
Finally, pour in your broth and seasonings, then cover and bake for 1-2 hours.
Your Dutch oven delights are on their way!
Step 1. Preheat Oven to 350°F
Preheat your oven to 350°F, as this temperature is crucial for achieving the perfect golden-brown crust on your Dutch oven creations. This oven temp ensures your dishes cook evenly and develop that irresistible caramelized exterior.
Don't be tempted to crank up the heat – low and slow is the way to go for mouthwatering results.
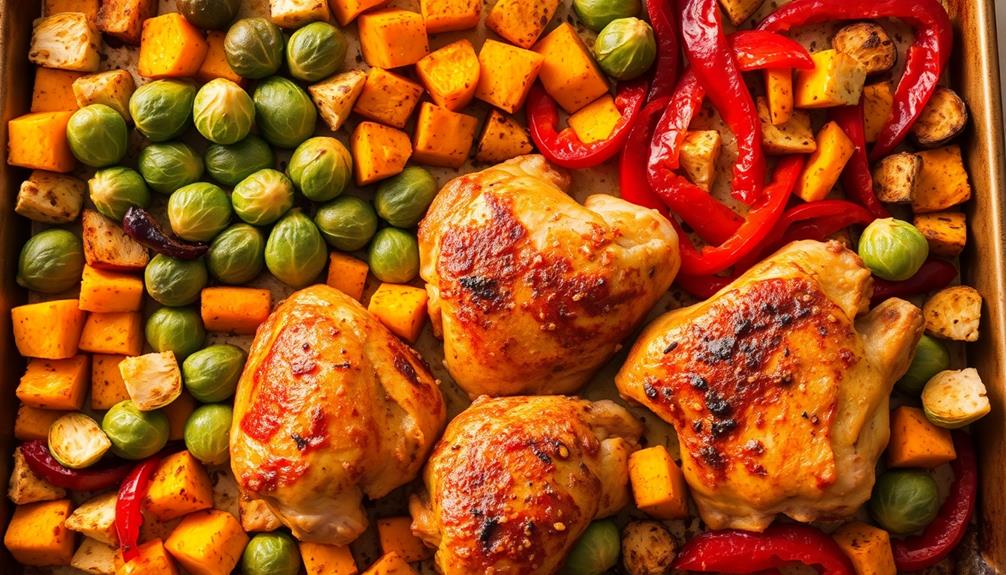
Once your oven is preheated, you're ready to start assembling your recipe. Whether you're whipping up a hearty stew, roasting a whole chicken, or baking a crusty loaf of bread, the even heat distribution of a Dutch oven is key.
Its thick, heavy walls trap steam, locking in flavor and moisture. You'll be amazed at how much more tender and juicy your dishes turn out compared to traditional baking methods.
Step 2. Add Aromatics
With your oven preheated to the perfect temperature, it's time to start building the flavors in your Dutch oven dish. First, grab some aromatic veggies like onions, garlic, and celery. Chop them up into small pieces – this will help them cook quickly and release their delicious flavors.
Toss the chopped aromatics into your hot Dutch oven with a drizzle of olive oil. Let them sizzle and soften, stirring occasionally, until they're nice and fragrant.
Now, you can add some fresh herbs if you'd like, like thyme, rosemary, or parsley. The herbs will infuse your dish with even more flavor. Just toss them in and let them mingle with the aromatic veggies.
Don't be afraid to experiment and find your favorite flavor combinations. The great thing about a Dutch oven is you can really make it your own. Keep an eye on the pot, letting the aromas fill your kitchen as the flavors develop.
Before you know it, you'll be ready for the next step in creating your Dutch oven delight!
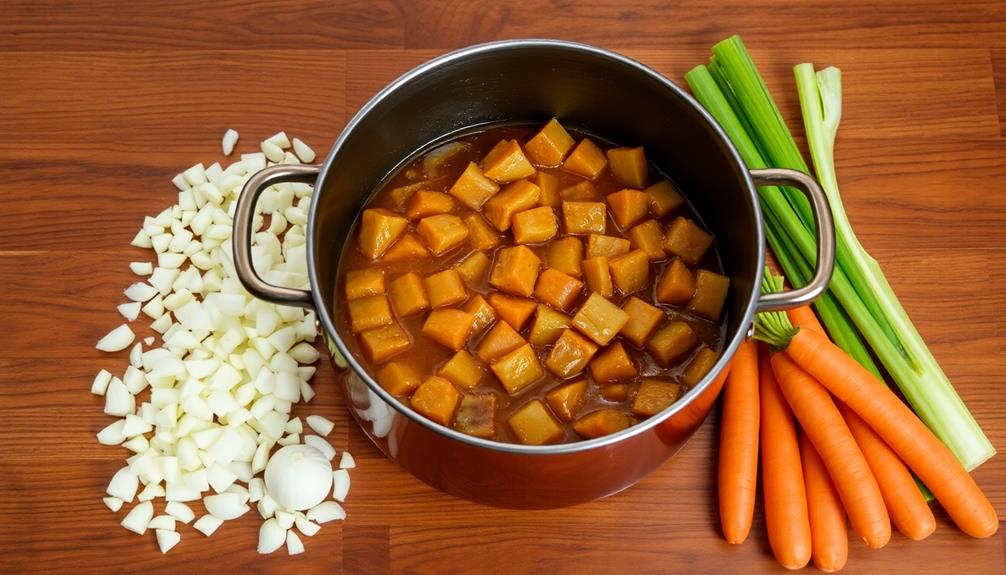
Step 3. Add Vegetables
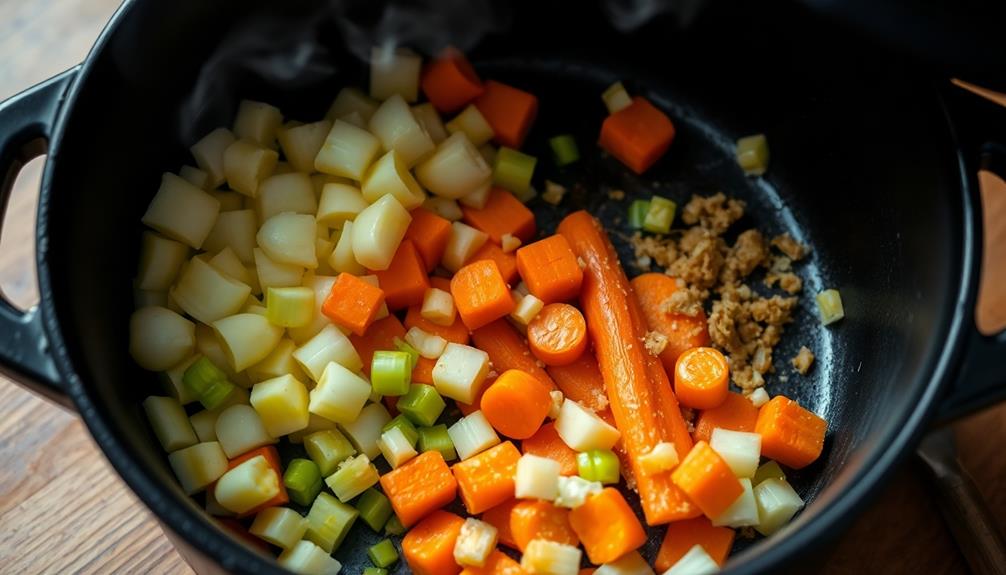
Now that your aromatic veggies are sizzling and softened, it's time to add the remaining vegetables. Chop up fresh, colorful produce like carrots, potatoes, and bell peppers. Toss them into the pot and let them soak up all those delicious flavors.
Don't be afraid to get creative – try mixing in zucchini, mushrooms, or even some leafy greens. The gentle heat of the Dutch oven will transform these simple ingredients into a hearty, nourishing medley.
As the vegetables cook, you'll notice the aromas intensifying. The blend of savory spices and tender produce creates an irresistible scent that will have your mouth watering.
Stir the mixture occasionally, allowing the vegetables to become tender and infuse the dish with their natural sweetness. This is where the true magic of the Dutch oven shines, transforming ordinary veggies into an extraordinary culinary experience.
Step 4. Add Broth and Seasonings
Once the vegetables have had a chance to mingle and soften, it's time to add the flavorful broth.
Grab your favorite broth – whether it's chicken, beef, or vegetable – and pour it right into the Dutch oven. You'll want just enough broth to cover the veggies, so start with about 2 cups and add more if needed.
For an extra boost of nutrition, consider incorporating low carb high protein breakfast ideas like eggs or Greek yogurt alongside your vegetables.
Now, it's seasoning time! This is where you can really make the dish your own.
Sprinkle in a teaspoon or two of your go-to dried herbs and spices. Garlic powder, onion powder, and paprika are all great options that'll add tons of flavor.
Don't be afraid to get creative – a dash of cayenne or some fresh thyme would work beautifully too.
Give everything a good stir, making sure the broth and seasonings are evenly distributed throughout the Dutch oven.
Now, let the magic happen as the flavors meld together on the stovetop or in the oven.
Step 5. Cover and Bake for 1-2 Hours

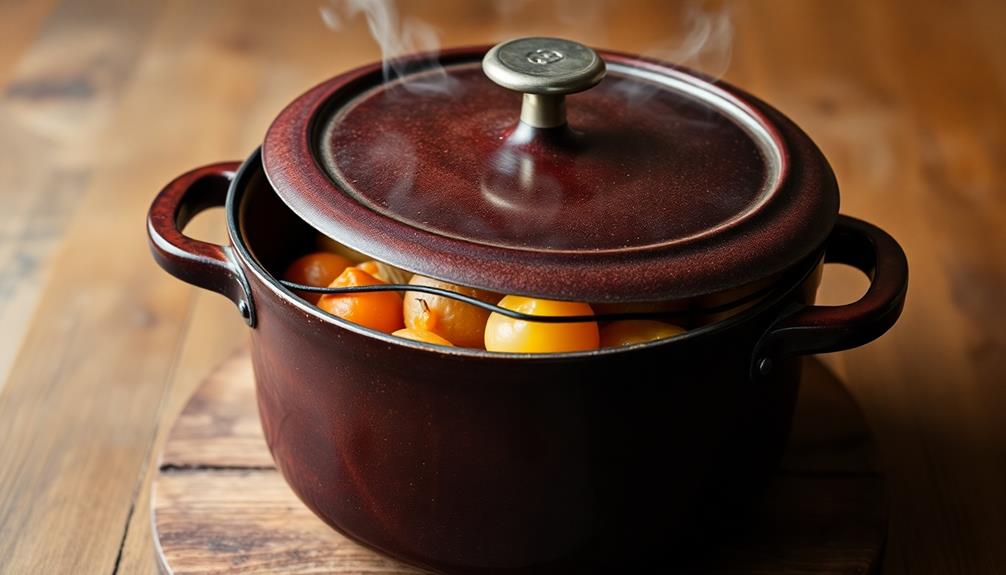
Once you've added the broth and seasonings, cover the Dutch oven and place it in the preheated oven. This simple step locks in all the flavors, allowing the ingredients to simmer and meld together.
The covered pot traps the steam, creating a moist, tender cooking environment that's perfect for braising meats and vegetables. Additionally, just like modern heat pumps enhance indoor air quality, a well-cooked dish benefits from the right balance of moisture and heat.
Noise levels of modern heat pumps contribute to a comfortable cooking environment, ensuring you can enjoy the process without any interruptions.
As the dish bakes, your kitchen will fill with enticing aromas that'll have everyone's mouth watering. Resist the urge to peek – every time you open the oven, you'll lose precious heat and steam.
Trust the process and let the Dutch oven work its magic for 1 to 2 hours. The exact time will depend on the size of your Dutch oven and the ingredients you're cooking. Just be sure the meat is fork-tender and the vegetables are cooked through.
When the timer goes off, carefully remove the hot Dutch oven from the oven. Get ready to serve up a hearty, comforting meal with minimal cleanup. Your family will be amazed by the depth of flavor in each bite.
Final Thoughts
With a well-seasoned Dutch oven in your kitchen, the culinary possibilities are endless. You can create mouthwatering meals with minimal effort and cleanup. From hearty stews and roasts to baked breads and desserts, this versatile cooking vessel will become your go-to for delicious home-cooked dinners.
Don't be intimidated by the thought of using a Dutch oven. These sturdy pots are easy to use and maintain. Simply follow the recipes and guidelines provided, and you'll be whipping up comforting and satisfying dishes in no time.
The beauty of a Dutch oven is that it seals in flavors and moisture, resulting in tender, flavorful food every time.
As you explore the world of Dutch oven cooking, get creative and experiment with different ingredients and techniques. This time-honored method of preparing meals is a surefire way to impress your family and friends.
Embrace the joys of Dutch oven delights and elevate your home cooking to new heights.
Frequently Asked Questions
What Is the Recommended Size of a Dutch Oven?
The recommended size of a dutch oven depends on your cooking needs. For small households, a 4-6 quart dutch oven should suffice, while larger families may prefer a 6-8 quart size for more versatile cooking. Consider your typical meal portions when selecting the right dutch oven size.
Can I Use a Dutch Oven on a Campfire?
Yes, you can use a dutch oven on a campfire. Dutch ovens are designed to withstand high heat and are perfect for cooking over an open flame. Just be sure to use heat-resistant gloves when handling the hot dutch oven.
How Do I Season a New Dutch Oven?
To season a new Dutch oven, you'll need to coat the interior with a thin layer of oil, then bake it in the oven at a high temperature. This creates a protective, non-stick surface.
Can I Use a Dutch Oven on a Glass-Top Stove?
Yes, you can use a Dutch oven on a glass-top stove. Just be gentle when placing and moving it to avoid scratching the surface. Preheat the oven before use, and avoid sudden temperature changes to prevent cracking the glass.
How Long Can I Store Food in a Dutch Oven?
You can generally store food in a Dutch oven for up to 3-4 days in the fridge. Remember to let it cool completely before refrigerating, and reheat thoroughly before serving. Proper storage ensures your leftovers stay fresh and delicious.