
Garri, an exciting staple in Nigerian cuisine, is made from cassava tubers! First, you peel and wash the roots to remove dirt. Then, you grate them into fine shreds and let them ferment for a few days, giving garri its unique taste. After squeezing out the extra water, you roast the cassava pulp until it's light golden brown. Yum! Garri can be enjoyed in many ways, like with soups or milk, making it super versatile. It's a delicious food that holds a special place in Nigerian culture. Curious about how it fits into everyday meals? There's so much more to explore!
Key Takeaways
- Garri is primarily made from fermented cassava tubers, a staple root vegetable in West Africa.
- The preparation involves peeling, washing, grating, fermenting, squeezing, and roasting the cassava.
- Fermentation enhances the flavor and contributes to the distinct slightly sour taste of garri.
- The roasting process gives garri its characteristic light golden color and texture.
- Garri can be fine or coarse, affecting its culinary uses and preferences in Nigerian cuisine.
As an affiliate, we earn on qualifying purchases.
History
Garri, a staple in Nigerian cuisine, has a rich history that dates back centuries. You might be surprised to learn that garri comes from cassava, a root vegetable that's been cultivated in Africa for thousands of years.
People have been making garri for generations, using techniques passed down through families. It all starts when the cassava is harvested, peeled, and grated. After that, it's fermented, squeezed, and then roasted to create the delicious, grainy product you enjoy.
Garri isn't just food; it's part of many cultural celebrations and daily life in Nigeria. Families often come together to prepare it, sharing stories and laughter in the process.
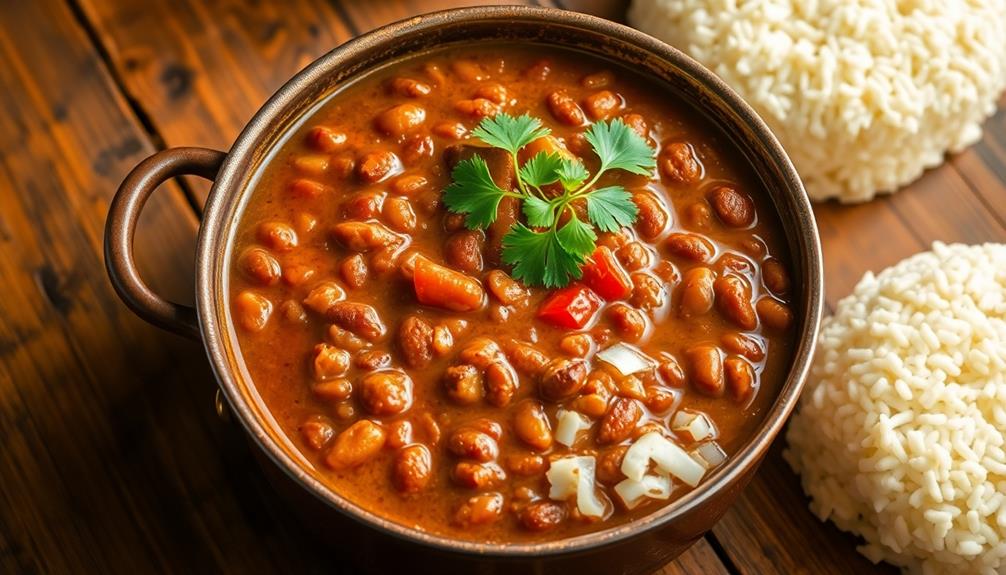
You can even find garri in homes across the country, served with various soups and stews. This versatile food has been a source of energy and nutrition for many, making it a beloved choice.
As you enjoy garri, remember that you're tasting a piece of history. It connects you to a long line of people who've cherished it, just like you do.
Cooking Steps
To prepare garri, you'll need to follow a series of straightforward steps that ensure a delicious outcome.
First, start with cassava, the main ingredient. Peel the cassava tubers and chop them into smaller pieces. Then, wash them thoroughly to remove any dirt.
Next, you'll want to grate the cassava using a grater or a food processor. This step makes it easier to extract the starch.
After grating, place the cassava in a cloth and squeeze out as much liquid as you can. This is an important step, as the liquid contains toxins that need to be removed.
Once you've squeezed out the liquid, let the cassava mash ferment for a day or two. This fermentation helps develop the flavor.
Now, spread the fermented mash on a flat surface and roast it in a large pan over medium heat. Stir it continuously to avoid burning.
As it roasts, the cassava will turn golden and dry out, transforming into the garri you know and love.
Step 1. Peel and Wash Cassava Roots

Before you start making garri, peeling and washing the cassava roots is essential. This step gets the roots ready for the next part of the process.
First, grab a sharp knife and carefully cut off the brown, woody skin of each cassava root. Make sure you remove all the outer layer, as it can be bitter. Don't rush; take your time to get it right!
Once you've peeled the roots, it's time to wash them. Rinse each cassava root under cool, running water. This helps remove any dirt, sand, or little bugs that might be hiding. You want your cassava to be clean and ready to turn into garri!
You can scrub gently with your hands to make sure you get every nook and cranny. After you've given them a good wash, let the roots drain in a colander for a few minutes.
This simple but important step sets the stage for the delicious garri you're about to make. Now that your cassava roots are clean and ready, you're one step closer to enjoying this tasty Nigerian staple!
Step 2. Grate the Cassava Roots

With your cassava roots clean and ready, the next step is to grate them. You'll want to use a box grater or a food processor to make this process easier.
If you're using a box grater, hold the cassava firmly and rub it against the grater's large holes. This will create small, fluffy pieces that are perfect for making garri. It can be a little hard work, but don't worry; it's totally worth it!
If you're using a food processor, cut the cassava into smaller chunks first. Then, pulse them a few times until they turn into fine shreds. Remember to scrape down the sides of the bowl to make sure everything gets grated evenly.
Once you've grated all your cassava, you'll have a beautiful pile of fluffy shreds. This is an exciting moment because you're one step closer to making delicious garri!
Make sure to check for any large pieces and grate those down if you find them. Now that your cassava is perfectly grated, you're ready to move on to the next step in the garri-making process. Get ready for more fun in the kitchen!
Step 3. Ferment the Grated Cassava

Fermenting the grated cassava is a crucial step in making garri, as it helps develop the flavor and reduces the raw taste. After you've grated the cassava, put it into a clean container. Cover it loosely with a cloth or lid, allowing air to flow in while keeping dirt out.
Now, let it sit for about two to three days at room temperature. Isn't that exciting? During this time, the natural fermentation process begins!
You might notice a slightly sour smell, which means it's working its magic. The longer you let it ferment, the stronger the flavor will become. Just remember, you don't want to leave it for too long, or it could spoil. Checking on it every day is a good idea, so you can monitor how it's doing.
Once it's ready, you'll have a wonderfully tangy and flavorful mixture that's perfect for the next steps in making garri.
This fermentation stage is where the magic happens, transforming your grated cassava into something truly special. So, keep an eye on it, and get ready for the next exciting step in your garri-making journey!
Step 4. Squeeze Excess Water From Cassava

After the fermentation process, it's time to squeeze the excess water from your cassava. This step is super important because it helps to get rid of any bitterness and makes your garri taste great!
First, take your fermented cassava and put it into a clean, strong cloth or a fine sieve. Make sure the cloth is sturdy enough to hold the cassava without tearing.
Next, gather the edges of the cloth and twist it tightly. You'll want to squeeze as hard as you can! This helps push out all that extra water. You might feel a bit of a workout, but it's totally worth it. If you can, let your friends or family join in—squeezing cassava is more fun with others!
Once you've squeezed out as much water as possible, take a moment to admire your hard work. The cassava should be much drier and ready for the next step.
Step 5. Roast the Cassava Pulp

Now that you've got your cassava pulp nice and dry, it's time to roast it to achieve that perfect garri texture and flavor. Roasting is a crucial step, so let's get started!
First, you'll want to find a large, flat pan or a traditional roasting pot. This will help spread the pulp evenly and give it a nice, golden color.
Next, pour your cassava pulp into the pan. Turn on the heat to medium and keep stirring the pulp regularly. This is super important because you don't want any part to burn.
As you stir, you'll notice the smell of roasted cassava filling the air—it's delicious!
Keep roasting until the pulp turns a light golden brown and feels dry to the touch. This usually takes about 15 to 20 minutes. Remember, patience is key!
Once it's ready, remove it from the heat and let it cool for a bit.
Now you've successfully roasted your cassava pulp! This step is what makes your garri so yummy and special. Get ready to enjoy your tasty creation!
Final Thoughts
In reflecting on garri's role in Nigerian cuisine, it's clear that this versatile staple holds more than just nutritional value; it embodies the rich cultural heritage of the nation. When you enjoy garri, you're not just savoring a delicious food item, but also connecting with the stories, traditions, and communities that have shaped its existence.
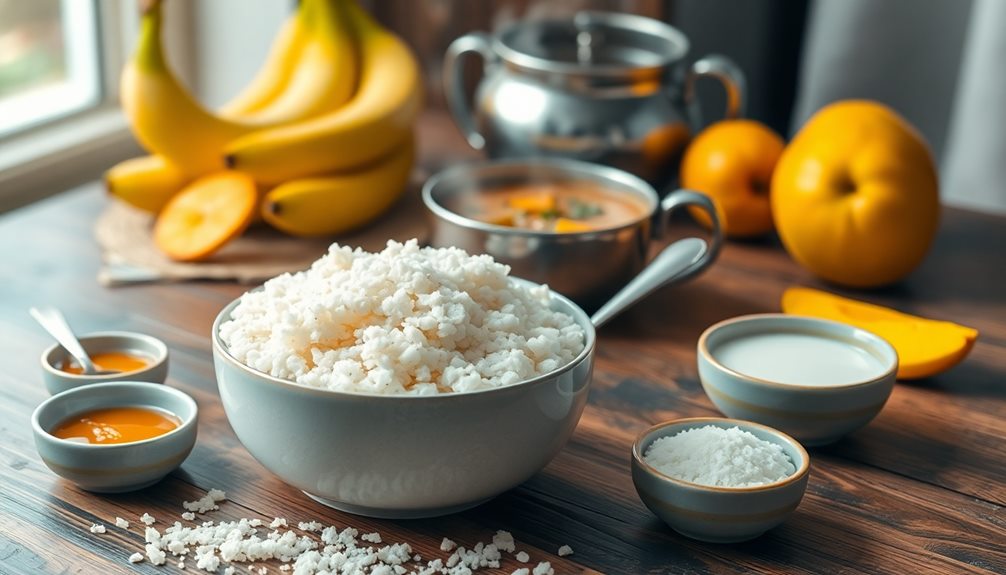
Garri can be enjoyed in so many ways, from soaking it in water to make a refreshing meal, to using it as a side dish with soups and stews. It's a favorite among many because of its unique texture and ability to complement various flavors.
Plus, it's super easy to prepare, making it a go-to for busy families.
As you explore Nigerian cuisine, try to appreciate the significance of garri. It's more than a simple dish; it's a symbol of resilience and creativity within the culture.
Frequently Asked Questions
What Are the Nutritional Benefits of Garri?
Garri's packed with carbohydrates, offering quick energy. It's high in fiber, aiding digestion, and contains essential vitamins and minerals. Incorporating it into your diet can provide a nutritious balance while enjoying its unique flavor.
Can Garri Be Used in Gluten-Free Recipes?
Absolutely, you can use garri in gluten-free recipes! Its versatility allows you to create delicious dishes, from porridge to snacks. Just substitute it for traditional flours, and enjoy the unique texture and flavor it brings.
How Does Garri Compare to Other Starches?
Garri offers a unique texture and flavor compared to other starches. It's crispy when dry and soft when soaked, making it versatile. You'll find it's a great alternative in various dishes and recipes.
What Is the Shelf Life of Garri?
Garri typically lasts for several months if stored properly in a cool, dry place. You'll want to keep it sealed to prevent moisture and pests from ruining its quality. Enjoy it while it's fresh!
Are There Different Varieties of Garri Available?
Yes, there're different varieties of garri available. You can find white, yellow, and even flavored options. Each type offers unique tastes and textures, so you can choose based on your preference and recipe needs.