You're in for a real treat with gorditas! These little Mexican pockets have a long, rich history and come in all sorts of delicious flavors. The dough is made from masa harina, which gives it a unique corn taste. Once fried to perfection, you can stuff them with refried beans, shredded chicken, or whatever toppings you like. Drizzle on some cooling crema and zesty pico de gallo for an extra kick. Gorditas are super versatile – perfect for breakfast, lunch, or dinner. And the best part? There are endless ways to make them your own. Keep reading to discover more about these incredible Mexican delights!
Key Takeaways
- Gorditas are a traditional Mexican dish with a rich culinary history, evolving from indigenous and Spanish cuisines.
- The name "gordita" refers to their appearance, translating to "little fat one."
- Gorditas are versatile, suitable for breakfast, lunch, or dinner, and can be filled with a variety of flavorful ingredients.
- Cooking techniques for gorditas include frying, grilling, or baking, with a cast iron skillet recommended for even cooking.
- Gorditas can be enhanced with creative toppings and sauces, providing an opportunity for personal experimentation and a unique taste experience.
History
Although gorditas have a rich history, their exact origins remain murky. These tasty little pockets of dough have been enjoyed for generations across Mexico and parts of the Southwestern United States. Gorditas likely evolved from traditional Mesoamerican dishes, with influences from both indigenous and Spanish cuisines. The name "gordita" literally means "little fat one" in Spanish, a playful nod to their plump, pillowy appearance.
Over time, gorditas have become a beloved street food, often served with a variety of flavorful fillings like shredded chicken, beef, cheese, beans, and salsa.
The process of making gorditas is an art form, requiring skilled hands to shape the dough into perfect little rounds before frying to crispy perfection.
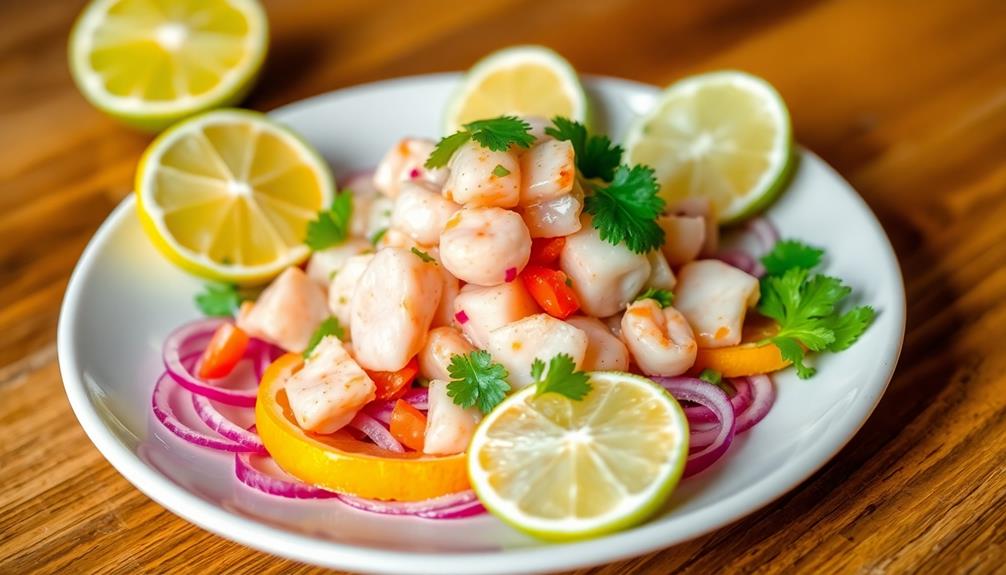
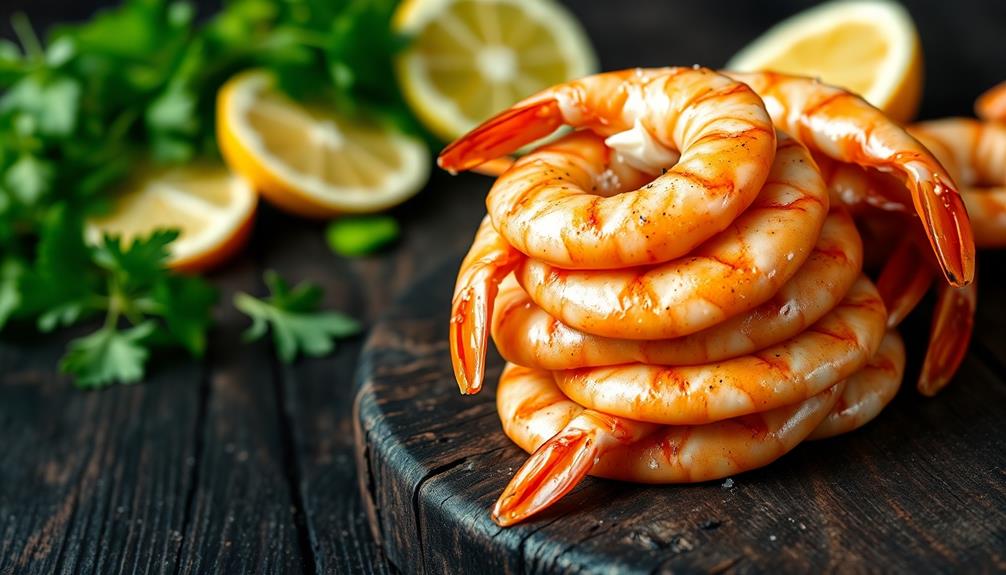
Whether you're enjoying a classic gordita or experimenting with unique toppings, these delightful treats offer a delicious taste of Mexican culinary heritage. If you’re craving more international flavors, consider trying a traditional Peruvian ceviche recipe. The tangy citrus-marinated fish, combined with the crunch of fresh vegetables, creates a dish that is both refreshing and satisfying. With its rich history and diverse ingredients, Mexican and Peruvian cuisine continue to captivate food lovers around the world.
Recipe
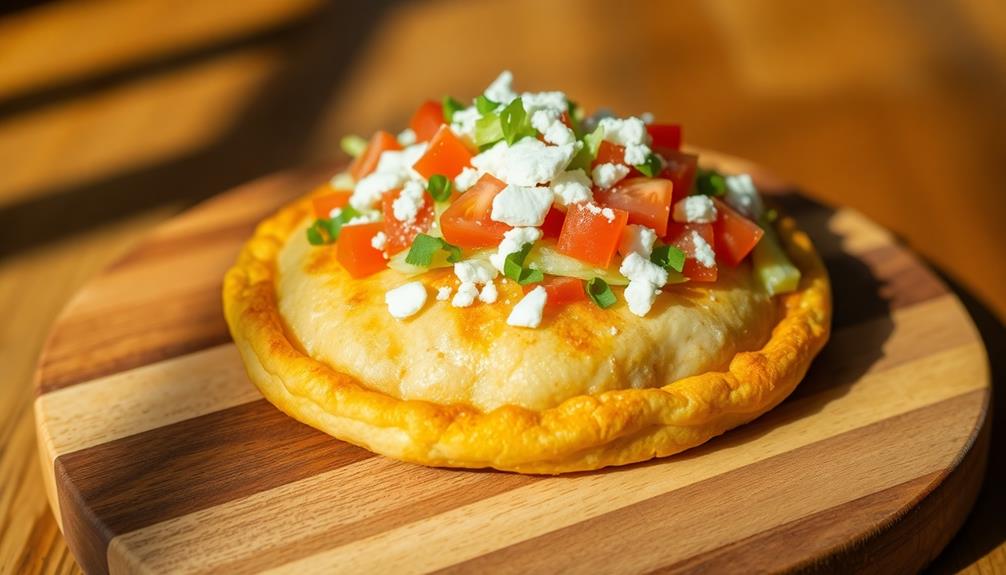
Gorditas are a popular Mexican dish consisting of a fried corn pocket filled with various savory or sweet ingredients. The name "gordita" literally translates to "little fat one," referring to the puffed-up, pillowy texture of the dough. Gorditas are a versatile dish that can be enjoyed for breakfast, lunch, or dinner, and can be customized to suit individual tastes.
Preparing gorditas at home is a rewarding experience that allows you to explore the rich flavors and textures of authentic Mexican cuisine. With a few simple ingredients and a bit of time, you can create delicious homemade gorditas that will transport your taste buds to the vibrant streets of Mexico.
- 2 cups masa harina (corn flour for tamales)
- 1 teaspoon salt
- 1 1/4 cups warm water
- Vegetable oil for frying
To make the gorditas, start by combining the masa harina and salt in a large bowl. Gradually add the warm water, mixing until a soft, pliable dough forms. Cover the dough and let it rest for 30 minutes.
Divide the dough into 8 equal portions and roll each piece into a ball. Using a rolling pin, flatten the balls into thin, round discs, about 4 inches in diameter.
In a large skillet or griddle, heat 1/2 inch of vegetable oil over medium-high heat. Carefully place the flattened dough discs into the hot oil and fry for 2-3 minutes per side, or until golden brown and puffed up. Drain the cooked gorditas on a paper towel-lined plate.
To serve, slice the gorditas in half horizontally and fill with your desired toppings, such as refried beans, shredded chicken, lettuce, cheese, salsa, or crema. Enjoy your homemade gorditas with a side of rice and beans for a truly authentic Mexican experience.
Cooking Steps
Mix the masa harina and water until you've got a smooth, pliable dough.
Knead it for a bit to really bring it together.
Now, roll the dough into little balls and flatten them with your fingers – you're almost ready to fry up those delicious gorditas!
Step 1. Mix Masa Harina With Water
The next step in crafting delectable gorditas is to combine the masa harina with water. In a large bowl, pour in the masa harina and add just a bit of water to start.
Use your hands to gently mix the two together, slowly incorporating more water as you go. You want to create a soft, pliable dough that's not too dry or too sticky. It should have a smooth, uniform texture, kind of like a play-doh consistency.
Once you've got the right dough, divide it into golf ball-sized pieces and roll them into little rounds.
Make sure to keep the dough covered with a damp cloth as you work to prevent it from drying out. Now you're ready to start shaping and cooking your gorditas! Get excited, because the best part is just around the corner.
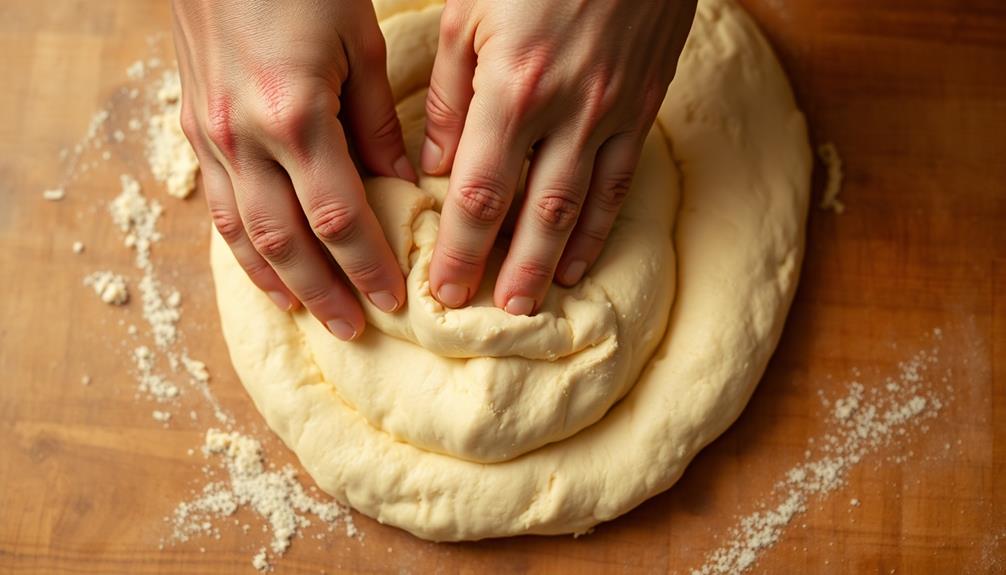
Step 2. Knead Dough Until Smooth and Pliable
Take the dough you've created and begin kneading it on a clean, lightly floured surface. Use the heel of your hand to push the dough away from you, then fold it back towards you.
Repeat this motion, turning the dough a quarter turn after each push and fold. Knead the dough for about 5 minutes, until it becomes smooth and pliable. You'll know it's ready when the dough is no longer sticky and has a soft, springy texture.
As you knead, you might feel the dough start to warm up and become more elastic. That's a good sign! Keep going, putting a little bit of elbow grease into it.
The more you knead, the better the texture of your gorditas will be. When the dough is just right, it'll be a pleasure to work with. Now you're ready to shape those delicious little pockets of goodness!
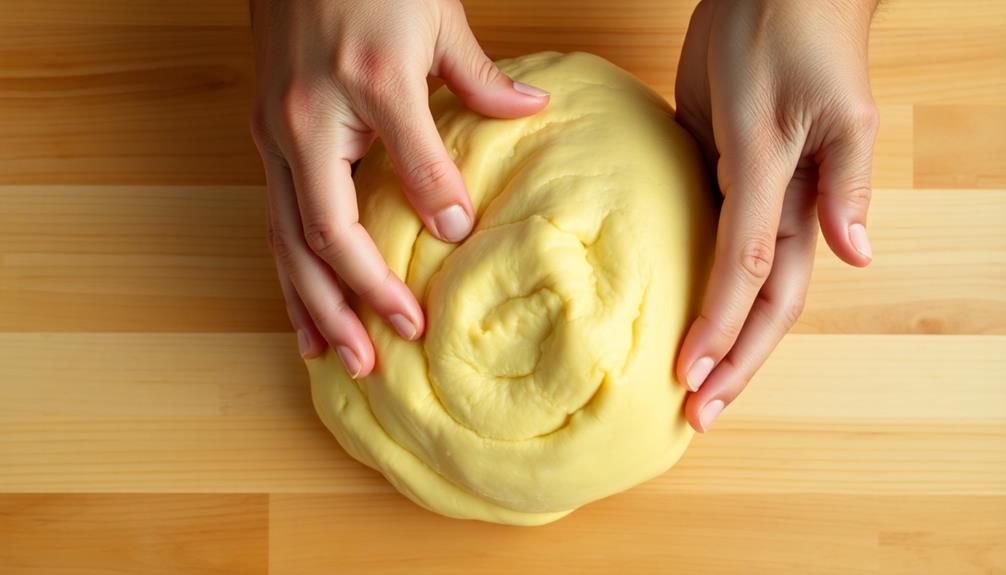
Step 3. Roll Dough Into Balls
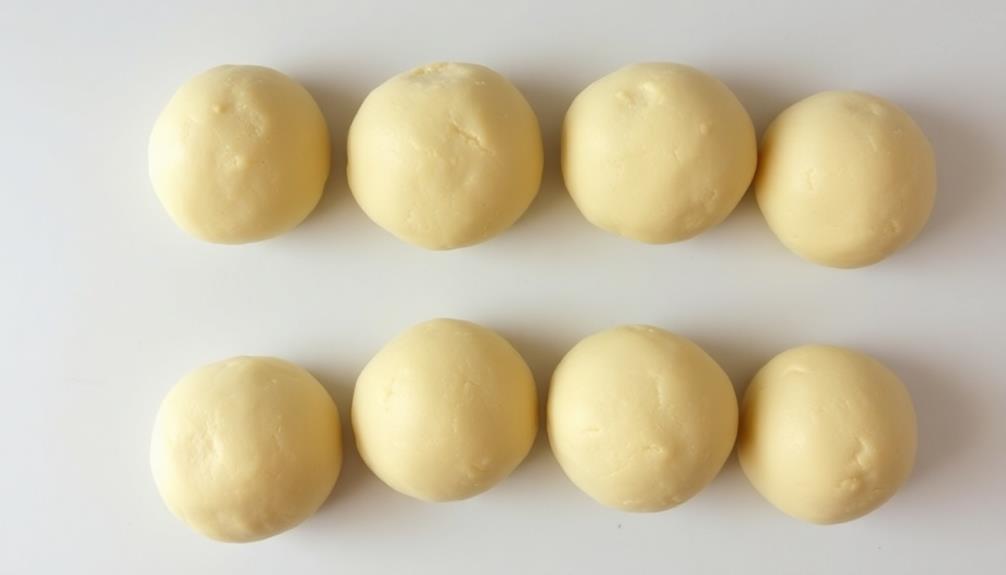
Dividing the dough into evenly-sized pieces is the next step.
You'll want to take your freshly kneaded dough and gently roll it into smooth, round balls. Each one should be about the size of a golf ball, so they'll cook up nice and plump.
Roll the dough between your palms, applying just a bit of pressure to shape them. Try to make them all the same size so they'll cook evenly.
Once you've got a whole batch of little dough balls, you're ready for the next part of making your delicious gorditas.
Next, you'll need to flatten each ball into a round, flat disk.
Use the palm of your hand or a rolling pin to gently press down and shape the dough.
Don't worry if they're not perfect circles – the rustic look is part of the charm of homemade gorditas.
Just take your time and make sure each one is an even thickness all the way across.
Step 4. Flatten Dough Balls With Fingers
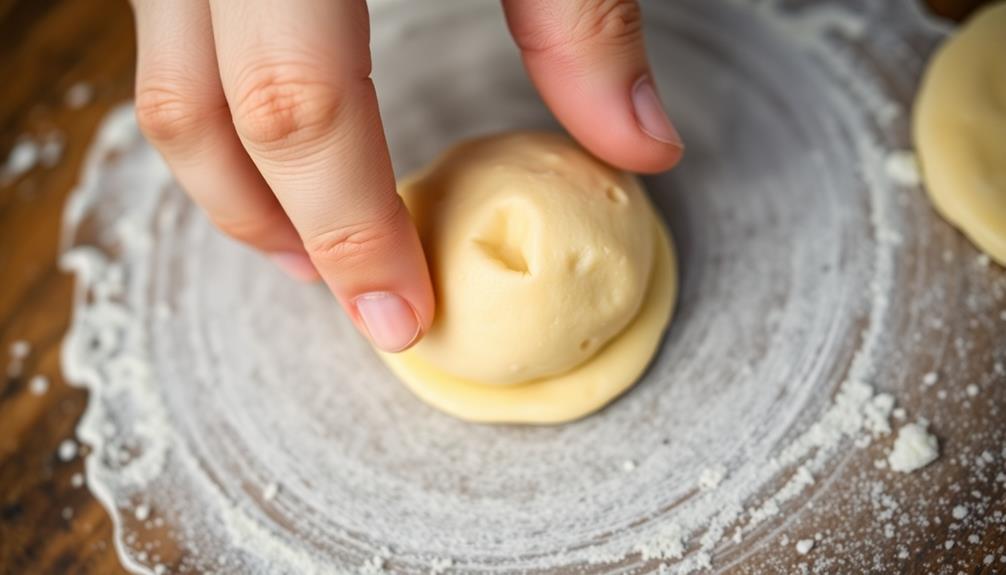
Once you've rolled the dough into evenly-sized balls, use your fingers to gently press and flatten each one. Slowly and carefully, run your fingertips across the top of the ball, applying light pressure to create a round, flat disk. Don't worry if it's not perfect – the imperfections will give your gorditas character!
As you flatten, feel the dough giving way beneath your touch, becoming smooth and supple. Imagine the satisfying sensation as the ball transforms into a flattened circle, ready to be fried.
Next, use the palms of your hands to gently pat and shape the flattened dough, rounding the edges and creating a consistent thickness throughout. With each pat, you'll feel the dough solidify, almost like it's coming alive under your hands.
Be sure not to overwork it, though – you want to maintain that soft, pillowy texture. Once your gordita is perfectly pressed, it's time to move on to the next step: frying!
Step 5. Fry the Flattened Dough Balls

Heat a generous amount of oil in a large skillet over medium-high heat. Once the oil is shimmering, it's time to fry those flattened dough balls!
Carefully lower each one into the hot oil and let them sizzle away for 2-3 minutes until golden brown. Be sure to flip them over halfway through so they cook evenly on both sides. The smell of the crispy, golden-brown gorditas will make your mouth water!
After they're perfectly fried, use a slotted spoon to transfer the gorditas to a paper towel-lined plate. This will help drain off any excess oil so they're nice and crispy.
Now you're ready to top them with your favorite fillings, like shredded chicken, cool sour cream, or zesty salsa. Get creative and have fun with it! The possibilities are endless when it comes to stuffing and seasoning these delicious little pockets of dough.
Enjoy your homemade gorditas – they're sure to be a hit with the whole family.
Final Thoughts
With the preparation and cooking methods discussed, you can now confidently craft delectable gorditas in your own kitchen.
Imagine the joy of sinking your teeth into a warm, fluffy gordita, its crisp exterior giving way to a soft, savory interior. The possibilities are endless – stuff them with your favorite fillings, from spicy ground beef to tangy queso fresco.
As you master the art of gordita making, get creative! Try drizzling them with cool, refreshing crema or topping them with zesty pico de gallo. The combinations are limited only by your imagination.
Don't be afraid to experiment and find your signature gordita style. Whether you're cooking for your family or hosting a lively fiesta, these versatile treats are sure to impress.
Serve them up with an ice-cold beverage, and savor the flavors of authentic Mexican cuisine right in your own home. Enjoy your newfound gordita expertise – the delicious rewards are all yours!
Frequently Asked Questions
What Is the Difference Between a Gordita and a Taco?
The key difference between a gordita and a taco is that a gordita has a thicker, fried corn cake as its base, while a taco typically features a thin, soft or crisp tortilla. The fillings and toppings can vary between the two.
Can Gorditas Be Made With Gluten-Free Flour?
Yes, you can make gorditas with gluten-free flour. The key is to use a blend of gluten-free flours and starches to achieve the right texture and consistency. This will allow you to enjoy this Mexican specialty even if you have a gluten intolerance.
How Long Do Leftover Gorditas Keep?
Leftover gorditas can keep for 3-4 days in the refrigerator when stored properly in an airtight container. They'll maintain their texture and flavor, so you can easily reheat and enjoy them later.
Can Gorditas Be Frozen for Later Use?
Yes, you can freeze gorditas for later use. Simply wrap them tightly in plastic wrap or aluminum foil and place them in the freezer. They'll keep for several months, so you can enjoy them whenever you're ready.
What Are Some Popular Fillings for Gorditas?
When it comes to popular fillings, the possibilities are endless! You can stuff your gorditas with savory meats, spicy sauces, tangy cheeses, or even sweet ingredients like fruit. The choice is yours to make them exactly how you like them.
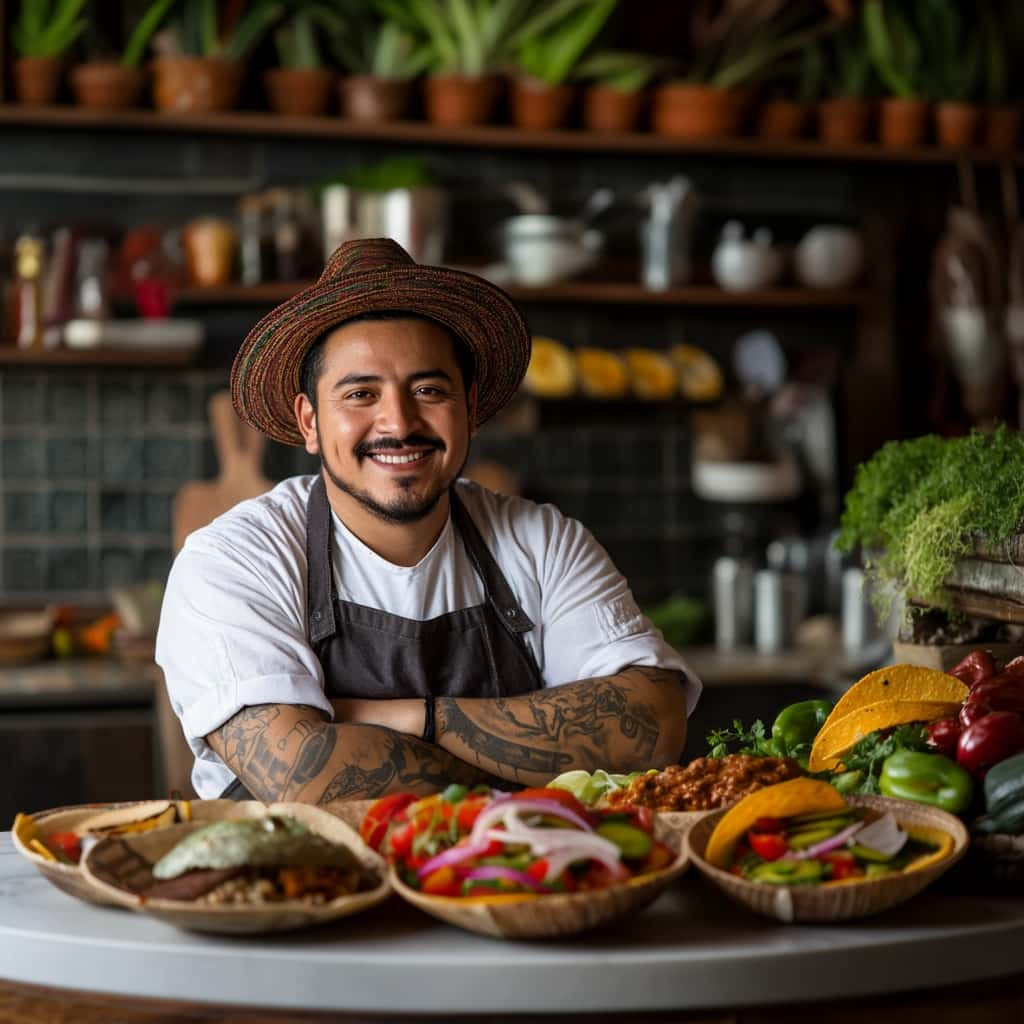
Alejandro is a vibrant advocate of traditional Mexican cuisine. From spicy tacos and enchiladas to rich moles and tamales, Alejandro’s dishes celebrate the colorful, bold flavors of Mexico. His recipes bring authentic Mexican street food and home-cooked meals to your table, with a focus on using fresh, flavorful ingredients.