Chiles in vinegar are a spicy, zesty condiment that'll have your taste buds doing a happy dance! For centuries, folks across the world have been whipping up these tasty pickles, using fresh chiles, vinegar, and a sprinkle of seasonings. You can make 'em with all sorts of peppers – jalapeños, serranos, and more. Just slice 'em up, soak 'em in the vinegar mixture, and let the flavors mingle together. Use these tangy chiles to liven up your tacos, burgers, or even cocktails. It's a simple way to add a little zing to your favorite dishes. And if you keep reading, you'll find even more delicious ways to enjoy these zesty chiles in vinegar!
Key Takeaways
- Chiles in vinegar have a long history as a beloved condiment, with origins tracing back to Mesoamerican civilizations.
- The recipe involves slicing fresh chiles, boiling them in a vinegar mixture, and letting them marinate for optimal flavor development.
- Chiles in vinegar can be stored for several months in a sealed container, with refrigeration extending their shelf life.
- These versatile condiments can be used to enhance a variety of dishes, including tacos, salads, marinades, and cocktails.
- The combination of tangy, spicy, and slightly sweet flavors make chiles in vinegar a unique and customizable kitchen staple.
History
According to historical records, chiles in vinegar have been a beloved condiment for centuries across different cultures. These tangy and spicy pickles have been enjoyed by people around the world, from the ancient Aztecs to modern-day foodies.
In Mexico, chiles en vinagre have been a staple for generations, with families passing down their secret recipes from one era to the next. The origins of this delightful condiment can be traced back to the Mesoamerican civilizations, where chili peppers were an integral part of the cuisine.
As explorers ventured to new lands, the chili pepper made its way to Europe and Asia, where it was quickly embraced and incorporated into local dishes. The practice of preserving chili peppers in vinegar became a popular way to extend their shelf life and enjoy their bold flavors year-round.
Today, chiles in vinegar remain a beloved and versatile condiment, adding a punch of flavor to everything from tacos to burgers. Whether you prefer them spicy or milder, they're sure to delight your taste buds and transport you on a flavorful journey through history.
Recipe
Chiles in Vinegar is a classic Mexican condiment that adds a flavorful punch to any dish. The combination of tangy vinegar and spicy chiles creates a delightful balance that can elevate even the simplest of meals.
The beauty of this recipe lies in its simplicity. It's a quick and easy way to preserve chiles, ensuring you can enjoy their vibrant flavors long after the harvest season has passed. This versatile condiment can be used as a topping for tacos, a dip for fresh vegetables, or even as a marinade for meats.
Ingredients:
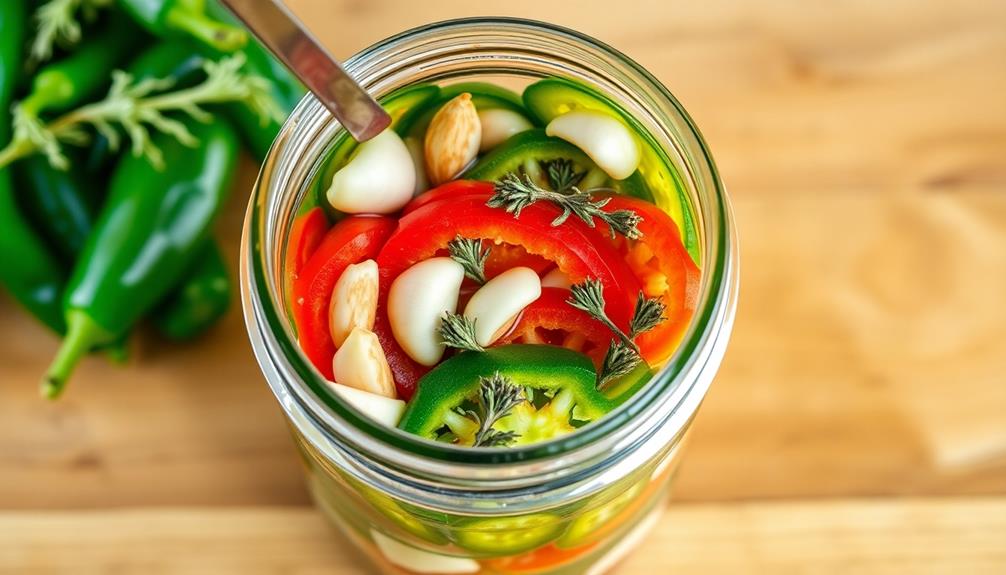
- 1 lb fresh chiles (such as jalapeños, serranos, or a mix)
- 2 cups white vinegar
- 2 cloves garlic, peeled
- 1 tsp dried oregano
- 1 tsp salt
Instructions:
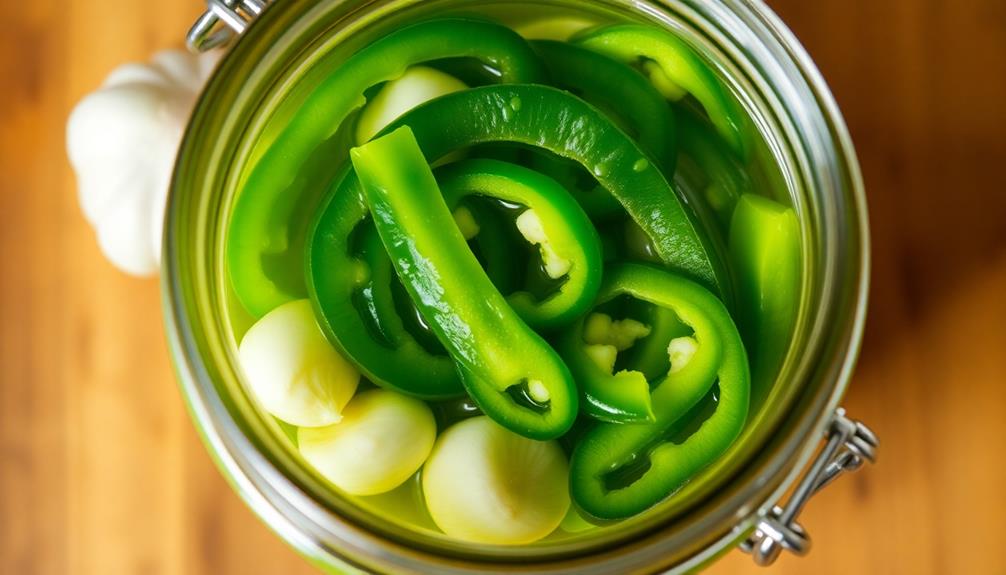
Slice the chiles into thin rounds, discarding the stems. In a clean jar or other airtight container, layer the chile slices, garlic cloves, and oregano.
Pour the vinegar over the top, ensuring all the chiles are submerged. Seal the container and refrigerate for at least 2 weeks before using.
When ready to serve, the chiles will have developed a beautiful bright color and a bold, tangy flavor. The longer they sit, the more intense the flavor will become.
Remember to use a clean utensil each time you dip into the jar to maintain the integrity of the chiles. Enjoy this versatile condiment on a variety of dishes for a burst of flavor and heat.
Cooking Steps
First, you'll want to wash and slice those chiles up nice and thin.
Next, bring the vinegar and spices to a boil – the sizzling sound will make your mouth water!
Finally, carefully pour the hot vinegar mixture over the chiles and let them marinate overnight for maximum flavor.
Don't forget to transfer the chiles to a container once they're all nice and pickled!
Step 1. Wash and Slice Chiles
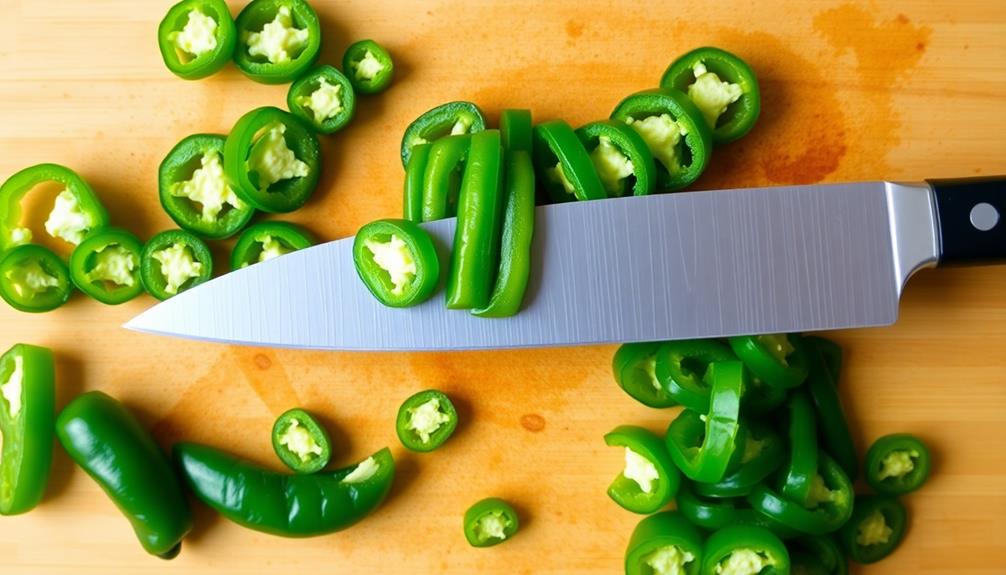
Before tackling the chiles, be sure to wash them thoroughly under cool running water. Give each one a gentle scrub to remove any dirt or debris.
Once they're nice and clean, grab a sharp knife and slice the chiles into thin, even rounds. Try to keep the slices about 1/4 inch thick – that's the perfect size for soaking up all that tasty vinegar!
As you slice, be careful to keep your fingers safely out of the way. You don't want any accidental nicks or cuts. Go slowly and pay close attention.
When you reach the stem end, simply slice it off and discard it. The rest of the chile is what you want to use.
Once all your chiles are sliced, give them a final rinse under the tap. This will wash away any lingering seeds or membranes.
Now they're ready to be packed into jars and covered with the vinegar mixture. Get ready for some deliciously spicy pickled chiles!
Step 2. Bring Vinegar and Spices to Boil

With the chiles neatly sliced and ready, it's time to bring the vinegar and spices to a boil. In a medium-sized pot, pour in the apple cider vinegar and add a few pieces of bay leaf, a sprinkle of oregano, and a dash of salt.
Turn the heat to high and let the mixture come to a lively boil, creating a tantalizing aroma that fills the kitchen.
As the liquid starts to bubble and steam, you'll know it's ready. The vinegar will become a bit thicker and the spices will infuse their earthy flavors throughout.
Give the pot a gentle stir to make sure everything is well combined. Now, carefully transfer the sliced chiles into the simmering vinegar mixture.
Watch as the chiles become vibrant and start to pickle, absorbing all those wonderful flavors.
Step 3. Pour Vinegar Mixture Over Chiles
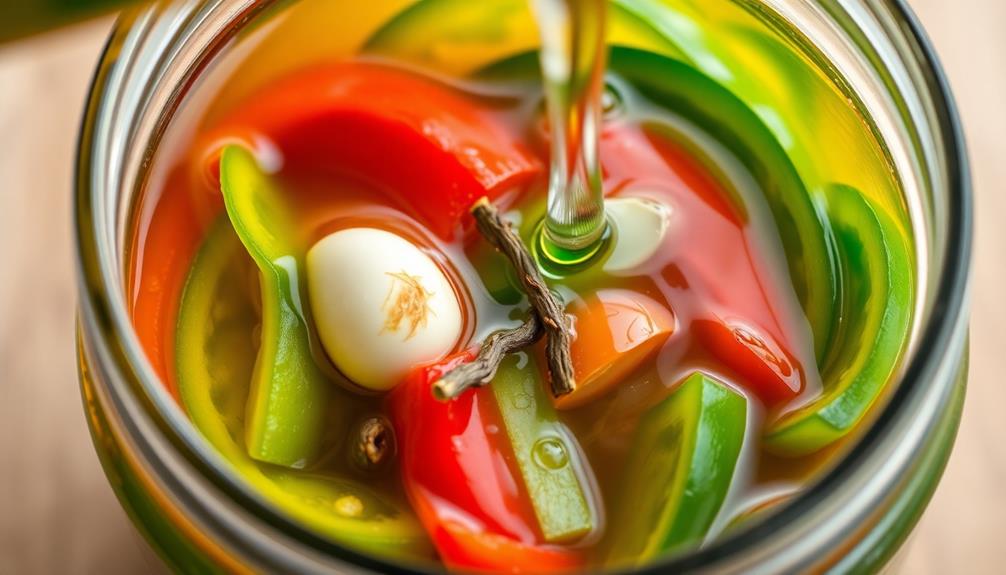
Once the vinegar mixture is boiling, carefully pour it over the sliced chiles. Watch as the bright red chiles soak up the tangy, fragrant liquid. The vinegar's sharp zing will make your taste buds tingle!
Gently spoon the chiles and their juices into a clean jar or container. Pack them in tightly, ensuring every piece is submerged in the flavorful vinegar.
Now, tightly secure the lid and let the chiles marinate for at least 30 minutes. As they sit, the chiles will start to turn a deeper, richer red color. The vinegar will mellow out, creating the perfect balance of heat and acidity.
Once the time is up, your homemade chiles en vinagre are ready to enjoy! Spoon them onto tacos, sandwiches, or eat them straight as a zesty snack. The possibilities are endless. Get ready for an explosion of flavor in every bite!
Step 4. Let Chiles Marinate Overnight
After pouring the vinegar mixture over the chiles, it's best to let them marinate overnight. This extra time allows the chiles to soak up all that delicious, tangy flavor!
You'll want to cover the container with a lid or plastic wrap to keep everything fresh. As the chiles sit, the vinegar will slowly work its magic, softening the chiles and melding the flavors together.
You might notice the chiles start to change color, too – that's normal and just part of the marinating process. In the morning, you'll have a tasty jar of pickled chiles, ready to enjoy!
Whether you want to add them to tacos, sandwiches, or just snack on them straight, these chiles will be bursting with zesty goodness. The wait might seem long, but it's so worth it.
Just be patient and let those chiles do their thing overnight. Soon enough, you'll have a flavorful treat to look forward to!
Step 5. Transfer to Container
Once the chiles have marinated overnight, transfer them and the vinegar mixture to an airtight container. This will help lock in all the wonderful flavors!
Gently scoop the chiles and liquid into the container, making sure to get every last drop. Seal the lid tightly, and give the container a gentle shake to combine everything. Now, your delicious chiles in vinegar are ready to enjoy!
You can keep the container in the refrigerator for up to 2 weeks. The longer the chiles marinate, the more intense the flavor will become.
Feel free to sneak a taste every now and then – the bright, tangy notes are so refreshing! When you're ready to serve, simply remove the chiles from the container with a fork or spoon.
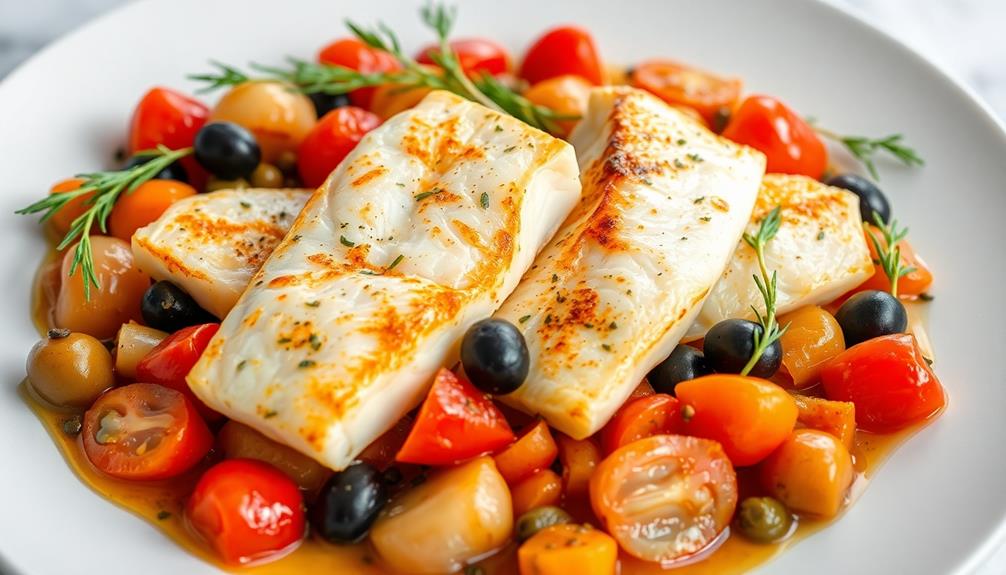
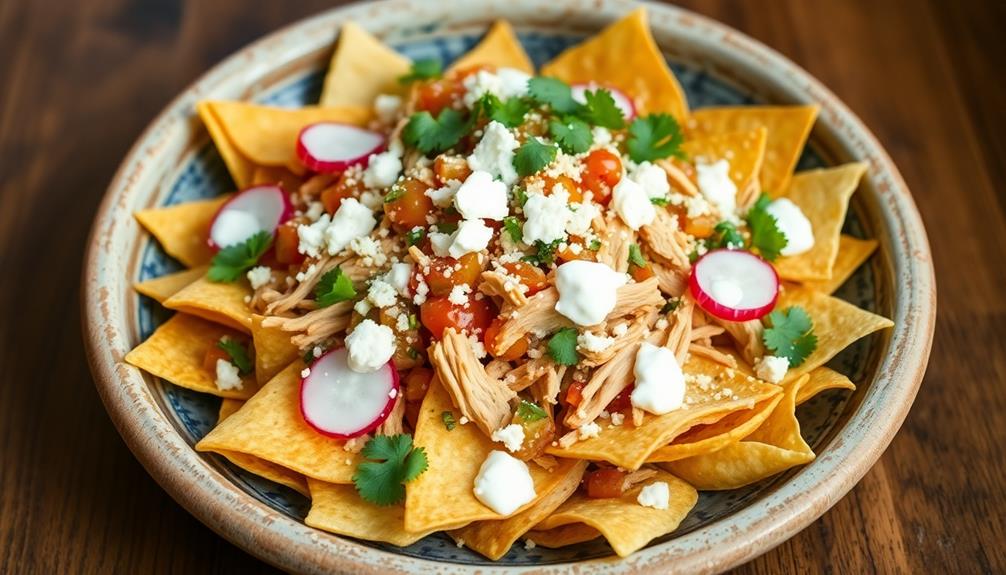
They make a wonderful topping for tacos, nachos, or even a simple green salad. Enjoy the bold, zesty flavors in every bite!
Final Thoughts
Ultimately, chiles in vinegar make for a versatile and flavorful condiment that can elevate a variety of dishes.
You'll be amazed at how the tangy, spicy, and slightly sweet flavors can transform a plain meal into something truly special. Whether you're topping your tacos, adding a kick to your salads, or using it as a marinade for meats, this zesty creation is sure to become a staple in your kitchen.
The best part? Chiles in vinegar are incredibly easy to make at home.
With just a few simple ingredients and a little patience, you can create a batch that will last for weeks, if not months.
And the process is so much fun – you get to play with different types of chiles, experiment with various vinegars, and customize the flavors to your liking.
Frequently Asked Questions
How Long Do Pickled Chiles Stay Fresh?
Pickled chiles can stay fresh for several months when stored properly. As long as they're submerged in the vinegar solution and kept refrigerated, you'll be able to enjoy their tangy flavor for quite some time.
Can I Use Different Types of Vinegar?
You can use different types of vinegar when pickling chiles. The acidity in vinegar helps to preserve the chiles, so you can experiment with apple cider, white wine, or even rice vinegar to create unique flavor profiles.
Do I Need to Sterilize the Jars?
Yes, you'll want to sterilize the jars before using them. This helps prevent the growth of harmful bacteria and ensures your preservation process is safe and effective. Take the time to properly sterilize the jars.
How Spicy Do the Pickled Chiles Get?
The spiciness of the pickled chiles will depend on the type of chiles you use. Generally, the longer the chiles sit in the vinegar, the spicier they'll become. You can adjust the heat by selecting milder or hotter varieties of peppers.
Can I Add Other Vegetables to the Brine?
You can absolutely add other vegetables to the brine! Feel free to experiment with items like carrots, onions, or even garlic. Just keep in mind that the flavors may infuse differently, so adjust the brine as needed.