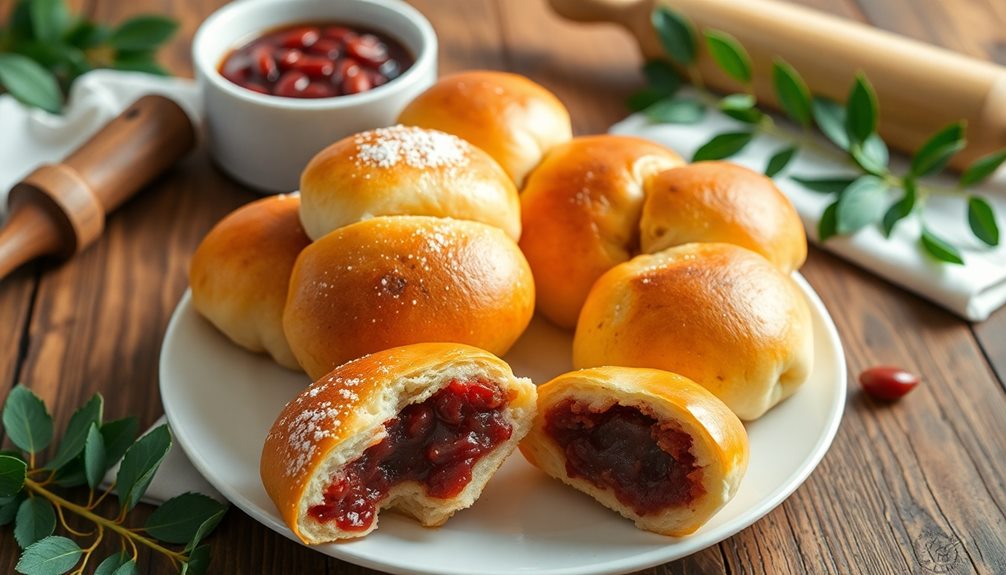

Red bean bread, or "pat-bbang," is a yummy Korean pastry you're sure to love! It's filled with sweet red bean paste, making it a perfect treat for any time of day. This tasty bread has roots in ancient Asian traditions and represents comfort during holidays and celebrations. To make it, you start by cooking adzuki beans until soft, mashing them with some sugar for the filling. Next, you knead a dough from flour, sugar, and yeast, shape it, and bake until golden brown. It's a fun and delicious treat, and there's even more to discover about its delightful flavors!
Key Takeaways
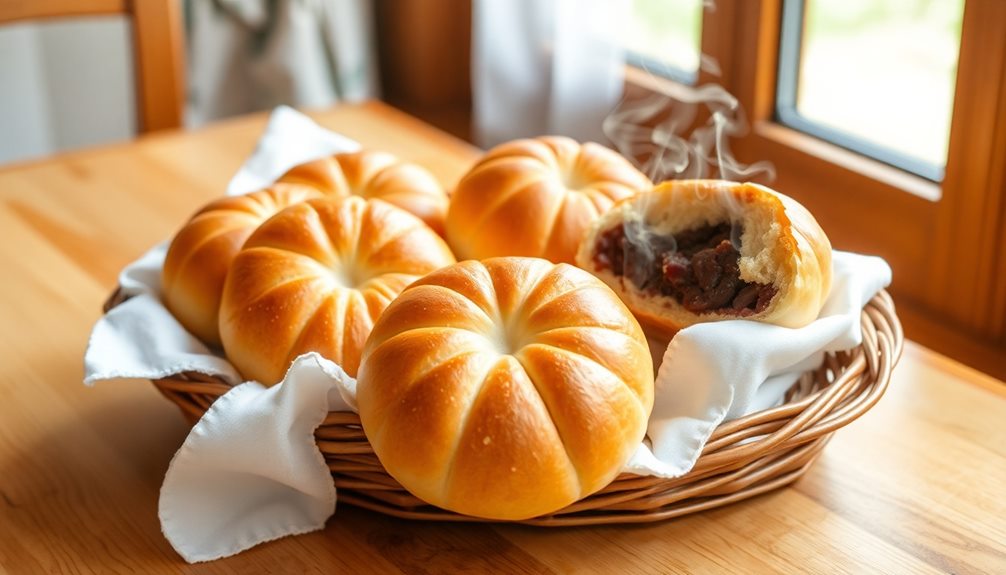
- Red bean bread, or "pat-bbang," features a sweet adzuki bean filling and is a beloved pastry in Korean culture.
- This pastry symbolizes comfort and is commonly served during holidays and celebrations, representing traditional Korean baking practices.
- The main ingredients include adzuki beans, flour, sugar, yeast, and salt, creating a delightful flavor and texture.
- Red bean bread is often enjoyed warm or cool, making it a versatile snack or dessert option.
- It is a healthier pastry alternative, being high in protein and fiber while lower in fat than many other sweets.
Top picks for "bean bread popular"
Open Amazon search results for this keyword.
As an affiliate, we earn on qualifying purchases.
History
Red bean bread, a delightful treat, has a rich history rooted in Asian culinary traditions. This sweet pastry is especially popular in Korea, where it's known as "pat-bbang." Imagine biting into a soft, fluffy bread filled with sweet red bean paste—it's like a warm hug for your taste buds!
The origins of red bean bread trace back to ancient times, when people began using red beans in desserts. These beans, known for their sweet flavor, became a favorite ingredient in many Asian cultures. Over the years, bakers experimented, and red bean bread emerged as a delicious way to enjoy these beans.
As the years passed, this treat made its way beyond Korea, winning hearts in other countries too. You might find it in bakeries across Asia and even in some parts of the world. It's often enjoyed as a snack or dessert, especially during festive occasions.
Red bean bread not only fills your stomach but also connects you to a long history of culinary creativity. Next time you savor a piece, remember the generations of bakers who perfected this scrumptious delight just for you!
Cooking Steps
To whip up a delicious batch of red bean bread, you'll want to gather your ingredients and preheat the oven before diving into the preparation.
Start by mixing flour, sugar, yeast, and salt in a large bowl. Then, add warm milk and melted butter, and stir until it forms a dough. Knead the dough for about 10 minutes on a floured surface until it's smooth and elastic.
Next, place the dough in a lightly greased bowl, cover it with a clean cloth, and let it rise for about an hour, or until it doubles in size.
While you wait, prepare your sweet red bean filling by mashing cooked red beans and mixing them with sugar.
Once the dough has risen, punch it down and divide it into small pieces. Roll each piece into a circle, add a spoonful of red bean filling in the center, and pinch the edges to seal.
Place the filled dough balls on a baking sheet, cover them again, and let them rise for another 30 minutes.
Step 1. Prepare Red Bean Filling
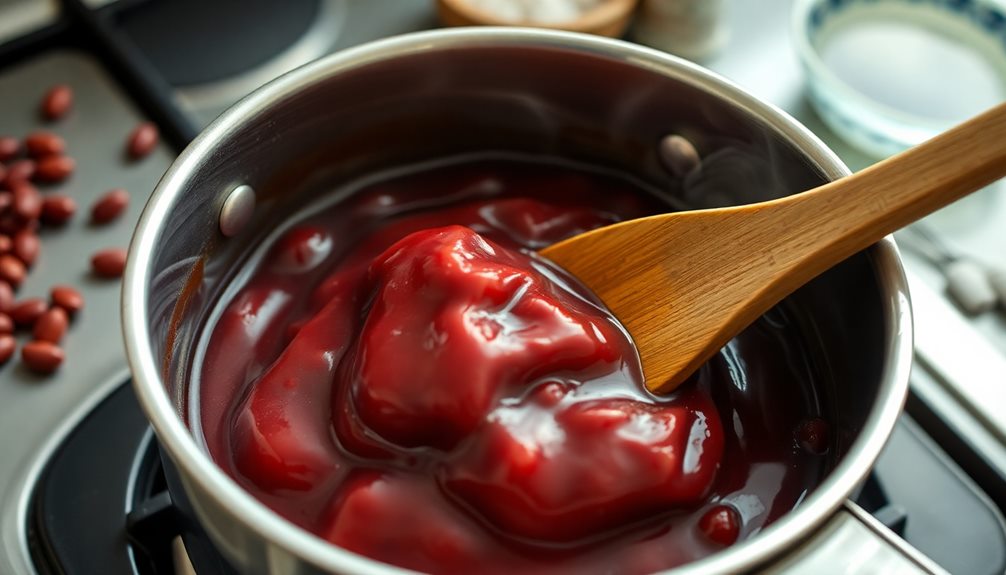
Preparing the filling for your red bean bread requires just a few simple steps. First, you'll need to gather your ingredients: adzuki beans, sugar, and a pinch of salt.
Start by rinsing about a cup of adzuki beans under cool water, then place them in a pot. Cover the beans with plenty of water—about three cups should do the trick! Bring the water to a boil and let it bubble for a few minutes before reducing the heat. Let the beans simmer for about an hour, or until they're soft.
Once your beans are cooked, drain them and return them to the pot. Add half a cup of sugar and a pinch of salt for flavor.
Now, here comes the fun part! Mash the beans with a fork or a potato masher until they're smooth and creamy. If you like a sweeter filling, feel free to add more sugar to taste.
After you've reached your desired consistency, let the filling cool.
And just like that, you've made a delicious red bean filling! Now, you're one step closer to enjoying your tasty red bean bread!
Step 2. Knead the Dough Thoroughly
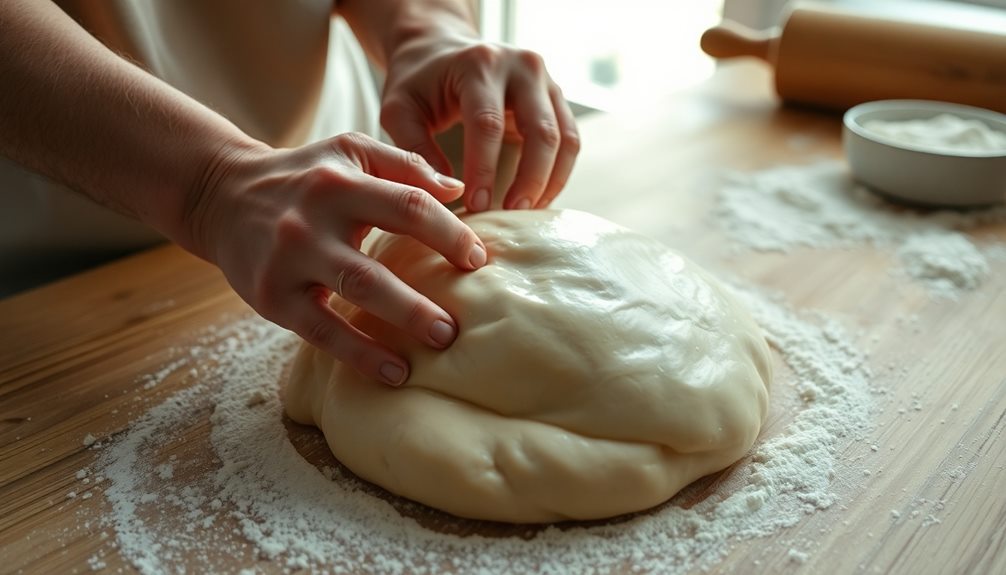
Kneading the dough thoroughly is essential for achieving that perfect texture in your red bean bread. When you start, sprinkle a little flour on your countertop to prevent sticking.
Then, take your soft dough and place it on the floured surface. Using the palms of your hands, push the dough away from you, fold it over, and turn it a quarter turn. Keep repeating this motion, applying just the right amount of pressure. This process helps develop the gluten, which makes your bread chewy and delightful.
As you knead, you'll notice the dough becomes smoother and more elastic. It might be a bit sticky at first, but don't worry! Just sprinkle in a bit more flour as needed. Aim to knead for about 10 minutes, and don't forget to check if the dough springs back when you poke it with your finger. That's a sign you're on the right track!
Once you've kneaded it well, your dough will feel soft and ready for the next step. You're one step closer to enjoying your delicious red bean bread, so keep up the great work!
Step 3. Shape the Dough Balls
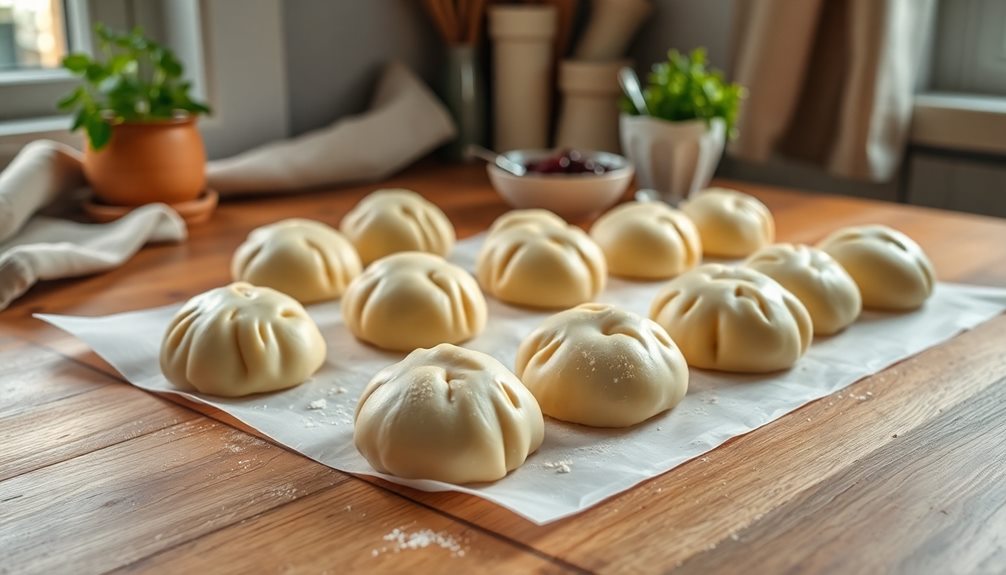
After kneading, it's time to shape the dough balls for your red bean bread. First, take your soft, smooth dough and divide it into equal pieces. If you're aiming for about 12 rolls, cut the dough into 12 equal portions. Using your hands, roll each portion into a ball. It's fun to see them take shape!
Once you've formed the dough balls, place them on a clean surface or a baking tray lined with parchment paper. Make sure to leave some space between each ball, as they'll puff up during baking. If your dough starts to stick, lightly dust your hands with flour to keep it manageable.
Now, here's a little secret: if you want your red bean bread to be extra special, you can flatten each ball slightly before adding the sweet red bean filling. This makes it easier to seal the dough around the filling later on.
Just remember to be gentle, so you don't deflate the dough too much. You're almost there! With your dough balls ready, you're one step closer to enjoying delicious red bean bread. Exciting, right?
Step 4. Bake Until Golden Brown
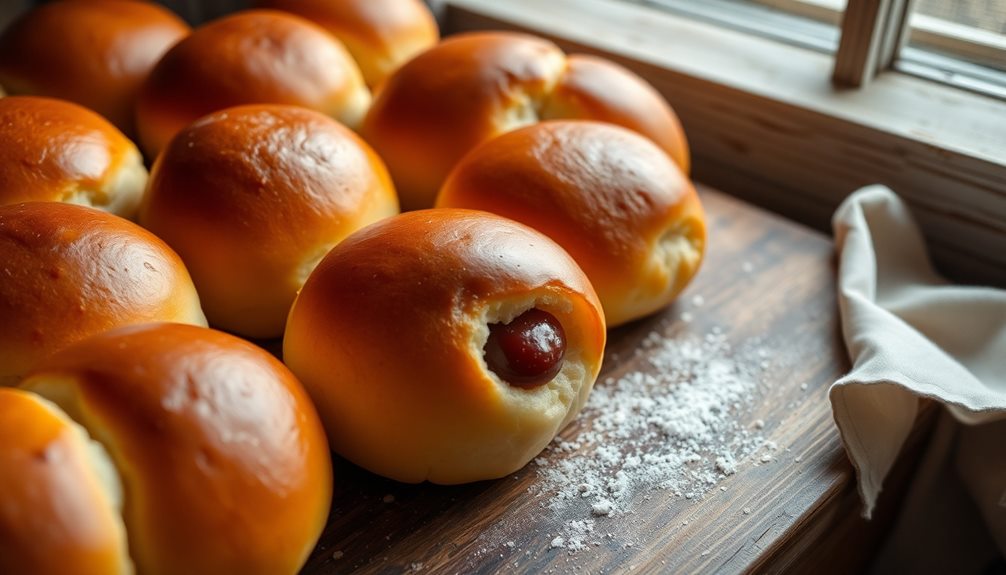
Now that your dough balls are shaped and filled, it's time to bake them to perfection. Preheat your oven to 350°F (175°C).
While it warms up, carefully place your red bean bread balls on a baking sheet lined with parchment paper. Make sure to leave a little space between each one so they can rise and spread out nicely.
Once the oven's ready, pop the baking sheet inside and set a timer for about 20 to 25 minutes. You'll want to keep an eye on them! As they bake, they'll start to transform into a beautiful golden brown. The aroma will fill your kitchen, making it hard to wait.
When the timer goes off, take a peek inside. If they're golden and have a slight shine, they're likely done. If they look a bit pale, give them a few more minutes. Remember, every oven is different!
Once they're baked just right, you can take them out and admire your delicious creations. Enjoy the moment—you've worked hard to get here!
Step 5. Cool Before Serving
Once you've pulled your golden brown red bean bread from the oven, it's important to let them cool a bit before serving. I know you're excited to take a big bite, but patience is key! If you dive in too soon, the hot filling might surprise you and burn your tongue. Ouch!
First, place the bread on a cooling rack. This lets air circulate around them, helping them cool evenly. If you don't have a cooling rack, you can use a plate. Just make sure to leave some space between each piece. You want them to cool for about 10 to 15 minutes. This will help the filling set slightly, making each bite even more delicious.
While you're waiting, take a moment to appreciate the yummy smell wafting through your kitchen. It's a wonderful aroma that promises a tasty treat ahead!
After they've cooled, you can slice them open to reveal the sweet red bean filling inside. Now, you're ready to serve your delightful red bean bread to friends and family. They'll be impressed by your baking skills, and you'll enjoy sharing this delicious treat!
Final Thoughts
When you dive into the world of red bean bread, you'll discover a delightful fusion of flavors and textures that can elevate any meal or snack. This sweet pastry isn't just tasty; it's also a fun treat to share with friends and family!
Imagine biting into that soft, fluffy bread and tasting the sweet, smooth red bean filling—it's like a little party in your mouth!
Making red bean bread at home can be a wonderful adventure. You can experiment with different types of bread and fillings, making it uniquely yours.
Whether you enjoy it warm, fresh from the oven, or cool with a steaming cup of tea, each bite is a moment to savor. Plus, you'll impress everyone with your baking skills!
Frequently Asked Questions
Can I Use Other Types of Beans for the Filling?
Yes, you can definitely use other types of beans for the filling. Experiment with black beans, mung beans, or even chickpeas. Each will offer a unique flavor and texture, making your creation special and delicious!
Where Can I Buy Pre-Made Red Bean Paste?
You can find pre-made red bean paste at Asian grocery stores, specialty food shops, or online retailers like Amazon. Check the international section of larger supermarkets, too; they often carry it. Happy cooking!
Is Red Bean Bread Gluten-Free?
Red bean bread typically isn't gluten-free, as it's usually made with wheat flour. If you need a gluten-free option, look for specialty recipes or stores that offer gluten-free versions of this delicious treat.
How Should I Store Leftover Red Bean Bread?
To store leftover red bean bread, wrap it tightly in plastic wrap or foil. Keep it in an airtight container at room temperature for up to two days, or refrigerate for longer freshness. Enjoy later!
What Beverages Pair Well With Red Bean Bread?
You'll enjoy pairing red bean bread with green tea or milk. The tea's subtle bitterness complements the sweetness, while milk adds creaminess. Experiment with iced coffee for a refreshing contrast to the pastry's flavor.