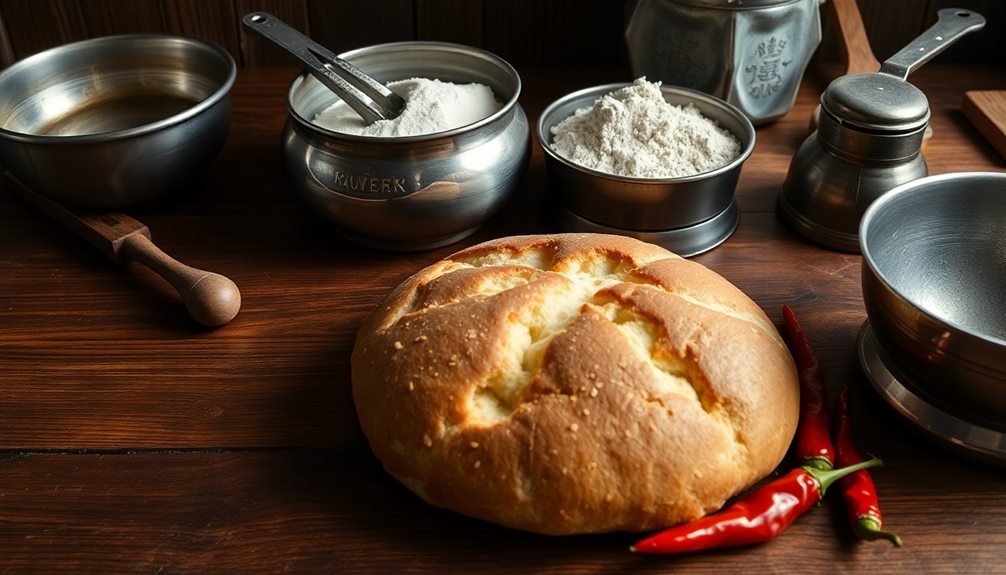
Baking soft, fluffy Korean bread at home is easier than you think! Start by proofing the yeast in warm water – this ensures your bread will rise perfectly. Next, knead the dough by hand for about 10 minutes until it's smooth and elastic. After the first rise, punch down the dough to redistribute the yeast. Divide the dough into portions, shape them into loaves, and let them rise one more time. Finally, bake at 375°F for 20-25 minutes until golden brown. Serve your homemade Korean bread warm and enjoy its delightful texture and flavor. If you'd like to learn more, I have detailed steps to guide you through the entire process.
Key Takeaways
- Proof the yeast in warm water to activate it and ensure proper rise and texture of the bread.
- Knead the dough by hand for about 10 minutes to develop the gluten and achieve a smooth, elastic texture.
- Punch down the risen dough to release air bubbles and redistribute the yeast for even rising in the next stage.
- Divide the dough into portions, shape them into loaves, and let them rise again before baking for a soft and fluffy result.
- Bake the shaped loaves at 375°F for 20-25 minutes until they are golden brown, ensuring the perfect Korean bread.
History
The origins of Korean bread can be traced back to the 7th century, when cultural exchanges with China and Japan introduced new baking techniques to the Korean peninsula.
Over the centuries, these influences blended with local ingredients and culinary traditions, giving birth to the unique and delectable Korean bread we know today.
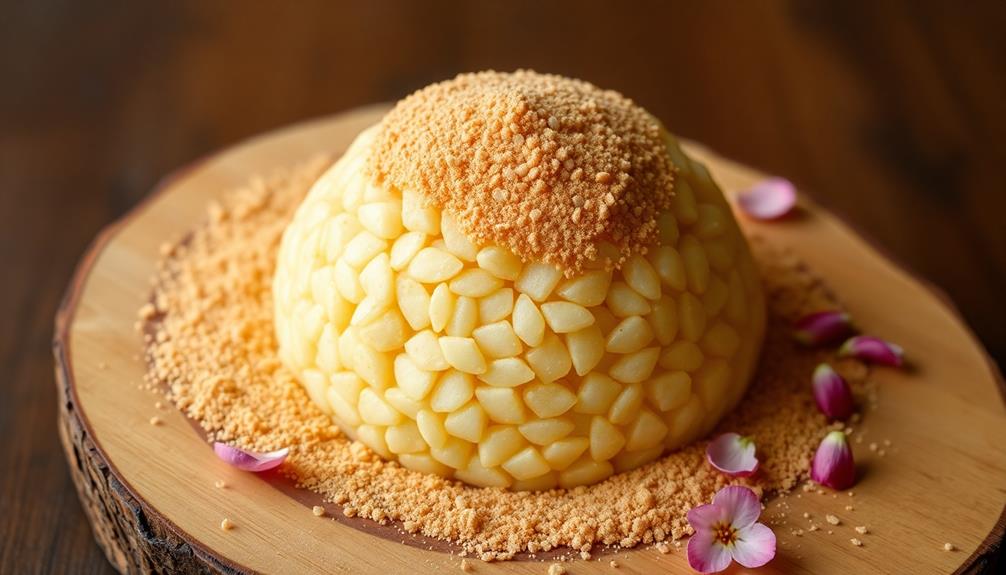
From the fluffy, cloud-like texture of the classic Injeolmi to the subtly sweet taste of Gyeongju Bread, Korean bakers have perfected the art of creating soft, pillowy loaves that have captured the hearts and taste buds of people around the world.
Each region boasts its own signature breads, reflecting the diverse flavors and baking styles that have evolved across the Korean landscape.
As you delve into the rich history of Korean bread, you'll discover how it has become an integral part of the country's cultural heritage, with bakers passing down their secrets and techniques from generation to generation.
Prepare to be captivated by the timeless allure of these beloved Korean classics.
Cooking Steps

Gather your mixing bowl and start the baking process. First, gently knead the dough until it becomes smooth and elastic. Don't be afraid to put some elbow grease into it!
Next, place the dough in a lightly oiled bowl, cover it with a damp towel, and let it rise for about an hour. You'll know it's ready when the dough has doubled in size.
Punch down the dough to release any air bubbles, then divide it into equal pieces. Shape each piece into a tight ball and place them in a greased loaf pan. Cover the pans and let the dough rise for another 30 minutes.
Finally, bake the bread at 350°F for 25-30 minutes, until the tops are golden brown. Resist the temptation to open the oven door too often, as this can affect the rise.
When the bread is done, remove it from the oven and let it cool on a wire rack before slicing and enjoying. The aroma will fill your kitchen, and the soft, fluffy texture will have your taste buds dancing with joy.
Step 1. Proof the Yeast in Warm Water
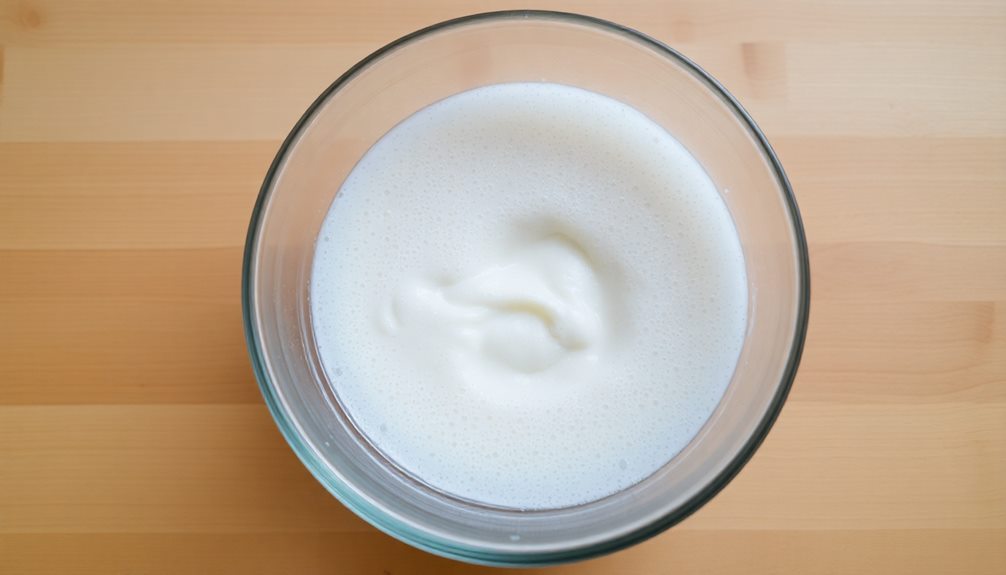
Proofing the yeast in warm water is a crucial step in creating your Korean bread. This simple process helps activate the yeast, ensuring your dough rises and your bread turns out perfectly soft and fluffy.
Start by warming up some water – about 110°F (43°C) is ideal. Add the yeast and give it a gentle stir.
Now, let the mixture sit for 5-10 minutes. You'll know the yeast is proofed when you see it start to foam and bubble. This means the yeast is alive and ready to work its magic in your dough.
Once proofed, you can add the rest of your ingredients and begin kneading. The proofed yeast will help your dough rise beautifully, creating that delightful Korean bread texture you love.
Don't skip this step – it's a game-changer for achieving the perfect loaf!
Step 2. Knead the Dough by Hand
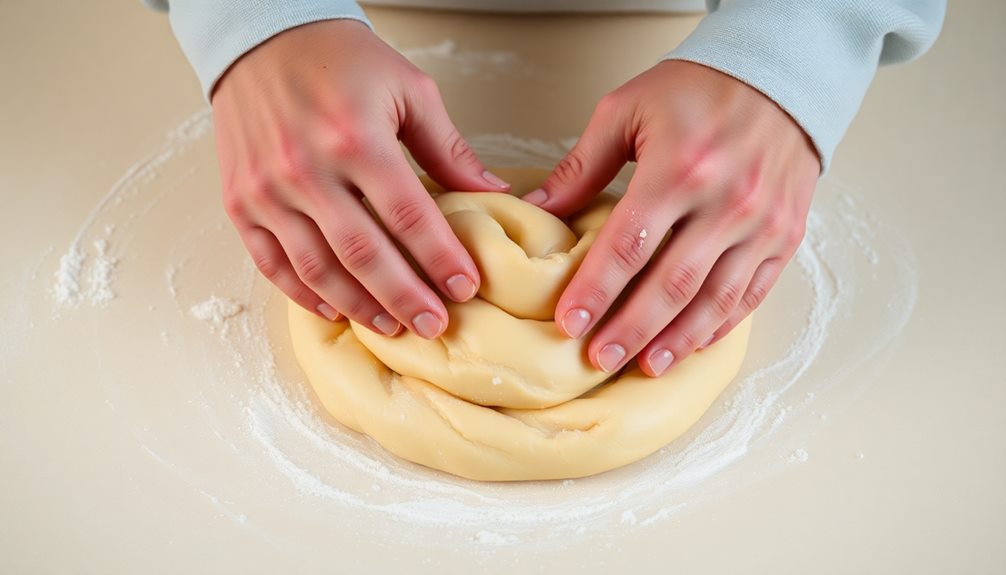
With the yeast proofed, it's time to dive into kneading the dough by hand. First, turn the dough out onto a clean, lightly floured surface. Using the heels of your hands, push and fold the dough over itself, giving it a quarter turn after each push. This process develops the gluten, trapping those precious air bubbles that'll make your bread light and fluffy.
Knead for around 10 minutes, or until the dough becomes smooth and elastic. Don't be afraid to add a sprinkle of flour if it starts to stick. You'll know it's ready when you can gently press your finger into the dough, and it slowly springs back.
Now, shape the dough into a ball, place it in a lightly oiled bowl, and cover it with a damp towel. Let it rise for about an hour, until it's doubled in size. Once it's ready, you can move on to the next step – shaping your dough into loaves!
Step 3. Punch Down the Risen Dough
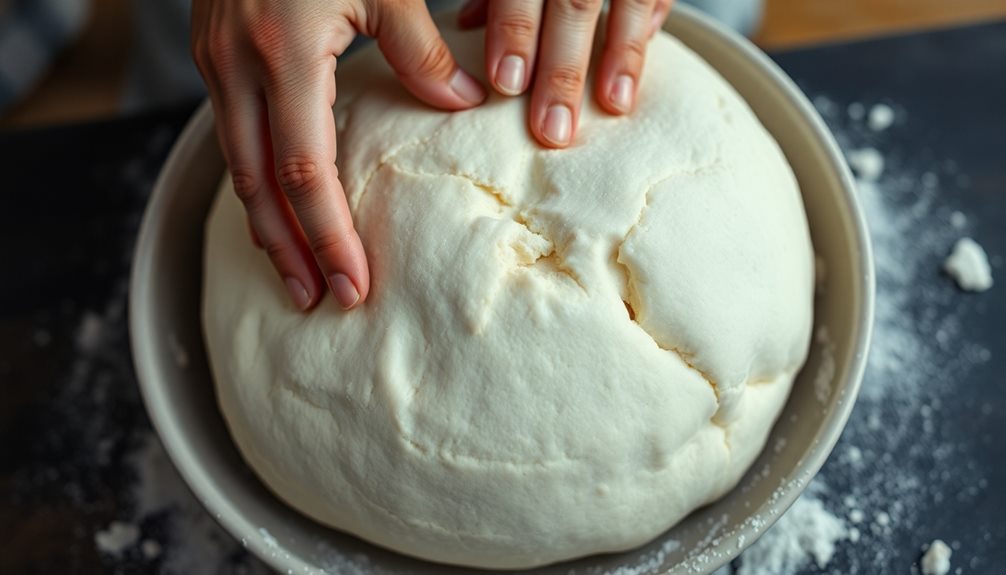
After the dough has risen and doubled in size, it's time to punch it down. This step is crucial for developing the bread's structure and texture. Gently press your fist into the center of the dough, releasing all the air bubbles that have formed. Don't be afraid to really dig in and deflate the dough completely. This helps redistribute the yeast and ensures even rising during the next stage.
Once you've punched down the dough, it's time to reshape it. Lightly flour your work surface and use your hands to gently knead the dough, folding it over itself a few times. This will help redistribute the yeast and create a smooth, even surface.
Be careful not to overwork the dough, as this can make the bread tough. After a minute or two of kneading, your dough is ready to be divided, shaped, and baked into delicious Korean-style bread.
Step 4. Divide and Shape the Dough

Once you've punched down the dough, it's time to divide and shape it. Grab your trusty dough scraper and gently turn the dough out onto a lightly floured surface.
Divide the dough into equal portions, depending on how many loaves you want to make. Aim for about 12 to 16 ounces per loaf.
Now, it's time to shape the dough. Take each piece and use your hands to gently stretch and flatten it into a rough rectangle.
Fold the dough in half, then in half again to create a neat, compact loaf shape. Pinch the seam to seal it, and place the shaped dough into your prepared loaf pans.
Be sure to leave a little space between the loaves to allow for expansion during the final rise.
Cover the pans with a damp towel or plastic wrap and let the dough rise for another 30 to 45 minutes, until it's doubled in size.
Get ready to bake your soft, fluffy Korean bread to perfection!
Step 5. Bake the Shaped Loaves
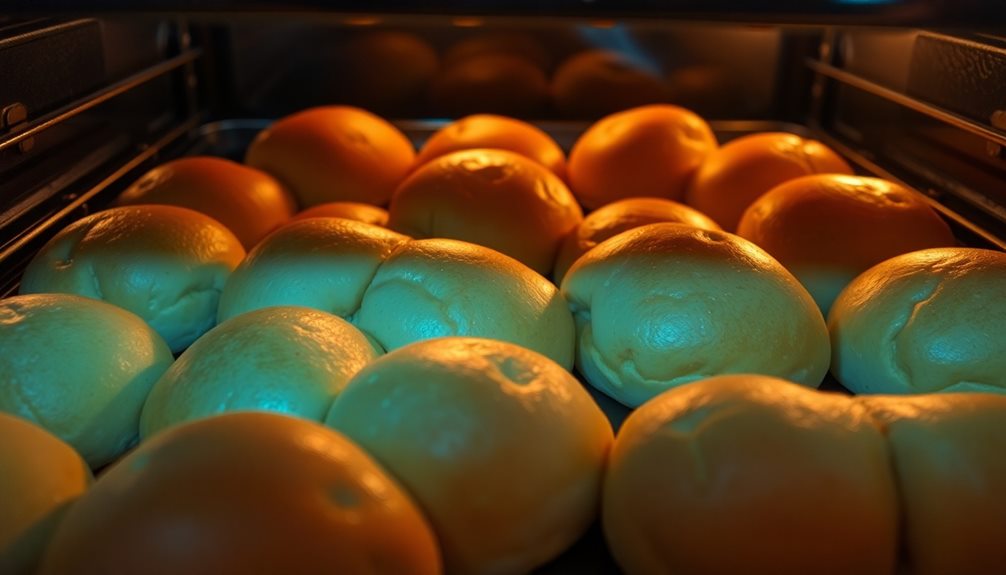
Preheat your oven to 375°F (190°C). This is the perfect temperature to bake your homemade Korean bread to perfection.
Lightly grease a baking sheet or line it with parchment paper. Gently place the shaped loaves onto the prepared sheet, making sure to space them out evenly.
Now, it's time to let the bread rise one last time. Cover the loaves with a clean, damp towel and let them proof for 20-30 minutes. This final rise will help the bread develop that irresistible soft and fluffy texture.
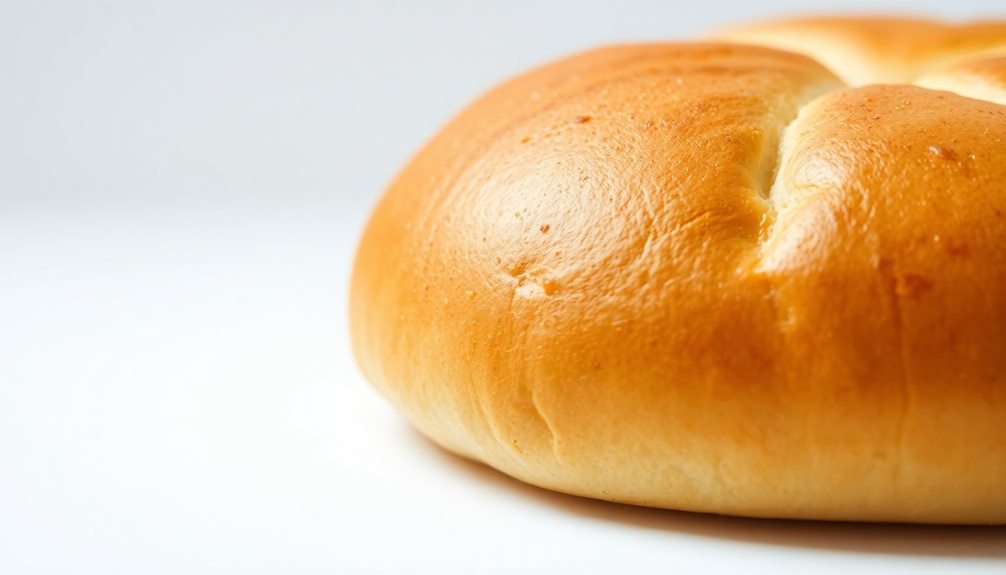
Once the dough has puffed up nicely, it's baking time! Slide the baking sheet into the preheated oven and bake for 20-25 minutes, or until the tops are golden brown. The aroma wafting through your kitchen will be simply mouthwatering.
To ensure your Korean bread is thoroughly baked, use a toothpick or cake tester to check the center of a loaf. If it comes out clean, your bread is ready!
Allow the loaves to cool for 10 minutes before slicing and serving.
Final Thoughts
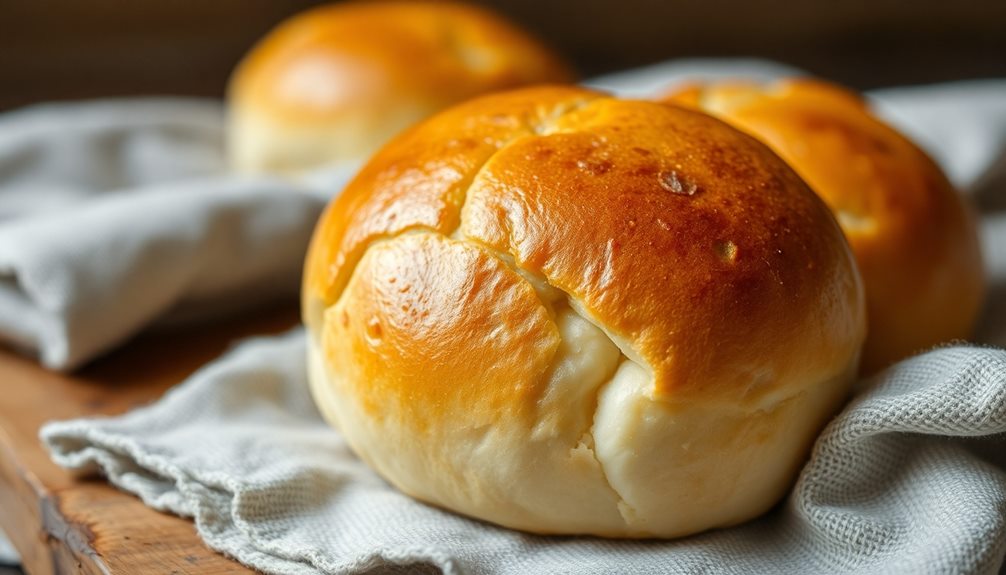
Overall, you should feel proud of your homemade Korean bread. You've put in the time and effort to create something truly special. These soft, fluffy loaves are a testament to your baking skills. Enjoy the satisfaction of serving your loved ones a delicious, authentic Korean treat.
As you savor the first bite, take a moment to appreciate the textures and flavors you've achieved. The pillowy soft crumb and the subtle sweetness are the result of your careful attention to detail.
Remember, baking is an art, and with each loaf, you'll continue to hone your craft.
Looking ahead, consider experimenting with different toppings or fillings to add your own personal touch. The possibilities are endless!
Whether you choose to make these bread again or venture into new culinary adventures, remember the pride and joy you felt in creating something special from scratch. Your homemade Korean bread is a true success story.
Frequently Asked Questions
How to Store the Bread Properly?
To store the bread properly, let it cool completely before slicing or storing. Place it in an airtight container or ziplock bag at room temperature. Avoid refrigerating it, as this can make the bread stale more quickly.
What Are the Best Flour Substitutes?
When looking for flour substitutes, consider using whole wheat flour, almond flour, or oat flour. These alternatives can provide different textures and flavors to your baked goods. Experiment to find the right balance for your recipe.
Can I Make the Dough in Advance?
Sure, you can make the dough in advance. Prepare the dough, let it rise, then punch it down and refrigerate it for up to 3 days. When ready to bake, take the dough out and let it come to room temperature before shaping and baking.
How to Troubleshoot Dense or Dry Bread?
If your bread turns out dense or dry, you can try adding more liquid, adjusting the kneading time, or checking your oven temperature. Don't be afraid to experiment until you find the right balance for your perfect loaf.
What Are Some Topping Ideas for the Bread?
For your soft, fluffy bread, you could top it with savory options like cheese, herbs, or sesame seeds. Or go sweet with honey, cinnamon, or fresh fruit. The possibilities are endless – get creative and find your favorite toppings!