
Galbitang is a cozy Korean beef soup that you can whip up in your Instant Pot. Start by gathering delicious beef short ribs, garlic, and radish. Sauté the beef to boost its flavor, then mix in aromatics and seasonings. After that, set your Instant Pot to pressure cook for 30 minutes. Once done, skim the fat off the surface and toss in fresh veggies to simmer a bit longer. Serve it hot with some rice, and you'll feel the warmth and comfort it brings! Stick around to discover more tips to make your galbitang even tastier!
Key Takeaways
- Galbitang is a traditional Korean beef soup made with short ribs, radish, garlic, and green onions, perfect for family gatherings.
- The Instant Pot enhances flavor by sautéing beef ribs and quickly pressure cooking the ingredients for a rich, comforting broth.
- Key steps include soaking short ribs, sautéing aromatics, and pressure cooking for 30 minutes before adding vegetables for additional flavor.
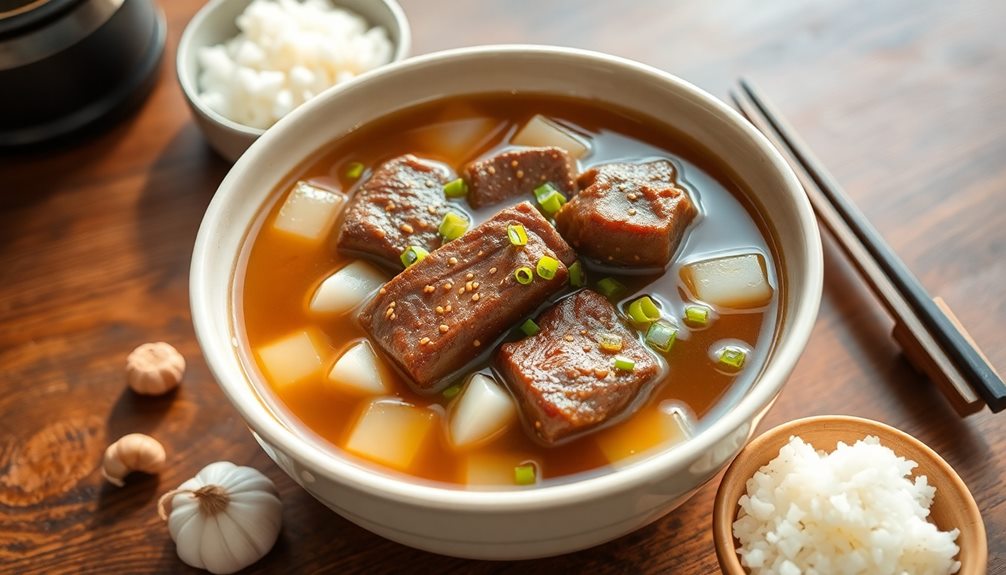
- Galbitang is best served hot, garnished with chopped scallions, and pairs well with steamed rice or Korean side dishes (banchan).
- Leftovers maintain flavor integrity and can be reheated, making galbitang an ideal dish for cold weather and family bonding.
History
Galbitang, a traditional Korean short rib soup, has deep roots in the culinary history of Korea. This dish isn't just a meal; it's a symbol of comfort and family gatherings. Imagine sitting around a table with your loved ones, sharing stories while savoring the rich flavors of galbitang. It's often served during special occasions, like birthdays or holidays, making it extra special for many families.
The soup's name comes from "galbi," which means ribs, and "tang," meaning soup. Over the years, galbitang has evolved, but its core ingredients—beef short ribs, radish, garlic, and green onions—have remained the same. These ingredients blend together to create a deliciously warm broth that wraps around you like a cozy blanket.
In Korea, cooking galbitang is often seen as an art form. Each family might've their own secret twist, adding personal touches that make the dish their own.
Cooking Steps
To whip up a delicious galbitang in your Instant Pot, you'll want to start by preparing the ingredients. Gather some beef short ribs, garlic, ginger, and green onions. Don't forget the radish and soy sauce!
Once you've got everything ready, it's time to move to the cooking.
First, turn on your Instant Pot and select the sauté setting. Add a bit of oil, and when it's hot, toss in the beef ribs. Brown them for a few minutes on each side; this adds great flavor!
Next, add minced garlic, ginger, and chopped radish. Stir it all together, letting those yummy smells fill your kitchen.
Now, pour in the water, making sure to cover the meat. Add soy sauce and a sprinkle of salt. Close the lid, seal it up, and set the pressure to high for about 40 minutes.
While it cooks, you can relax and think about how tasty your galbitang will be!
Once it's done, carefully release the pressure. Open the lid, and garnish your soup with chopped green onions. Serve it hot, and enjoy this comforting Korean beef soup with your family and friends!
Step 1. Prepare Beef and Bones
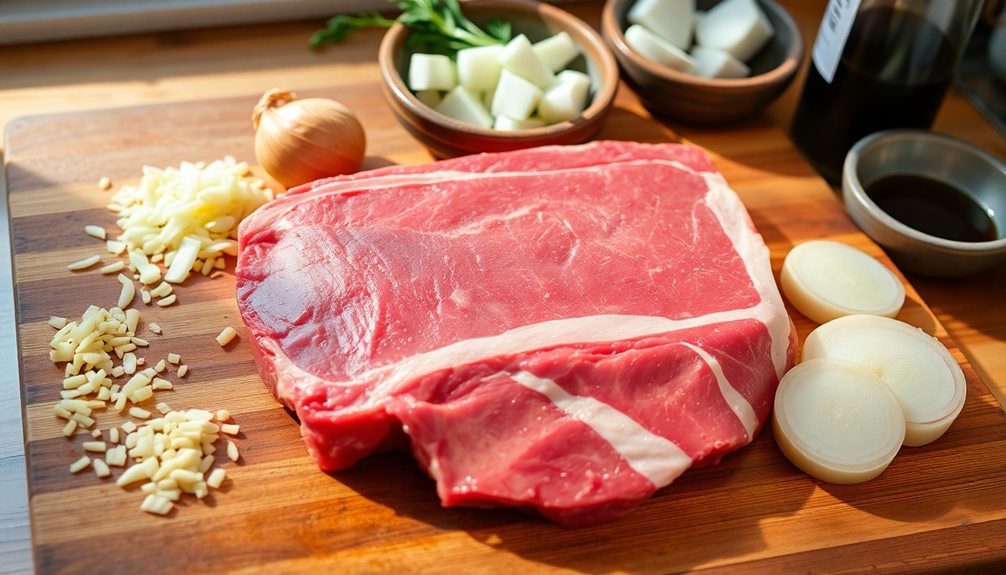
When preparing the beef and bones for galbitang, you'll want to select quality short ribs and a mix of beef bones for the best flavor.
Start by heading to your local market or butcher shop. Look for fresh, meaty short ribs that have a good amount of marbling. This marbling will make your soup rich and tasty!
Next, grab some beef bones like knuckle or marrow bones. These will add depth and a delicious richness to your broth. Don't be shy; ask your butcher for recommendations or to cut the bones into smaller pieces if needed.
Once you've got your beef and bones, it's time to clean them. Rinse the short ribs and bones under cold water to remove any blood or impurities. You can also soak them in cold water for about 30 minutes, which helps make your broth clearer and tastier.
After soaking, pat them dry with a paper towel.
Now you're all set to start cooking! Your beef and bones are ready to create a wonderful galbitang that will warm your heart and fill your belly with joy. Enjoy the process; it's going to be delicious!
Step 2. Add Aromatics and Seasonings
After you've prepared your beef and bones, it's time to enhance the flavors with aromatics and seasonings. This step is super important because it gives your galbitang its delicious taste!
First, grab some garlic. You'll want to crush a few cloves and toss them into the pot. The smell is going to be amazing! Next, add some ginger. Just a small piece will do, and it adds a warm, cozy flavor.
Now, let's talk about green onions. Chop a couple of them and add them in too. They bring a fresh taste that balances everything out.
Don't forget about the seasoning! Pour in a splash of soy sauce for that savory kick. A bit of salt and pepper will help enhance all the flavors, so sprinkle those in as well.
If you like a little heat, you can also add some gochugaru, which is Korean chili powder. It gives a nice warmth without being too spicy.
As you mix everything together, you can already start to imagine how delicious your soup will be! Take a moment to enjoy the lovely aroma filling your kitchen before moving on to the next step.
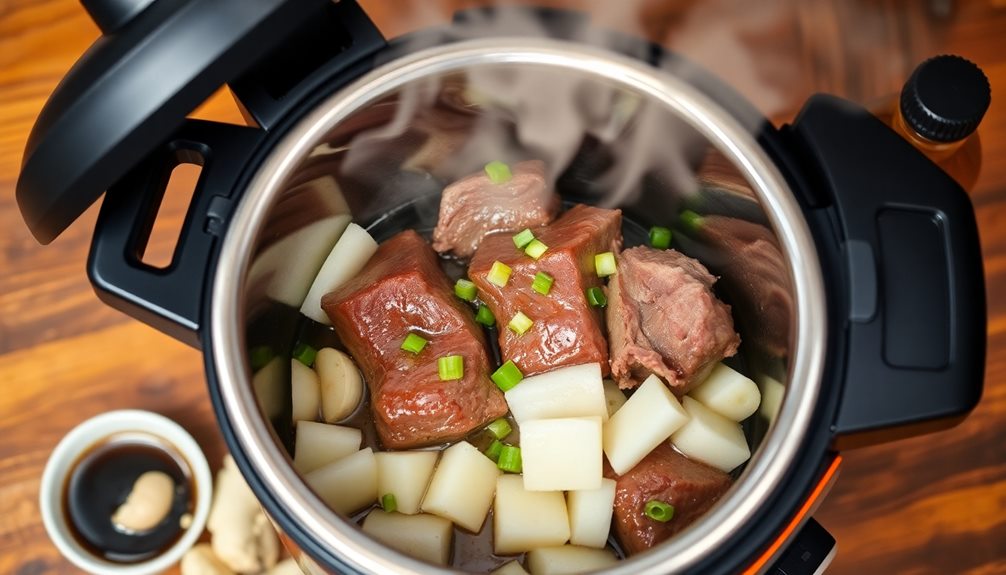
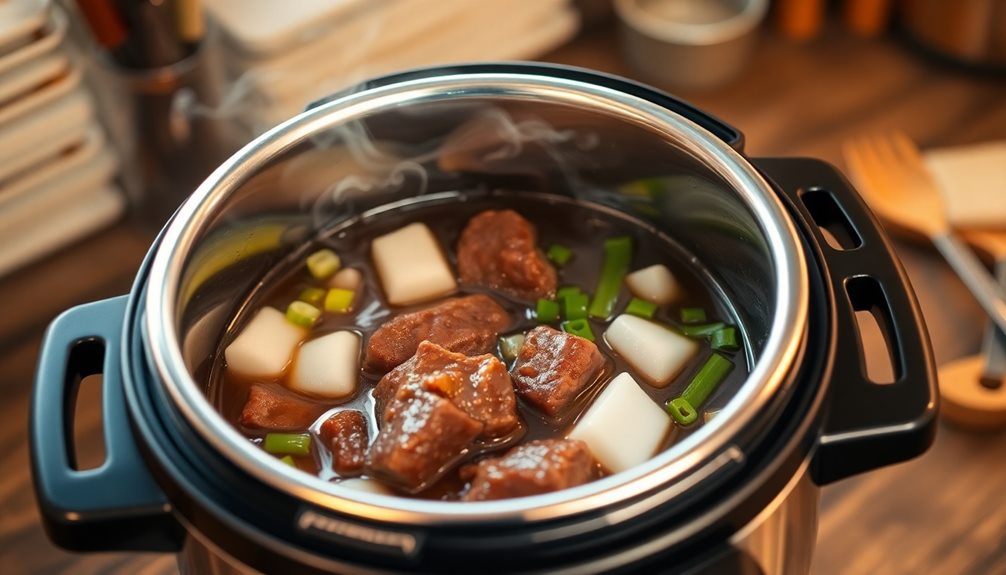
Step 3. Pressure Cook for 30 Minutes

Now that your aromatics and seasonings are all mixed in, it's time to seal the lid on your Instant Pot and set it to pressure cook.
First, double-check that the steam release valve is set to the sealing position. This is super important to make sure all that yummy steam stays inside!
Next, select the "Pressure Cook" setting on your Instant Pot and adjust the timer to 30 minutes. You'll hear some beeping as it starts to heat up. During this time, the pot will build pressure, and you might see steam escaping for a moment, but don't worry—it's just doing its job!
Once the 30 minutes are up, the Instant Pot will beep to let you know it's finished cooking. You might feel a little excitement bubbling inside because you're almost there!
Before you can open the lid, you need to let the pressure release. You can do this naturally, which takes about 10-15 minutes, or you can carefully switch the valve to venting for a quick release. Just watch out for that hot steam!
After the pressure is fully released, it's safe to open the lid and enjoy the delicious aroma of your galbitang.
Step 4. Skim Fat From the Surface
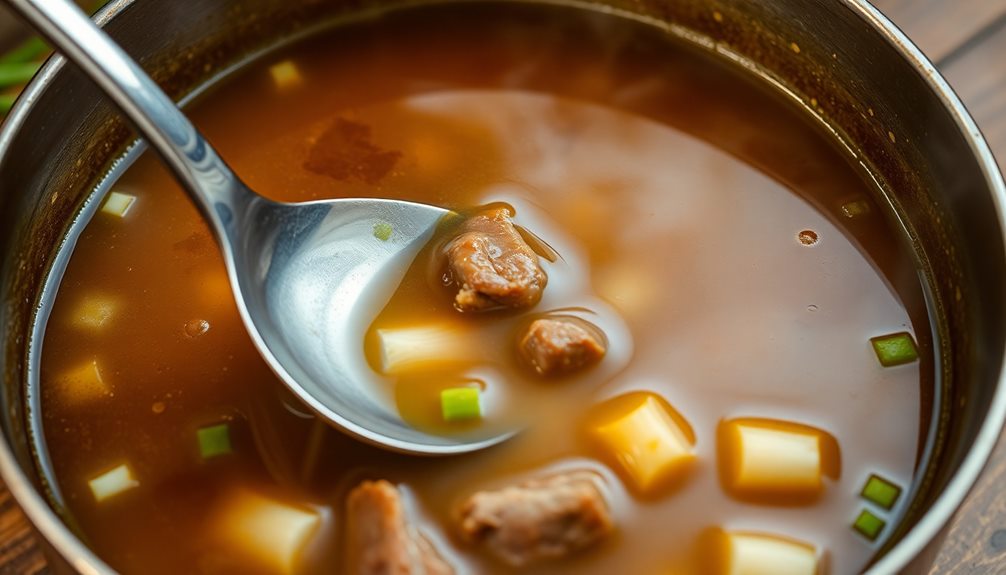
Once the pressure has fully released and you've opened the lid, you'll likely notice a layer of fat floating on the surface of your galbitang. Don't worry! This is totally normal and happens with many soups. To make your soup healthier and even tastier, you'll want to skim that fat off.
Grab a ladle or a spoon, and gently skim the fat from the top. You can tilt the pot a bit to help gather that fat into one spot, making it easier to scoop up. If you see any big chunks of fat, it's a good idea to remove those too.
As you skim, try to leave the broth underneath, because that's where all the delicious flavors are! You might find this part a little messy, but it's all part of the fun. If you don't get every last bit, that's okay. You'll still have a comforting, tasty soup.
Once you're done, take a moment to admire your beautiful galbitang. It's almost ready to serve! Just wait until you add the veggies in the next step, and you'll have an amazing meal to share with family and friends.
Step 5. Add Vegetables and Simmer
With the fat skimmed off, it's time to enhance your galbitang with some fresh vegetables. Grab some carrots, radishes, and green onions, as they'll add color and flavor to your soup.
Start by cutting the carrots and radishes into chunky pieces. You want them to be big enough to hold their shape but small enough to cook through. Next, chop the green onions into bite-sized sections.
Once your veggies are ready, toss them into the Instant Pot. Stir everything together gently to mix the ingredients well. This is where the magic happens!
Now, close the lid and set your Instant Pot to the "soup" setting. Allow it to simmer for about 15 minutes. You'll notice the aroma filling your kitchen, making your mouth water with anticipation.
When the cooking time is up, carefully release the pressure. Open the lid and take a moment to admire your delicious galbitang. The vegetables should be tender and flavorful, adding a tasty crunch to each bite.
Serve hot, and enjoy this comforting soup with family and friends. Your galbitang is now ready to warm hearts and bellies!
Final Thoughts
Galbitang in the Instant Pot offers a delightful blend of flavors and convenience that makes it a standout dish in any kitchen.
You'll love how easy it's to prepare this comforting Korean beef soup. With just a few ingredients, you can create a warm bowl of deliciousness that's perfect for family dinners or cozy nights in.
Imagine coming home after a long day and smelling that rich, savory broth waiting for you. Doesn't that sound inviting? The Instant Pot speeds up the cooking process, allowing you to enjoy tender beef and flavorful soup in no time.
Plus, it's a great way to introduce your family to new tastes and traditions.
As you savor your galbitang, remember that cooking isn't just about the food; it's about creating memories. Share this dish with your loved ones, and let the warmth of the soup bring you all together.
So, grab your Instant Pot and try making galbitang soon. You'll be amazed at how a simple soup can fill your heart and home with joy.
Enjoy every spoonful, and don't forget to share your experience with friends! Happy cooking!
Frequently Asked Questions
Can I Use Alternative Cuts of Beef for Galbitang?
Absolutely! You can use alternative cuts of beef for galbitang. Just choose meaty options like chuck or brisket. They'll still provide great flavor and tenderness, ensuring a comforting and delicious soup experience. Enjoy experimenting!
How Long Does Galbitang Last in the Fridge?
Galbitang typically lasts about three to four days in the fridge. Make sure you store it in an airtight container to maintain its flavor and freshness. If you want it longer, consider freezing it.
Is Galbitang Gluten-Free?
Yes, galbitang can be gluten-free if you use gluten-free soy sauce and check other ingredients for gluten. Always verify labels to ensure no hidden gluten ingredients are present, especially if you're sensitive or allergic.
Can I Freeze Leftover Galbitang?
Yes, you can freeze leftover galbitang! Just make sure to cool it completely before transferring it to airtight containers. When you're ready to enjoy it again, simply thaw and reheat for a comforting meal.
What Side Dishes Pair Well With Galbitang?
When enjoying galbitang, you'll love pairing it with kimchi, pickled radishes, or steamed rice. These sides enhance the flavors, adding crunch and tanginess, making your meal even more satisfying and delightful. Enjoy your feast!