Soboro bun is a beloved Japanese treat that'll tantalize your taste buds! This delightful pastry emerged during the Meiji period, offering a unique fusion of sweet and savory flavors. The key is the crumbly "soboro" topping – made from ground pork, soy sauce, and sugar. You'll find these comforting buns in bakeries across Japan, enjoyed by locals and visitors alike. Making them at home is a breeze too – just mix the dough, knead, proof, divide, and shape into fluffy buns. And the best part? You can experiment with all sorts of tasty fillings and toppings. Intrigued? Keep reading to uncover the mouthwatering secrets of this Japanese delight.
Key Takeaways
- Soboro bun is a beloved Japanese comfort food that emerged during the Meiji period, featuring a unique fusion of sweet and savory flavors.
- The "soboro" topping is made from ground pork, soy sauce, and sugar, creating a crumbly, flavorful texture.
- Soboro buns are enjoyed in bakeries and cafes across Japan, offering a variety of fillings and toppings to appeal to diverse preferences.
- The preparation process involves mixing, kneading, proofing, and shaping the dough to achieve a fluffy, steamed bun texture.
- Soboro buns present an opportunity to experiment with different ingredients and flavors, making them a versatile and satisfying culinary experience.
History

Although the exact origins of the soboro bun are unclear, it's believed to have emerged as a regional delicacy in Japan during the Meiji period (1868-1912).
This fluffy, pillowy treat is a unique fusion of sweet and savory flavors, making it a true delight for the senses.
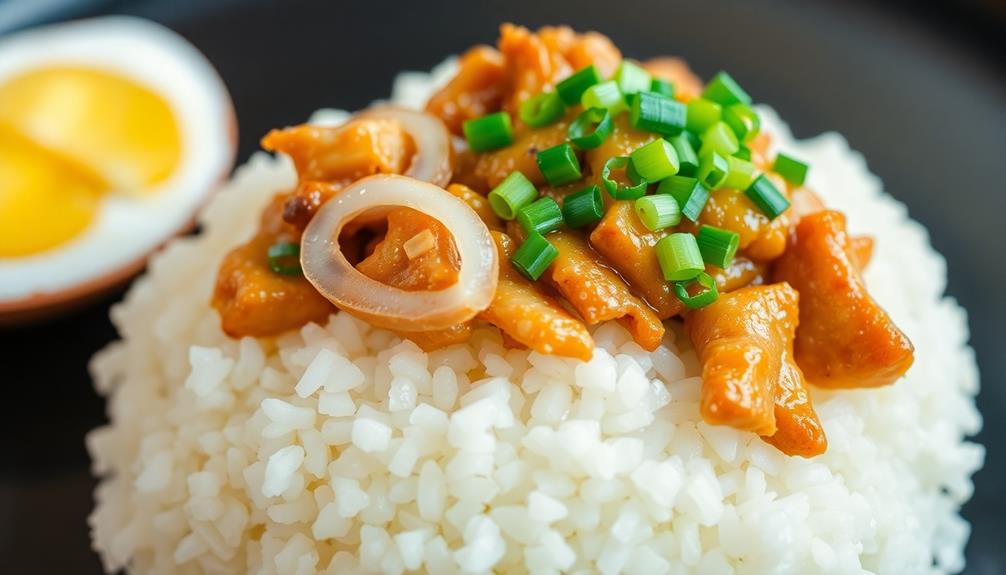
The name "soboro" actually refers to the crumbly, ground meat topping that adorns these buns. This savory component is often made from a mixture of ground pork, soy sauce, and sugar, creating a delightful contrast to the soft, sweet bread.
Over time, the soboro bun has become a beloved comfort food, with variations that include different fillings and toppings to suit diverse tastes.
Today, these charming buns can be found in bakeries and cafes across Japan, captivating both locals and visitors alike with their irresistible combination of flavors.
Whether you're looking for a quick snack or a satisfying breakfast, the soboro bun is sure to leave you craving more of this delectable Japanese specialty.
Cooking Steps
Gather the necessary ingredients and let's begin the cooking process. First, you'll want to cook the ground meat in a skillet over medium-high heat until it's crumbly and cooked through. Drain any excess fat.
To enhance your culinary experience, consider the importance of color accuracy in your home kitchen setup. Next, add the soy sauce, mirin, and sugar to the pan. Stir everything together and let it simmer for 5-7 minutes, until the sauce has thickened nicely.
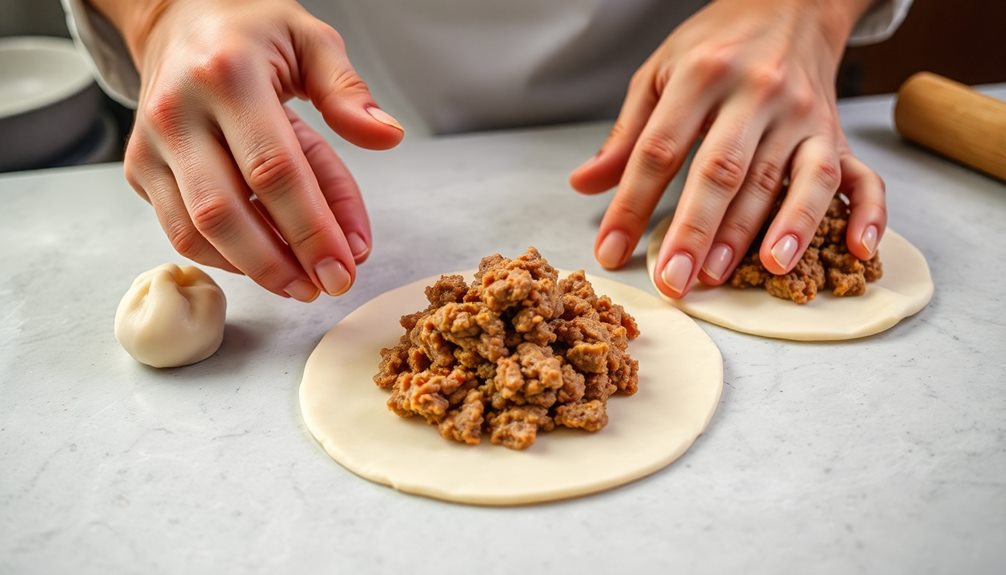
Now it's time to assemble the buns. Take your fluffy steamed buns and gently pull them apart. Spoon a generous amount of the savory soboro filling into each one. Be sure to evenly distribute the mixture.
Step 1. Mix Flour and Water
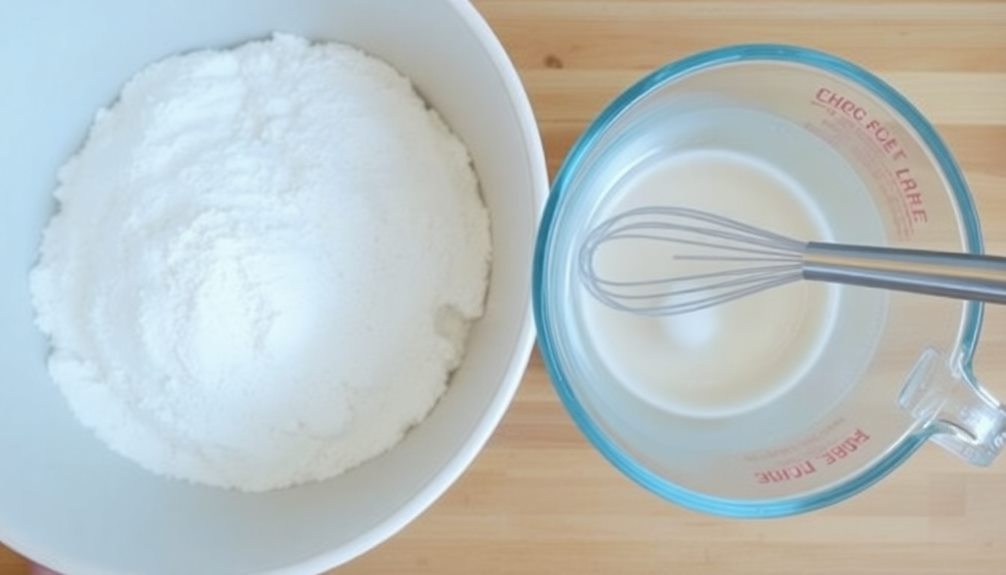
To begin the soboro bun-making process, mix the all-purpose flour and water in a large bowl.
You'll want to start with a gentle hand, using a wooden spoon to gently incorporate the ingredients. Don't overmix – you're aiming for a slightly shaggy dough that comes together easily.
Next, turn the dough out onto a lightly floured surface and knead it for a couple of minutes.
This helps develop the gluten, giving the buns a soft, fluffy texture. Once the dough is smooth and elastic, form it into a ball, place it in a greased bowl, and cover it with a damp towel.
Let the dough rest for about 30 minutes, allowing the gluten to relax.
With the dough rested and ready, you can now move on to the next step: dividing and shaping the soboro buns.
Remember to handle the dough gently to preserve those all-important air pockets that will make your buns light and fluffy.
Stay tuned for the next section to learn how to shape these delightful Japanese treats!
Step 2. Knead the Dough Thoroughly
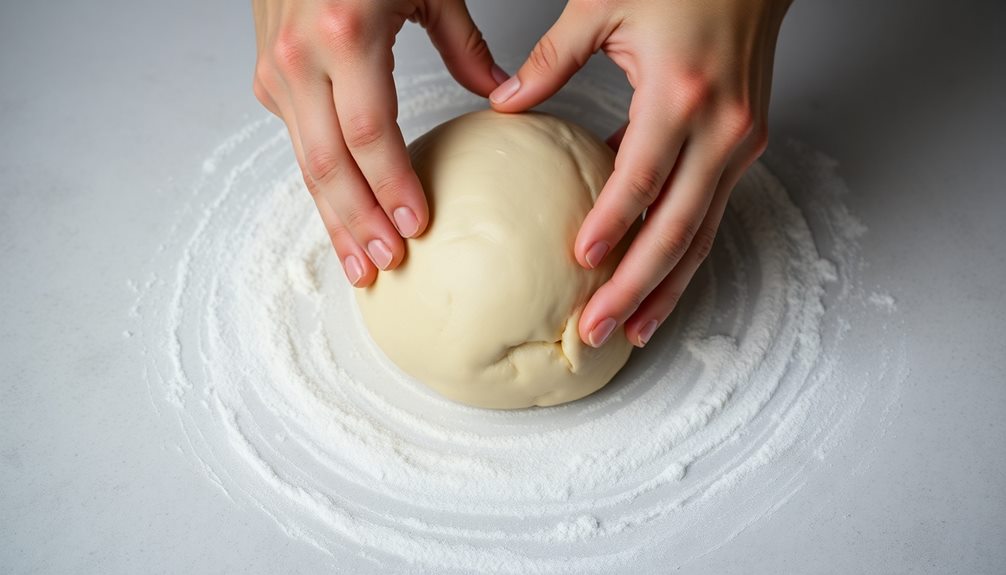
Thorough kneading is the secret to achieving a soft, supple dough for your soboro buns. Start by lightly dusting your work surface with flour.
Then, use the palms of your hands to push and fold the dough, rotating it as you go. This helps develop the gluten, giving the dough its elastic texture. Don't be afraid to really dig in and give it a good workout – the more you knead, the better the results!
As you knead, you'll feel the dough transform from rough and shaggy to smooth and silky. Keep at it for about 10 minutes, until the dough passes the "windowpane test."
Gently stretch a small piece – if it forms a thin, translucent sheet without tearing, you're good to go! With your dough now perfectly kneaded, you're one step closer to fluffy, irresistible soboro buns.
Get ready for the next step: shaping the dough into individual portions.
Step 3. Proof the Dough for One Hour

After kneading the dough, it's time to let it proof for an hour. This crucial step allows the yeast to work its magic, making the dough rise and become light and fluffy.
Find a warm, draft-free spot in your kitchen and place the dough in a lightly greased bowl, covered with a damp towel or plastic wrap. As the dough proofs, the yeast will produce carbon dioxide, causing the dough to expand and double in size.
Be patient and resist the urge to peek – opening the oven or bowl can release the precious heat and air, slowing the proofing process.
After an hour, the dough should be soft, pillowy, and ready for the next step. Gently punch down the dough to release any air bubbles, then shape it into your desired bun form.
With the dough perfectly proofed, you're one step closer to sinking your teeth into those delectable Soboro Buns!
Step 4. Divide Dough Into Small Balls
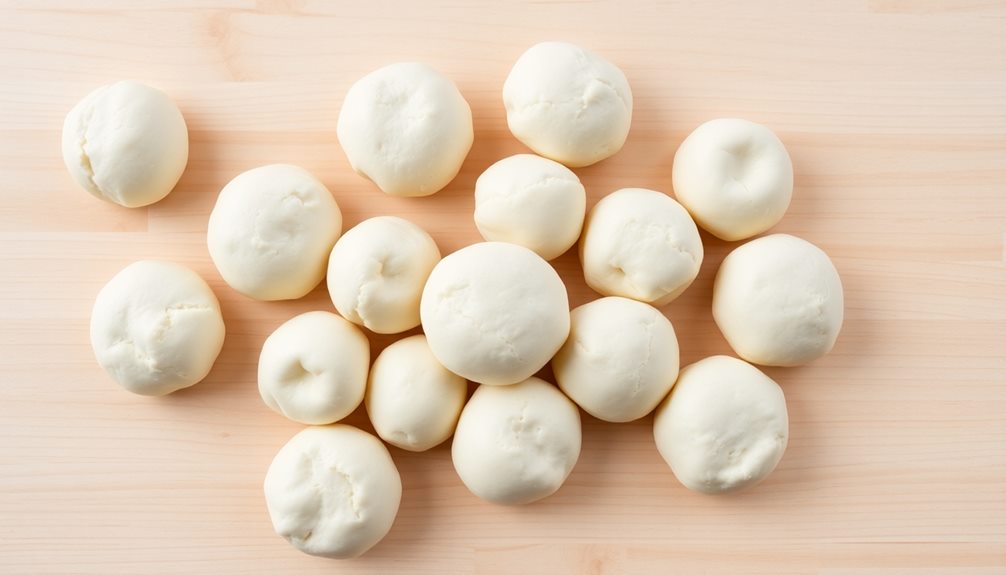
Once the dough has finished proofing, gently punch it down to release any air bubbles. This will help create a smooth, even texture as you divide the dough.
Next, grab a handful of the dough and roll it into a small ball, about the size of a golf ball. Be gentle and try not to overwork the dough. You'll want to make around 12-15 balls, depending on how large you want your Soboro buns to be.
As you roll the dough, make sure each ball is smooth and uniform. Place the dough balls on a lightly floured surface, spacing them out a bit so they don't stick together.
Once all the dough is divided, cover the balls with a clean kitchen towel and let them rest for 10-15 minutes. This will help the gluten relax, making the dough easier to work with as you shape the buns.
After the resting period, you'll be ready to start shaping your Soboro buns!
Step 5. Shape Into Small Buns
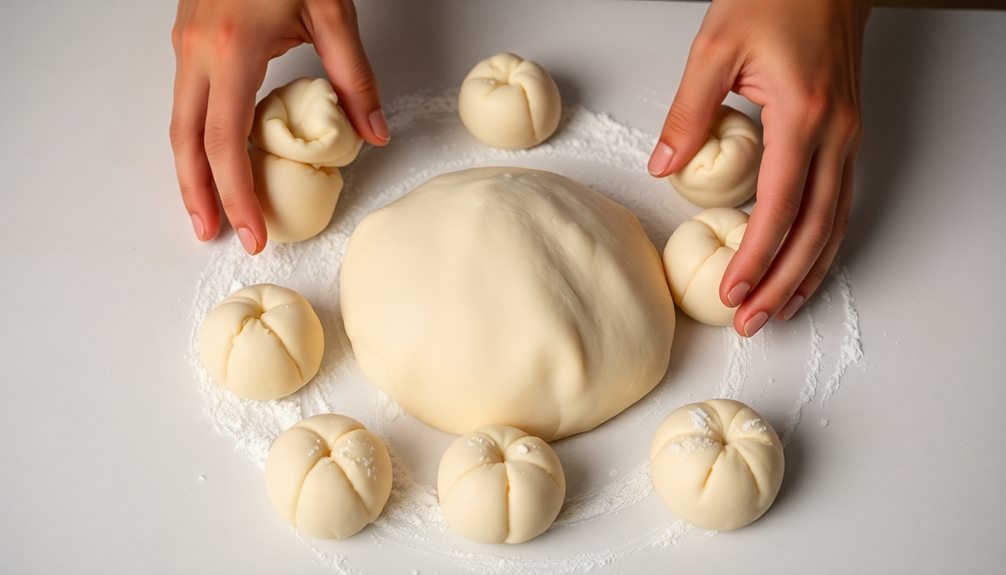
To shape the Soboro buns, gently flatten each dough ball into a round disc using the palms of your hands.
Don't worry if they're not perfect – the rustic look is part of the charm! Next, use your fingers to pinch the dough around the edges, creating a small, fluffy bun.
Be careful not to overwork the dough, as this could make the buns tough.
Once you've shaped all the buns, it's time to let them rise. Cover the buns with a clean, damp towel and set them aside in a warm place for 15-20 minutes.
During this time, the dough will puff up and become nice and light.
Now you're ready to bake! Arrange the buns on a parchment-lined baking sheet, making sure to leave a little space between each one.
Pop them in the oven and get ready for the wonderful aroma to fill your kitchen.
In just 15-18 minutes, your Soboro buns will be golden brown and ready to enjoy!
Final Thoughts

Ultimately, the soboro bun is a delightful Japanese treat that seamlessly blends sweet and savory flavors.
Whether you prefer the tender, fluffy bread or the savory, seasoned ground meat topping, there's something to delight every palate.
The versatility of this dish is truly impressive – you can enjoy it as a snack, a side, or even a main course.
And the best part? It's surprisingly easy to make at home, allowing you to savor the authentic taste of Japan in your own kitchen.
So why not give it a try? Experiment with different toppings and fillings to find your perfect combination.
Who knows, you might just discover a new favorite treat that will transport you straight to the streets of Tokyo.
The soboro bun is a delightful reminder that the simplest pleasures in life can be the most satisfying.
Frequently Asked Questions
How Long Does It Take to Prepare Soboro Bun?
Preparing the soboro bun doesn't take long – you can whip it up in about 30 minutes. The key is cooking the ground meat topping quickly and assembling the buns effortlessly for a delightful homemade treat.
What Is the Shelf Life of Freshly Baked Soboro Bun?
Freshly baked soboro bun has a relatively short shelf life. It's best enjoyed within 2-3 days when stored at room temperature in an airtight container. After that, the texture and flavor may start to deteriorate.
Can Soboro Bun Be Frozen and Reheated Later?
Yes, you can freeze soboro bun and reheat it later. Just wrap it tightly in plastic or aluminum foil before freezing. When ready to enjoy, simply reheat in the oven or microwave until warmed through.
How Do I Store Leftover Soboro Bun?
You can store leftover soboro bun in an airtight container in the fridge for up to 3 days. To reheat, simply place the bun in a toaster oven or oven until heated through.
Is Soboro Bun Gluten-Free or Suitable for Dietary Restrictions?
Unfortunately, soboro bun is not gluten-free. It's made with wheat flour, which contains gluten. If you have dietary restrictions, you'll need to find a gluten-free alternative recipe or substitute the flour to make it suitable for your needs.