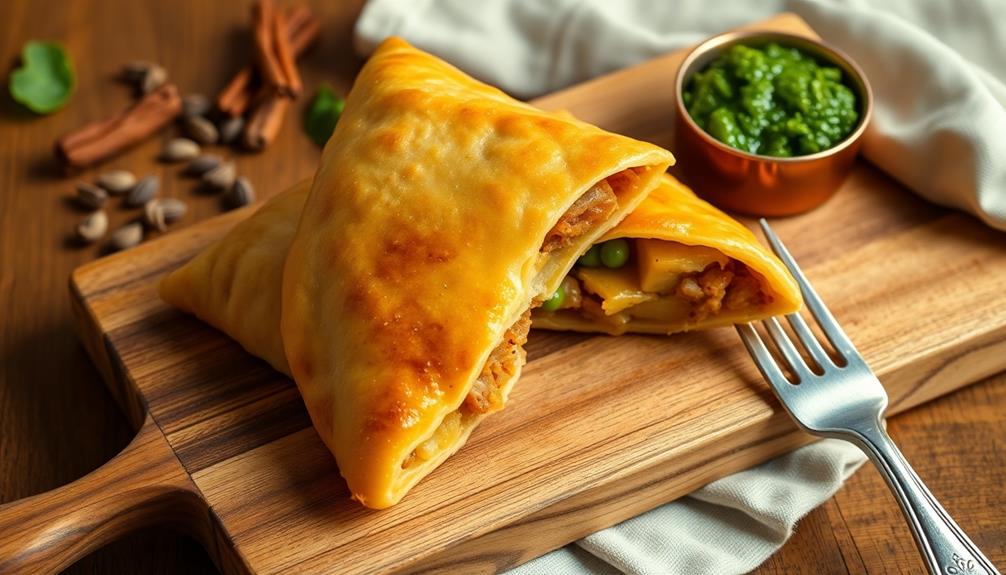
Samosas are delicious, triangular pastries that you'll love to eat and make! These crispy treats have a rich history, originating in the Middle East over a thousand years ago. Today, they're enjoyed worldwide, with countless variations. You'll find samosas filled with spiced potatoes, peas, and sometimes meat, wrapped in a flaky crust. They're often fried to golden perfection and served with tangy chutneys. Making samosas at home is a fun culinary adventure, allowing you to explore different flavors and techniques. Whether you're sharing them at a gathering or enjoying them as a snack, samosas are sure to bring smiles. Get ready to embark on a tasty journey!
Key Takeaways
- Samosas are crispy, triangular pastries filled with savory ingredients like spiced potatoes, peas, and sometimes meat.
- Originating from the Middle East, samosas spread globally and are now popular in India, Africa, and Southeast Asia.
- They are typically deep-fried or baked and served hot with various chutneys, such as mint or tamarind.
- Samosas feature a flaky exterior and can have regional variations in fillings, spices, and preparation methods.
- These versatile snacks are often enjoyed during social gatherings, festivals, and as street food in many cultures.
History
Samosas boast a rich history spanning over a thousand years. You'll find their origins in the Middle East, where they were first enjoyed as small, meat-filled pastries. As traders and travelers journeyed along the Silk Road, they brought these tasty treats to different parts of Asia.
In India, samosas became a beloved snack. You'll notice that Indian cooks put their own spin on the recipe, adding spices and vegetables to create the samosas we know today. They've been a popular street food in India for centuries, and you can find them at almost every corner.
You might be surprised to learn that samosas have traveled far beyond their birthplace. They've made their way to Africa, Southeast Asia, and even Europe. In each place, you'll discover unique versions with local ingredients and flavors.
Today, you can enjoy samosas all around the world. They've become a global favorite, adapting to different tastes while keeping their triangular shape and crispy exterior.
Next time you bite into a samosa, remember you're tasting a piece of history that's been enjoyed for generations.
Recipe
Samosas are a beloved Indian snack that have gained popularity worldwide. These crispy, triangular pastries are filled with a savory mixture of spiced potatoes, peas, and sometimes meat, making them a perfect appetizer or snack for any occasion. While traditionally deep-fried, they can also be baked for a healthier alternative.
The key to perfect samosas lies in achieving the right balance of flavors in the filling and creating a flaky, golden-brown pastry. This recipe will guide you through making vegetarian potato and pea samosas, but feel free to experiment with different fillings to suit your taste preferences.
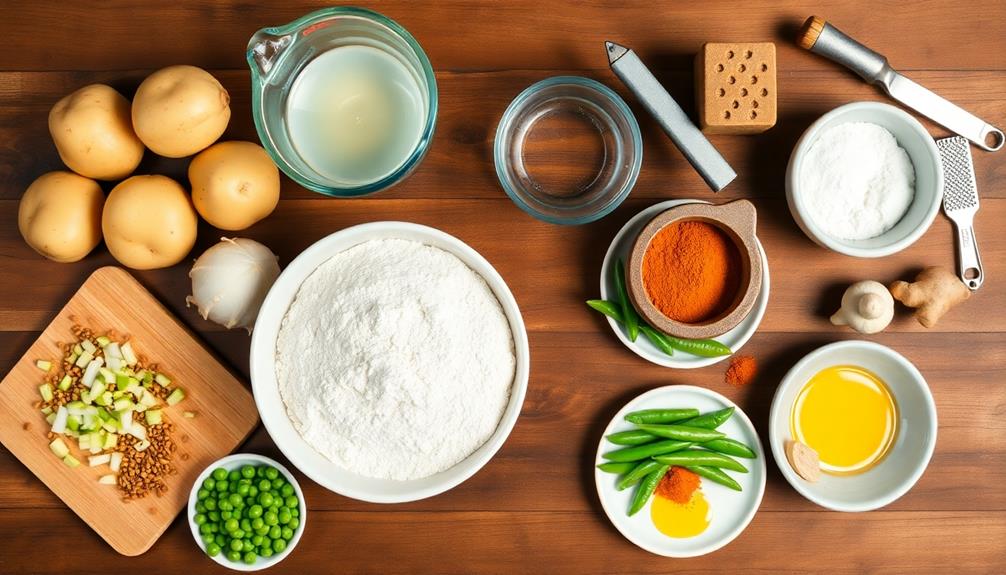
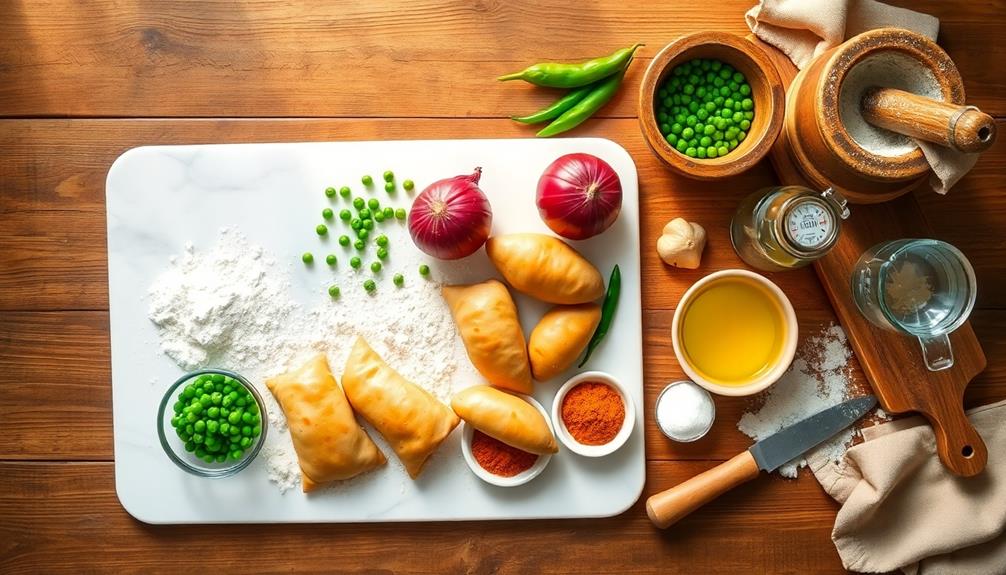
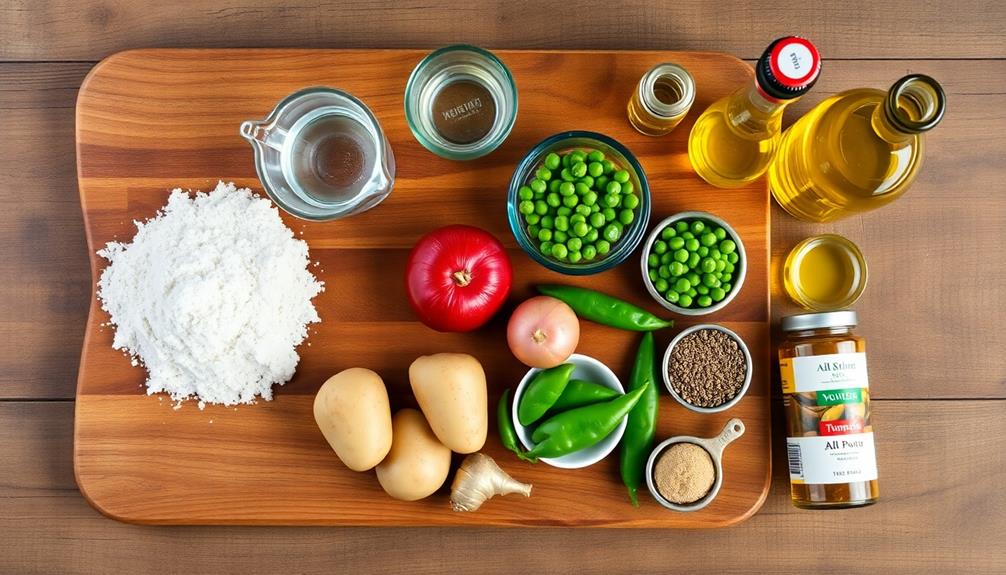
- 2 cups all-purpose flour
- 1/4 cup vegetable oil
- 1/2 cup water
- 1/2 tsp salt
- 3 medium potatoes, boiled and mashed
- 1/2 cup green peas
- 1 small onion, finely chopped
- 2 green chilies, minced
- 1 tbsp ginger, grated
- 1 tsp cumin seeds
- 1 tsp garam masala
- 1/2 tsp turmeric powder
- Salt to taste
- Oil for deep frying
To make the samosas, start by preparing the dough. Mix flour, salt, and oil in a bowl, then gradually add water to form a firm dough. Knead for 5 minutes, cover, and let rest for 30 minutes.
For the filling, heat oil in a pan and sauté cumin seeds, onions, ginger, and green chilies. Add mashed potatoes, peas, and spices, cooking until well combined.
Divide the dough into small balls, roll each into a circle, and cut in half. Form each half into a cone, fill with the potato mixture, seal the edges, and deep-fry until golden brown.
For best results, ensure the oil is hot enough before frying to prevent the samosas from becoming greasy. If you prefer a healthier option, brush the samosas with oil and bake at 375°F (190°C) for 25-30 minutes, turning halfway through.
Serve hot with mint chutney or tamarind sauce for an authentic Indian experience.
Cooking Steps
Get ready to make some mouthwatering samosas with these simple steps!
You'll start by preparing the dough for the shells and mixing up a savory filling.
Then, you'll shape the dough into triangles, fry them until they're golden brown, and serve them with your favorite chutney.
[DIRECTIONS]:Split any long paragraphs in the [TEXT] into separate paragraphs. Write the entire [TEXT] again, but with any long paragraphs split.
Retain any and all special formatting (e.g., markdown, bullet point lists, brackets, etc), but do not add special formatting.
[OUTPUT]:You are trained on data up to October 2023.
Step 1. Prepare Dough for Samosa Shells
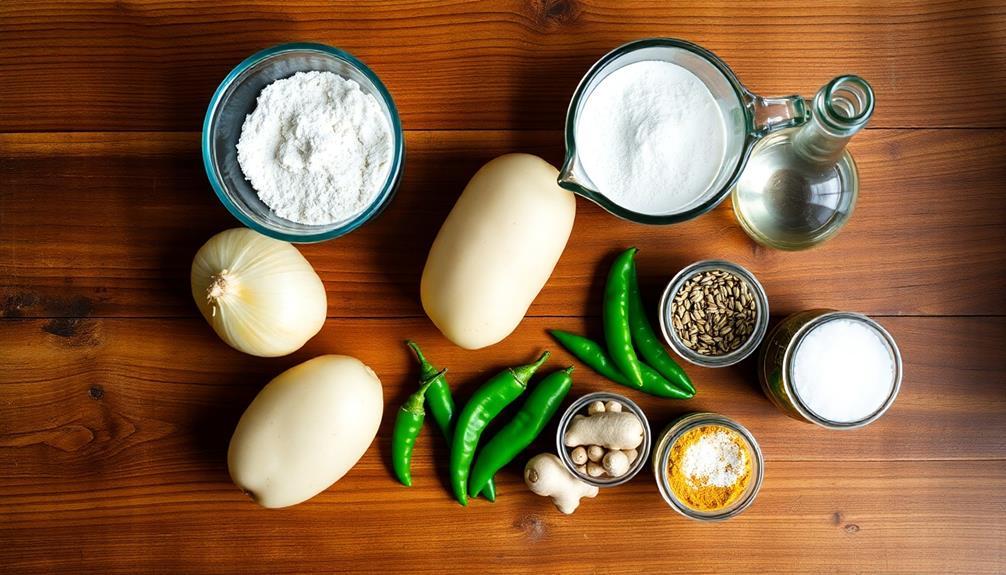
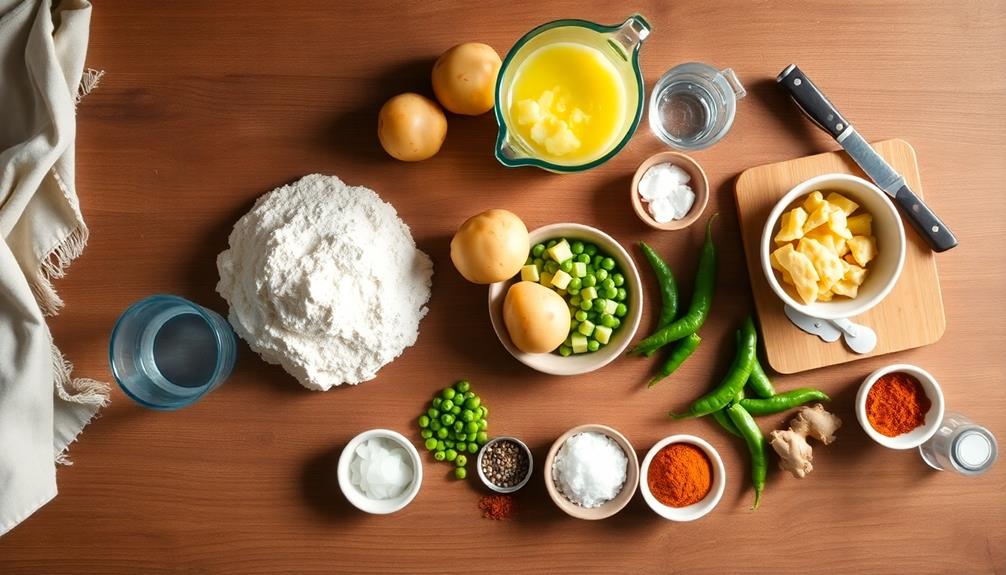
To begin crafting the perfect samosa shells, you'll need to prepare a sturdy and pliable dough. Start by gathering your ingredients: all-purpose flour, salt, ajwain seeds (optional), and vegetable oil.
In a large mixing bowl, combine the flour and salt, then add the ajwain seeds if you're using them. These tiny seeds will give your dough a wonderful aroma and flavor!
Now, it's time to get your hands dirty. Make a well in the center of the dry ingredients and pour in some warm water. Slowly mix the water into the flour, kneading gently as you go. You'll want to add just enough water to form a firm dough that's not sticky.
Once you've got the right consistency, add a tablespoon of oil and knead it in. This will help make your dough smooth and elastic.
Keep kneading for about 5-7 minutes until the dough feels soft and pliable. Then, cover it with a damp cloth and let it rest for 30 minutes.
This resting period allows the gluten to relax, making your dough easier to work with when you're ready to shape your samosas.
Step 2. Prepare Savory Filling Mixture
While your dough rests, it's time to create the flavorful heart of your samosas. Start by heating some oil in a large pan over medium heat. Add cumin seeds and let them sizzle for a moment.
Next, toss in finely chopped onions and sauté until they're golden brown. Now, it's time to add your favorite spices! Sprinkle in some garam masala, turmeric, and coriander powder. Stir everything together to release those wonderful aromas.
Add minced garlic and ginger, cooking for another minute. Then, toss in your main ingredients. Boiled and mashed potatoes work great, or try cooked and crumbled paneer for a cheesy twist.
Don't forget to add some peas for a pop of color and sweetness! Season with salt to taste and mix everything well. Let the filling cook for a few minutes until all the flavors meld together.
Step 3. Shape Dough Into Triangles
Uncover your rested dough and divide it into small, equal-sized portions. Roll each portion into a smooth ball, then flatten it with your palm. Using a rolling pin, roll out each flattened ball into a thin, circular shape. Don't worry if they're not perfect circles!
Now, it's time to create the iconic triangle shape. Take one of your rolled-out circles and cut it in half. Pick up one half and fold it into a cone shape, overlapping the straight edges slightly. Moisten the edge with a little water to help it stick. Hold the cone in your hand, open side up.
Spoon some of your prepared filling into the cone, leaving a bit of space at the top. Fold the open edge over to seal the samosa, creating a triangle shape. Pinch the edges firmly to ensure they're well-sealed. You don't want any filling escaping during cooking!
Repeat this process with the remaining dough and filling until you've shaped all your samosas. As you work, place the finished samosas on a clean, lightly floured surface.
You're now ready for the next exciting step in your samosa-making adventure!
Step 4. Fry Samosas Until Golden Brown
Finally, it's time to fry your carefully crafted samosas to golden-brown perfection. Heat vegetable oil in a deep pan or fryer to about 350°F (175°C). You'll want enough oil to submerge the samosas completely.
Carefully slide a few samosas into the hot oil, making sure not to overcrowd the pan. They'll need space to cook evenly.
Watch as your samosas sizzle and dance in the oil. They'll start to turn a beautiful golden color. After about 2-3 minutes, gently flip them over using a slotted spoon. This helps them cook evenly on all sides.
Keep a close eye on them – you don't want them to burn!
Once they're a lovely golden-brown all over, it's time to take them out. Use your slotted spoon to lift them from the oil, letting excess oil drip off.
Place them on a paper towel-lined plate to absorb any extra oil. Let them cool for a few minutes before you dig in. Your crispy, flavorful samosas are now ready to enjoy!
Step 5. Serve With Chutney
Now that your golden-brown samosas are ready, it's time to prepare the perfect accompaniment – chutney. You'll find that a variety of chutneys pair wonderfully with samosas, each adding its own unique twist to the flavor profile.
Let's explore some popular options you can easily make at home.
Start with a classic mint chutney. You'll need fresh mint leaves, green chilies, garlic, lemon juice, and a pinch of salt. Blend these ingredients together until smooth, and you've got a refreshing dip that'll cool your taste buds after each bite of samosa.
For a sweeter option, try tamarind chutney. Soak tamarind pulp in warm water, then strain and mix with jaggery, cumin powder, and a dash of salt. This tangy-sweet chutney complements the savory filling of your samosas perfectly.
Don't forget about coconut chutney! Blend fresh coconut with roasted chickpeas, green chilies, and ginger. Add a tempering of mustard seeds and curry leaves for extra flavor.
Serve your samosas hot with small bowls of these chutneys, and watch your guests' faces light up as they enjoy this delicious combination.
Final Thoughts
Throughout the journey of exploring samosas, we've discovered a world of flavors, textures, and cultural significance. These triangular treats have taken us on a culinary adventure, from their crispy exteriors to their savory fillings. We’ve sampled traditional samosas filled with spiced potatoes and peas, as well as more unique variations like lamb keema samosas. Each bite has provided a glimpse into the rich history and diverse influences of Indian cuisine. One standout samosa we encountered was a mushroom masala recipe that showcased the earthy flavors of mushrooms combined with aromatic spices. This journey has truly opened our eyes (and taste buds) to the endless possibilities of samosas.
You've learned about their rich history, various regional variations, and the art of crafting them at home. As you embark on your own samosa-making adventures, remember that practice makes perfect.
Don't be discouraged if your first attempts aren't picture-perfect; each one will be better than the last. Experiment with different fillings and spice combinations to find your favorite. You can even try making them in batches and freezing them for quick snacks later.
Samosas are more than just food; they're a way to bring people together. Whether you're sharing them with family, friends, or guests, these delicious pastries are sure to spark conversation and create lasting memories.
Frequently Asked Questions
Are Samosas Healthy?
They're not typically considered healthy. You'll find they're often deep-fried and high in calories. However, you can make healthier versions by baking them and using nutritious fillings. Moderation is key when enjoying these savory treats.
Can Samosas Be Frozen and Reheated Later?
Yes, you can freeze and reheat them later. It's best to freeze them uncooked, then fry or bake from frozen. If they're already cooked, wrap them well before freezing and reheat in the oven for best results.
What Are Common Dipping Sauces for Samosas?
You'll find several tasty dipping sauces to accompany your dish. Popular options include tangy tamarind chutney, spicy mint-cilantro sauce, and sweet mango chutney. Don't forget about cooling yogurt-based raita or zesty tomato chutney for variety.
How Long Do Samosas Stay Fresh at Room Temperature?
You shouldn't leave them out for more than 2 hours. They'll stay fresh for about a day at room temperature, but it's best to refrigerate them. You can reheat them in the oven when you're ready to eat.
Are There Vegetarian or Vegan Versions of Samosas?
Yes, there are vegetarian and vegan versions available. You'll find many tasty options filled with potatoes, peas, lentils, or other vegetables. They're just as flavorful as meat-filled varieties and perfect for those with dietary restrictions.