
Aioli's roots trace back to the Mediterranean, where this creamy, garlicky condiment has been a kitchen staple for centuries. While the basics – garlic, oil, and egg yolks – remain the same, aioli has evolved with regional twists. Maybe you'll try the Spanish version with lemon and herbs or the Greek take served with crusty bread. No matter how you enjoy it, aioli's bold flavors can elevate everything from seafood to sandwiches. And with endless customization options, like roasted red peppers or smoky paprika, the possibilities for your aioli creations are truly endless. Keep reading to unlock the secrets of this culinary delight. Looking to add a sophisticated touch to your aioli repertoire? Try incorporating a squid ink pasta recipe into your culinary arsenal. The rich, savory flavors of squid ink will complement the creamy, garlicky aioli beautifully, creating a truly indulgent dish. Whether you’re a novice in the kitchen or a seasoned chef, experimenting with different aioli variations is a surefire way to impress your guests and tantalize your taste buds.
Key Takeaways
- Aioli is a traditional Mediterranean condiment made from garlic, olive oil, and egg yolks, with variations incorporating lemon, herbs, and spices.
- The emulsification process is crucial for creating a creamy, silky texture, and the quality of ingredients significantly impacts the final flavor.
- Aioli can be customized by incorporating roasted garlic, herbs, spices, or citrus for a wide range of flavor profiles.
- Aioli is versatile and can be used as a dip, sandwich spread, accompaniment for grilled meats and seafood, or a flavor booster in various dishes.
- Proper storage in an airtight container and refrigeration can extend the shelf life of aioli, but freezing is not recommended due to texture changes.
Top picks for "aioli garlic mayo"
Open Amazon search results for this keyword.
As an affiliate, we earn on qualifying purchases.
History
Aioli's origins can be traced back to the Mediterranean region, where it has long been a staple condiment. This creamy garlic sauce has been a beloved part of local cuisine for centuries, with roots stretching back to ancient times.
In fact, the word "aioli" comes from the Provençal words for "garlic" (ail) and "oil" (oli).
Over the years, aioli has evolved and spread across the Mediterranean, taking on unique regional variations. In Spain, it's often made with egg yolks for a rich, velvety texture.
In Italy, it might be infused with lemon or herbs. And in Greece, aioli is sometimes served as a dip for fresh-baked bread.
Today, aioli's popularity has spread far beyond its Mediterranean birthplace. It's become a versatile condiment, adding bold garlic flavor to everything from sandwiches to roasted vegetables.
Whether you're dipping fresh-caught seafood or drizzling it over crispy fries, aioli is a delightful way to elevate your favorite dishes.
Recipe
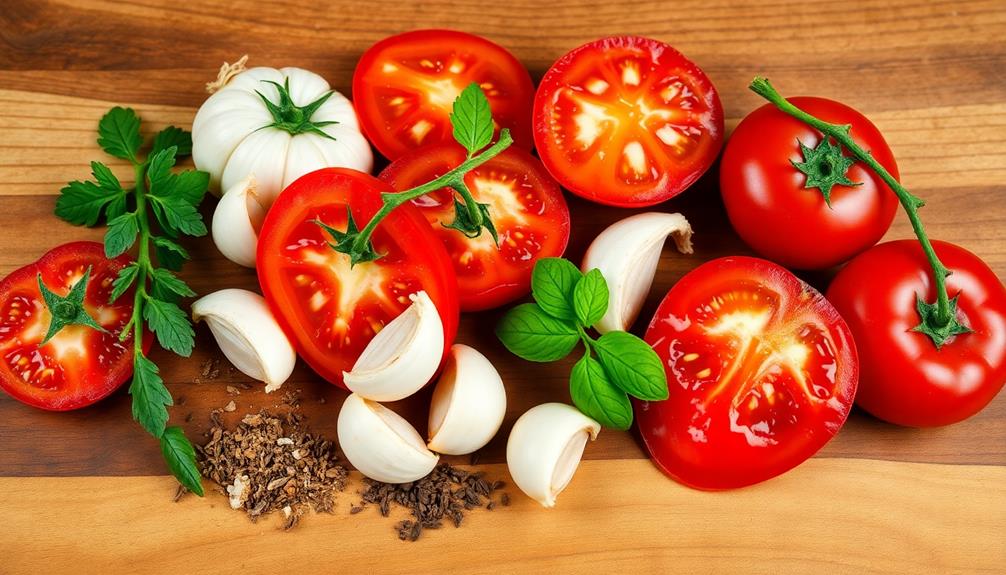
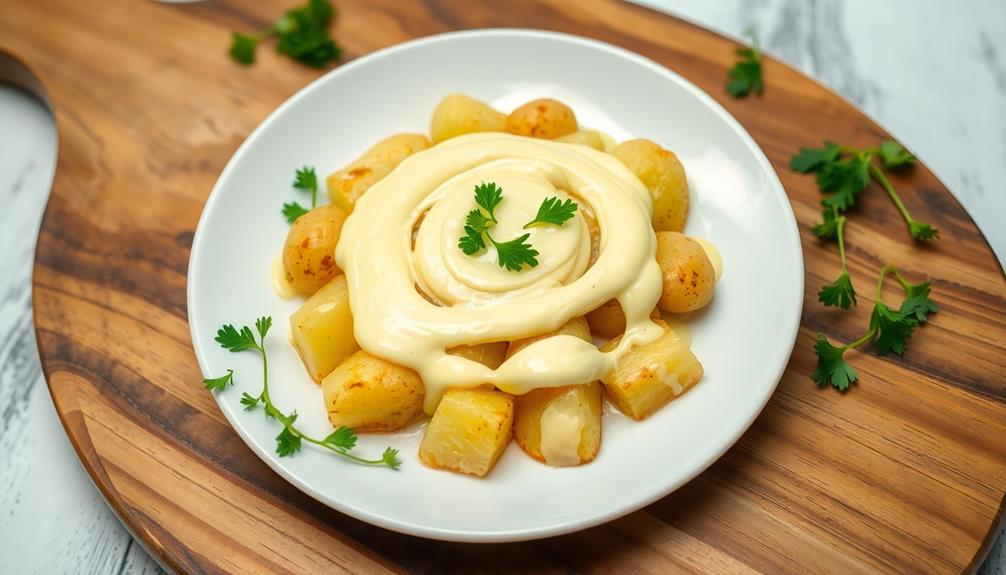
Aioli, a classic Mediterranean condiment, is more than just garlic-infused mayonnaise. This versatile sauce can elevate a variety of dishes, from grilled meats and seafood to roasted vegetables and dipping spreads.
At its core, aioli is a simple emulsion of garlic, egg yolks, and olive oil. However, the rich, creamy texture and nuanced flavors make it a culinary delight. Mastering the art of aioli can be a rewarding experience, as it allows you to customize the recipe to your taste preferences.
- 2 egg yolks
- 2 garlic cloves, minced
- 1 cup extra-virgin olive oil
- 1 tbsp lemon juice
- 1/2 tsp salt
- 1/4 tsp white pepper
In a medium bowl, whisk the egg yolks and garlic until well combined. Slowly drizzle in the olive oil, whisking constantly, until the mixture begins to thicken. Continue to whisk, adding the oil in a steady stream, until the aioli is emulsified and creamy. Stir in the lemon juice, salt, and white pepper.
When making aioli, it's important to work slowly and patiently to achieve the desired consistency. The quality of the ingredients also plays a crucial role in the final result.
For a richer, more decadent aioli, consider using a high-quality extra-virgin olive oil. Experiment with different herbs, spices, or citrus zests to create unique flavor profiles that complement your dishes.
Cooking Steps
First, you'll emulsify the egg yolk and garlic.
Then, you'll slowly incorporate the olive oil, whisking constantly to create a creamy texture.
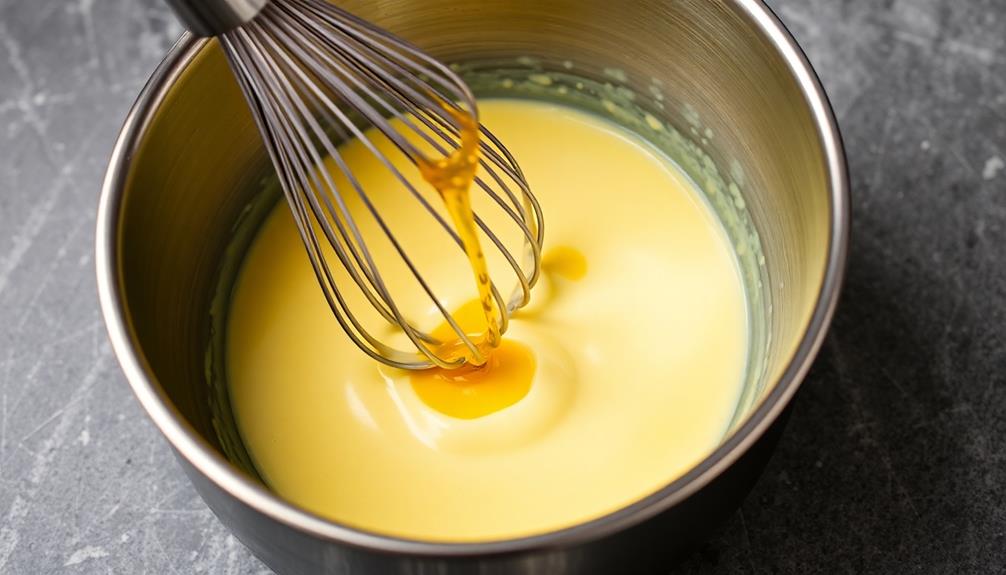
Step 1. Emulsify Egg Yolk and Garlic
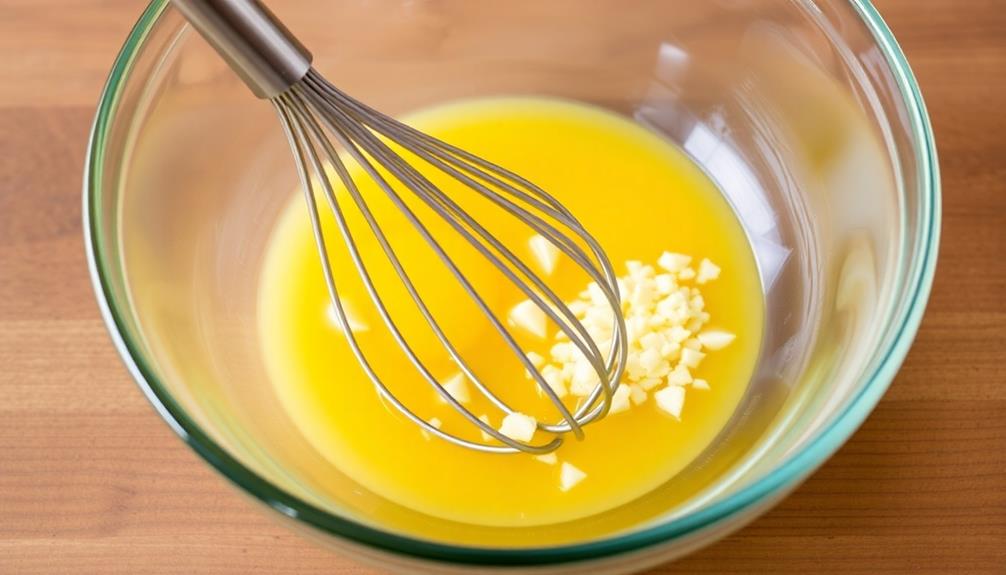
To make a classic aioli, you'll need to carefully emulsify the egg yolk and garlic.
Start by mincing the garlic until it's a fine paste. Then, in a bowl, place the egg yolk and whisk it gently.
Slowly, while whisking constantly, begin to drizzle in the olive oil, drop by drop. As the oil is incorporated, the mixture will thicken and become creamy.
Keep whisking and gradually increase the flow of oil until you've added about 1/2 cup. The key is to go slowly and be patient.
If the mixture starts to look like it's separating, simply whisk in a teaspoon of water to bring it back together.
Once the aioli has reached your desired thickness, stir in the minced garlic.
Season with a pinch of salt and a squeeze of lemon juice. Taste and adjust the seasoning as needed.
Your fresh, homemade aioli is now ready to enjoy!
Step 2. Slowly Incorporate Olive Oil

Gently drizzling the olive oil, while whisking constantly, is the key to successfully emulsifying the egg yolk. It's all about that slow, steady stream of oil. Don't rush it! Take your time and add the oil just a few drops at a time, whisking vigorously after each addition. This allows the egg yolk to fully incorporate the oil, creating a smooth, creamy aioli.
As the oil is gradually introduced, you'll notice the mixture thickening and becoming opaque. Keep on whisking – this action traps tiny air bubbles, giving the aioli its signature light and fluffy texture.
Don't be tempted to pour the oil in all at once, as that can cause the emulsion to break. Patience is crucial here. With a little practice, you'll master the art of slowly building up that rich, velvety aioli.
The result is worth the effort – a bright, flavorful condiment that elevates any dish.
Step 3. Season With Lemon Juice and Salt
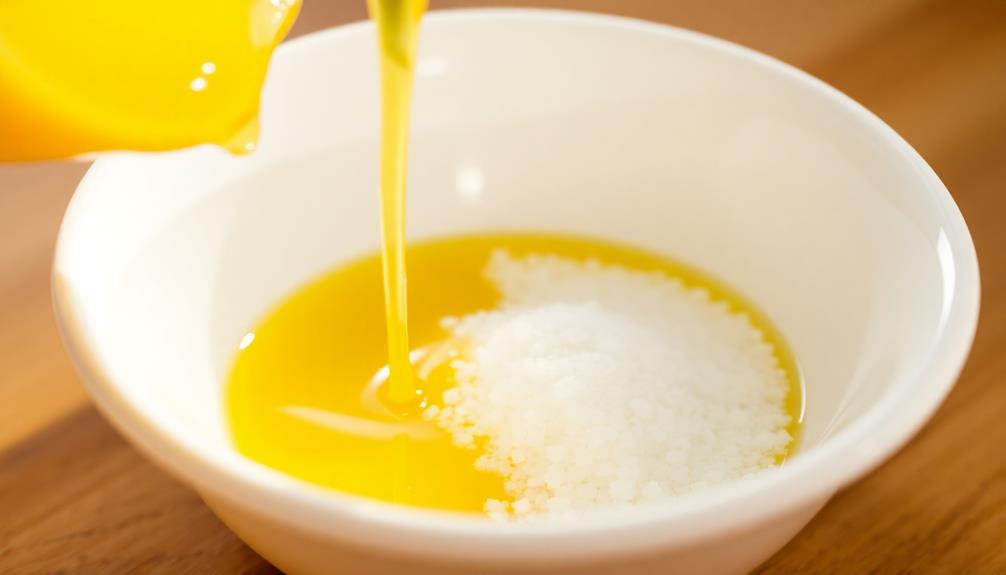
Once the aioli has reached the desired thick and creamy consistency, it's time to season it with lemon juice and salt. This simple step brings everything together, balancing the rich, garlicky flavor with a touch of brightness and zing.
Start by adding a squeeze or two of fresh lemon juice. The acidity helps to cut through the richness, creating a lovely, well-rounded taste. Whisk the lemon juice in thoroughly, tasting as you go to find the perfect balance.
Next, add a pinch of salt and mix it in. The salt enhances all the other flavors, making the aioli truly sing. Taste again and add more lemon or salt as needed, adjusting to suit your personal preference.
This seasoning process is crucial, so don't be afraid to keep tasting and tweaking until it's just right. With the lemon and salt in place, your aioli is now ready to serve as a dip, spread, or condiment, elevating whatever you pair it with.
Step 4. Whisk in Water for Consistency
Whisking in a bit of water is the next crucial step for achieving the perfect aioli consistency. This simple action helps create a silky smooth texture you'll love.
Start by adding just a teaspoon of water and whisk vigorously. Keep a close eye on the mixture – you want it to remain thick and creamy, not watery. If it seems too thick, whisk in another teaspoon of water until you reach the desired consistency.
The water helps bind the ingredients together, ensuring your aioli has that luscious, velvety feel. Don't be afraid to adjust the amount of water as needed. Every batch is slightly different, so use your best judgment.
With a little practice, you'll nail the perfect aioli texture every time. Whisking in water is an easy way to take your homemade aioli to the next level. Get ready to dip, spread, and enjoy!
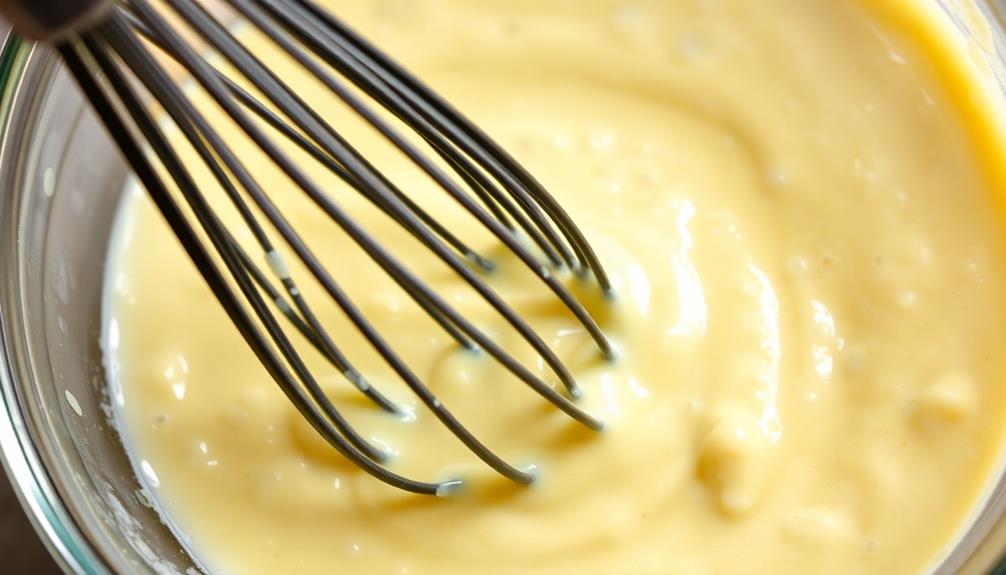
Step 5. Whisk in Additional Olive Oil
After achieving the desired consistency with the addition of water, it's time to incorporate more olive oil. Slowly drizzle in the olive oil while whisking continuously. This will help the aioli emulsify further, creating a creamy, thick texture.
Don't pour the oil in all at once – go slowly, allowing the mixture to absorb the oil as you whisk. If you're looking for a natural way to enhance your overall health, consider incorporating essential oils like eucalyptus oil for respiratory support.
As you whisk, you'll notice the aioli thickening up nicely. Keep a watchful eye and adjust the amount of oil as needed. The goal is to achieve a velvety smooth consistency that holds its shape.
If the aioli starts to look separated or broken, don't worry! Simply whisk in a bit more oil and it should come back together.
Final Thoughts
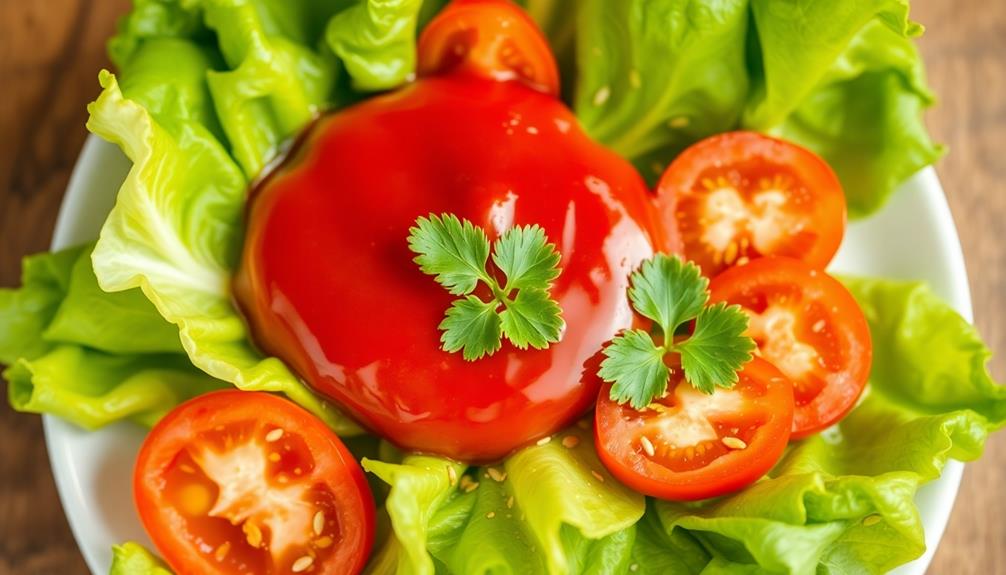
Aioli, that creamy garlic-infused mayo, has captivated our taste buds, becoming a versatile condiment that transcends its humble origins. Whether you're dipping freshly-baked fries, spreading it on a sandwich, or using it as a dipping sauce, aioli adds a zesty punch that elevates any dish.
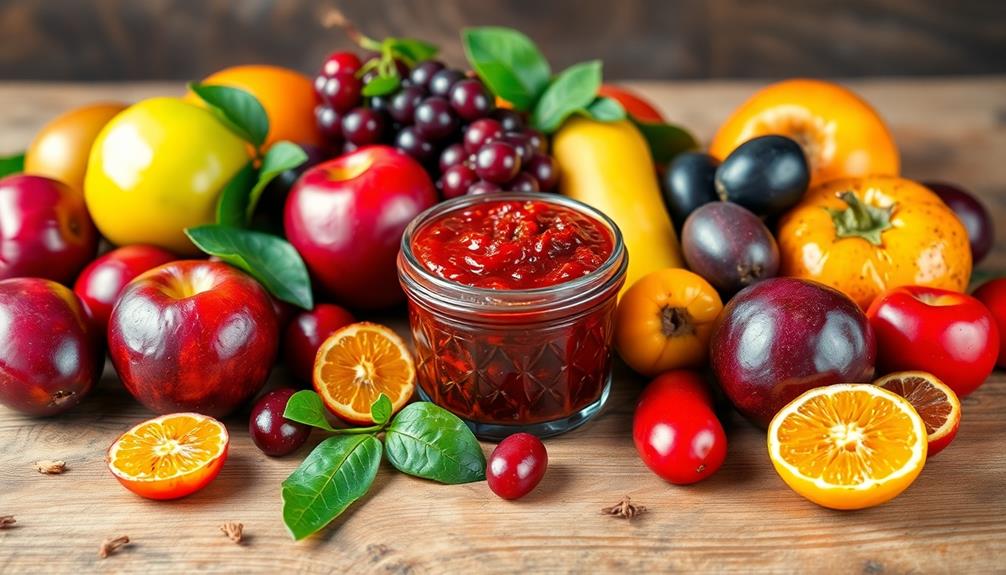
Don't be afraid to experiment! Aioli's base of egg yolk and olive oil provides a solid foundation, allowing you to customize the flavors to your liking. Try mixing in roasted red peppers, fresh herbs, or even a hint of lemon for a bright, tangy twist. The possibilities are endless!
As you master the art of aioli, remember that the key is to take your time and enjoy the process. Whisk slowly, taste frequently, and trust your instincts.
With a little practice, you'll be crafting aioli worthy of any gourmet kitchen. So, gather your ingredients, roll up your sleeves, and get ready to embark on a flavorful journey. Aioli awaits!
Frequently Asked Questions
How Long Does Homemade Aioli Keep in the Refrigerator?
Homemade aioli generally keeps in the fridge for 3-5 days. Store it in an airtight container and be sure to consume it within this timeframe for best quality and food safety. Proper refrigeration is key to maximizing its shelf life.
Can I Use a Blender Instead of Whisking by Hand?
You can absolutely use a blender instead of whisking by hand. In fact, a blender makes the process faster and easier, resulting in a smooth, creamy aioli. Just be careful not to overmix.
What Are Some Alternative Ingredients to Use in Aioli?
You can experiment with alternative ingredients in aioli beyond just garlic. Try swapping in roasted peppers, herbs, spices, or even citrus zest for a unique twist on the classic creamy spread.
Is It Safe to Consume Raw Eggs in Aioli?
Consuming raw eggs in aioli can be risky due to the potential presence of Salmonella. However, you can use pasteurized eggs or aquafaba (chickpea liquid) as safer alternatives that won't compromise the creamy texture of this delicious garlic-infused mayonnaise.
Can I Freeze Leftover Aioli for Later Use?
You can absolutely freeze leftover aioli for later use! Just transfer it to an airtight container, leaving a bit of headspace to allow for expansion. When you're ready to use it, thaw it in the fridge overnight and give it a good stir.