You're in for a real treat – get ready to revive the classic flavors of the 1950s with our 1950s Dinner Party: Retro Recipes Revived! Discover the roots of timeless American dishes that evoke warm memories of childhood and bygone eras. From savory tuna noodle casseroles to golden-brown baked favorites, these recipes tell the story of a simpler time. You'll love how the rich, creamy goodness combines with tasty modern twists. Gather your loved ones, fire up the oven, and let the mouthwatering aromas transport you back in time. There's so much more to uncover about these beloved retro recipes!
Key Takeaways
- Retro recipes from the 1950s evoke nostalgic memories and a sense of community, providing a delightful backdrop for a dinner party.
- Tuna noodle casserole, a classic 1950s dish, combines timeless flavors and modern twists for a comforting and crowd-pleasing main course.
- Careful preparation of the casserole, from mixing the ingredients to baking until golden brown, ensures a visually appealing and flavorful dish.
- The aroma and presentation of the retro casserole contribute to the overall dining experience, creating lasting memories for guests.
- Serving hearty portions of the retro casserole and allowing it to stand before serving encourages conversation and connection among dinner party attendees.
Top picks for "1950 dinner party"
Open Amazon search results for this keyword.
As an affiliate, we earn on qualifying purchases.
History
Retro recipes have an intriguing history, tracing their roots back to the culinary traditions of past generations. You can just imagine grandmothers in the kitchen, stirring up comforting dishes that have been passed down through the years.
These timeless recipes reflect the flavors and techniques of bygone eras, when food was prepared with care and love.
From classic casseroles to old-fashioned desserts, each retro recipe tells a story. You might discover a beloved family dish that transports you back to childhood, or a forgotten gem that's just waiting to be rediscovered.
Uncovering these culinary treasures is like taking a delicious journey through history. With every bite, you can almost hear the laughter and conversation that once filled the dining room.
Recipe
Comfort food from the past often evokes nostalgic memories and a sense of warmth. One such classic dish that has stood the test of time is the humble casserole. Casseroles, with their layered flavors and ease of preparation, were a staple in many households during the mid-20th century.
This recipe for a timeless Tuna Noodle Casserole combines the rich, creamy goodness of a bygone era with modern twists to create a dish that's sure to please. Incorporating seasonal produce and spices can elevate this dish, much like a fermented vegetable plate that enhances nutritional value and flavors.
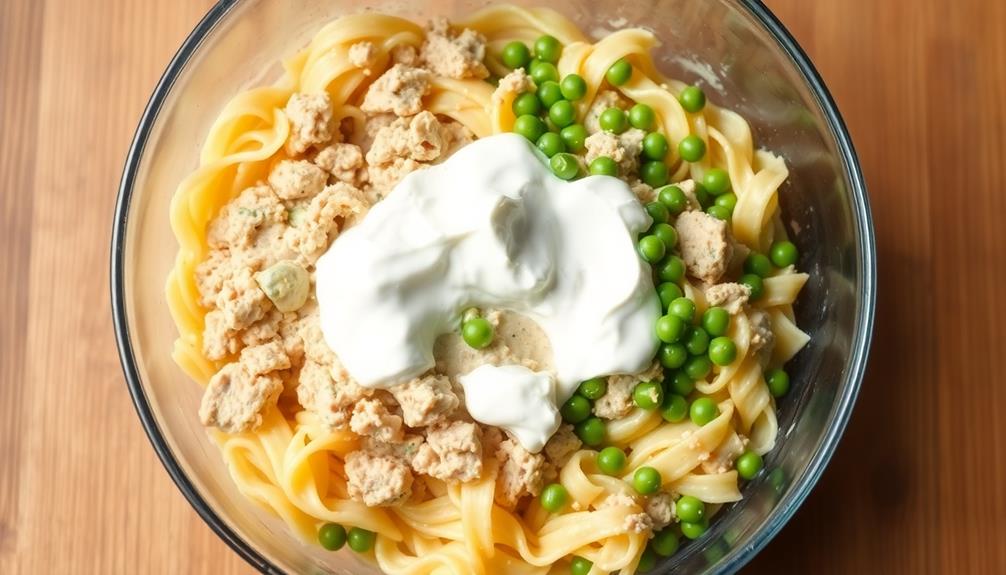
The combination of tender egg noodles, flaky tuna, and a velvety sauce made with condensed soup and sour cream provides a delightful balance of textures and flavors. The addition of peas and crunchy breadcrumb topping adds both color and texture, making this casserole a true crowd-pleaser.
- 12 ounces egg noodles
- 2 (5 ounce) cans tuna, drained
- 1 (10.75 ounce) can cream of mushroom soup
- 1 cup sour cream
- 1 cup frozen peas
- 1/2 cup grated cheddar cheese
- 1/2 cup panko breadcrumbs
- 2 tablespoons butter, melted
Preheat the oven to 375°F. Cook the egg noodles according to package instructions, drain, and set aside. In a large bowl, combine the tuna, cream of mushroom soup, sour cream, and frozen peas. Gently fold in the cooked noodles.
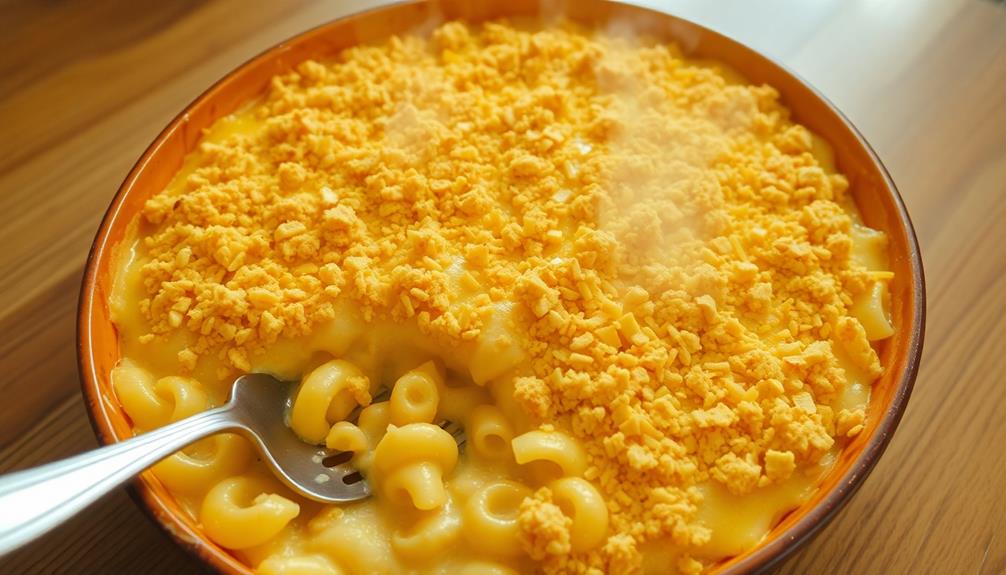
Transfer the mixture to a 9×13 inch baking dish. Top with the grated cheddar cheese and panko breadcrumbs. Drizzle the melted butter over the breadcrumbs. Bake for 25-30 minutes, or until the casserole is hot and the topping is golden brown.
For best results, use high-quality canned tuna and make sure to drain it well before adding to the casserole. For a crispy topping, broil the casserole for 2-3 minutes at the end of the baking time.
This classic Tuna Noodle Casserole is sure to bring back fond memories and satisfy your craving for a comforting, homemade meal.
Cooking Steps
Gather all the ingredients for your casserole dish.
It's important to budget your time effectively while preparing the meal, ensuring that you have enough time for each step of the cooking process.
Preheat the oven to the temperature specified in the recipe, then mix the ingredients thoroughly.
Once everything's combined, bake the casserole until it's golden brown, and don't forget to let it stand before serving.
This approach can help prevent financial mistakes to avoid that could arise from rushing through meal preparation.
Step 1. Gather Ingredients for Casserole
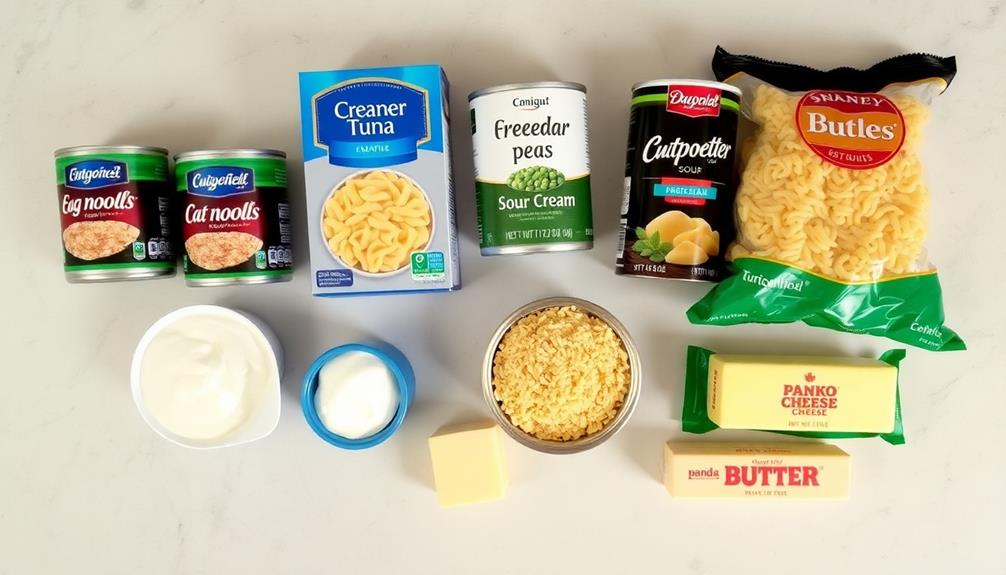
To begin, you'll need a few key ingredients to create a delightful casserole. First, grab a large baking dish – the bigger, the better! You'll be using it to layer all the tasty components.
Next, collect some hearty potatoes, fresh veggies like carrots and peas, and a pound of ground beef or turkey. For a unique twist, consider adding some Cacciucco-inspired seafood to elevate the flavors!
Don't forget the cheese – cheddar or mozzarella work great. Now, find your favorite seasonings, like salt, pepper, and garlic powder, to give the casserole a flavorful punch.
Finally, you'll need a couple of cans of cream of mushroom or chicken soup to hold it all together. With everything gathered, you're ready to start assembling your delicious retro-inspired casserole!
Just wait until you see the smiles on your family's faces when they take that first bite. It's sure to be a hit at your next dinner party.
Step 2. Preheat Oven to Specified Temperature
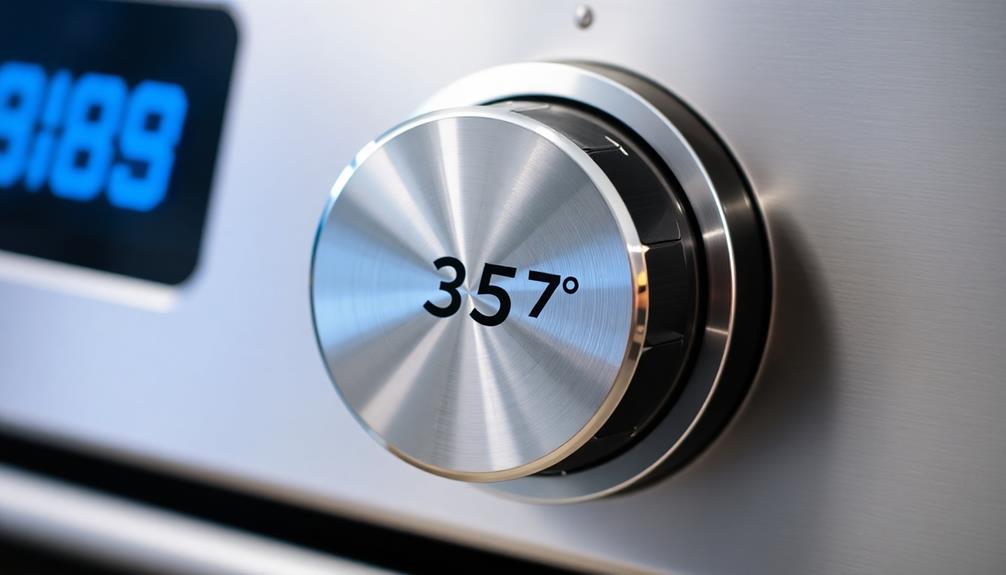
With all your ingredients ready, it's time to preheat the oven to the specified temperature. This is a crucial step that ensures your dish bakes perfectly.
Grab your oven mitts and head over to the oven. Locate the temperature knob or digital display and turn it to the required setting. You might see a number like 350°F or 175°C – this is the perfect heat level for your casserole.
As the oven begins to warm up, you'll hear it kick on and the internal light may turn on. That's a good sign! Keep an eye on the oven as it heats up, and once it reaches the right temperature, you're ready to pop your casserole inside.
The oven will work hard to maintain that cozy, even heat, so your dish can bake to perfection. With the oven preheated, you're one step closer to enjoying a delicious, homemade meal.
Get ready for the aroma to start wafting through the kitchen!
Step 3. Mix Ingredients Thoroughly
Now that the oven is preheated, let's dive into the next step – mixing the ingredients thoroughly. This is where the magic really starts to happen! Get ready to use those arm muscles and stir, stir, stir.
First, gather all your prepared ingredients in one place. This will make the mixing process a breeze. Grab a big bowl and start adding everything in, one by one. As you pour in the flour, sugar, and other dry goods, use a whisk to blend them together. Whisking creates tiny air pockets, which will help make your baked treat nice and fluffy.
Next, add the wet ingredients like eggs, milk, and melted butter. Use a sturdy spoon to mix everything until it's smooth and creamy. Don't be afraid to really put your back into it – you want to make sure all the flavors are evenly distributed throughout the batter.
Once it's all come together, you're ready for the next step. Get excited, because your delicious creation is really starting to take shape!
Step 4. Bake Casserole Until Golden Brown

Preheat your oven to the specified temperature. This is the most important step – you don't want to end up with a half-baked casserole!
Once your oven is nice and hot, grab the pan you prepared earlier and pop it right in. As it bakes, the delicious aromas will start to fill your kitchen.
You'll know it's ready when the top is golden brown and bubbly. Use oven mitts to carefully remove the casserole from the oven – don't want any burned fingers!
Let it cool for a few minutes before serving. The cheese should be melted and the edges nicely crisp. Scoop out big, hearty portions and enjoy your perfectly baked casserole.
It's the ideal comfort food on a chilly day. Your family and friends will be impressed by your culinary skills. Don't be shy – go back for seconds!
Step 5. Let the Casserole Stand
Once the casserole has come out of the oven, let it stand for 5-10 minutes. This resting time is super important – it allows the flavors to meld together and the textures to firm up.
You don't want to dig in right away, or you'll end up with a messy, runny casserole. As it stands, the cheese will get all gooey, the veggies will hold their shape, and the meat will be nice and tender.
Go ahead and set the table while you wait. Grab some napkins, forks, and maybe even a crisp green salad to serve on the side.
When the timer goes off, carefully remove the casserole from the baking dish. Mmm, can you smell that delicious aroma? The browned edges and golden top are a sign that it's ready to enjoy.
Scoop out big helpings and get ready for rave reviews from your family and friends. This retro recipe is sure to please everyone at your dinner party!
Final Thoughts
Ultimately, the allure of retro recipes lies in their ability to evoke nostalgia and simpler times. These classic dishes have the power to transport us back to our childhood, reminding us of the comforting flavors and cozy gatherings that were once so familiar.
Whether it's the creamy texture of a classic casserole or the buttery goodness of a timeless dessert, these retro recipes have a way of bringing people together and creating lasting memories.
As you gather with friends and family to enjoy these timeless culinary delights, you'll find yourself reminiscing about the past and savoring the present. The aromas wafting through the air, the satisfying crunch of a well-baked crust, and the warmth of a shared meal – these are the moments that make retro recipes so special.
Frequently Asked Questions
What Is the Significance of the Dinner Party Theme?
The dinner party theme evokes a sense of nostalgia, bringing back cherished memories and classic recipes. It's an opportunity to gather friends, celebrate traditions, and indulge in the timeless pleasures of good food and company.
How Can I Make the Recipes More Modern?
To modernize retro recipes, focus on using fresh, seasonal ingredients, incorporating global flavors, and lightening up preparation methods. Experiment with alternative cooking techniques like air-frying or instant-pot cooking to create healthier, more contemporary versions of classic dishes.
What Kind of Tableware Is Best for This Event?
To create a modern vibe for your event, consider sleek, minimalist tableware. Opt for clean-lined plates, stemless glassware, and simple cutlery. This contemporary aesthetic will balance the retro-inspired recipes and elevate the overall presentation.
Can I Substitute Ingredients for Dietary Restrictions?
You can absolutely substitute ingredients to accommodate dietary restrictions. Focus on finding suitable replacements that maintain the desired flavors and textures without compromising the overall dish. Get creative and consult recipe resources for guidance on making substitutions.
How Can I Make the Presentation More Visually Appealing?
You can make the presentation more visually appealing by using vibrant colors, creative plating, and garnishes. Arrange the food artfully on the plate, and consider adding fresh herbs, edible flowers, or a drizzle of sauce for a professional touch.