
Horiatiko Psomi, the traditional Greek country bread, will transport you to the heart of rural Greece with its simple yet flavorful recipe and time-honored baking techniques. For centuries, this artisanal loaf has been a staple in Greek villages, reflecting ancient culinary practices and the essence of Greek hospitality. Crafted with just 4 cups of flour, 1 tsp of salt, 1 tsp of yeast, 1.5 cups of warm water, and 1 tbsp of olive oil, it celebrates the beauty of locally sourced ingredients and communal baking. Kneaded by hand, left to rise slowly, and baked to perfection, Horiatiko Psomi's crunchy crust and soft, chewy interior will have you craving more. Let's explore the rich history and traditions behind this beloved Greek bread.
Key Takeaways
- Horiatiko Psomi is a traditional Greek bread that has been a staple in Greek villages for centuries, reflecting rural culinary practices and ancient baking techniques.
- It represents a connection to Greek cultural heritage, communal gatherings, and hospitality, symbolizing sharing and togetherness during family meals.
- The recipe is simple, using locally sourced ingredients like flour, salt, yeast, water, and olive oil, emphasizing the essence of Greek hospitality.
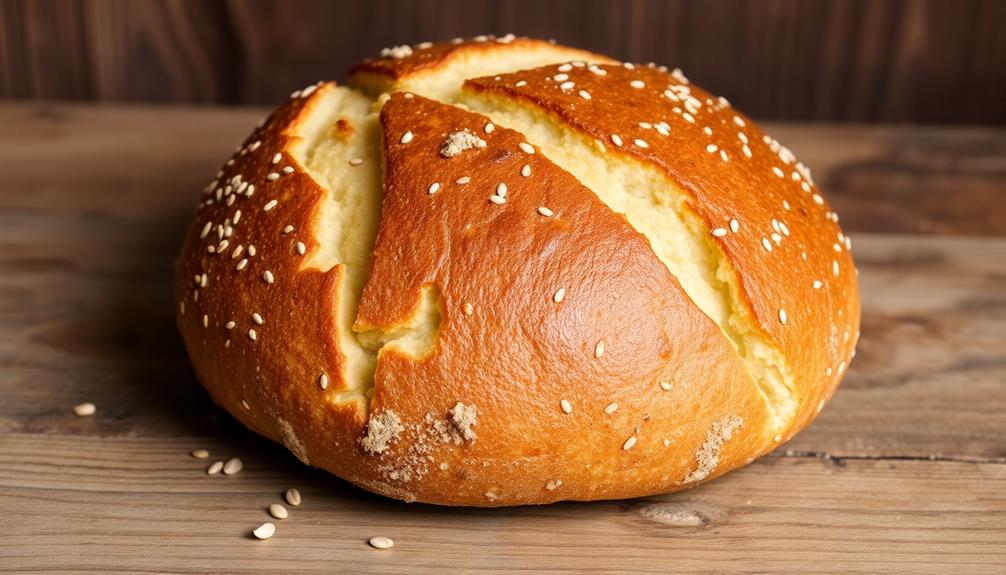
- The bread features a crunchy crust and a soft, chewy interior with irregular holes in the crumb, indicating excellent fermentation and contributing to its rich, earthy flavor.
- Baking Horiatiko Psomi in wood-fired ovens enhances its flavor and crust quality, reinforcing its artisanal nature and traditional baking methods.
Top picks for "horiatiko psomi country"
Open Amazon search results for this keyword.
As an affiliate, we earn on qualifying purchases.
History
Although the origins of Horiatiko Psomi aren't entirely clear, historical records indicate that this traditional Greek bread has been a staple in rural communities for centuries.
Passed down through generations, the recipe and techniques for making this hearty, crusty loaf have evolved over time, reflecting the resourcefulness and ingenuity of Greek farmers and bakers.
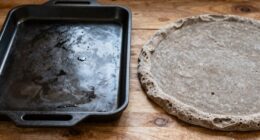
You can imagine the scent of freshly baked Horiatiko Psomi wafting through the quaint villages, as families gathered around the communal wood-fired ovens to share this nourishing sustenance.
The bread's simple yet satisfying flavors, made from just a few humble ingredients, became interwoven with the cultural fabric of Greece's countryside.
Today, the preservation of this artisanal tradition continues, as bakers honor the legacy of Horiatiko Psomi and ensure its place in the hearts and homes of Greek communities, both at home and abroad.
Recipe
Horiatiko Psomi, or traditional Greek village bread, is a staple in many Greek households. This rustic loaf is renowned for its crisp crust and chewy, flavorful crumb. The simplicity of the ingredients and the time-honored baking method make this bread a true representation of the country's rich culinary heritage.
The recipe for Horiatiko Psomi is a testament to the skill and patience of Greek bakers. The dough is kneaded by hand, allowing the gluten to develop and create the perfect texture. The long, slow rise ensures a depth of flavor that's simply unattainable with modern, hurried methods.
- 4 cups (500g) all-purpose flour
- 1 teaspoon salt
- 1 teaspoon active dry yeast
- 1 1/2 cups (350ml) warm water
- 1 tablespoon olive oil
Preheat the oven to 450°F (230°C). In a large bowl, combine the flour, salt, and yeast. Slowly add the warm water and olive oil, mixing until a shaggy dough forms.
Turn the dough out onto a lightly floured surface and knead for about 10 minutes, until the dough is smooth and elastic. Place the dough in a lightly oiled bowl, cover, and let rise for 1 hour, or until doubled in size.
Punch down the dough, shape it into a round loaf, and place it on a parchment-lined baking sheet. Let rise for an additional 30 minutes. Score the top of the loaf with a sharp knife, and bake for 30-35 minutes, or until the crust is a deep golden brown. Allow the bread to cool completely before slicing.
When baking Horiatiko Psomi, it's important to remember that the long, slow rise and gentle handling of the dough are key to achieving the perfect texture.
Be patient and resist the temptation to rush the process. The end result will be a truly authentic and delicious Greek village bread that will transport you to the heart of the country's culinary traditions.
Cooking Steps
Now, let's dive into the cooking steps!
First, you'll knead the dough for 10 minutes, getting those muscles working.
Then, let it rise for an hour – you'll be amazed how much it puffs up.
Finally, shape that dough into a lovely round loaf and pop it in the oven at 450°F for 35-40 minutes.
Can't wait to see that golden brown perfection!
Step 1. Knead Dough for 10 Minutes

Once you've combined all the ingredients, it's time to knead the dough for about 10 minutes. This step is crucial for developing the gluten structure and ensuring your bread has the perfect chewy texture. Roll up your sleeves and get ready to give that dough a good workout!
Start by placing the dough on a lightly floured surface. Using the heels of your hands, push the dough away from you, then fold it back towards you. Give it a quarter turn and repeat. Continue this kneading motion, applying firm, even pressure.
As you work, the dough will become smoother, more elastic, and start to develop a nice sheen. Don't be afraid to put some muscle into it – kneading for 10 minutes will really help strengthen the gluten strands and create that classic rustic crumb.
Once the dough passes the "windowpane test" (you can stretch a small piece thin enough to see through without it tearing), you'll know it's ready for the next step. Get ready to let it rise and transform into a beautiful loaf of homemade Horiatiko Psomi!
Step 2. Let Dough Rise for 1 Hour
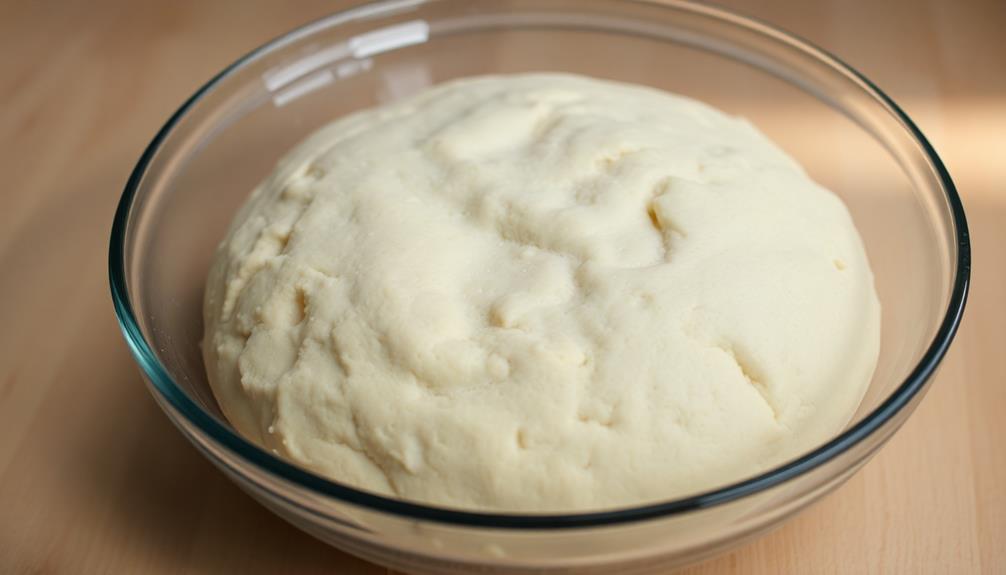
After kneading, let the dough rise for about an hour. This step is crucial, as it allows the yeast to work its magic and create those lovely air pockets that will give your bread its signature fluffy texture.
Find a warm, draft-free spot in your kitchen and place the dough in a lightly greased bowl, cover it with a damp towel, and let it do its thing.
As the dough rises, you'll notice it gradually expand and double in size. This is a good sign – it means the yeast is happily multiplying and producing carbon dioxide, which gets trapped in the dough and creates those air pockets.
Resist the temptation to peek too often, as opening the bowl can disrupt the rising process. After about an hour, the dough should be ready to move on to the next step.
Be patient and let the dough rise at its own pace. Rushing this step can result in a dense, heavy loaf, so take the time to let the yeast work its magic.
Your delicious, homemade bread will thank you for it!
Step 3. Shape Dough Into Round Loaf

With your risen dough, you'll want to shape it into a nice round loaf. Gently punch down the dough to release any air bubbles. On a lightly floured surface, use your hands to smooth and shape the dough into a ball. Tuck the edges under, creating a tight, uniform shape. Flip the dough over so the smooth, taut surface is on top.
Using both hands, cup the dough and rotate it in circular motions, applying light pressure to further round out the loaf. The goal is a nicely formed, evenly shaped ball of dough.
Once satisfied with the shape, place the dough seam-side down in a greased bread pan or on a parchment-lined baking sheet. Cover and let rise for 30 more minutes. This final rise will help the loaf hold its shape while baking. Soon, you'll have a beautifully rustic country loaf ready for the oven.
Step 4. Bake for 35-40 Minutes at 450°F

Preheat your oven to 450°F. This temperature is perfect for baking the Horiatiko Psomi to a lovely golden brown.
Once your oven is ready, carefully transfer the round dough loaf onto a baking sheet lined with parchment paper. This will prevent the bread from sticking and ensure an even bake.
Now, place the baking sheet in the preheated oven and set a timer for 35-40 minutes. As the bread bakes, your kitchen will fill with the mouthwatering aroma of freshly baked bread.
Keep an eye on it, as oven temperatures can vary. The bread is done when it's a deep, golden color and sounds hollow when you tap the top.
Using oven mitts, remove the baking sheet from the oven. The crust should be crisp and the interior light and airy.
Allow the loaf to cool for 10-15 minutes before slicing into it. This resting period helps the bread retain its structure.
Now, enjoy the fruits of your labor – a delicious, homemade Horiatiko Psomi!
Step 5. Allow Bread to Cool

Using oven mitts, remove the baking sheet from the oven. Set it on a wire rack or heat-safe surface.
The bread needs time to cool completely before you can slice into it. This process takes around 30 minutes.
As the bread cools, you'll notice the crust transforming. It'll turn crisp and golden, the signature look of a perfectly baked loaf.
Resist the temptation to dig in too soon – your patience will be rewarded! The interior crumb requires this cooling period to fully set. Cutting into a piping hot loaf can result in a gummy, dense texture.
Once the bread reaches room temperature, you can begin slicing. Use a serrated knife and saw gently through the crust.
Admire the airy, irregular holes throughout the crumb – this is a sign of excellent fermentation and baking. Serve the slices with your favorite toppings, or simply enjoy the pure flavor of this rustic country bread.
Final Thoughts
As you've now explored the history, ingredients, and preparation of the traditional Greek bread known as horiatiko psomi, it's clear that this time-honored recipe embodies the essence of Greek culinary culture.
The patient kneading, the rhythmic folding, and the wood-fired baking all come together to create a loaf that's not just sustenance, but a connection to your cultural heritage.
When you tear into that crunchy crust and savor the soft, chewy interior, you'll be transported to the villages of Greece, where generations have gathered around the table to share this beloved bread.
It's a reminder that the simple pleasures in life – the warmth of the oven, the aroma of yeast, the communal experience of breaking bread – are often the most profound.
As you continue your culinary journey, may the spirit of horiatiko psomi inspire you to slow down, savor the moment, and cherish the traditions that make your culture so rich and vibrant.
Frequently Asked Questions
What Is the Shelf Life of Horiatiko Psomi?
You can expect your freshly baked bread to have a shelf life of 3-5 days when stored properly. Proper storage, such as keeping it in a bread box or paper bag, will help extend its freshness.
Can Horiatiko Psomi Be Made With Gluten-Free Flour?
Yes, you can make gluten-free bread using alternative flours like rice, almond, or chickpea flour. However, the texture and flavor may differ from traditional wheat-based country bread. Experiment to find the right gluten-free flour blend that suits your dietary needs.
Is Horiatiko Psomi Suitable for Vegans?
Horiatiko psomi can be suitable for vegans, as it typically doesn't contain any animal-derived ingredients. However, you'll want to check the specific recipe to ensure it's entirely vegan-friendly, as some variations may include dairy or other non-vegan elements.
How Can I Store Leftover Horiatiko Psomi?
You can store leftover bread by wrapping it tightly in plastic or placing it in a paper bag. Keep it at room temperature or freeze it for longer storage. Avoid refrigerating, as it can make the bread stale faster.
Can I Substitute Any Ingredients in the Recipe?
You can definitely substitute some ingredients in a recipe, but it's important to understand how changes may affect the final product. Consider adjusting proportions carefully and test any substitutions before making significant alterations.