Baklava is a beloved Middle Eastern dessert that'll have you craving more with its delicate layers of flaky phyllo dough, crunchy nuts, and fragrant honey syrup. This centuries-old pastry originated in ancient Mesopotamia, evolving through various cultural influences. To make it, you'll carefully assemble the phyllo, butter, and nut filling, then bake until golden brown. The result is a heavenly blend of sweet, nutty, and flaky goodness. Serve this traditional treat warm or at room temperature, and discover why it's a cherished part of celebrations across the region. If you want to dive deeper into the art of baklava, just keep reading.
Key Takeaways
- Baklava is a rich, decadent Middle Eastern pastry made with layered phyllo dough and a sweet nut filling, often infused with fragrant syrup.
- Baklava has its origins in ancient Mesopotamia and has evolved through Greek and Turkish culinary traditions, representing hospitality and generosity in many cultures.
- The key ingredients in baklava include phyllo dough, unsalted butter, chopped nuts (such as walnuts or pistachios), cinnamon, and a sweet syrup made with honey, sugar, and lemon juice.
- Proper preparation and baking techniques, such as handling the phyllo dough carefully, layering the ingredients, and achieving the desired golden brown color, are crucial for achieving a successful and delicious baklava.
- Baklava is best enjoyed after allowing the flavors to meld, served warm or at room temperature, and pairs well with coffee or tea, making it a popular choice for gatherings and celebrations.
Top picks for "baklava"
Open Amazon search results for this keyword.
As an affiliate, we earn on qualifying purchases.
History
Baklava's origins can be traced back to ancient Mesopotamia, where the earliest known recipe for a layered pastry dates back to the 8th century BCE. Over centuries, this delectable treat evolved, with the Greeks and Turks further developing the recipe and techniques.
Today, baklava is a beloved dessert across the Middle East, Mediterranean, and beyond.
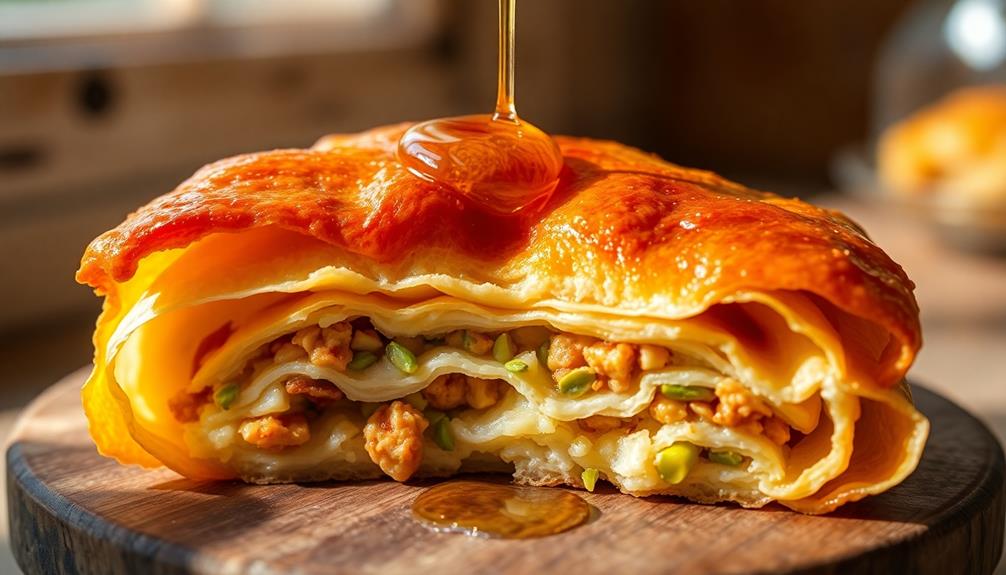
The process of making baklava is an art form. Thin, crisp phyllo dough is carefully layered with a sweet nut filling, typically walnuts or pistachios. Butter or oil is brushed between the layers, adding a rich, flaky texture.
Once baked to golden perfection, the baklava is drenched in a fragrant, sweet syrup, often infused with lemon or orange. The result is a decadent, multilayered pastry that melts in your mouth.
Whether served at special occasions or enjoyed as an everyday treat, baklava's timeless appeal continues to delight and inspire. Its history is a testament to the enduring power of delicious culinary traditions.
Recipe
Baklava is a rich and decadent pastry that originated in the Middle East. It's made with layers of flaky phyllo dough filled with a fragrant mixture of chopped nuts, butter, and a sweet syrup. This recipe will guide you through the process of creating this classic dessert.
Baklava is a labor of love, but the end result is well worth the effort. The combination of the crisp, buttery phyllo and the sweet, nutty filling creates a truly unique and indulgent treat.
Ingredients:
- 1 pound phyllo dough, thawed if frozen
- 1 cup unsalted butter, melted
- 4 cups chopped walnuts, pistachios, or a combination
- 1 teaspoon ground cinnamon
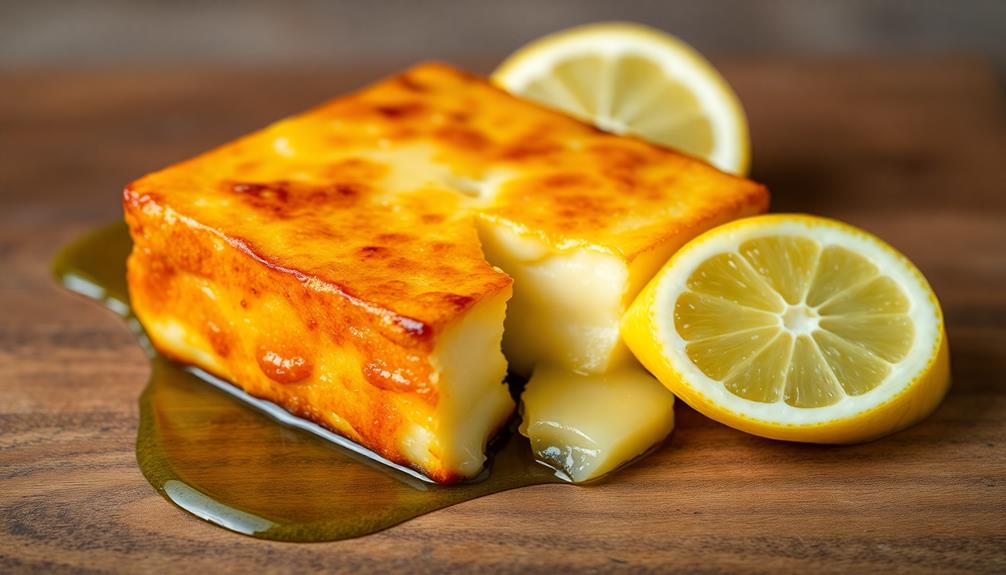
- 1 cup honey
- 1/2 cup granulated sugar
- 1/2 cup water
- 1 tablespoon lemon juice
Instructions:
Preheat your oven to 350°F (175°C). Grease a 9×13-inch baking dish. Unroll the phyllo dough and cover it with a damp towel to prevent it from drying out. Working with one sheet of phyllo at a time, brush it lightly with melted butter and place it in the prepared baking dish.
Repeat this process, using about 8-10 sheets of phyllo, until you have a layer that covers the bottom of the dish. Spread half of the chopped nuts over the phyllo layer, then sprinkle with half of the cinnamon. Top with another 8-10 sheets of buttered phyllo, then the remaining nuts and cinnamon. Finish with a final layer of 8-10 buttered phyllo sheets.
Using a sharp knife, score the top layer of phyllo into diamond or square shapes, cutting all the way through to the bottom of the dish. Bake for 35-40 minutes, or until the top is golden brown.
While the baklava is baking, prepare the syrup by combining the honey, sugar, water, and lemon juice in a saucepan. Bring to a boil, then reduce the heat and simmer for 10 minutes, stirring occasionally, until the syrup has thickened slightly.
As soon as the baklava comes out of the oven, immediately pour the hot syrup over the top. Allow the baklava to cool completely, then cut along the scored lines and serve.
Tips:
- Be sure to work quickly when assembling the phyllo layers, as the dough can dry out and become brittle if left exposed for too long.
- Chopping the nuts into a fine, uniform texture will help the filling distribute evenly throughout the baklava.
- Letting the baklava cool completely before cutting is essential to ensure clean, neat slices.
Cooking Steps
Preheat your oven to a toasty 350°F.
Gently brush those delicate layers of phyllo dough with melted butter, creating a rich, golden base.
Next, stack the phyllo and sprinkle fragrant chopped nuts between each layer, then drizzle it all with sweet, fragrant honey before popping it in the oven until it's a gorgeous golden brown.
Step 1. Preheat Oven to 350°F

Before you begin assembling your baklava, it's essential to preheat your oven to 350°F. This crucial step ensures your pastry bakes evenly and develops that delightful golden-brown hue.
Locate your oven's temperature dial and turn it until the display reads 350°F. Depending on your oven, this may take a few minutes. As it preheats, you can start preparing your other ingredients. Keep an eye on the oven, making sure the temperature reaches the desired setting.
Once it does, you're ready to begin layering the phyllo dough, nuts, and syrup. Proper oven temperature is key to achieving the perfect baklava texture – flaky layers of dough with a rich, gooey interior.
Step 2. Brush Phyllo Dough With Butter
With the oven preheated, it's time to start building the layers of your baklava. Grab your stack of phyllo dough and a pastry brush.
You'll want to work quickly, as phyllo can dry out easily. Start by brushing the bottom of your baking dish with a thin layer of melted butter. This will help the first layer of phyllo stick.
Now, gently place one sheet of phyllo in the dish and brush it lightly with butter. Repeat this process, layering sheet after sheet, brushing each one with butter.
Make sure to keep the unused phyllo covered with a damp towel to prevent it from drying out.
As you build up the layers, don't be afraid to let the phyllo hang over the edges of the dish. This extra dough will create those delightful, flaky, golden-brown edges we all love in a good baklava.
Keep layering and brushing until you've used up all the phyllo. Now you're ready for the next step – pouring on that delicious syrup!
Step 3. Layer Phyllo Dough and Nuts

After brushing the bottom of the baking dish, begin layering the phyllo dough. Take one sheet of the delicate, paper-thin phyllo and gently lay it in the pan, smoothing it out to cover the surface.
Brush the top lightly with melted butter, then add another sheet, repeating this process until you've used half the package.
Now it's time for the nutty filling! Sprinkle a generous layer of the chopped nuts over the phyllo. Use a mixture of walnuts, pistachios, and almonds for a delightful crunch.
Add another layer of phyllo on top, brushing with butter, then repeat the nut layer. Continue alternating phyllo and nuts until you reach the top of the pan, finishing with a final layer of phyllo.
This careful layering creates the distinctive, flaky texture of authentic baklava. The interplay of buttery pastry and fragrant, toasted nuts is simply divine.
Get ready for your kitchen to be filled with the heavenly aroma of this classic Mediterranean dessert!
Step 4. Drizzle Honey Over Nut Layers

Next, drizzle a generous amount of honey over the top layer of nuts. The golden, gooey honey will soak into the crevices, creating a delectable sweetness that complements the nutty flavors.
Use a spoon or drizzle bottle to evenly distribute the honey, making sure each bite has that irresistible honey-kissed taste. As the honey flows across the layers, it will begin to seep down, infusing the entire pastry with its luscious goodness.
Resist the temptation to lick the spoon – you'll want to save every last drop for the baklava. The honey's fragrant aroma will fill your kitchen, drawing in your family and friends, eager to indulge in this decadent Middle Eastern treat.
Take a moment to admire the glistening, golden surface before cutting into the soft, flaky layers. With each bite, you'll savor the harmonious blend of honey, nuts, and buttery phyllo dough – a true taste of Mediterranean delight.
Step 5. Bake Until Golden Brown

Preheat your oven to 350°F (175°C). Once the oven is ready, carefully place the layered baklava into it.
Bake the pastry for 45 to 55 minutes, or until it's golden brown and crisp on top. The aroma of the baking baklava will fill your kitchen, making your mouth water in anticipation.
Keep a close eye on the baklava as it bakes, rotating the pan halfway through to ensure even browning. The delicate phyllo dough should turn a beautiful honey-colored hue, with the nuts and butter creating a delightful crunch.
When the timer goes off, use oven mitts to remove the pan from the heat. Allow the baklava to cool for at least 30 minutes before cutting into individual pieces. This gives the layers time to set, making the baklava easier to slice cleanly.
Soon, you'll be able to enjoy the rich, flaky pastry you've created.
Final Thoughts
Baklava is a delightful pastry that has captivated palates worldwide. As you've now mastered the art of baking this incredible dessert, take a moment to savor your accomplishment. The flaky layers, the sweet honey, and the crunchy nuts – each bite is a symphony of flavors that dance on your tongue.
Whether you share your baklava with family and friends or indulge in it all by yourself, this pastry is sure to bring a smile to your face. It's a testament to the power of patience and attention to detail, two qualities that have served you well throughout this baking journey.
As you tuck into your freshly baked baklava, feel a sense of pride and satisfaction. You've conquered a culinary challenge and created a treat that will be remembered long after the last crumb is savored.
Baklava isn't just a dessert – it's a celebration of your skills, your dedication, and your love for the art of baking.
Frequently Asked Questions
What Is the Origin of Baklava's Name?
The origin of the name "baklava" is a bit murky, but most sources suggest it likely comes from the Turkish words "baklava" or "bükleme," which refer to the layered pastry's folded or rolled appearance.
How Long Can Baklava Be Stored?
Properly stored, it can last up to a week at room temperature or two weeks in the fridge. But don't let it sit too long – baklava's best when freshly made and enjoyed.
Can Baklava Be Made With Other Nuts?
You can certainly make baklava with other nuts besides the traditional walnuts or pistachios. Almonds, pecans, and hazelnuts all work well in this flaky, layered pastry. Get creative and experiment with different nut combinations.
Is Baklava a Vegan-Friendly Dessert?
Typically, baklava isn't vegan-friendly as it contains butter and honey. However, you can make a vegan version by substituting the dairy with plant-based alternatives and using agave or maple syrup instead of honey.
What Are the Cultural Variations of Baklava?
Cultural variations of baklava are numerous, as this delectable pastry has been adapted across the Middle East, Mediterranean, and Balkans. You'll find myriad interpretations, from nut fillings to syrup types, reflecting the diverse culinary traditions of the regions.