Marble cake is a classic French dessert that mixes yummy chocolate and fluffy vanilla flavors, creating a delightful treat. Originating in the 19th century, this cake has beautiful swirls that make it look as good as it tastes! To bake it, you start by preheating your oven, then blend cocoa with vanilla batter. You'll layer and swirl the batters together in a pan to create that fun marbled effect. After baking and cooling, it's ready to enjoy! This cake is perfect for celebrations, and you'll discover loads of tips and tricks to make it even better!
Key Takeaways
- Marble cake originated in the 19th century, combining chocolate and vanilla for a delightful and visually appealing treat.
- This classic French dessert is popular for celebrations and casual gatherings, showcasing bakers' creativity.
- The recipe features basic ingredients like flour, sugar, butter, and cocoa powder, with optional flavor variations.
- Baking involves swirling batters, ensuring distinct patterns and flavors, and requires careful temperature control for optimal results.
- Marble cake can be served plain or decorated, making it perfect for sharing at special occasions or enjoying with beverages.
Top picks for "marble cake classic"
Open Amazon search results for this keyword.
As an affiliate, we earn on qualifying purchases.
History
Marble cake has a rich history that dates back to the 19th century, showcasing the creativity of bakers who wanted to combine different flavors in one dessert.
Imagine being in a cozy kitchen, where bakers mixed chocolate and vanilla batters, swirling them together to create a beautiful pattern. This cake really took off in Europe, especially in Germany, where it became a popular treat at celebrations and family gatherings.
As time went on, marble cake spread to other parts of the world, becoming a favorite in many households. You might be surprised to learn that the name "marble" comes from the way the two colors blend together, resembling the beautiful veining in marble stone. Isn't that cool?
In America, marble cake became a hit in the early 20th century, often found at birthdays and holidays. People loved how it offered the best of both worlds—chocolate and vanilla—in every slice!
Today, you can find many variations, with bakers adding their unique twists. Whether it's a classic recipe or a new creation, marble cake connects us through its delightful history.
Cooking Steps
To kick off your marble cake creation, preheat your oven to 350°F (175°C) and prepare your baking pan by greasing it thoroughly. This step is super important because it helps your cake slide out easily later on!
Next, gather your ingredients: flour, sugar, butter, eggs, and some cocoa powder for the chocolatey swirl.
In a large bowl, cream together the butter and sugar until it's light and fluffy. Then, add your eggs one by one, mixing well after each addition. Slowly stir in the flour until everything's just combined.
Now, divide the batter into two bowls—one will be plain, and the other gets the cocoa powder mixed in.
Here comes the fun part! Take scoops of each batter and drop them into your prepared pan, alternating between the two. Use a knife to gently swirl them together, creating that beautiful marble effect.
Bake your cake for about 50-60 minutes or until a toothpick comes out clean. Once it's done, let it cool before you slice it up. Enjoy your delicious marble cake with friends and family!
Step 1. Preheat Oven to 350°F
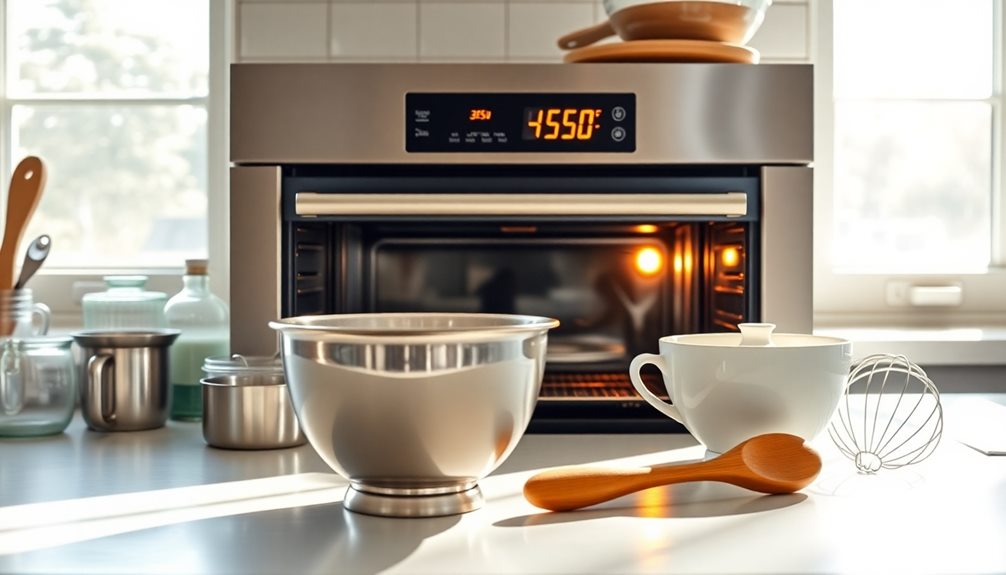
Before diving into the delicious world of marble cake, it's crucial to get your oven ready. Preheating your oven to 350°F is the first step in creating that perfect, tender cake. So, go ahead and turn the oven dial or press the buttons until you reach that magical number.
While the oven heats up, you can gather all your ingredients. This is a great time to measure out your flour, sugar, eggs, and butter, making sure you have everything you need.
Once your oven reaches 350°F, it's time to pop your cake in. Preheating is super important because it helps the cake rise evenly, giving it that delightful, fluffy texture everyone loves.
You'll want to wait a few minutes for it to fully preheat, which builds anticipation for the baking ahead. Use this time wisely—maybe sneak a taste of the batter or clean up a bit!
Once the oven's ready, you'll be one step closer to enjoying your scrumptious Gâteau Marbré. Remember, a properly preheated oven is key to a successful marble cake, so don't skip this step! Happy baking!
Step 2. Blend Cocoa and Batter
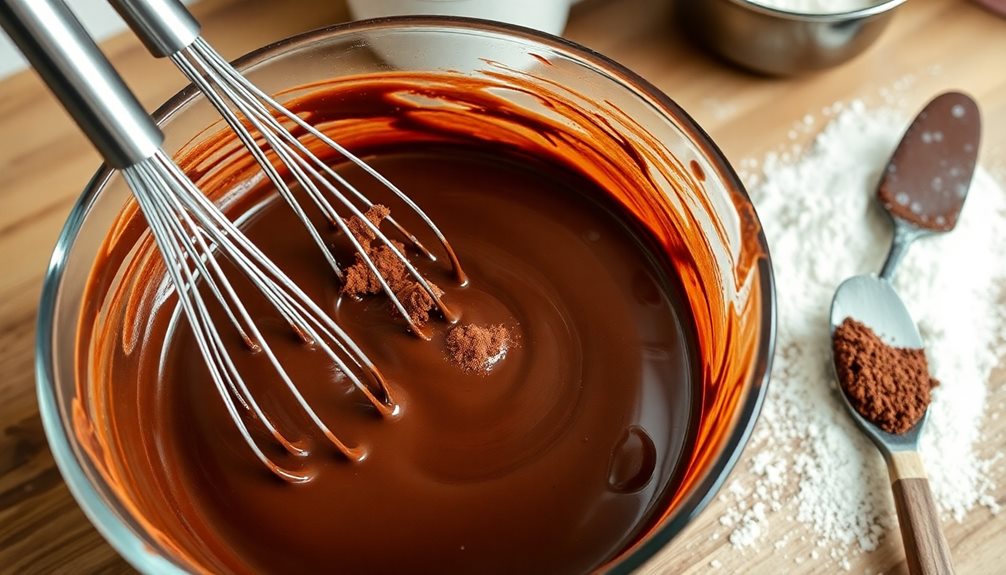
With your oven preheated and the aroma of anticipation in the air, it's time to blend the cocoa into the batter.
First, take a small bowl and scoop out about a cup of the golden batter you've already prepared. This is where the magic happens! Add a few tablespoons of unsweetened cocoa powder to the bowl. Don't worry; you'll make it deliciously chocolatey!
Now, using a whisk or a spatula, mix the cocoa into the batter until it's smooth and well combined. You want it to be rich and chocolatey, almost like a soft cloud. If you find any lumps, just keep stirring gently; you can do it!
Once your cocoa batter is ready, it's time to bring it together with the rest of your cake batter. You'll have two delicious flavors: the sweet vanilla and the deep cocoa. This is what makes your marble cake so special!
Take a moment to admire your beautiful chocolate batter before moving on to the next step. This is where the fun begins, and you'll be one step closer to enjoying your homemade Gâteau Marbré!
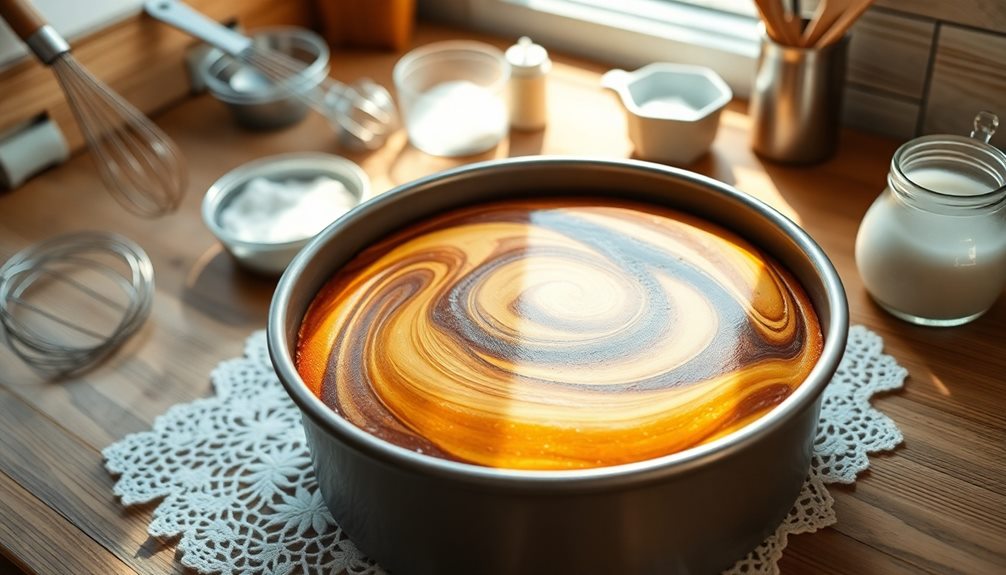
Step 3. Swirl Batters in the Pan

Now that you have your two batters ready, it's time to create that stunning marble effect in the pan.
Grab a spoon or a spatula, and let's get swirling! Start by spooning about half of the vanilla batter into the center of your greased loaf pan. Don't spread it out; just let it sit there and be fluffy.
Next, take your chocolate batter and spoon it right on top of the vanilla. Again, don't worry about spreading it.
Now comes the fun part! With a clean knife or a skewer, gently swirl through the batters. Move the knife in a figure-eight motion, just enough to mix them slightly but not too much. You want to see those beautiful swirls!
Make sure you don't overdo it, or you'll lose that marble effect. You should still be able to see distinct swirls of chocolate and vanilla.
Once you're happy with how it looks, it's all set to go into the oven. Congratulations! You're one step closer to baking a delicious marble cake that'll impress everyone.
Step 4. Bake for 45 Minutes
After swirling those batters to perfection, it's time to bake your masterpiece. Preheat your oven to 350°F (175°C) if you haven't already.
Carefully place your marble cake in the center of the oven, ensuring it's on a rack to allow for even heat circulation. Set a timer for 45 minutes and get ready for the delightful aromas that'll soon fill your kitchen!
As the cake bakes, resist the urge to peek too often. Opening the oven door can let out heat, and that might mess with your cake's rise. Instead, let it work its magic.
You'll want to know when it's done, so after about 40 minutes, it's a good idea to check. Insert a toothpick into the center; if it comes out clean or with just a few crumbs, your cake is ready!
Once it's finished baking, carefully take it out of the oven. Remember, the pan will be hot!
Let the cake sit for a moment, and admire your creation. You've done a fantastic job, and now you're just a few steps away from enjoying a slice of this delicious marble cake!
Step 5. Cool Before Serving
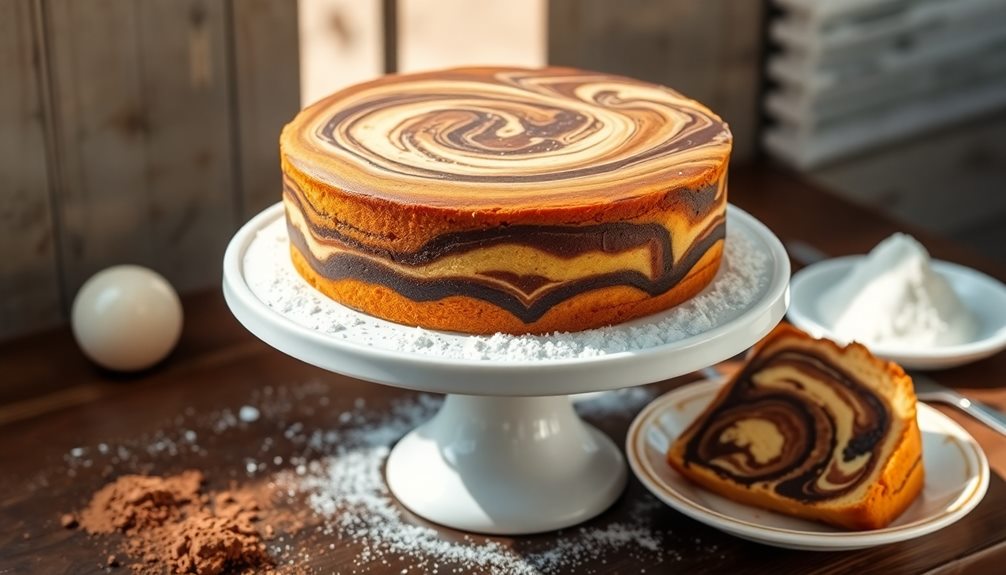
Let your marble cake cool down before you dive into slicing it. This step is super important! When you take the cake out of the oven, it'll be hot and fluffy, just like a cloud. If you cut it too soon, it might crumble or fall apart.
So, place your cake on a wire rack to cool. This lets air circulate around it, which helps it cool evenly.
Wait about 15 to 20 minutes. You'll know it's ready when the edges pull away from the pan a little bit. If you're feeling extra patient, you can let it cool completely!
Once it's cool, you can gently flip it out of the pan. You might want to run a knife around the edges first.
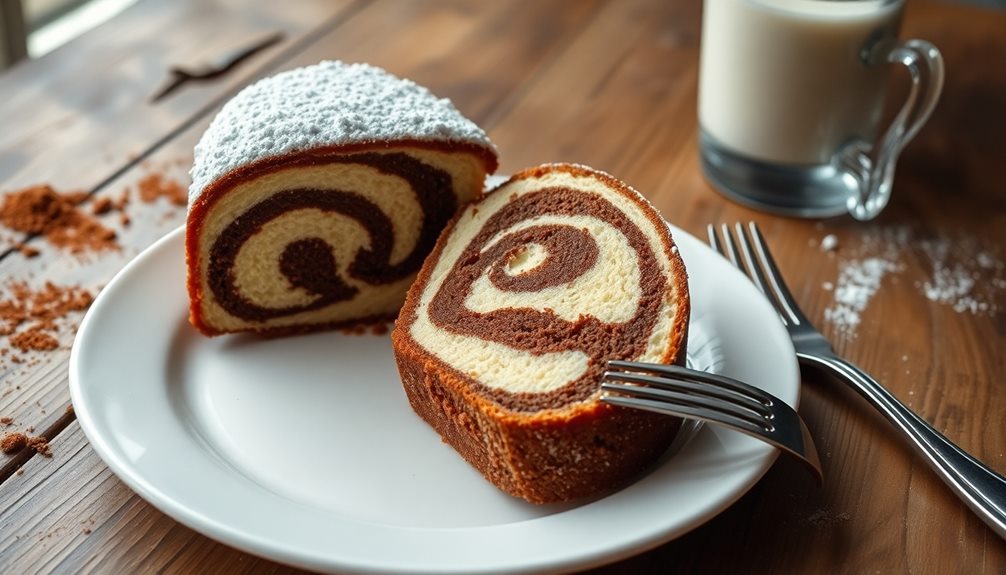
After that, the fun part begins! You can sprinkle powdered sugar on top or even drizzle some chocolate glaze. It's all about making it look as delicious as it tastes!
Final Thoughts
Creating a marble cake is a delightful journey that combines art and science in the kitchen. When you mix the rich chocolate batter with the fluffy vanilla batter, you create beautiful swirls that make each slice a surprise!
Baking isn't just about following a recipe; it's about having fun and getting creative. You might even think about adding a sprinkle of nuts or a dash of cinnamon to make it your own.
As you enjoy your slice of gâteâu marbré, remember it's more than just a cake. It's a chance to share joy with family and friends. This cake can brighten up birthdays, holidays, or even just a simple afternoon snack.
So, don't be afraid to experiment! Each time you bake, you'll learn something new, and who knows, you might even invent your own special twist on this classic treat.
In the end, whether it's the first time you're baking or you're a seasoned pro, the most important part is to enjoy the process.
Frequently Asked Questions
Can I Substitute Dairy in the Gâteau Marbré Recipe?
Yes, you can substitute dairy in the recipe. Try using almond milk, coconut milk, or oat milk instead of regular milk. For butter, opt for vegan butter or coconut oil to maintain the texture and flavor.
How Should I Store Leftover Gâteau Marbré?
To store leftover cake, wrap it tightly in plastic wrap or place it in an airtight container. Keep it at room temperature for a couple of days or refrigerate for longer freshness. Enjoy your delicious treat later!
What Type of Flour Is Best for This Cake?
For a rich, tender cake, you should use all-purpose flour. It strikes the perfect balance between structure and softness, ensuring your cake rises nicely while maintaining that delicious, moist texture everyone loves.
Can I Freeze Gâteau Marbré for Later Use?
Yes, you can freeze it for later use! Just wrap it tightly in plastic wrap and then foil, ensuring no air's getting in. When you're ready, let it thaw at room temperature. Enjoy!
What Variations Can I Try for Different Flavors?
You can try adding almond extract for a nutty flavor, or swirl in fruit purees like raspberry or mango for a fruity twist. Experimenting with spices like cinnamon or cardamom also adds unique depth to your creation.