Understanding the fundamental principles of heat transfer – conduction, convection, and radiation – is essential for elevating your culinary skills. Mastering how heat moves through your cookware and food allows you to precisely control cooking temperatures, textures, and flavors. From searing a steak to baking a cake, the right heat transfer method ensures your dishes turn out perfect every time. Whether you're a home cook or a professional chef, continuous practice and learning about heat dynamics will lead to consistently high-quality results in the kitchen. Curious to take your cooking to the next level? Let's dive deeper into this science behind great cuisine.
Key Takeaways
Key Points:
- Fundamental heat transfer mechanisms (conduction, convection, radiation) significantly impact cooking outcomes, including texture, flavor, and consistency.
- Mastering heat transfer enables precise cooking control and consistently high-quality dishes.
- Historical evolution of cooking techniques, from campfires to modern appliances, has highlighted the importance of understanding heat dynamics.
- Applying appropriate heat transfer methods (e.g., sautéing, simmering, baking) can enhance food palatability and digestibility.
- Continuous practice and learning about heat transfer principles can lead to improved culinary skills and creativity in the kitchen.
Top picks for "heat transfer cook"
Open Amazon search results for this keyword.
As an affiliate, we earn on qualifying purchases.
History
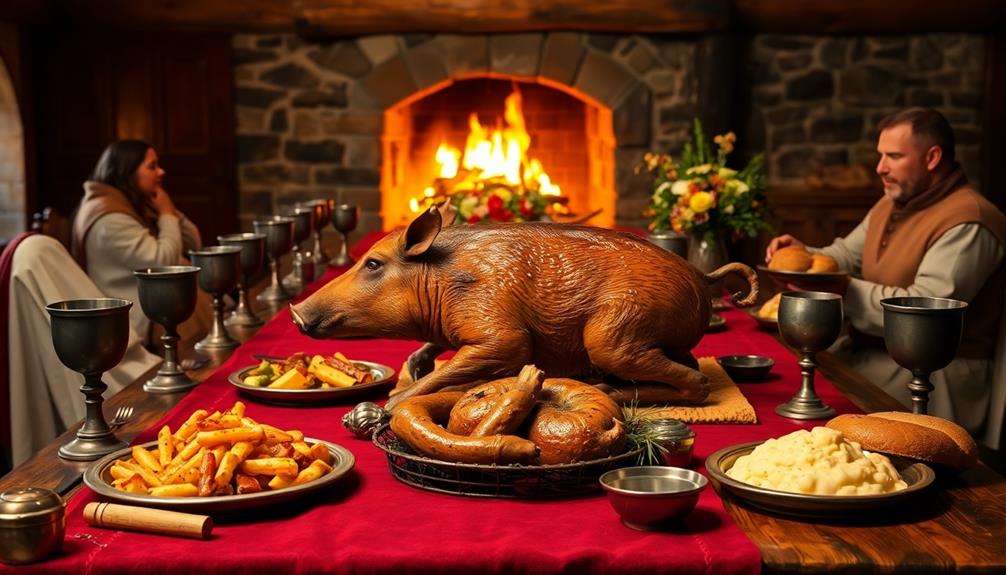
Heat transfer has been essential to the art of cooking since the dawn of human civilization. Early humans discovered the transformative power of fire, using it to cook their food and make it more palatable and digestible. As they experimented with different methods of heat application, they began to understand the fundamental principles of heat transfer – conduction, convection, and radiation.
Over time, cooking techniques evolved, from primitive campfires to sophisticated stoves and ovens. The introduction of metal cookware allowed for more efficient heat conduction, while the development of chimneys and ventilation systems facilitated better heat circulation.
Culinary innovations, such as the spit roast and the Dutch oven, demonstrated the importance of understanding heat transfer in achieving desired cooking results.
Today, the science of heat transfer continues to inform modern cooking practices, with chefs and food scientists exploring new ways to manipulate temperature, airflow, and heat sources to create unique and delectable dishes.
The history of heat transfer in cooking is a testament to human ingenuity and the pursuit of culinary excellence.
Recipe
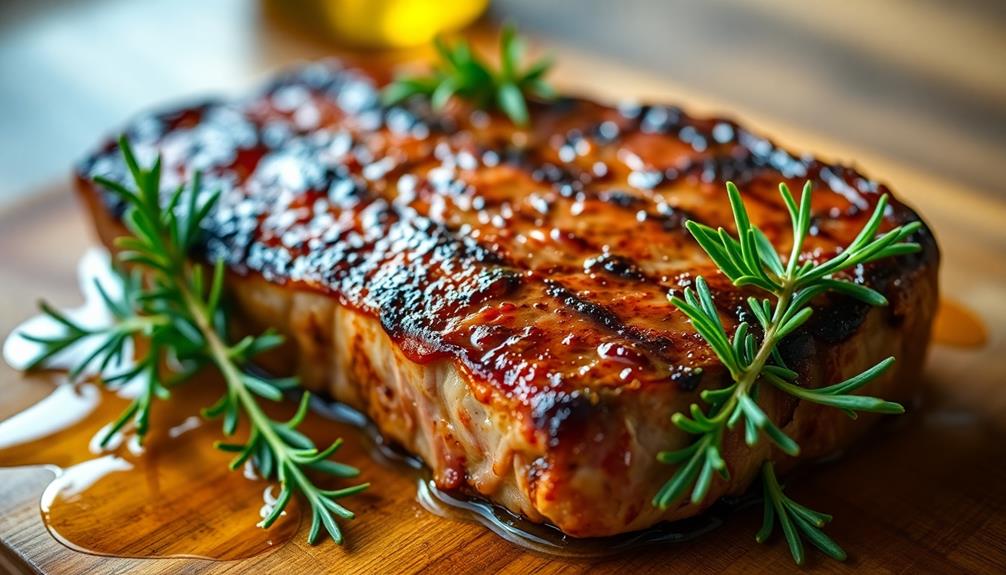
Cooking is a delicate balance of art and science, where the interplay of heat, ingredients, and technique can transform simple foods into culinary masterpieces. This recipe for a classic dish exemplifies the principles of heat transfer, ensuring your creation is both flavorful and perfectly cooked. Modern cooking techniques often benefit from advancements in noise reduction technology, making the kitchen a more pleasant environment for culinary experiments.
At the heart of this recipe lies the fundamental process of heat conduction. As the heat source, be it a stovetop or oven, interacts with the cookware, it transfers energy to the food, gradually raising its temperature and initiating a series of chemical reactions that lend depth and complexity to the dish.
Ingredients:
- 1 lb chicken breasts, boneless and skinless
- 2 tablespoons olive oil
- 1 onion, diced
- 3 cloves garlic, minced
- 1 cup diced tomatoes
- 1 cup chicken broth
- 1 teaspoon dried thyme
- Salt and pepper to taste
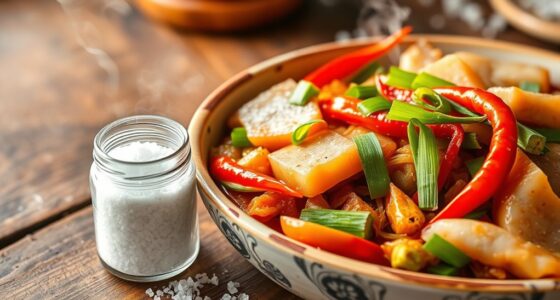
In a large skillet, heat the olive oil over medium-high heat. Add the diced onion and sauté until translucent, approximately 5 minutes. Add the minced garlic and continue cooking for an additional minute, until fragrant.
Carefully place the chicken breasts in the skillet and sear both sides until golden brown, about 3-4 minutes per side. Pour in the diced tomatoes, chicken broth, and dried thyme. Reduce heat to low, cover the skillet, and simmer for 20-25 minutes, or until the chicken is cooked through and tender.
When cooking this dish, be mindful of the temperature and duration of the heat application. Proper temperature control is crucial for achieving the desired level of heat transfer, ensuring the chicken is cooked evenly and the flavors are fully developed.
Additionally, allowing the dish to simmer gently allows the liquid ingredients to meld together, creating a harmonious blend of tastes and textures.
Cooking Steps
Preheat your oven to 375°F.
When cooking, it's essential to understand how heat transfer methods—like conduction, convection, and radiation—affect your food.
Place the seasoned chicken in a pan and bake it for 30 minutes. Proper placement of the pan can enhance air circulation, similar to how regular cleaning of air purifiers maintains their effectiveness.
After that, remove the foil and baste the chicken every 10 minutes.
Step 1. Preheat Oven to 375°F

Crank up the oven to a toasty 375°F to get it preheated and ready for your culinary endeavors. This temperature is perfect for many baked goods, from flaky pastries to crispy pizza crusts.
As the oven heats up, the air inside becomes hotter, and this hot air will circulate and surround your food, cooking it evenly.
Once the oven reaches the desired temperature, the thermostat will work to maintain this heat, ensuring your dish bakes at the perfect temperature.
Be sure to give the oven enough time to fully preheat, usually around 15-20 minutes, before sliding in your creation. This allows the oven walls and racks to get hot, creating an ideal environment for your food to cook to perfection.
With the oven preheated, you can confidently place your dish inside, knowing it'll bake up beautifully.
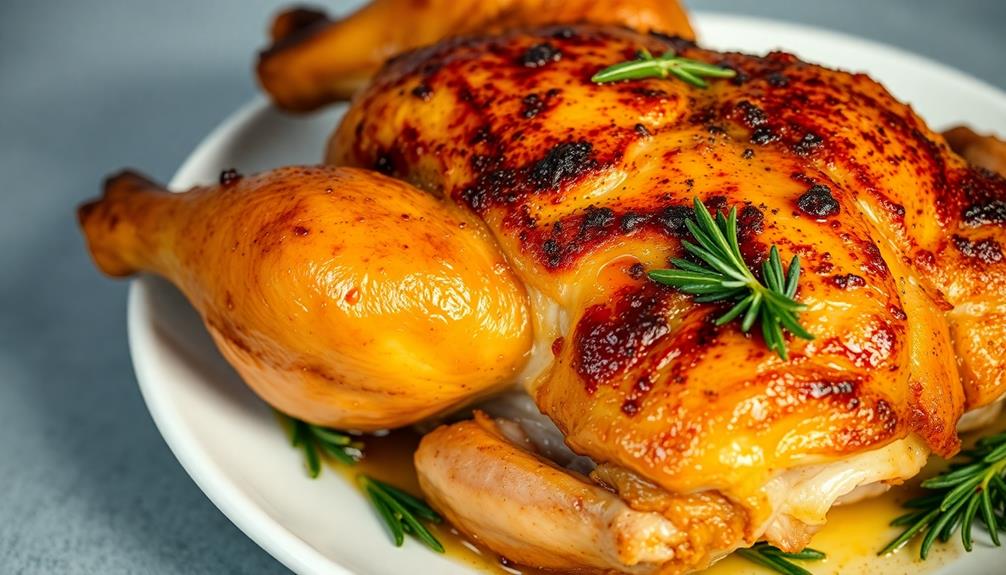
Step 2. Place Seasoned Chicken in Pan

With the oven preheated, you can now season the chicken and place it in the pan. Start by patting the chicken dry with paper towels, then generously season it with your desired spices, herbs, or rubs. Be sure to season both the skin and the cavity of the chicken for maximum flavor.
For an even more flavorful dish, consider adding herbs like rosemary or thyme, which can enhance the overall taste and aroma of the chicken, similar to how HEPA filtration effectively captures allergens for a healthier environment.
Next, place the seasoned chicken in a lightly oiled oven-safe pan or baking dish. Arrange the chicken so it sits evenly in the pan, ensuring the skin side faces up. If you're cooking multiple pieces, space them out to allow for even cooking.
Once the chicken is in the pan, you can add any additional ingredients, such as sliced vegetables or lemon wedges, around the chicken.
Carefully transfer the pan to the preheated oven, making sure not to spill or jostle the contents. Set a timer and let the chicken roast until it reaches the desired internal temperature and the skin is crispy and golden brown.
Step 3. Bake for 30 Minutes

Once the chicken is in the pan, bake it for 30 minutes. This time in the oven allows the chicken to cook thoroughly and develop a golden-brown exterior.
The oven temperature should be set to 375°F (190°C), which is the optimal temperature for baking chicken. As the chicken bakes, the heat will transfer through the pan and into the meat, cooking it from the outside in.
Conduction, the transfer of heat through direct contact, will occur between the pan and the chicken. Convection, the movement of hot air around the chicken, will also play a role in the even cooking.
During this 30-minute bake time, periodically baste the chicken with any juices that accumulate in the pan. This will help keep the meat moist and flavorful.
Keep a close eye on the chicken to ensure it doesn't overcook. Use a meat thermometer to check that the internal temperature reaches 165°F (74°C), indicating the chicken is fully cooked and safe to eat.
Step 4. Remove Foil

After the chicken has baked for 30 minutes, it's time to remove the foil. This step allows the food to brown and the skin to crisp up.
Carefully take the dish out of the oven, and use oven mitts to remove the foil. Be cautious, as the steam that escapes can burn your skin.
Once the foil is off, return the dish to the oven and continue baking until the chicken is cooked through and the skin is golden brown. This typically takes an additional 15-20 minutes, but the exact time will depend on the size and thickness of the chicken pieces.
Keep a close eye on the chicken, and use a meat thermometer to ensure it reaches a safe internal temperature of 165°F.
Removing the foil allows for more efficient heat transfer through radiation and convection, resulting in a crispier and more evenly cooked final product.
Step 5. Baste Chicken Every 10 Minutes

During the remaining baking time, baste the chicken every 10 minutes. This helps keep the meat moist and flavorful.
Use a basting brush to gently brush the chicken with the juices from the bottom of the roasting pan. Be careful not to remove the chicken from the oven for too long, as this can affect the overall cooking time and temperature.
The basting process helps distribute the flavors and ensures the chicken cooks evenly. It also helps create a beautiful, golden-brown skin.
As the chicken bakes, the juices will accumulate in the pan, providing the perfect base for basting. Repeat this process every 10 minutes until the chicken is fully cooked and reaches the desired internal temperature.
Basting is a simple yet effective technique that enhances the overall quality and taste of your roasted chicken.
Final Thoughts
Understanding the fundamental principles of heat transfer in cooking is crucial for anyone seeking to elevate their culinary skills. As you've learned, conduction, convection, and radiation all play vital roles in how heat is distributed and absorbed by food.
By mastering these concepts, you’ll gain the ability to precisely control the cooking process, ensuring your dishes turn out exactly as you envision. Additionally, understanding these concepts will also allow you to explore more advanced cooking methods, such as sous vide cooking techniques. With this knowledge, you can experiment with different temperatures and cooking times to achieve unique textures and flavors in your dishes. Ultimately, mastering these techniques will elevate your culinary skills and take your cooking to the next level.
Whether you're searing a steak, baking a cake, or roasting vegetables, applying the right heat transfer techniques will allow you to unlock the full potential of your ingredients.
Remember, heat transfer is a dynamic process, so you'll need to constantly adjust your approach to account for changes in temperature, moisture, and other variables.
With practice and experimentation, you'll develop an intuitive understanding of how heat behaves in the kitchen, empowering you to create masterful culinary creations time and time again.
Frequently Asked Questions
What Is the Role of Heat Transfer in Food Safety?
Heat transfer is crucial for food safety as it helps ensure thorough cooking, which kills harmful bacteria and pathogens. Proper heat application can prevent foodborne illnesses, making heat transfer a vital component in maintaining food safety.
How Can Heat Transfer Principles Be Applied to Baking Techniques?
You can apply heat transfer principles to baking techniques by using conduction to evenly cook the interior of baked goods, convection to circulate hot air, and radiation to brown and crisp the exterior.
What Are the Effects of Different Cooking Surfaces on Heat Transfer?
The cooking surface you choose impacts heat transfer. Metal pans conduct heat quickly, while glass and ceramic retain it well. Nonstick surfaces minimize friction, aiding even cooking. Consider the food and desired results when selecting your cookware.
How Does Heat Transfer Impact the Nutritional Value of Cooked Foods?
The way you cook your food can impact its nutritional value. Prolonged high-heat cooking or overcooking can reduce the vitamins, minerals, and other beneficial compounds in your meal. Pay attention to cooking times and methods to preserve nutrition.
Can Heat Transfer Be Controlled to Achieve Specific Cooking Outcomes?
Absolutely! You can control heat transfer to achieve specific cooking outcomes. By understanding the modes of heat transfer – conduction, convection, and radiation – you can adjust your cooking techniques to get the desired results.