
Baking homemade sourdough bread allows you to create a delectable loaf with unparalleled taste and texture. You'll have complete control over the ingredients, ensuring no preservatives or additives. Plus, sourdough contains beneficial bacteria that aid digestion. The process may seem intimidating, but with the right techniques, you can master it. Start by building a robust sourdough starter, then carefully knead the dough, proof it, and bake to perfection. While there's a learning curve, each loaf is an opportunity to refine your skills. Let's dive deeper into the world of homemade sourdough and discover the secrets to baking a truly exceptional loaf.
Key Takeaways
- Sourdough bread has a long history, dating back to ancient Egyptians, and has gained popularity worldwide for its unique tangy flavor and health benefits.
- Homemade sourdough bread offers superior taste, texture, and control over ingredients compared to store-bought options, fostering a sense of accomplishment.
- Successful sourdough baking requires a robust starter, proper hydration levels, and careful attention to the multi-step fermentation and proofing process.
- Common challenges in sourdough baking include inconsistent rise, over or underproofing, and managing environmental factors, but can be overcome through practice and understanding of the techniques.
- Essential tools for sourdough baking include a kitchen scale, baking stone or Dutch oven, bench scraper, proofing basket, and instant-read thermometer.
Top picks for "homemade sourdough bread"
Open Amazon search results for this keyword.
As an affiliate, we earn on qualifying purchases.
History
Sourdough bread has a rich history that dates back thousands of years. Ancient Egyptians were among the first to cultivate wild yeasts, creating the precursor to modern sourdough.
These early bakers would save a portion of their dough from one day to the next, allowing it to ferment and develop its distinctive tangy flavor. Over time, this practice spread across the Mediterranean and eventually to Europe, where sourdough became a staple food.
In the 19th century, sourdough bread gained popularity in the American West, particularly during the California Gold Rush. Miners and pioneers relied on this hardy, long-lasting bread to sustain them in remote areas.
Today, the legacy of sourdough lives on, with home bakers and artisanal bakeries around the world continuing to perfect the art of crafting this timeless and delicious loaf.
Recipe
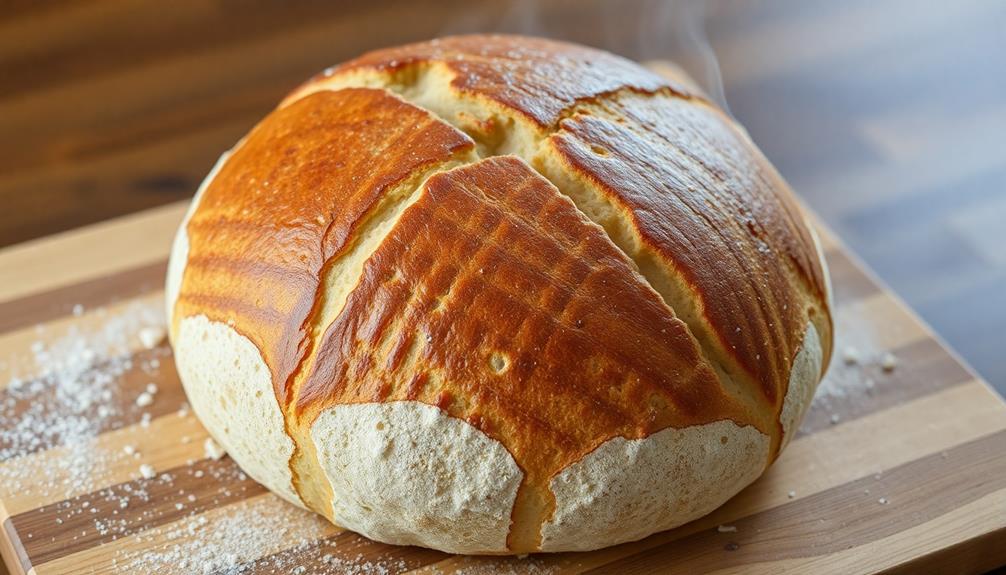
Sourdough bread is a delightful and rewarding homemade treat that can elevate any meal. The unique tangy flavor and chewy texture of sourdough come from the natural fermentation of the dough, which is made possible by a sourdough starter. This living culture of wild yeast and bacteria lends the bread its distinctive character and depth of flavor.
Crafting your own sourdough at home allows you to control the ingredients and process, resulting in a truly artisanal loaf. The process may take a bit of time and patience, but the end result is well worth the effort.
Ingredients:
- 500g bread flour
- 300g water
- 100g sourdough starter
- 10g salt
Instructions:
In a large mixing bowl, combine the bread flour, water, sourdough starter, and salt. Mix until a shaggy dough forms.
Turn the dough out onto a lightly floured surface and knead for about 10 minutes, until the dough becomes smooth and elastic. Place the dough in a lightly oiled bowl, cover, and let rise for 8-12 hours at room temperature, or until doubled in size.
Punch down the dough to release air bubbles, then shape it into a round loaf. Place the shaped dough in a parchment-lined Dutch oven or on a baking sheet. Cover and let rise for another 1-2 hours.
Preheat the oven to 450°F (230°C). Score the top of the dough with a sharp knife or lame, and bake for 20 minutes with the lid on the Dutch oven (or cover the loaf with foil if baking on a sheet).
Remove the lid or foil and continue baking for an additional 20-25 minutes, until the crust is deep golden brown.
To achieve the best results, be patient and allow the dough to rise fully before baking. Maintain the right balance of hydration and fermentation, and you'll be rewarded with a delicious, homemade sourdough loaf.
Cooking Steps
First, you'll need to feed your sourdough starter to get it nice and bubbly.
Then, knead the dough vigorously for several minutes to develop the gluten.
After that, let the dough proof for a few hours so it can rise and get nice and fluffy.
Step 1. Feed the Sourdough Starter
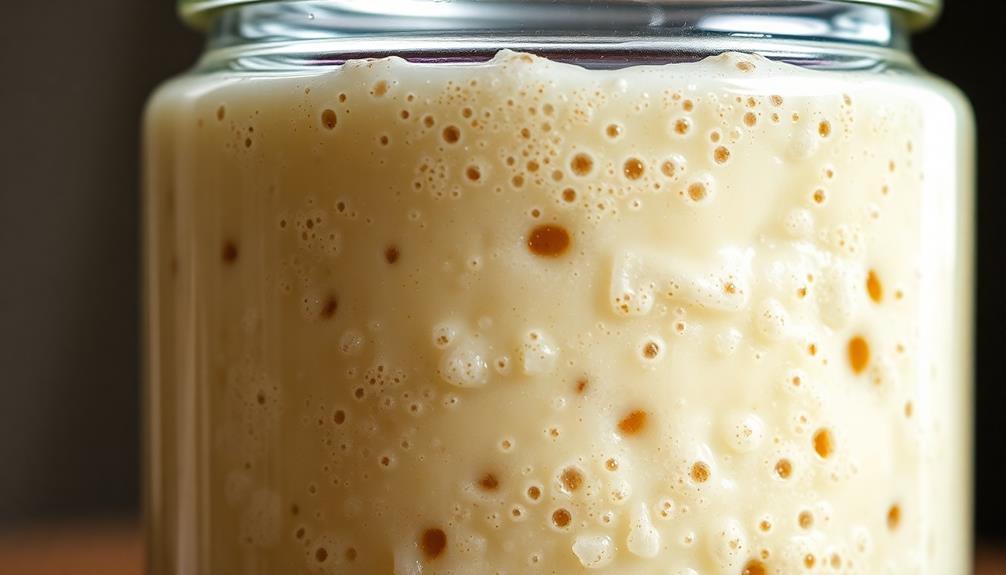
Once your sourdough starter has doubled in size, it's time to feed it. This process nourishes the yeast and bacteria, keeping your starter healthy and active.
First, discard about half of the starter, leaving you with the remaining portion. Then, add an equal amount of flour and water to what you kept. For example, if you'd 1 cup of starter, you'd discard 1/2 cup and add 1/2 cup each of flour and water.
Stir the mixture well until it's fully incorporated. Cover the container and let it sit at room temperature for 8-12 hours. During this time, the yeast will consume the new food, causing the starter to rise and double in size again.
Once it's ready, you can use the starter for your sourdough bread recipe. Remember to repeat this feeding process regularly to keep your sourdough starter strong and ready to use.
With a little care, your starter will provide you with delicious homemade bread for years to come.
Step 2. Knead the Dough Vigorously
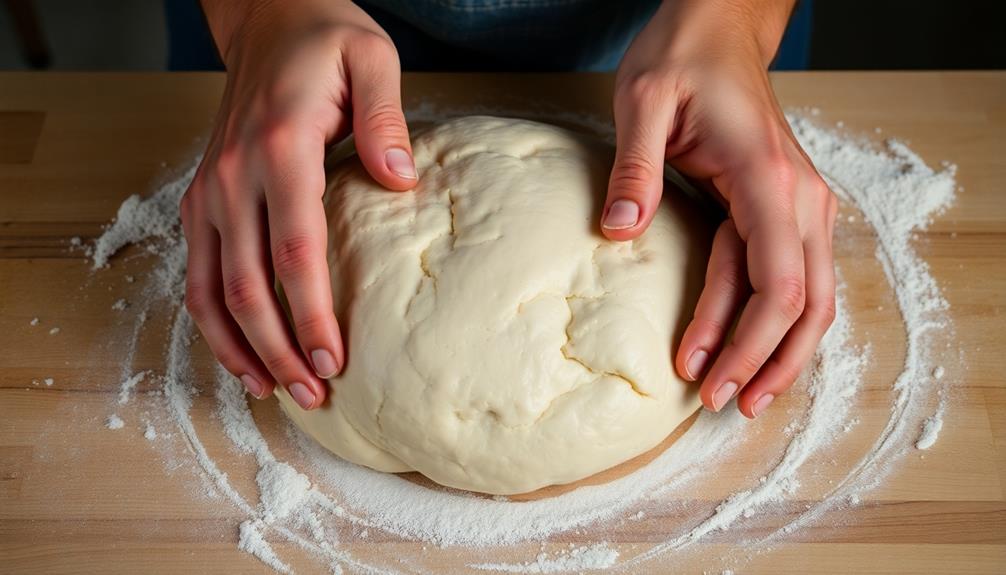
With your sourdough starter ready to go, it's time to get your hands dirty and knead the dough. This step is crucial for developing the gluten structure that'll give your bread its beautiful, chewy texture.
Lightly flour a clean surface, then turn out the dough and begin kneading. Use the heel of your hand to push the dough away from you, then fold it back toward you. Repeat this motion, rotating the dough a quarter turn after each push and fold. You'll feel the dough becoming smoother and more elastic as you knead.
Knead vigorously for about 10 minutes, until the dough passes the "windowpane test" – you can gently stretch a small piece of dough thin enough to see light through it without it tearing.
Once the dough is properly kneaded, shape it into a ball, place it in a lightly oiled bowl, cover, and let it rise.
Step 3. Proof the Dough for Several Hours
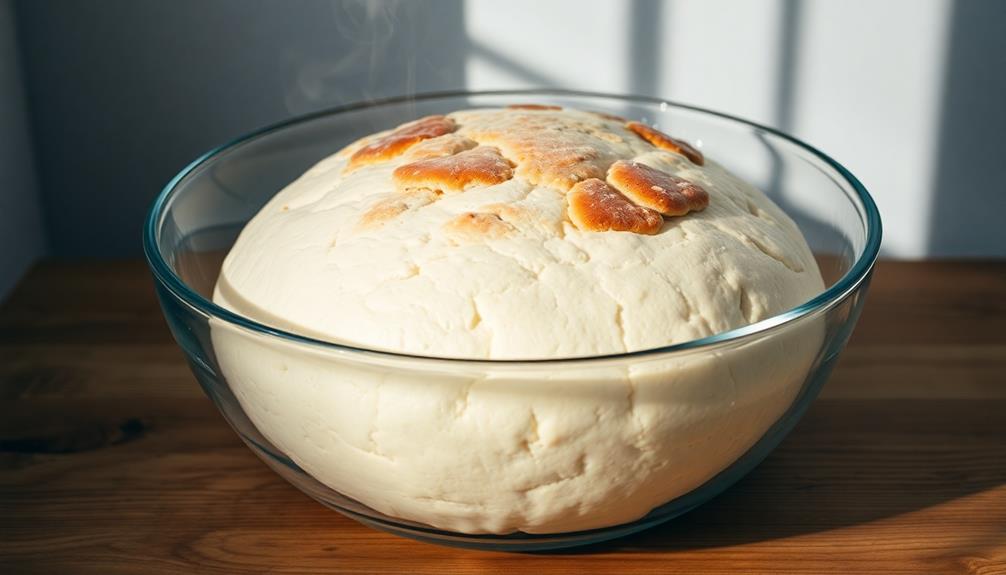
Having kneaded the dough to develop its gluten structure, you'll now need to let it proof, or rise, for several hours. After the dough has proofed and doubled in size, you can punch it down and shape it into loaves or rolls before letting it rise again. This second rise will give the bread a lighter texture and improve its flavor. Once the dough has completed its second rise, it will be ready to bake. If you’re looking for a delicious accompaniment to your freshly baked bread, consider trying out our roasted bone marrow recipe for a rich and flavorful spread.
This proofing stage is crucial for allowing the yeast to produce carbon dioxide, which will create the signature airy texture of your sourdough loaf.
Find a warm, draft-free spot in your kitchen and place the dough in a lightly oiled bowl, covered with a damp towel or plastic wrap.
Depending on the temperature, the dough may need 2-4 hours to double in size.
Keep an eye on it, gently pressing the dough to check its progress.
Once it's nicely puffed up, you're ready for the next step.
Carefully punch down the dough to release any large air pockets, then shape it into your desired loaf form.
This second proofing period will take another 1-2 hours, so be patient as the yeast works its magic.
Soon, your homemade sourdough will be ready for the oven, filling your kitchen with that irresistible aroma.
Step 4. Shape the Dough Into Loaf
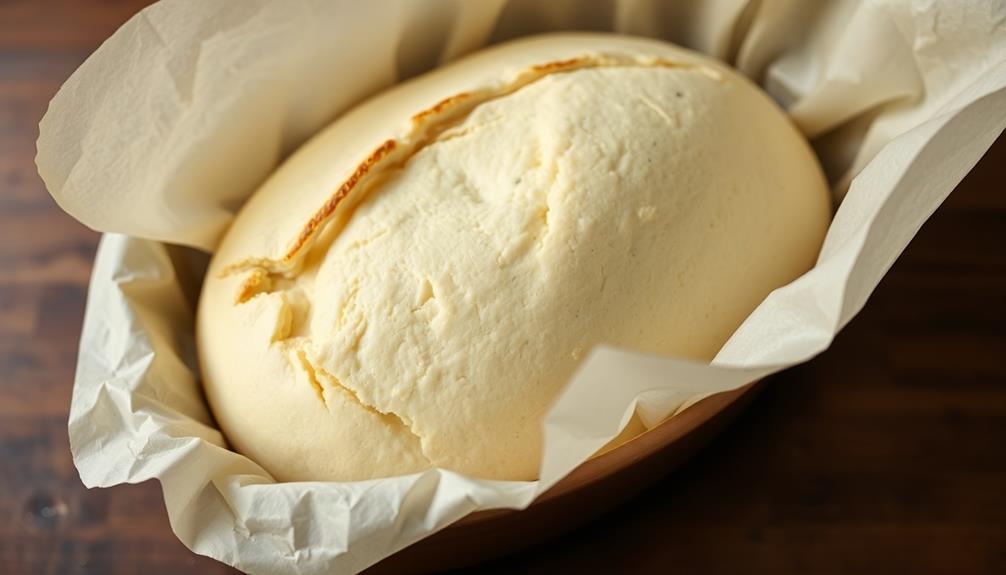
After allowing the dough to proof and rise, you'll now shape it into your desired loaf form. Gently punch down the dough to release any air bubbles.
Lightly flour your work surface and hands. Take the dough and shape it into a tight ball by tucking the edges underneath. For a classic loaf shape, use your hands to gently stretch and tuck the dough into an oblong form, being careful not to deflate it too much.
Place the shaped loaf, seam-side down, into a greased bread pan or onto a parchment-lined baking sheet. Cover the dough and let it rise for another 30-60 minutes. This final proof will help the bread develop its signature crust and crumb texture.
Once the dough has puffed up significantly, it's ready to bake. Remember to preheat your oven beforehand. Baking the loaf at a high temperature, around 450°F, will give you that perfectly golden, crusty exterior.
Step 5. Bake the Loaf in Oven
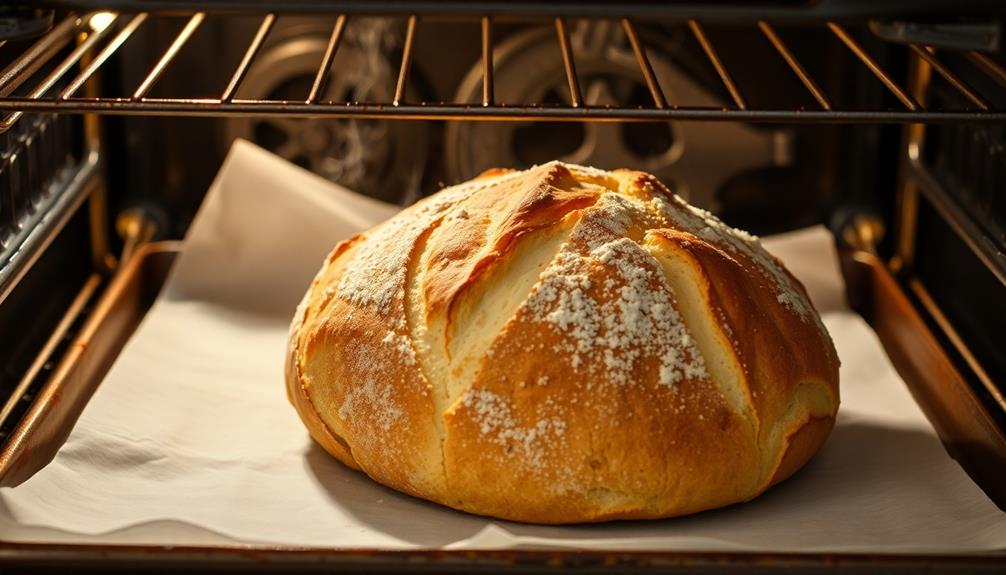
Once the dough has risen and been shaped, it's time to bake your homemade sourdough loaf. Preheat your oven to 450°F (230°C) and place a cast-iron Dutch oven or heavy baking dish with a lid inside. You want the oven and pan to get nice and hot before adding the dough.
Carefully remove the hot pan from the oven and place the dough inside. Be cautious, as the pan will be extremely hot. Cover the pan with the lid and return it to the oven. Bake for 20 minutes, then remove the lid. This will allow the crust to brown and get nice and crispy.
Bake for an additional 15-20 minutes, or until the loaf is a deep golden brown.
Once the bread is done, use oven mitts to carefully remove the pan from the oven. Let the loaf cool in the pan for 5 minutes before transferring it to a wire rack. This will help the crust set and prevent it from becoming soggy. Slice and enjoy your freshly baked homemade sourdough bread!
Final Thoughts
Ultimately, baking homemade sourdough bread is a rewarding experience that allows you to create a delicious, high-quality loaf from scratch.
While the process may seem daunting at first, the sense of accomplishment you'll feel when slicing into your freshly baked bread is truly unmatched. Plus, you'll have the satisfaction of knowing exactly what went into your meal, without any preservatives or additives.
As you continue on your sourdough journey, don't be discouraged by any missteps along the way. Baking is an art, and it takes practice to perfect your technique.
But with each loaf, you'll gain more confidence and develop a better understanding of how your starter, dough, and oven work together. Before long, you'll be whipping up bakery-worthy sourdough with ease.
Frequently Asked Questions
How Often Should I Feed My Sourdough Starter?
You should feed your sourdough starter regularly, typically once or twice a day, to keep it active and healthy. The exact frequency will depend on factors like temperature and usage, so be attentive to your starter's needs.
Can I Use All-Purpose Flour Instead of Bread Flour?
You can definitely use all-purpose flour instead of bread flour. All-purpose flour will work well, but bread flour may produce a slightly chewier texture. Experiment to see which one you prefer for your recipe.
How Do I Store My Sourdough Bread After Baking?
To store your sourdough bread after baking, you can wrap it in a clean, dry towel or paper bag and keep it at room temperature for up to 3 days. Avoid refrigerating it, as this can make the crust tough.
Can I Make Sourdough Bread Without a Dutch Oven?
You can certainly make sourdough bread without a Dutch oven. You'll need to adjust your baking method, but it's definitely possible to get great results using other oven-safe baking vessels or even a simple baking sheet.
What Should I Do if My Dough Doesn't Rise Properly?
If your dough doesn't rise properly, try proofing it for a longer period, adjusting the temperature, or adding more yeast. You can also try kneading it more thoroughly or using a different type of flour.