Crafting freshly churned ice cream at home is a rewarding process filled with creative possibilities. You'll start by combining high-quality ingredients like cream, milk, sugar, and vanilla, then let the flavors meld before churning the mixture. Mastering the churning technique is key – monitor it closely to prevent over-mixing. Once the ice cream reaches the perfect texture, simply transfer it to a container and freeze until ready to serve. Top it off with all sorts of delights, from chocolate sauce to fresh berries. Homemade ice cream lets you explore endless flavor combinations – and you'll discover the joy of making your own signature creations.
Key Takeaways
- Homemade ice cream requires high-quality ingredients, including heavy cream, whole milk, sugar, and vanilla extract, for optimal flavor and texture.
- The ice cream-making process involves chilling the base, churning it in an ice cream maker, and freezing it to the desired consistency.
- Customizing the base recipe with seasonal fruits, unique flavor enhancements, and a variety of toppings can create personalized, delicious ice cream creations.
- Mastering the churning process is essential for achieving the perfect ice cream texture, and regular stirring during freezing helps prevent ice crystals.
- Homemade ice cream offers the joy of creating a beloved treat, allowing for endless flavor exploration and the development of signature creations.

CASABREWS CM5418 Compact Espresso Machine with Milk Frothing Steam Wand
- Make Espresso at Home: Prepare your favorite espresso-based drinks
- Stylish Stainless Steel Design: Durable and fits any kitchen decor
- 20 Bar Professional Pressure: Ensures rich, aromatic extraction
As an affiliate, we earn on qualifying purchases.
History
The origins of ice cream can be traced back to ancient civilizations, where chilled desserts made from snow, ice, and flavored syrups were enjoyed by the elite.
These early versions of ice cream were labor-intensive, requiring the constant collection and packing of snow or ice to create a frozen treat. Over time, the process became more refined, with the introduction of hand-cranked churns and the use of salt to lower the freezing point of the mixture.
In the 17th century, ice cream began to gain popularity in Europe, particularly among the aristocracy. The recipes became more sophisticated, incorporating ingredients like cream, eggs, and sugar.
By the 18th century, ice cream had made its way to the American colonies, where it quickly became a beloved dessert.
Today, ice cream remains a cherished treat, enjoyed by people of all ages and backgrounds around the world.
Recipe
Homemade ice cream is a delightful treat that can be enjoyed year-round. The process of churning fresh cream and milk into a creamy, frozen delight is both satisfying and rewarding. While it may seem like a complex task, making ice cream at home is surprisingly simple and allows you to customize the flavors to your liking.
For an exciting twist, consider incorporating seasonal fruits or even a fermented vegetable plate as a unique flavor enhancement. Additionally, experimenting with different cooking techniques such as grilling, roasting, or slow cooking can bring out the natural flavors of the ingredients. For example, a slowcooked pork recipe can be elevated with the addition of a homemade apple chutney or a tangy mango salsa. The combination of seasonal fruits and fermented vegetables can add layers of complexity to any dish, making it a standout addition to any menu.
Indulging in a scoop of freshly churned ice cream is a true pleasure. The rich, velvety texture and bold flavors will transport you to a world of culinary bliss. Whether you prefer classic vanilla or experiment with unique combinations, the joy of creating your own ice cream at home is unparalleled.
- 2 cups heavy cream
- 1 cup whole milk
- 3/4 cup granulated sugar
- 1 teaspoon vanilla extract
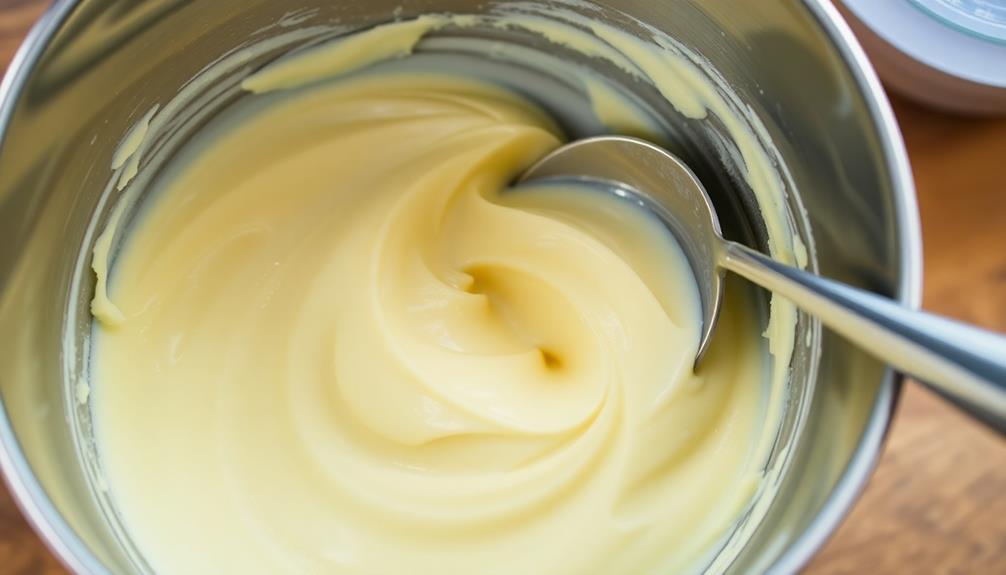
In a large bowl, combine the heavy cream, whole milk, and granulated sugar. Whisk the mixture until the sugar has fully dissolved. Stir in the vanilla extract.
Pour the mixture into an ice cream maker and churn according to the manufacturer's instructions, typically 20-30 minutes. Once the ice cream has reached your desired consistency, transfer it to a freezer-safe container and freeze for at least 2 hours before serving.
When making homemade ice cream, it's important to use high-quality, fresh ingredients for the best results. Additionally, be sure to chill the ice cream maker's bowl thoroughly before churning to ensure the proper freezing temperature.
With a little patience and a whole lot of deliciousness, you'll be enjoying your own freshly churned ice cream in no time.
Cooking Steps
Alright, let's get started!
First, make sure you've gathered all the necessary ingredients and equipment.
Next, combine and chill the ingredients to ensure a delightfully creamy texture.
Step 1. Gather Ingredients and Equipment

To make delicious homemade ice cream, you'll need a few key ingredients and equipment. First, you'll need heavy cream and whole milk. The cream provides the rich, creamy texture, while the milk adds sweetness and helps prevent ice crystals from forming.
You'll also need sugar to sweeten the ice cream, and vanilla extract for flavor.
In terms of equipment, an ice cream maker is essential. This device churns the mixture, incorporating air to create a smooth, creamy texture. You'll also need a large bowl, a wooden spoon or spatula, and a freezer-safe container to store the finished ice cream.
A digital or instant-read thermometer can be helpful for monitoring the temperature during the churning process.
Once you have all the necessary items, you're ready to start making your homemade ice cream. The process is simple, but the results are truly delicious.
With a little bit of preparation and the right equipment, you can create a sweet, creamy treat that will impress your family and friends.
Step 2. Combine and Chill the Ingredients

Combining the cream, milk, sugar, and vanilla is the first step in creating your homemade ice cream. In a medium-sized bowl, whisk together the heavy cream, whole milk, granulated sugar, and pure vanilla extract until the sugar has fully dissolved.
Be sure to incorporate all the ingredients thoroughly. This mixture can serve as a base for various flavors, such as Birthday Cake Ice Cream, allowing for delightful customization.
Once combined, cover the bowl with plastic wrap and refrigerate the mixture for at least 2 hours, or until it's completely chilled. This step is crucial, as it allows the flavors to meld and the mixture to thicken slightly before churning.
While the base chills, take a moment to prepare your ice cream maker. Ensure it's cleaned and ready to go, with the freezer bowl properly frozen.
When the base has finished chilling, pour it into the frozen bowl and turn on the machine. Churn the ice cream for 20-30 minutes, or until it's reached your desired thickness and consistency.
Now you're ready to enjoy your freshly churned homemade ice cream!
Step 3. Churn the Ice Cream Mixture
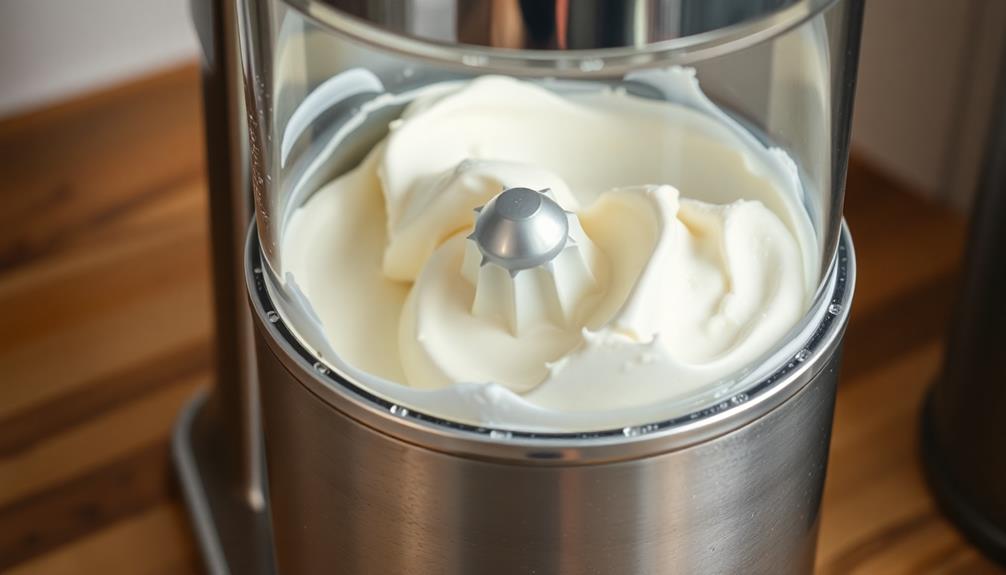
Churning the ice cream mixture is the next crucial step in creating your homemade delight. You'll need to set up your ice cream maker according to the manufacturer's instructions.
Once it's ready, slowly pour the chilled ice cream base into the freezer bowl. Turn on the machine and let it work its magic for 20-30 minutes, or until the mixture has thickened to a soft, creamy consistency. For those looking to experiment, consider adding various flavor infusions to enhance your ice cream experience.
As the machine churns, the blades will incorporate air into the mixture, giving the ice cream a light, fluffy texture. Keep an eye on it and don't let it churn for too long, or the ice cream may become too hard.
Once it reaches your desired consistency, turn off the machine and transfer the freshly churned ice cream to an airtight container. Cover the surface with plastic wrap to prevent ice crystals from forming, then freeze for at least 2 hours before serving.
Get ready to scoop and enjoy your homemade ice cream delight!
Step 4. Freeze Until Desired Consistency
Once the ice cream has been freshly churned, it's time to freeze it until it reaches your desired consistency.
First, transfer the churned ice cream into an airtight container. Be sure to leave a bit of headspace at the top to allow for expansion as it freezes.
Next, place the container in your freezer and set a timer for 30 minutes. After 30 minutes, remove the container and give the ice cream a good stir to incorporate any partially frozen areas. This will help ensure even freezing.
Return the container to the freezer and continue this process every 30 minutes until the ice cream reaches your preferred texture, usually about 2-3 hours total. The frequent stirring prevents large ice crystals from forming, resulting in a smooth, creamy consistency.
Once it's reached the perfect frozen state, you can scoop and serve your delicious homemade ice cream!
Step 5. Serve With Desired Toppings
Now that your homemade ice cream has reached the perfect frozen consistency, it's time to serve it up with your desired toppings. The possibilities are endless!
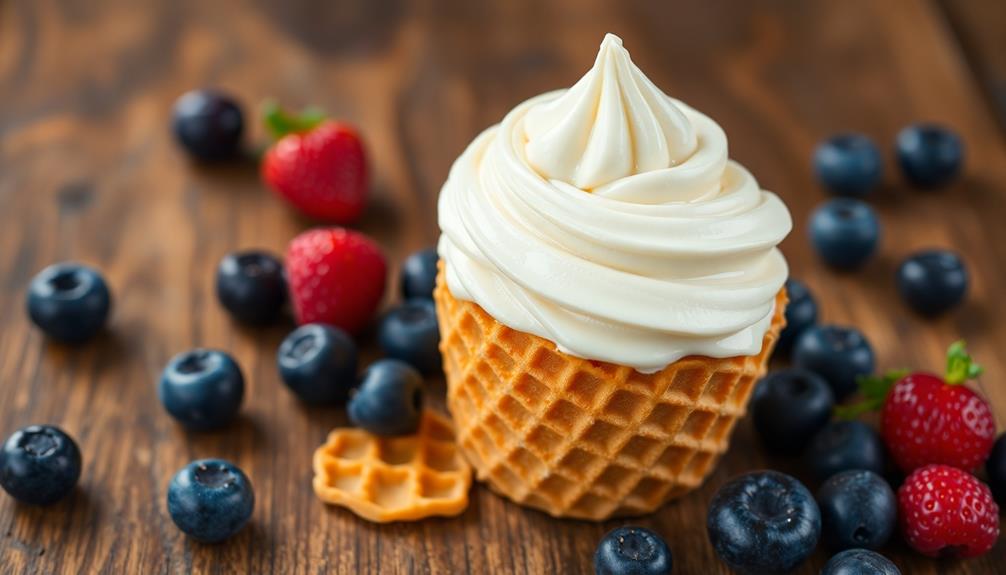
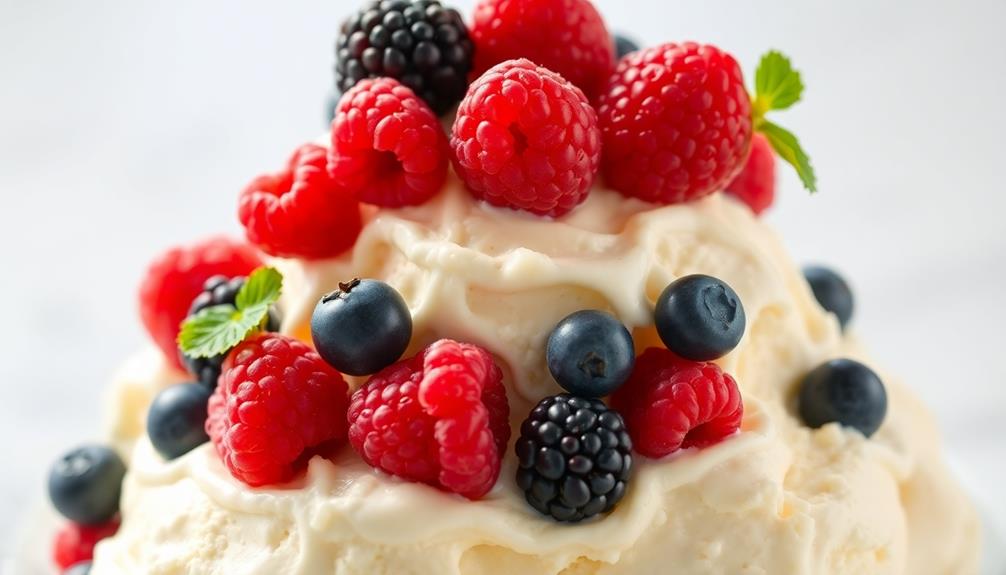
Start with a generous scoop of the rich, creamy ice cream in a bowl or cone. Then, let your creativity shine as you add your favorite toppings. Maybe you'll choose a drizzle of warm chocolate sauce or a sprinkle of chopped nuts.
Craving something fruity? Top it off with fresh berries or a dollop of sweet jam. Don't forget the whipped cream – a fluffy, cloud-like topping that takes your ice cream to new heights.
For a touch of crunch, add crushed cookies, granola, or even crushed candy pieces. Experiment with different flavor combinations to find your perfect sundae or ice cream sandwich.
No matter what toppings you choose, the end result will be a delightful frozen treat that's sure to satisfy your sweet tooth.
Final Thoughts
Crafting the perfect homemade ice cream requires a delicate balance of patience, technique, and a touch of creativity.
Now that you've mastered the art of churning your own luscious frozen treat, it's time to savor the fruits of your labor. Remember, the joy of homemade ice cream lies not just in the final product, but in the process itself.
Take pride in your creation, and don't be afraid to experiment with unique flavors and toppings. Whether you prefer a classic vanilla or a more adventurous flavor profile, the key is to have fun and let your imagination run wild.
With a little practice, you'll be whipping up ice cream that rivals the best scoops from your local parlor.
Frequently Asked Questions
How Long Does Freshly Churned Ice Cream Last?
Freshly churned ice cream has a shorter shelf life than its store-bought counterpart. Typically, it'll stay fresh for 2-3 weeks in the freezer. But you'll want to enjoy it as soon as possible for that creamy, just-made flavor.
Can I Use a Food Processor Instead of an Ice Cream Maker?
You can use a food processor instead of an ice cream maker, but the texture won't be as smooth and creamy. The food processor can't incorporate as much air, resulting in a denser, icier ice cream.
What Is the Best Way to Store Leftover Ice Cream?
To store leftover ice cream, you should place it in an airtight container and freeze it. This will prevent ice crystals from forming and keep the texture and flavor fresh for longer.
Can I Substitute Any Ingredients in the Recipe?
You can substitute some ingredients in the recipe, but you'll need to experiment. The ratio of sweeteners, dairy, and flavorings is key, so make changes cautiously to avoid altering the texture and taste.
How Do I Know When the Ice Cream Is Fully Churned?
You'll know the ice cream is fully churned when it thickens and increases in volume. Keep churning until it reaches your desired consistency, typically 20-30 minutes. The ice cream will also start to pull away from the sides of the churner.