Fermented vegetable plates offer a tasty and healthy way to enjoy probiotic-rich foods. You'll find a mix of colorful veggies like carrots, cabbage, cucumbers, radishes, and beets, all fermented to boost their flavor and nutritional value. To make your own, chop fresh vegetables, add salt, and pack them tightly in jars with brine. Let them ferment for 1-4 weeks, checking regularly for bubbles and flavor development. Once ready, serve these tangy treats as a side dish or add them to sandwiches and salads for extra crunch. With a bit of practice, you'll master the art of creating your own delicious fermented veggie plates.
Key Takeaways
- Fermented vegetable plates offer a variety of probiotic-rich foods like kimchi, sauerkraut, pickled carrots, and beets.
- These dishes support digestive health, boost immunity, and provide essential nutrients through beneficial bacteria.
- Preparation involves fermenting fresh vegetables in a salt brine for 1-4 weeks to develop flavors and probiotic benefits.
- Serving suggestions include pairing with grilled meats, incorporating into sandwiches, or enjoying as a tangy side dish.
- Proper storage in brine and refrigeration extends shelf life while maintaining probiotic properties of fermented vegetables.
Top picks for "ferment vegetable plate"
Open Amazon search results for this keyword.
As an affiliate, we earn on qualifying purchases.
History
Throughout history, fermented vegetable plates have been a staple in many cultures around the world. You'll find that these tasty and nutritious dishes have been enjoyed for thousands of years.
Ancient civilizations discovered that fermenting vegetables was a great way to preserve food and enhance its flavor. Additionally, the health benefits associated with fermented foods have contributed to their popularity, as they can support digestive health and provide essential nutrients state programs assist with healthcare costs for retirees.
In Korea, you've probably heard of kimchi, a fermented cabbage dish that dates back to the 7th century. It's been a key part of Korean cuisine ever since.
In Germany, sauerkraut has been popular since the 16th century. You might be surprised to learn that it was used on long sea voyages to prevent scurvy!
In Japan, tsukemono (pickled vegetables) have been around since the 8th century. They're still a common side dish today.
Eastern European countries have their own versions too, like Russian sauerkraut and Polish pickled cucumbers.
You'll notice that fermented vegetable plates became more diverse as trade routes expanded. New ingredients and techniques were shared between cultures, leading to the wide variety of fermented vegetable dishes you can enjoy today.
Recipe
Fermented vegetables are a delicious and healthy addition to any meal, offering a tangy, complex flavor profile and numerous health benefits. This fermented vegetable plate combines a variety of colorful, probiotic-rich vegetables that have been allowed to ferment naturally, creating a unique and flavorful appetizer or side dish.
While the fermentation process takes time, the preparation of this dish is relatively simple. The key is to start with high-quality, fresh vegetables and allow them to ferment in a salt brine for several days to several weeks, depending on your preference for flavor intensity and texture.
Once fermented, these vegetables can be arranged on a plate to create an attractive and nutrient-dense offering.
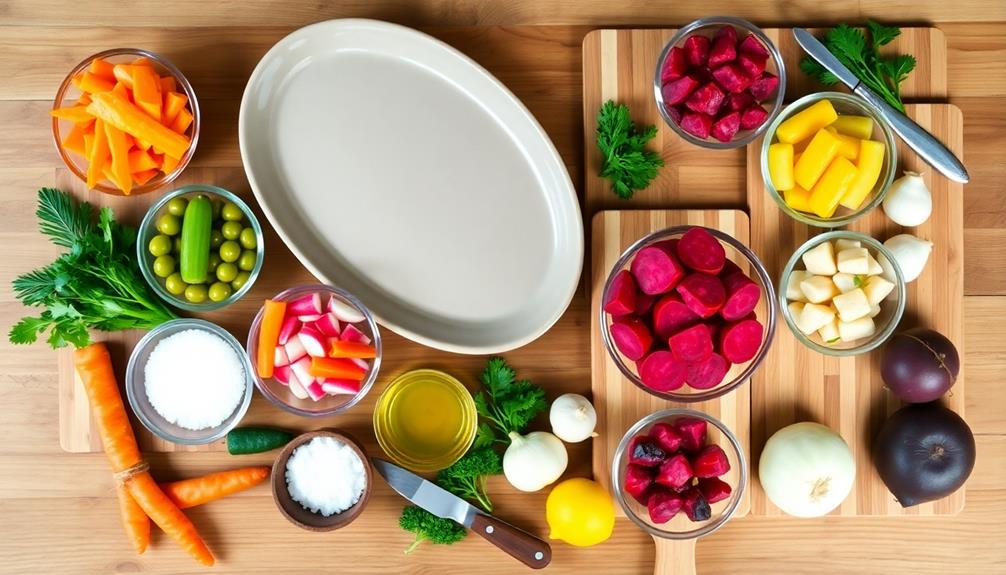
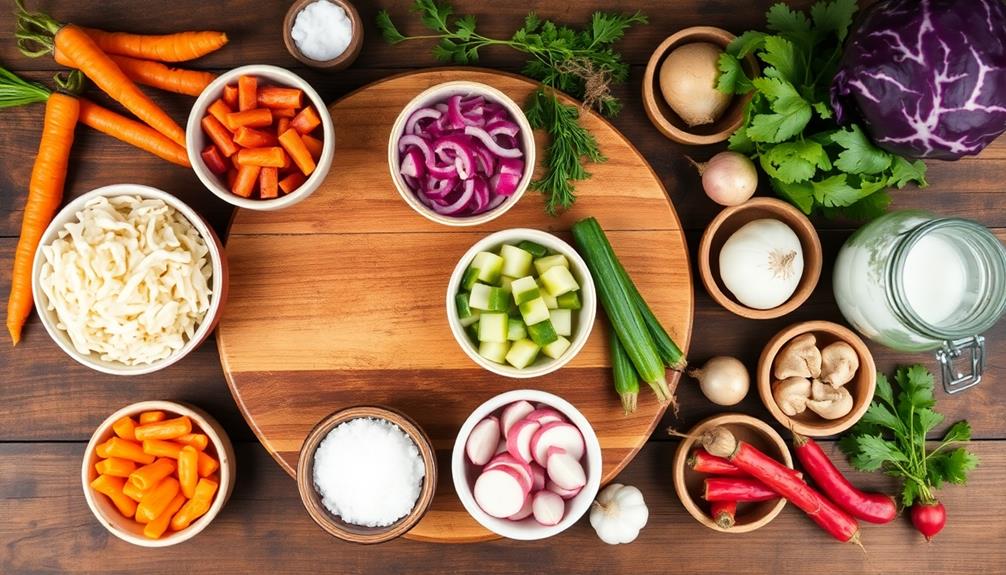
Ingredients:
- 1 cup fermented carrots
- 1 cup fermented cabbage (sauerkraut)
- 1 cup fermented cucumbers (pickles)
- 1 cup fermented radishes
- 1 cup fermented beets
- 1/2 cup fermented onions
- 1/4 cup fermented garlic cloves
- Fresh herbs for garnish (dill, parsley, or cilantro)
- Lemon wedges for serving
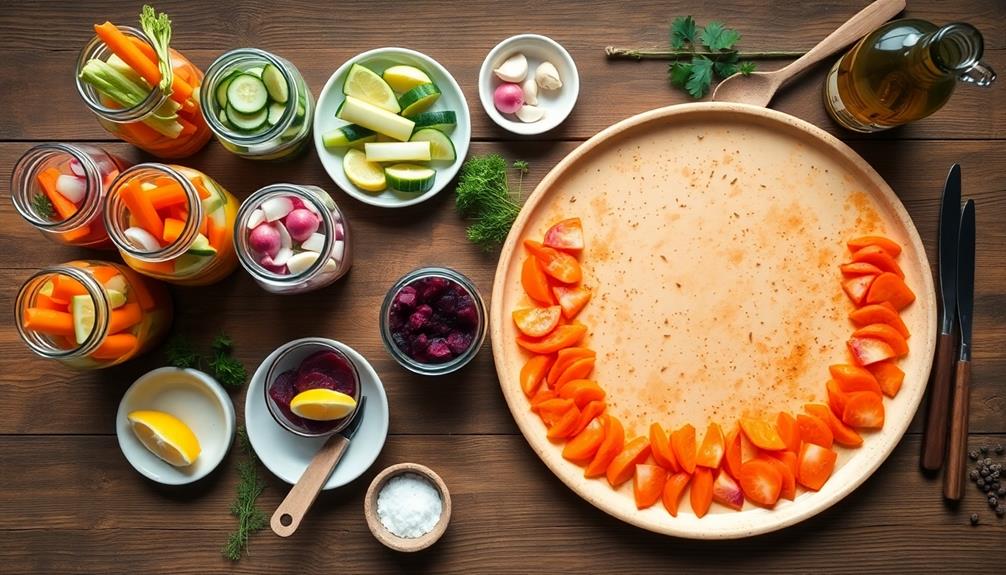
To assemble the fermented vegetable plate, drain the fermented vegetables of excess brine and arrange them artfully on a large serving platter. Group each type of vegetable together to create a colorful and visually appealing presentation.
Garnish the plate with fresh herbs and lemon wedges. Serve the fermented vegetable plate at room temperature to allow the flavors to fully develop. For a complete appetizer spread, consider serving the fermented vegetable plate alongside an artisanal cheese plate. The variety of flavors and textures from the fermented vegetables will complement the rich and creamy profiles of the different cheeses. Don’t forget to include some crusty bread or crackers to complete the experience.
For best results, use a variety of fermented vegetables with different textures and flavors. Experiment with seasonal vegetables and various fermentation times to create a unique flavor profile.
Remember that fermented vegetables can be quite tangy and salty, so consider serving them alongside milder accompaniments like fresh bread, crackers, or a creamy dip to balance the flavors.
Store any leftover fermented vegetables in their original brine in the refrigerator to maintain their probiotic benefits and extend their shelf life.
Cooking Steps
To create your fermented vegetable plate, you'll need to follow a few key steps.
First, wash and chop your chosen vegetables, then add salt to draw out their moisture.
Next, pack the salted vegetables tightly into clean jars and cover them with brine, ensuring they're fully submerged.
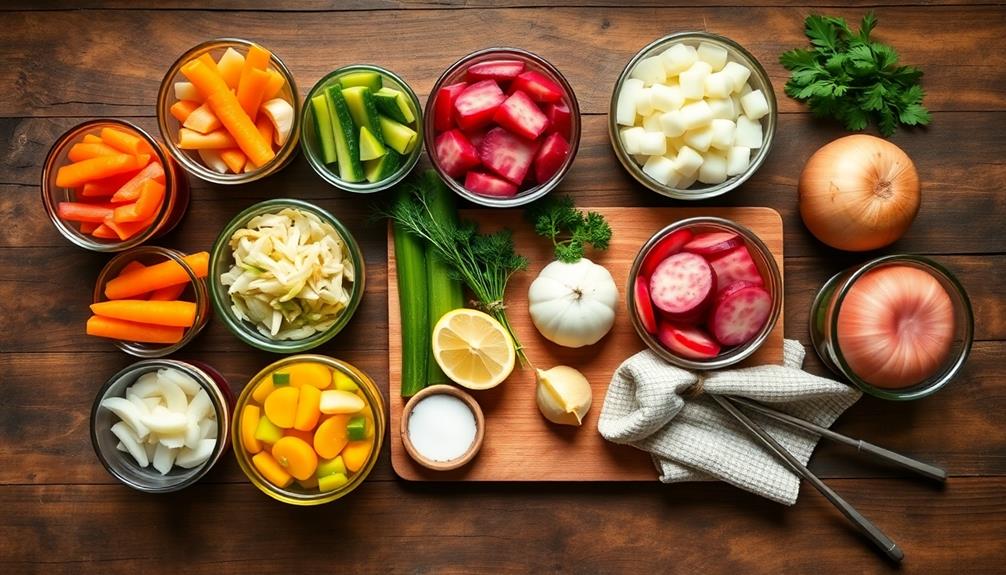
Step 1. Wash and Chop Vegetables
Proper preparation of vegetables is crucial for successful fermentation. You'll want to start by thoroughly washing all your veggies under cool running water. This step removes dirt, pesticides, and any unwanted bacteria that might interfere with the fermentation process.
Once they're clean, it's time to chop your vegetables. You'll need a sharp knife and a cutting board. Cut your veggies into uniform sizes – this isn't just for looks, it helps them ferment evenly. For cabbage, you'll want thin strips. Carrots can be grated or cut into matchsticks. Cucumbers are great as spears or slices.
Remember, smaller pieces will ferment faster than larger ones.
As you're chopping, remove any bruised or damaged parts. These can introduce unwanted bacteria and affect the taste of your ferment. Don't forget to save some whole cabbage leaves if you're making sauerkraut – they'll come in handy later to weigh down your ferment.
Once everything's chopped, you're ready to move on to the next step in creating your delicious fermented vegetable plate!
Step 2. Add Salt to Vegetables
Having prepared your vegetables, it's time to introduce the crucial ingredient: salt. You'll need to add the right amount of salt to kickstart the fermentation process. For every pound of chopped vegetables, use about 1 to 1.5 tablespoons of sea salt or kosher salt.
Don't use iodized table salt, as it can interfere with fermentation. Proper salting is essential as it not only aids in fermentation but can also enhance the flavors of your vegetables, similar to how juice cleanses can improve wellness.
Sprinkle the salt over your chopped veggies in a large bowl. Use your clean hands to mix everything thoroughly, making sure the salt coats all the vegetable pieces. As you mix, you'll notice the vegetables start to release their natural juices. This is exactly what you want! The salt helps draw out moisture from the veggies, creating the brine they'll ferment in.
Let the salted vegetables sit for about 30 minutes to an hour. During this time, they'll continue to release liquid. You might need to occasionally press down on the veggies to help this process along.
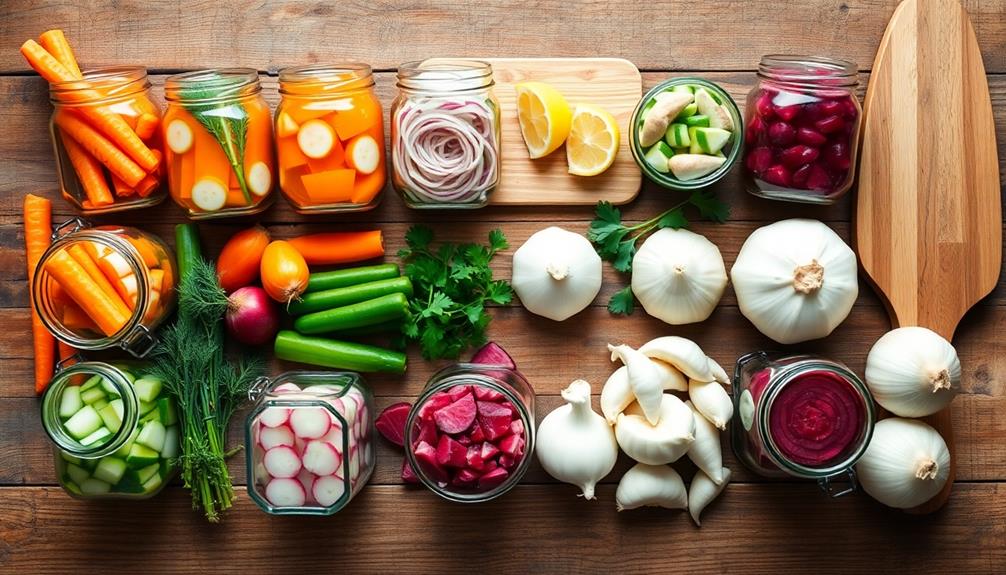
Step 3. Pack Vegetables Into Jars
Now that your vegetables have released their brine, it's time to pack them into jars. Grab clean, sterilized glass jars and start filling them with your salted veggies. Don't be shy – really pack them in tightly! Use your hands or a clean wooden spoon to press down, removing any air pockets. You want the vegetables to be snug, but leave about an inch of space at the top of each jar.
As you pack, you'll notice liquid rising. This is good! It's the natural brine that'll help ferment your veggies. If there isn't enough liquid to cover the vegetables completely, don't worry. You can top it off with a bit of salt water. Mix 1 teaspoon of salt with 1 cup of water, and pour it over your packed veggies until they're fully submerged.
Once your jars are filled, it's important to keep the vegetables below the brine. You can use a clean weight, like a small glass or ceramic dish, to hold them down. This step is crucial for successful fermentation and to prevent mold growth.
Now you're ready for the next exciting stage of your fermentation journey!
Step 4. Add Brine to Jars
After packing your vegetables, it's time to add the brine. You'll want to make sure your brine is ready before this step.
In a large bowl, mix water and salt until the salt dissolves completely. For every quart of water, use about 1 to 2 tablespoons of salt. You can also add spices or herbs to your brine for extra flavor.
Now, carefully pour the brine over your packed vegetables in the jars. Make sure to leave about an inch of space at the top. The brine should completely cover the vegetables, as this helps prevent mold and keeps oxygen out.
If you need to, you can place a clean weight on top of the vegetables to keep them submerged. A small glass jar or a clean stone works well for this.
Once you've added the brine, wipe the rims of the jars clean with a damp cloth. This helps ensure a good seal when you put the lids on.
Don't tighten the lids too much – you want to allow gases to escape during fermentation.
Step 5. Let Ferment for Weeks
The fermentation process is where the magic happens. Now that you've added the brine to your jars, it's time to let your vegetables ferment.
Place the sealed jars in a cool, dark spot, like a pantry or cupboard. The ideal temperature is between 60-75°F (15-24°C). Don't put them in direct sunlight or near heat sources.
Over the next few weeks, you'll notice changes in your jars. Bubbles will form as the good bacteria work their magic. The brine might become cloudy, and that's perfectly normal. You might also see a white film on top – this is harmless kahm yeast. Just skim it off if you see it.
Check your jars every few days. Open them briefly to release any built-up gases and taste-test your vegetables. They'll become tangier and softer as time goes on.
Most ferments are ready in 1-4 weeks, but it's up to your taste preferences. When you're happy with the flavor, move the jars to the refrigerator. This slows down the fermentation process and helps preserve your veggies longer.
Final Thoughts
Fermented-vegetable plates offer a delightful adventure for your taste buds and a nutritious addition to your meals. You've learned how to create a diverse array of fermented veggies, from crunchy carrots to tangy cabbage.
Remember, the key to success is patience and attention to detail during the fermentation process. As you experiment with different vegetables and spices, you'll discover your favorite combinations. Don't be afraid to try new things! You might be surprised by how much you enjoy the unique flavors of fermented beets or radishes.
Always use clean utensils and jars to prevent unwanted bacteria from spoiling your creations. When serving your fermented vegetable plate, consider pairing it with other foods. It's a great side dish for grilled meats or a tasty addition to sandwiches and salads.
You can even use the brine as a flavorful seasoning in dressings or marinades. By incorporating fermented vegetables into your diet, you're not only enjoying delicious food but also boosting your gut health.
Frequently Asked Questions
Can Fermented Vegetables Be Stored at Room Temperature?
You shouldn't store fermented vegetables at room temperature for long periods. While fermenting occurs at room temp, once complete, you'll want to refrigerate them. This slows down fermentation and helps maintain their flavor and texture.
Are There Any Health Risks Associated With Consuming Fermented Vegetables?
While fermented vegetables are generally safe, you should be aware of potential risks. If not properly prepared, they can harbor harmful bacteria. You'll want to be cautious if you're immunocompromised or pregnant. Always follow proper fermentation techniques.
How Long Do Homemade Fermented Vegetables Typically Last?
You'll find that homemade fermented vegetables can last quite a while. They're typically good for 4-18 months when stored properly in the refrigerator. However, always use your senses to check for any signs of spoilage before consuming.
Can I Use Tap Water for Fermenting Vegetables?
You shouldn't use tap water for fermenting vegetables. It often contains chlorine, which can inhibit fermentation. Instead, use filtered or spring water. If you must use tap water, let it sit uncovered overnight to allow chlorine to evaporate.
What Are the Signs That Fermented Vegetables Have Gone Bad?
You'll notice signs of spoilage if your fermented vegetables smell rotten, have mold growth, or develop an off-color. They might also taste unpleasant or have a slimy texture. Always trust your senses when checking for spoilage.