Unlock the secret to perfect caramelization and elevate your cooking! This transformative process brings out natural sweetness while imparting a beautiful golden-brown hue and irresistible aroma. Mastering temperature and timing is key – use medium-high heat, add ingredients gradually, and stir frequently to promote even browning. Visual cues like color changes are crucial for achieving the right degree of caramelization without burning. Get ready to wow your taste buds and impress guests with the deep, rich flavors that result from this fundamental cooking technique. Keep reading to discover more tips for caramelization success.
Key Takeaways
- Precise temperature control is crucial for optimal caramelization, as it involves complex chemical reactions that transform sugars into rich, flavorful compounds.
- Gradual addition of ingredients and frequent stirring ensure even heat distribution and promote uniform browning, preventing burning or uneven cooking.
- Visual cues, such as color changes, are essential for monitoring the caramelization process and making adjustments to achieve the desired level of browning.
- Incorporating a high-smoke-point neutral oil and using medium-high heat help facilitate the caramelization process and contribute to the development of deep, complex flavors.
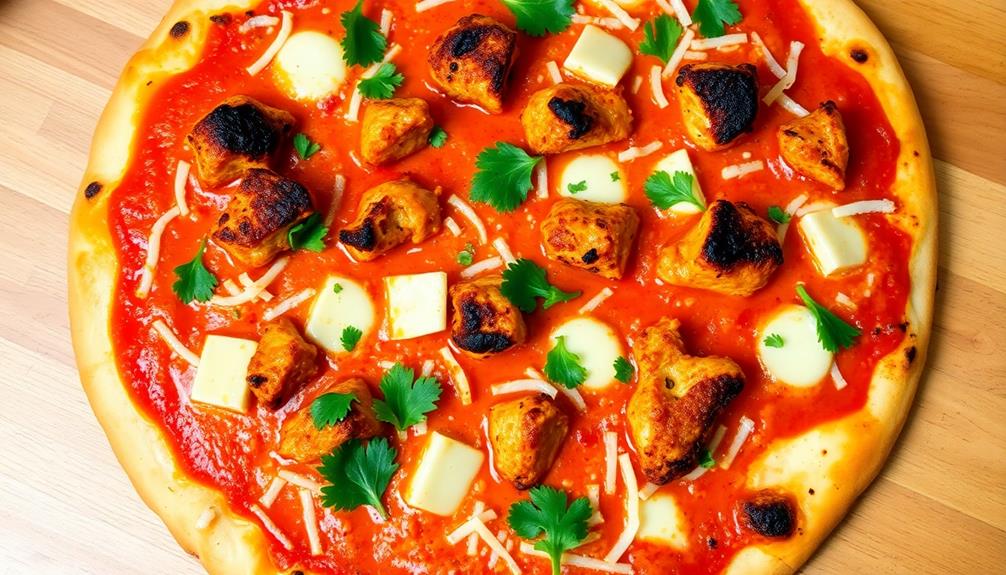
- Mastering the art of caramelization enhances the taste profile, visual appeal, and overall culinary experience of a wide range of dishes, from decadent desserts to savory stir-fries.
History
The art of caramelization has a rich and storied past, dating back to the ancient civilizations of the Middle East and China. These early cultures discovered the magic of heating sugars, creating the deep, complex flavors we now associate with caramelized foods.
Over time, the technique spread around the world, evolving as it took hold in different cuisines. In Europe, caramelization became a hallmark of decadent desserts, from crè me brûlée to caramel-drizzled crêpes. Chefs honed their skills, experimenting with techniques to achieve the perfect balance of sweetness and bitterness.
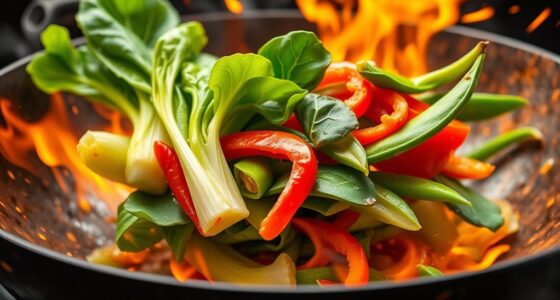
Meanwhile, in Asia, caramelization found its way into savory dishes, adding depth and richness to stir-fries, marinades, and sauces.
Today, the art of caramelization continues to captivate cooks and diners alike. Whether you're creating a simple caramelized onion or crafting a complex dessert, the science behind this transformative process is endlessly fascinating.
Dive in, and unlock the secrets of perfect caramelization!
Recipe
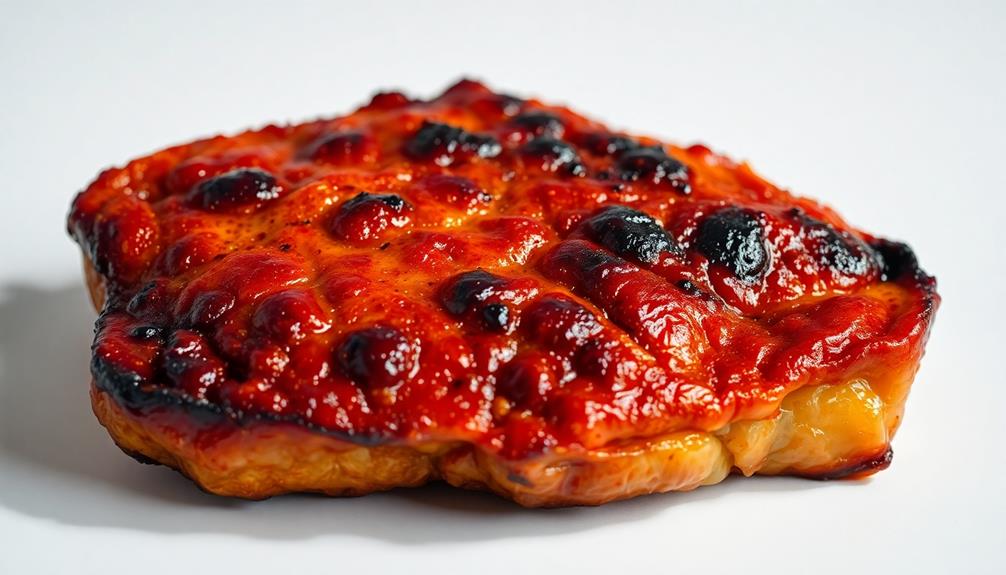
Caramelization is the key to unlocking the deep, rich, and complex flavors of many dishes. Whether you're searing a steak, roasting vegetables, or baking a crème brûlée, achieving the perfect caramelization is essential. This recipe will guide you through the process of creating a delectable caramelized masterpiece.
The secret to perfect caramelization lies in the interplay between heat, time, and patience. By applying the right temperature and letting the natural sugars in the food slowly transform, you can coax out a symphony of flavors that will tantalize your taste buds.
Similarly, just as a well-maintained heat pump can enhance indoor comfort through efficient temperature regulation, mastering caramelization can elevate your culinary skills to new heights.
- 2 tablespoons unsalted butter
- 1 cup granulated sugar
- 1/4 cup water
Melt the butter in a heavy-bottomed saucepan over medium heat. Gradually add the sugar, stirring constantly, until the mixture starts to turn golden. Continue to cook, without stirring, until the sugar reaches a deep amber color, about 5 to 8 minutes.
Carefully add the water and continue to cook, stirring occasionally, until the caramel thickens and reaches the desired consistency, about 2 to 3 minutes.
To achieve the perfect caramelization, it's essential to keep a close eye on the process and adjust the heat as needed. The key is to find the sweet spot between a delicate golden hue and a bitter, burnt flavor.
With a bit of practice, you'll be able to master the art of caramelization and elevate your culinary creations to new heights. By understanding how heat affects sugars and experimenting with different ingredients, you can unlock complex flavors that add depth to your dishes. Much like the craft beer brewing process, where precision and patience result in unique brews, caramelization requires a careful balance of time and technique. Embracing this skill will not only enhance your cooking but also inspire creativity in the kitchen.
Cooking Steps
To get that perfect caramelization, you'll want to start by coating your pan with a neutral oil.
Crank up the heat to medium-high, then add your food gradually, stirring frequently to promote that beautiful browning.
Keep an eye out for those color changes – that's how you'll know when your food's reached caramelization perfection.
Step 1. Coat Pan With Neutral Oil
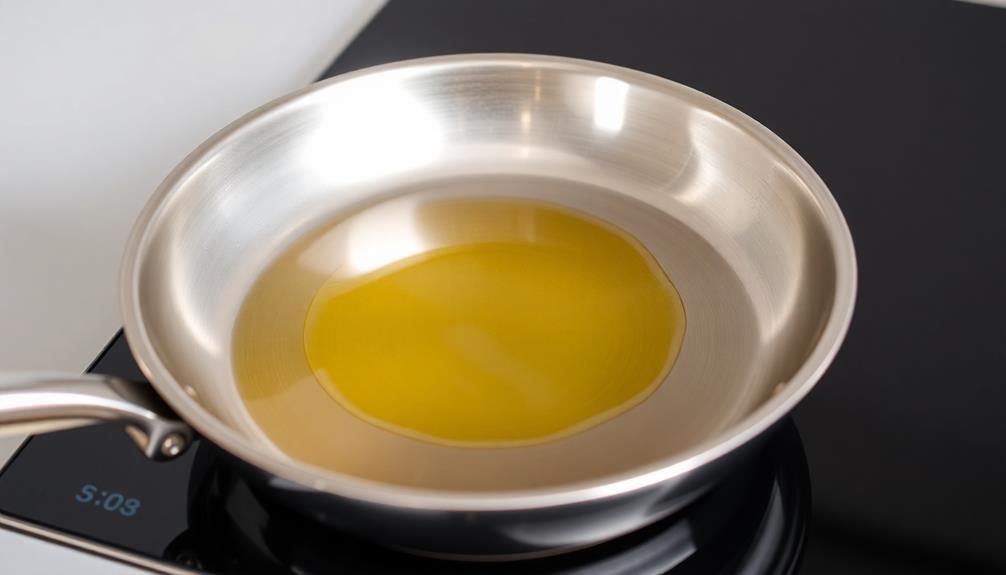
Next, coat the pan with a neutral oil. This helps create an even surface for the food to cook on. You want to use an oil that has a high smoke point, like canola, vegetable, or grapeseed oil.
Avoid oils with strong flavors, as they can overpower the delicate caramelization process. Spread the oil around the pan using a paper towel or a brush, making sure to coat the entire surface. This creates a nonstick environment, allowing the food to brown beautifully without sticking.
The neutral oil also helps distribute heat evenly, ensuring consistent caramelization across the dish. Once the pan is coated, you're ready to add your ingredients and start the caramelization magic.
Step 2. Increase Heat to Medium-High

Once the pan is coated, you'll want to increase the heat to medium-high. This higher temperature helps kickstart the caramelization process, transforming the sugars in your food into a rich, golden-brown color and deepening the flavors.
As the pan heats up, you'll see the oil start to shimmer and dance. This is a good sign that the temperature is just right. Be sure to keep a close eye on the pan, though, as things can go from perfectly browned to burnt in a matter of seconds at this high heat.
Listen for the sizzle as your ingredients hit the hot pan. That's the sound of flavor being created! The high heat causes the sugars and amino acids in your food to undergo the Maillard reaction, a complex chemical process that produces hundreds of new flavor compounds.
This is what gives caramelized foods their incredible depth of taste. Stay alert and adjust the heat as needed to maintain that perfect medium-high temperature. With a little practice, you'll be a caramelization master in no time!
Step 3. Add Food Gradually

With the pan now at the perfect medium-high heat, you can begin adding your ingredients gradually. As you do this, you'll notice the food start to sizzle and brown right away. This is exactly what you want!
By adding the ingredients little by little, you give each piece a chance to caramelize and develop that rich, nutty flavor. Be patient and let each addition get nicely browned before adding more. This might take a few minutes, but it's worth it.
The key is to not overcrowd the pan, which can cause the food to steam instead of browning. Work in batches if needed to maintain that perfect level of searing.
As the ingredients caramelize, you'll start to see those gorgeous golden-brown bits forming on the bottom of the pan. These are packed with flavor and will only enhance your dish.
Just be sure to scrape them up and incorporate them as you continue cooking. With this gradual approach, you're well on your way to achieving perfect caramelization.
Step 4. Stir Frequently to Promote Browning

Consistent stirring is instrumental in fostering that coveted browning. As the sugars and proteins in your food interact with the high heat, they undergo a remarkable transformation – the Maillard reaction. This chemical process caramelizes the ingredients, unlocking a world of mouthwatering flavors.
By stirring frequently, you ensure even heat distribution and prevent hotspots that can lead to uneven cooking. Avoid letting your ingredients sit too long between stirs, as this can cause the bottoms to burn before the tops have a chance to brown. Keep a close eye and give everything a gentle stir every minute or so.
This rhythm of constant motion encourages those golden-brown bits to develop across the entire surface. With each stir, you're coaxing out more of the rich, nutty notes that make caramelized foods so irresistible.
Patience and diligence are key – the more you stir, the more magnificent the results will be.
Step 5. Monitor for Color Changes

As you've diligently stirred, keep a close eye on the color changes unfolding before you. The transformation from a pale, golden hue to a rich, amber-like glow is your cue that the caramelization process is underway.
Watch carefully as the sugars in your mixture begin to caramelize, creating a mouthwatering aroma and a deeper, more complex flavor.
Gently swirl the pan to promote even browning, and don't be afraid to let the mixture darken a bit further. The deeper the color, the richer the caramel will become.
However, be mindful not to let it burn, as that can lend a bitter, unpleasant taste. As the color transforms, the texture will also thicken, signaling that your caramel is reaching perfection.
Keep a close watch, adjusting the heat as needed, to achieve that glorious, golden-brown perfection.
Final Thoughts
Ultimately, achieving perfect caramelization requires a combination of diligence, patience, and a keen understanding of the nuances involved. As you've discovered, it's not just about high heat and precise timing – it's about closely monitoring the color changes and adjusting your technique accordingly.
Remember, the journey to flawless caramelization is filled with subtle details, and each step along the way is crucial. Mastering this art takes practice, but the payoff is exceptional.
Imagine the deep, rich flavors and inviting aromas that await you when you nail that perfect golden-brown hue. It's a culinary triumph that will leave your senses delighted and your guests awestruck.
Frequently Asked Questions
How Can I Prevent My Caramel From Burning?
To prevent your caramel from burning, keep a close eye on it and stir constantly. Adjust the heat as needed to maintain a steady, even temperature. Act quickly if you notice any signs of burning.
What's the Difference Between Caramelization and Maillard Reaction?
Caramelization involves the breakdown of sugars, while the Maillard reaction occurs between amino acids and sugars. The former produces nutty, sweet flavors, while the latter creates a rich, savory complexity. They're distinct processes that can work together to enhance your cooking.
Can I Caramelize Sugar Without Using a Stovetop?
Yes, you can caramelize sugar without using a stovetop. You can bake or broil sugar-coated items in the oven to achieve caramelization, though the process may take longer compared to stovetop methods.
How Do I Know When the Caramel Has Reached the Perfect Color?
You'll know the caramel has reached the perfect color when it turns a deep amber hue, resembling the color of honey. Keep a close eye on it, as it can quickly go from golden to bitter and burnt.
Can I Use Caramelized Sugar for More Than Just Desserts?
You sure can! Caramelized sugar isn't just for desserts. You can use it to add depth of flavor to savory dishes too, like glazing roasted vegetables or mixing it into marinades and sauces. Get creative and experiment with its versatile caramel notes.