Mastering the perfect sear on your proteins is a game-changer in the kitchen! Through the ages, cooks have used pans to create mouthwatering dishes, from ancient Roman pizza to modern masterpieces. The secret? Proper temperature control. By preheating your pan and adding oil at just the right heat, you'll achieve a golden-brown crust that locks in delicious flavors. Be patient as you sear your protein, letting it sit untouched for 3-4 minutes per side. The sound of sizzling means you're on the right track! Mastering pan temperatures is a crucial culinary skill that'll wow your family and friends. Keep reading to discover more tips for pan-seared perfection.
Key Takeaways
- Proper pan preheating is essential for achieving a perfect sear, as it creates the necessary heat for browning and flavor development.
- Selecting the right cooking oil and monitoring its temperature ensure a good sear and prevent sticking, leading to an evenly cooked protein.
- Allowing the protein to sear undisturbed for 3-4 minutes on each side is crucial for building a golden-brown crust and locking in flavors.
- Adjusting the heat throughout the cooking process is critical to prevent burning while ensuring thorough cooking, a key skill for mastering pan temperatures.
- Consistent practice and experimentation with different recipes and techniques help cooks develop an intuitive understanding of optimal pan temperatures for various cooking methods.
History
When did the use of pans in cooking first gain prominence? Well, it all started thousands of years ago when early humans began cooking over an open fire! They'd use simple bowls and pots made from clay or stone to heat and prepare their food.
Over time, as cooking techniques evolved, so did the tools. Pans made from metals like copper and cast iron became more common, allowing cooks to achieve that perfect sear and evenly cook their meals.
The history of pans is really quite fascinating. Did you know that ancient Romans even used pans to bake early versions of pizza?
And in the Middle Ages, pans were often decorated with intricate designs, showing that cooking was seen as an art form.
Today, pans come in all shapes and sizes, from the classic cast iron skillet to the sleek nonstick variety. No matter the style, pans have been an essential part of the kitchen for centuries, helping cooks create delicious dishes that bring people together.
Recipe
Cooking a dish to perfection requires mastering the art of pan temperature control. The right temperature ensures even cooking, rich flavors, and a delightful texture. This recipe for a classic dish showcases the importance of temperature management throughout the cooking process.
Achieving the perfect pan temperature is crucial for searing, sautéing, and ensuring the ingredients cook evenly. Paying close attention to temperature changes and adjusting the heat accordingly will result in a dish that's both visually appealing and bursting with flavor.
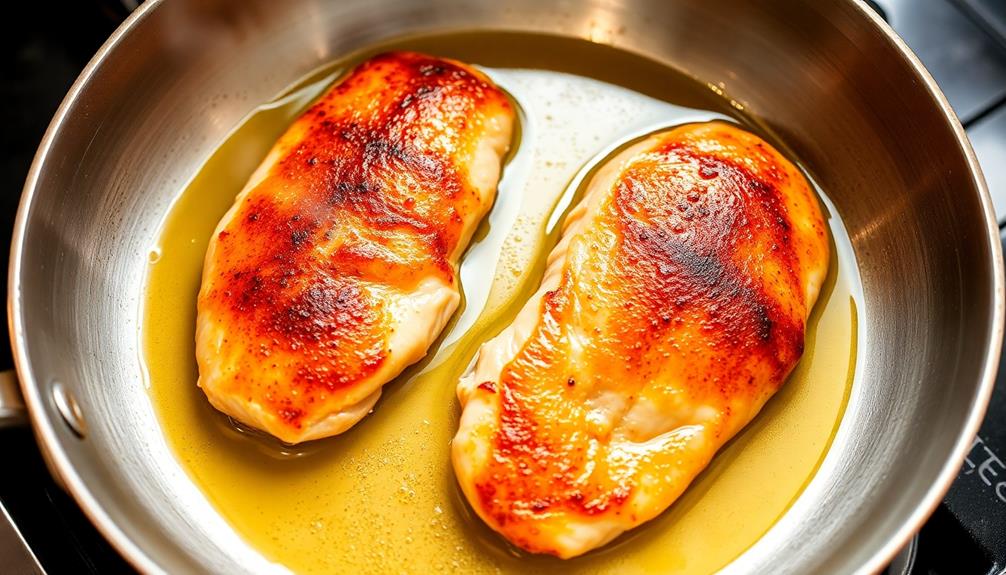
- 2 boneless, skinless chicken breasts
- 2 tablespoons olive oil
- 1 teaspoon salt
- 1/2 teaspoon black pepper
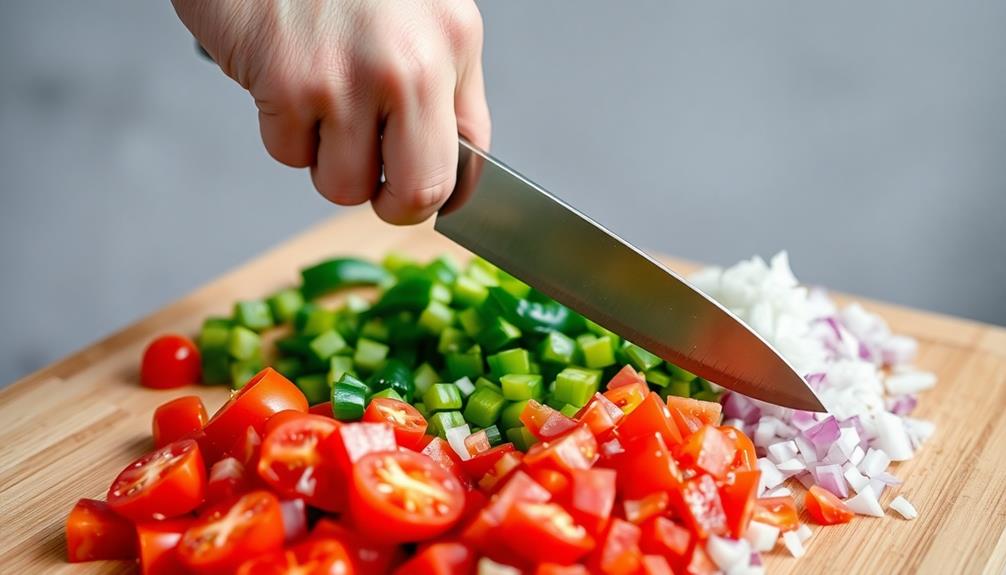
- 1 onion, diced
- 2 cloves garlic, minced
- 1 cup diced tomatoes
- 1/2 cup chicken broth
- 1/4 cup fresh basil leaves, chopped
Begin by heating the olive oil in a large skillet over medium-high heat. Season the chicken breasts with salt and pepper, then place them in the hot pan. Sear the chicken for 3-4 minutes per side, or until a golden-brown crust forms.
Reduce the heat to medium, cover the pan, and continue cooking the chicken for 10-12 minutes, or until it reaches an internal temperature of 165°F. Remove the chicken from the pan and set it aside.
In the same pan, sauté the onion over medium heat for 3-4 minutes, or until it becomes translucent. Add the garlic and cook for an additional minute, taking care not to let the garlic burn.
Deglaze the pan with the chicken broth, scraping up any browned bits from the bottom of the pan. Add the diced tomatoes and let the mixture simmer for 5 minutes. Return the chicken to the pan and garnish with the fresh basil. Serve immediately.
When cooking this dish, be mindful of the pan temperature at each step. The key is to start with a high heat to sear the chicken, then reduce the heat to medium to ensure the chicken cooks through without burning. Monitoring the temperature and adjusting the heat as needed will result in a juicy, flavorful dish.
Cooking Steps
Alright, let's get cooking!
First, you'll want to preheat your pan over medium-high heat.
Once it's nice and hot, add a drizzle of oil to the pan.
Now, it's time to add your protein and let it sear for about 3-4 minutes.
Flip it over and let the other side get nice and golden brown.
Step 1. Preheat Pan Over Medium-High Heat

Preheating the pan over medium-high heat is a crucial step in the cooking process. You'll want to let that pan get nice and toasty before adding any ingredients. This helps create that perfect sear on your meats and veggies, locking in all the delicious flavors. Just turn up the heat and let the pan sit for a minute or two.
You'll know it's ready when you can hold your hand a few inches above the surface and feel the warm, radiant heat. A well-organized kitchen space can also enhance your cooking experience, allowing you to focus on the task at hand and reduce distractions.
Efficient storage strategies for your cooking tools and ingredients can lead to a more enjoyable culinary adventure.
Now, be careful – that pan is going to be hot! Use oven mitts or a kitchen towel to handle it. Once it's preheated, you can add a little oil or butter and let it shimmer and sizzle.
This is where the magic happens. The high heat will caramelize the outside of your food, making every bite absolutely mouthwatering. So don't be shy – crank up that heat and get ready for some serious culinary fireworks!
Step 2. Add Oil to Pan

Once the pan is preheated, you'll want to add a bit of oil to it. This helps create that perfect sear on your food. You can use any type of oil you like, but some great options are olive oil, vegetable oil, or even a bit of butter. Just make sure to pour in enough to lightly coat the bottom of the pan.
As the oil heats up, you'll start to see it shimmer and maybe even hear a gentle sizzle. That's exactly what you want! The oil should be hot but not smoking. If it starts to smoke, that means it's too hot and you'll need to turn down the heat a bit.
Once the oil is ready, it's time to add your food. Be careful when placing it in the pan, as the oil may splatter a bit. But don't worry, that just means the pan is nice and hot – perfect for getting that delicious sear.
Step 3. Add Protein to Pan
When the oil is hot and shimmering, it's time to add your protein! Whether you're cooking chicken, steak, or even tofu, you'll want to gently lower it into the pan.
Listen for that satisfying sizzle – that's the sound of your protein getting a delicious, golden-brown sear.
As the protein cooks, resist the urge to poke or fidget with it. Let it do its thing! After a minute or two, you can use tongs to flip it over and let the other side get in on the action.
Keep an eye on the color – you're looking for that perfect caramelized crust.
Once both sides are nicely seared, you can reduce the heat a bit and let the protein finish cooking to your desired doneness.
Remember, the temperature will continue to rise even after you take it off the heat, so don't overcook!
With a little practice, you'll be searing like a pro.
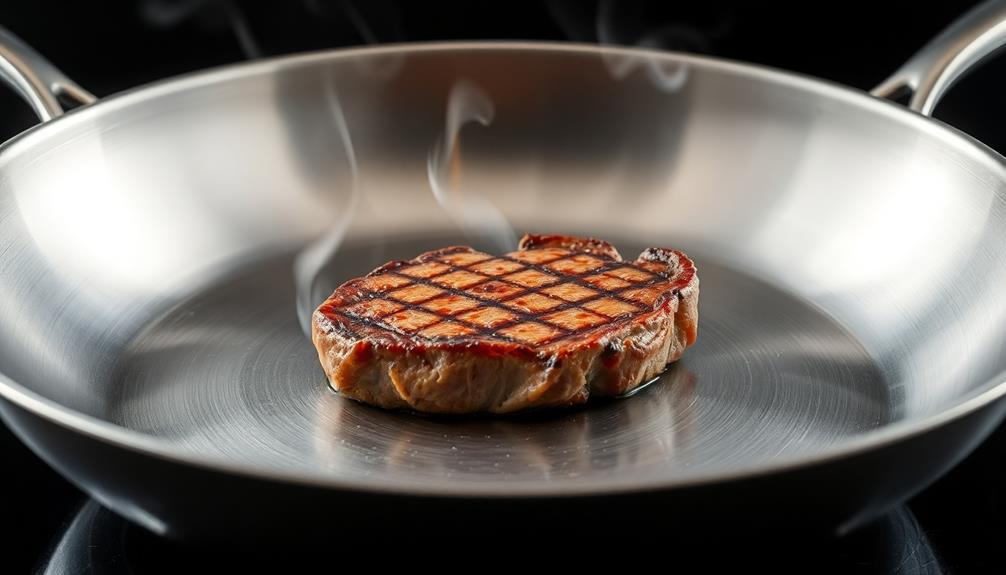
Step 4. Let Protein Sear for 3-4 Minutes
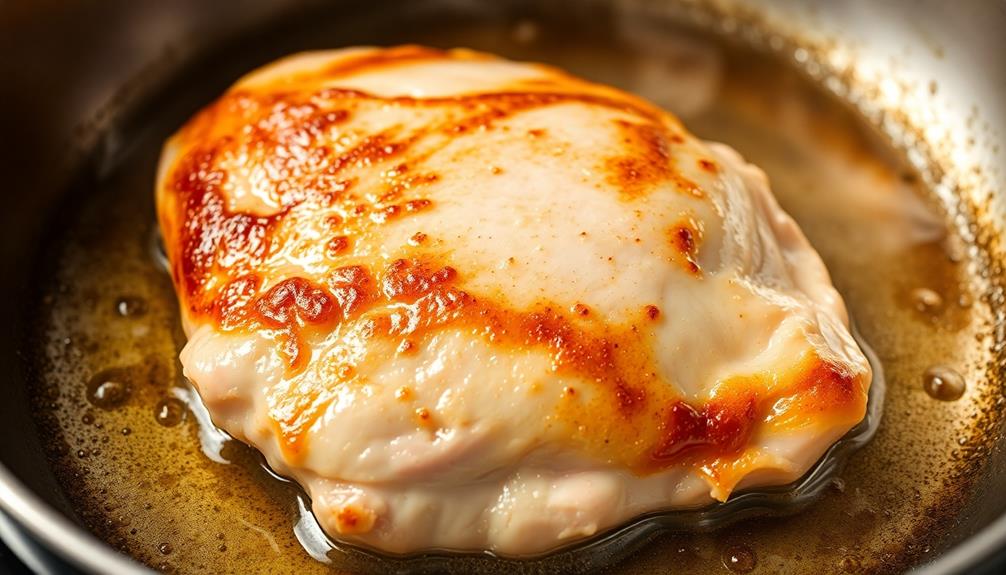
With the pan hot and the oil shimmering, it's time to add your protein. Whether you're cooking chicken, steak, or tofu, the key is to let it sear for 3-4 minutes. As the protein hits the surface, you'll hear a satisfying sizzle.
This moment is crucial, as a high refresh rate in cooking can elevate the quality of your sear, much like how it enhances gaming experiences. Resist the urge to move it around – this is the magic moment when the Maillard reaction occurs, creating a beautiful brown crust.
Keep your eye on the clock, and when the time is up, use tongs to flip the protein over. You'll see a gorgeous golden-brown surface, full of flavor.
Let the other side sear for another 3-4 minutes, and you'll have a perfectly cooked piece of protein with a delicious caramelized exterior.
The secret to mastering this technique is all about patience and trusting the process. With a little practice, you'll be searing like a pro, elevating your meals to new heights of deliciousness.
Step 5. Flip Protein to Sear Other Side

Having allowed the protein to sear for the recommended 3-4 minutes, it's now time to flip it over.
This is the exciting part – you'll get to see the beautiful, golden-brown crust that's formed on the first side. Carefully grab your tongs or spatula and gently lift the protein, making sure not to tear or damage the crust.
Then, with confidence, flip it over to the other side. Listen for that satisfying sizzle as the uncooked side hits the hot pan.
Now, you'll want to let this second side sear for another 3-4 minutes, just like the first. Keep a close eye on it, so the crust doesn't burn.
Once that timer goes off, your protein will be perfectly seared on both sides, ready to be finished in the oven or served up as the star of your meal.
Get ready for that first delicious bite – it's going to be amazing!
Final Thoughts
Mastering the proper pan temperatures is a critical skill for any cook, whether you're searing a steak or sautéeing vegetables.
Once you've got the technique down, you'll be able to create mouthwatering dishes with ease. Remember, getting the temperature just right is the key to achieving that perfect sear or golden-brown finish.
Don't be afraid to experiment and find what works best for your favorite recipes. With a little practice, you'll be a pan-temperature pro in no time!
The right temperature can make all the difference, so keep an eye on that dial and trust your instincts. Before you know it, you'll be impressing your friends and family with your culinary skills.
Mastering pan temperatures is a game-changer in the kitchen, so embrace the challenge and have fun with it. Who knows, you might even discover a new favorite dish along the way!
Frequently Asked Questions
What Type of Pan Works Best for Searing?
You'll want to use a stainless steel or cast iron pan for the best sear. These materials get hotter and hold heat better than nonstick pans, allowing you to achieve that perfect, caramelized crust on your meats.
How Do I Know When My Pan Is Hot Enough?
You'll know your pan is hot enough when you hold your hand a few inches above it and can feel the intense radiant heat. Keep a close eye on the pan – it can go from not hot enough to too hot quickly.
Can I Reuse the Same Oil for Multiple Sears?
You can reuse the same oil for multiple sears, but it's best to strain and discard it once it becomes discolored or has a strong flavor. This helps maintain the oil's quality and prevent off-flavors in your food.
How Do I Prevent Food From Sticking to the Pan?
To prevent food from sticking to the pan, make sure the surface is hot enough before adding the food. Use a small amount of oil and don't overcrowd the pan. Allow the food to release naturally from the surface.
What's the Best Way to Clean the Pan After Searing?
After searing, let the pan cool slightly, then add some hot water. Gently scrub with a soft sponge or cloth to remove any stuck-on bits. Dry the pan thoroughly before storing or using it again.