
Smoking foods at home is an exciting way to infuse incredible flavor! You can start by experimenting with various wood chips and smoking techniques, like hot and cold smoking. For a tasty smoked salmon, season fillets with a blend of brown sugar, spices, and herbs before smoking at 225°F until the internal temperature reaches 145°F. Monitoring the smoke and temperature is key to achieving perfectly smoked dishes. Don't be afraid to try new recipes and flavor combinations – the possibilities are endless! Mastering the art of home smoking opens up a whole new world of culinary delights.
Key Takeaways
- Select the appropriate smoker type (charcoal grill or electric smoker) and experiment with different wood types to find preferred flavors.
- Soak wood chips in water for 30 minutes to enhance smoke production and ensure consistent smoke for optimal flavor infusion.
- Monitor smoke and temperature regularly to maintain the desired cooking conditions and prevent issues like bitter flavors or overcooking.
- Marinate or brine foods before smoking to infuse deeper flavors, and consider layering flavors with rubs or glazes.
- Practice safety precautions, such as monitoring temperatures and smoke levels, and never leaving the smoker unattended during operation.

Tillbrook Breville Espresso Machine Compatible Descaler - 1 YEAR SUPPLY - Concentrated Descaler for Breville - 16 oz Coffee Maker Cleaner for Breville, Nespresso, Delonghi, Espresso Machine - 4 Uses
- Effective Descaling for Breville: Removes hard water buildup and residue
- One Year Supply: Includes 4 cleanings per bottle
- Easy to Use: Add 1/2 cup concentrate, run machine, repeat
As an affiliate, we earn on qualifying purchases.
History
Smoking food at home has a rich history that dates back centuries. Ancient civilizations, like the Chinese and Native Americans, were the first to discover the wonders of smoking meat, fish, and vegetables. They'd build smokehouses or hang their foods over fire pits to preserve and infuse them with delicious, smoky flavors.
As time passed, the art of smoking evolved. Folks started experimenting with different types of wood, creating unique taste profiles. Oak, hickory, and applewood became popular choices, each lending its own distinct character.
Smokers also learned to control temperature and airflow, allowing them to perfectly cook and flavor their foods.
Today, home smoking is enjoying a resurgence in popularity. Modern smokers, both electric and charcoal-fueled, make it easier than ever to recreate those time-honored techniques in your own backyard.
With a little practice, you can unlock a whole new world of smoked delicacies right from your kitchen.
Recipe
Smoking foods at home can be a delightful way to infuse them with a rich, complex flavor. The process involves slowly cooking the food over a controlled fire, allowing the smoke to permeate the ingredients and create a delightful smoky aroma.
One popular dish to smoke at home is salmon. The velvety texture of the fish pairs beautifully with the bold, earthy notes of the smoke, creating a truly memorable dining experience.
- 2 pounds of fresh salmon fillets
- 2 tablespoons of brown sugar
- 1 tablespoon of smoked paprika
- 1 teaspoon of garlic powder
- 1 teaspoon of salt
- 1/2 teaspoon of black pepper
- 2 cups of wood chips (such as apple or hickory)
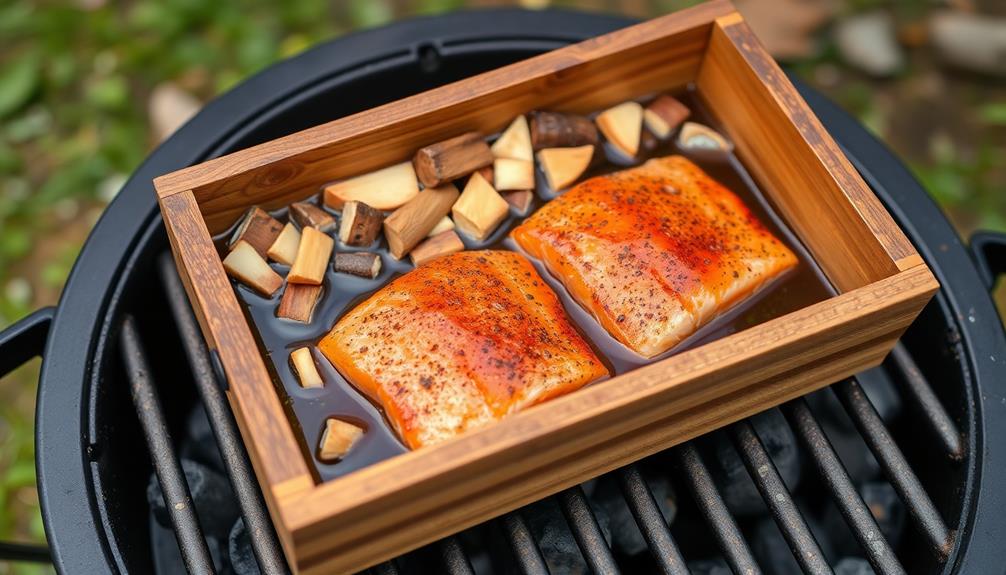
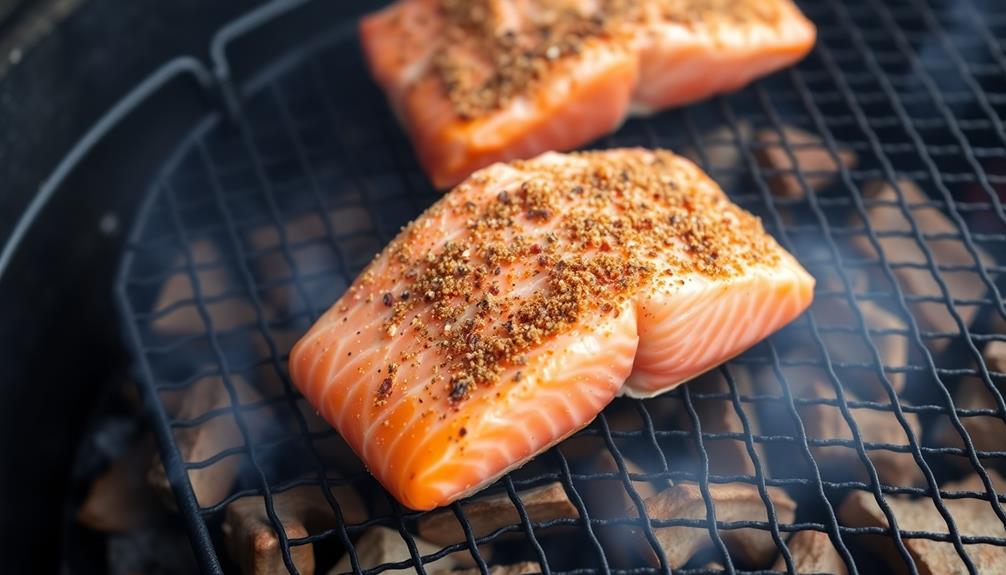
Preheat your smoker or grill to 225°F (107°C). Combine the brown sugar, smoked paprika, garlic powder, salt, and black pepper in a small bowl. Rub the seasoning mixture evenly over the salmon fillets.
Place the wood chips in the smoker and let them start to smoke. Arrange the seasoned salmon fillets on the grill grates, making sure they aren't touching. Close the lid and smoke the salmon for 2-3 hours, or until the internal temperature reaches 145°F (63°C).
It's important to soak the wood chips in water for at least 30 minutes before using them to ensure a consistent and prolonged smoke. Additionally, be sure to monitor the temperature of your smoker or grill to maintain the ideal smoking temperature throughout the cooking process.
Cooking Steps
Prep your smoking vessel and gather the wood chips.
Once you've soaked the chips, it's time to place your food inside the vessel.
Don't forget to cover it up – monitoring the smoke and temperature are key to getting that perfect smoky flavor.
Step 1. Prep Smoking Vessel and Wood Chips
Preparing your smoking vessel and wood chips is a crucial step in the smoking process. You'll want to choose the right type of smoker and wood chips to get the perfect smoky flavor for your foods. A basic charcoal grill or even a small electric smoker will work great.
Fill the smoker with your preferred wood chips, like apple, hickory, or mesquite. Soak the chips in water for about 30 minutes before adding them to the smoker. This helps them smolder and release more smoke. Arrange the wood chips in a single layer for even smoking.
Once your smoker is preheated, add the soaked chips and let the smoke build up before placing your food inside. Experiment with different wood types to find your favorite flavors. The key is controlling the temperature and smoke levels to infuse your foods with that delicious, homemade smoky goodness.
Step 2. Soak Wood Chips for Smoke Generation

Why not soak your wood chips for 30 minutes before adding them to the smoker? This simple step can make a big difference in the quality of the smoke you produce.
By soaking the chips, you'll release more of their natural flavors and aromas. The water will also help the chips smolder slowly, creating a steady stream of fragrant smoke that'll infuse your food with delicious, smoky goodness.
To soak the chips, simply place them in a bowl or container and cover them with water. Let them sit for about half an hour, then drain off the excess water.
Now they're ready to go into your smoker or grill. The damp chips will create a more consistent, longer-lasting smoke that'll keep your food infused with that amazing, homemade flavor.
Give it a try and see how much better your smoked dishes turn out!
Step 3. Place Food in Smoking Vessel
With your wood chips soaked and ready, it's time to place the food into your smoking vessel. Whether you're using a smoker, grill, or even a basic pot, the process is the same. Carefully arrange your meat, fish, or veggies in the smoking chamber, leaving enough space between pieces for even smoke circulation.
If you're smoking larger cuts, you may need to use a meat hook or rack to suspend the food above the heat source. This allows the smoke to fully envelope the item, infusing it with that signature smoky flavor.
For smaller foods, like fish fillets or chicken thighs, you can simply lay them out on the grate or in a perforated pan.
Remember to avoid overcrowding, as this can prevent the smoke from reaching every surface. Once your food is in place, close the lid and let the magic happen!
Keep an eye on the temperature and replenish the wood chips as needed to maintain a steady, consistent smoke throughout the cooking process.
Step 4. Cover Smoking Vessel
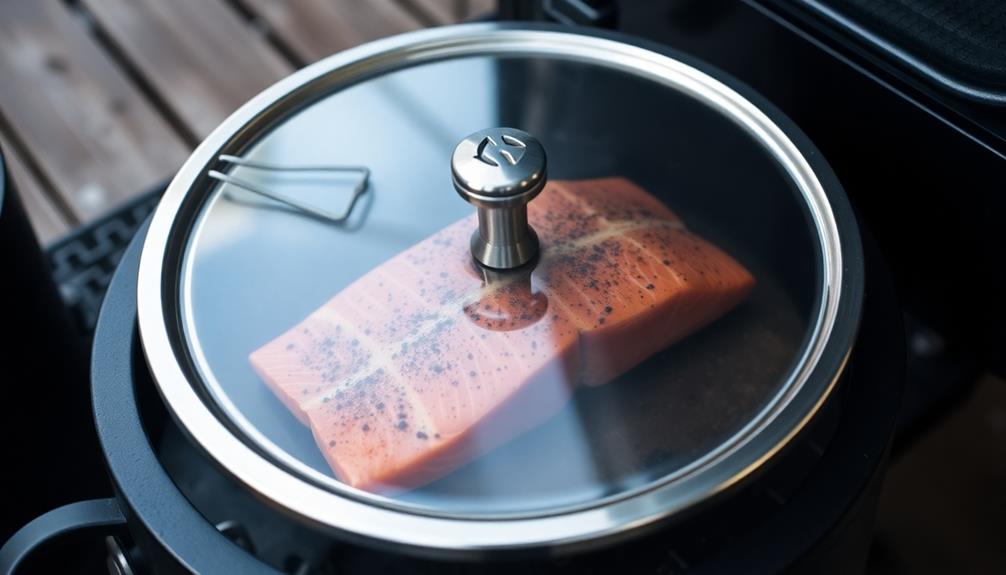
Once the food is carefully arranged in the smoking vessel, you'll want to cover it to create the perfect smoking environment. This helps trap the smoke inside, ensuring the flavors fully infuse into your ingredients.
You can use a tight-fitting lid or even a sheet of heavy-duty aluminum foil. Just make sure to crimp the edges to seal it well. This prevents the precious smoke from escaping.
As the smoking process begins, you'll see the smoke start to billow out from under the lid or foil. This is a good sign – it means the magic is happening!
Be careful when removing the cover, as hot steam will release. Use tongs or oven mitts to lift it safely.
Now that your food is enveloped in flavorful smoke, it's time to let the smoking work its magic. Keep an eye on the time and temperature to achieve your desired level of smokiness. Now that your food is enveloped in flavorful smoke, it’s time to let the smoking work its magic. Keep an eye on the time and temperature to achieve your desired level of smokiness. Remember, maintaining consistent heat is crucial, as fluctuations can disrupt the cooking process. The secret to perfect caramelization lies in finding the right balance between low and slow cooking, allowing natural sugars to develop rich, golden hues without burning. Be patient, and you’ll be rewarded with a smoky masterpiece.
With the vessel covered, you're well on your way to mouthwatering, restaurant-quality smoked foods right at home.
Step 5. Monitor Smoke and Temperature
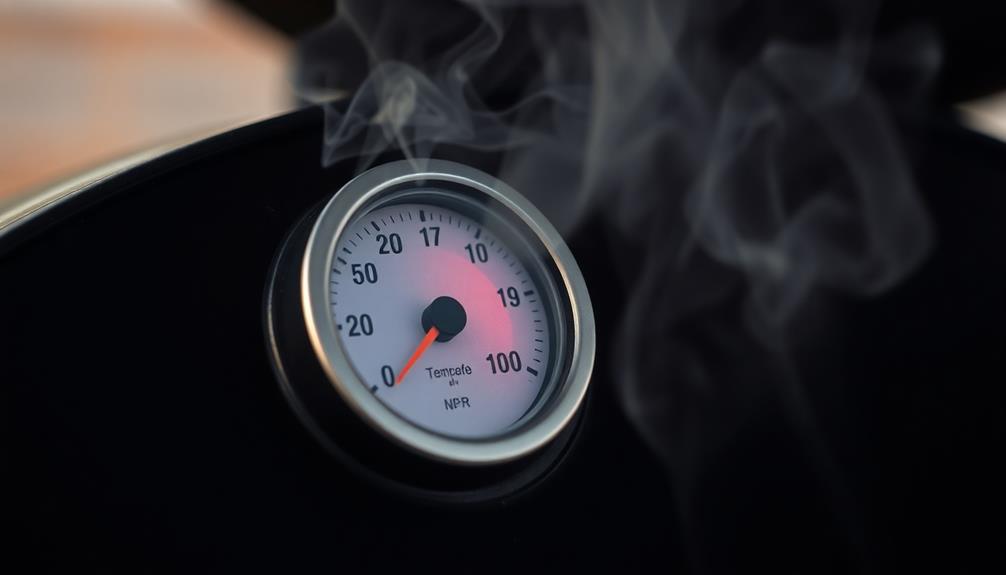
As the smoking process gets underway, you'll want to closely monitor the smoke and temperature. This is crucial for ensuring your food cooks evenly and absorbs the delicious smoky flavor you're after.
Keep a close eye on the smoke coming from your smoker. The amount and color of the smoke can tell you a lot about how your food is cooking. Thin, blue smoke is what you're aiming for – this indicates the wood chips or pellets are burning cleanly and efficiently. Thick, white smoke could mean the fire is too hot or the wood isn't fully ignited, so you may need to adjust your air vents or add more fuel.
Additionally, use a reliable meat thermometer to track the internal temperature of your food. Maintaining the right temperature range is key for achieving that perfect texture and doneness.
Don't be afraid to make small adjustments to your smoker's heat if the temperature starts to drift. Staying on top of both the smoke and temperature will help you nail your smoked dishes every time.
Final Thoughts
Smoking foods at home can be a rewarding and fulfilling experience, but it's important to approach it with caution and attention to safety.
While the process of smoking may seem daunting at first, with a little practice and patience, you'll be creating delicious, smoky-flavored dishes in no time.
Remember, the key to successful home smoking is to experiment and have fun. Don't be afraid to try new techniques, different wood chips, or unique flavor combinations.
The more you explore, the more you'll discover about the art of smoking and the endless possibilities it offers.
As you continue on your home smoking journey, always prioritize safety. Ensure your equipment is in good working order, monitor temperatures and smoke levels closely, and never leave your smoker unattended.
With the right approach, you'll be whipping up mouthwatering smoked creations that will impress your family and friends.
Frequently Asked Questions
What Are the Health Benefits of Smoking Foods at Home?
Smoking foods at home can provide several health benefits. It reduces harmful preservatives and enhances the nutritional profile. Additionally, it allows you to control the ingredients, making your meals healthier and more flavorful.
How Long Does the Smoking Process Typically Take?
The smoking process typically takes several hours, depending on the size and type of food being smoked. It's a slow, patient process, but the results are worth it – you'll get delicious, smoky-flavored foods.
What Types of Wood Chips Should Be Used for Smoking?
When smoking foods, you should choose wood chips that complement the flavor you're aiming for. Hickory and mesquite provide a bold, smoky taste, while fruit woods like apple or cherry offer a milder, sweet smokiness.
Can I Smoke Foods in a Regular Oven or Grill?
You can smoke foods in a regular oven or grill, but the results won't be as authentic as using a dedicated smoker. The oven or grill will provide some smoke flavor, but it won't impart the same depth and complexity.
How Do I Properly Store Smoked Foods?
To properly store smoked foods, you'll want to wrap them tightly in plastic wrap or foil and keep them refrigerated. This will help preserve the smoky flavor and prevent the food from drying out.