Understanding "gluten-free" labeling is crucial for your dietary needs. It started decades ago when celiac disease was identified, leading to official guidelines in the 1970s. Today, the FDA defines "gluten-free" to ensure safety. While gluten-free doesn't mean healthier, reviewing nutrition facts and ingredients is key. Gluten-free recipes require specialty flours, precise measurements, and careful techniques. Empowering yourself with this knowledge boosts your confidence when selecting products and cooking at home. Continuous learning about gluten-free options opens the door to a healthier lifestyle – and there's plenty more to explore.
Key Takeaways
- Gluten-free labeling has evolved from the 1940s to the 2013 FDA definition, providing clearer guidelines for safe product identification.
- Gluten-free does not inherently mean healthier, as some products may still contain high levels of sugar, fat, or calories.
- Reviewing nutrition facts and ingredient lists is crucial for aligning gluten-free choices with individual dietary needs and wellness goals.
- Selecting certified gluten-free ingredients is essential for gluten-free recipe success, with precise measurement and careful mixing techniques.
- Maintaining a balanced diet is achievable with proper gluten-free options, and understanding labels empowers informed decisions for healthier outcomes.
Top picks for "understand gluten free"
Open Amazon search results for this keyword.
As an affiliate, we earn on qualifying purchases.
History
The origins of gluten-free labeling can be traced back to the 1940s, when researchers first identified gluten as the primary culprit behind a condition known as celiac disease. This autoimmune disorder causes an adverse reaction in the small intestine when gluten, a protein found in wheat, barley, and rye, is consumed.
As awareness of celiac disease grew, the need for clear labeling and guidance for those following a gluten-free diet became increasingly important.
In the 1970s, the first official gluten-free labeling guidelines were established in the United States, paving the way for more consistent and reliable information for consumers.
Over the decades, these regulations have continued to evolve, with the FDA introducing a formal definition of "gluten-free" in 2013 to ensure that products meeting this claim meet strict criteria.
Today, the gluten-free market has expanded significantly, offering a wide range of options for those following a gluten-free lifestyle.
Recipe
Cooking a delicious gluten-free meal can be a rewarding experience. By understanding the nuances of gluten-free labeling and selecting the right ingredients, you can create flavorful dishes that cater to dietary needs without sacrificing taste.
This recipe for a classic gluten-free dish will guide you through the process step-by-step. It's essential to ensure that your meal includes safe ingredients that won't trigger any adverse reactions, such as safe snacks for hamsters for those considering dietary restrictions in pets.
The key to a successful gluten-free recipe is careful ingredient selection. It's important to read labels thoroughly and choose products that are certified gluten-free to ensure your dish is safe for those with gluten sensitivities or celiac disease.
Ingredients:
- 2 cups gluten-free all-purpose flour
- 1 teaspoon baking powder
- 1/2 teaspoon salt
- 1/2 cup unsalted butter, softened
- 3/4 cup granulated sugar
- 2 large eggs
- 1 teaspoon vanilla extract
To prepare this gluten-free dish, preheat your oven to 350°F (175°C). Grease a 9-inch baking pan with non-stick cooking spray or line it with parchment paper.
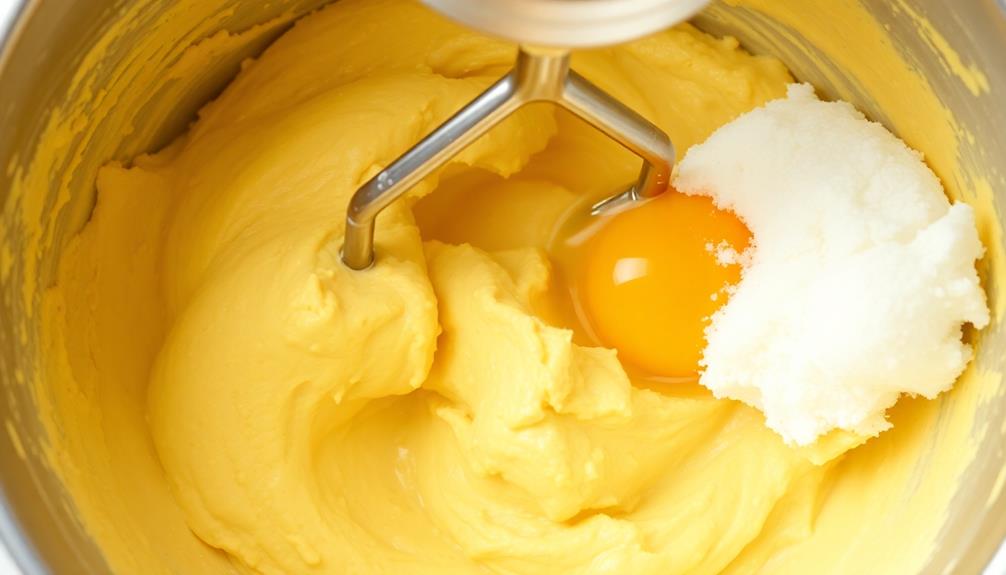
In a medium bowl, whisk together the gluten-free all-purpose flour, baking powder, and salt. In a separate large bowl, cream the softened butter and granulated sugar until light and fluffy. Beat in the eggs one at a time, then stir in the vanilla extract. Gradually add the dry ingredients to the wet ingredients, mixing just until combined. Pour the batter into the prepared baking pan and smooth the top.
It's important to note that gluten-free baking can sometimes require a bit of experimentation. Be patient and adjust cooking times or temperatures as needed to achieve the perfect texture and doneness.
Additionally, consider serving this dish with a side of fresh fruit or a complementary gluten-free sauce or topping to enhance the overall flavor profile.
Cooking Steps
First, gather all the required ingredients and measure them out precisely.
Next, mix the dry ingredients in a bowl.
Then, add the wet ingredients and stir until the batter is well-combined.
Step 1. Gather All Required Ingredients

Gathering the necessary ingredients is the foundation for a successful gluten-free dish. Start by checking your pantry and fridge to see what you already have on hand. You'll likely need staples like gluten-free flour, xanthan gum, and baking powder.
Don't forget any special ingredients the recipe calls for, like almond milk or rice vinegar.
Take a few minutes to read through the entire recipe so you know exactly what you need. Make a shopping list and head to the store. Carefully examine food labels, looking for the "gluten-free" certification or the absence of wheat, barley, and rye.
Avoid any processed items that don't explicitly state they're gluten-free. Once you've gathered everything, organize your workspace for easy access. Line up your measured ingredients in the order you'll use them.
This prep work ensures a smooth cooking process and delicious gluten-free results.
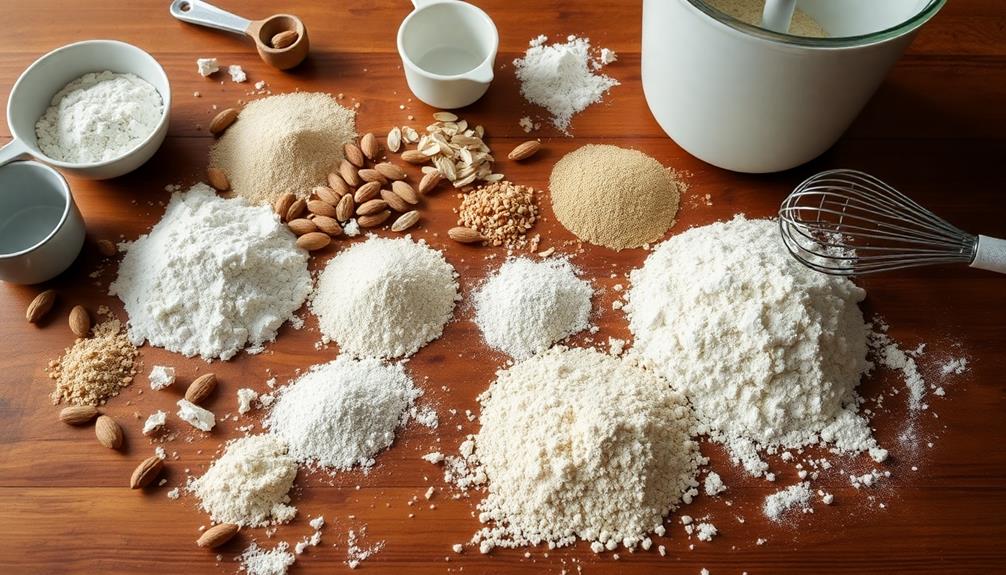
Step 2. Measure and Mix Dry Ingredients
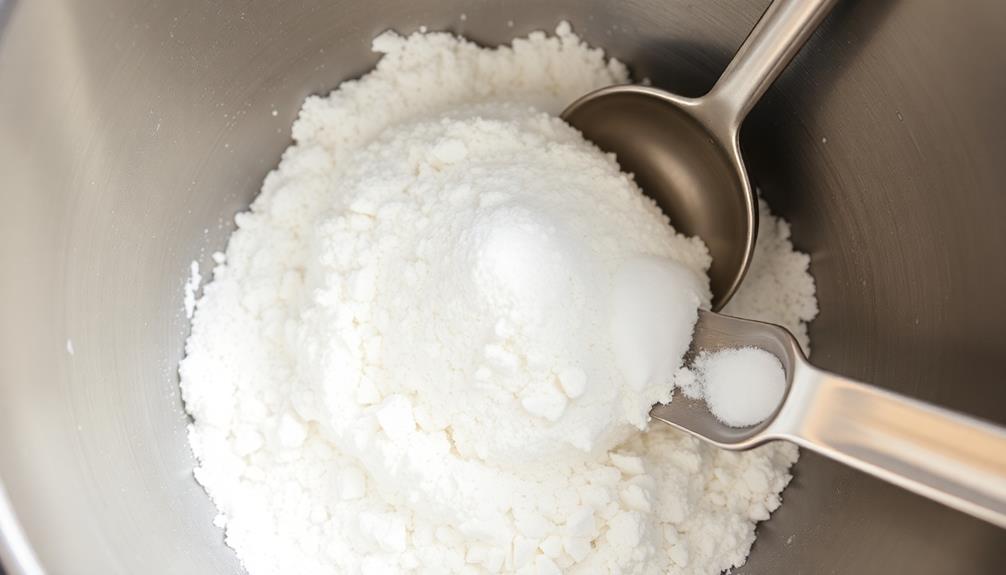
Measuring and mixing the dry ingredients is a crucial step in any gluten-free recipe. You'll need to carefully measure each item, ensuring you have the right amount of flour, baking powder, salt, and any other dry components.
Start by using a clean, dry bowl and a set of measuring cups and spoons. Gently spoon the flour into the cup, being careful not to pack it down, as this can throw off the measurements. For smaller ingredients like baking powder and salt, use the measuring spoons to get the precise amount.
Once you've measured everything, use a whisk or fork to thoroughly combine the dry ingredients. This step helps evenly distribute the components, making for a better final result.
Take your time and double-check your work – precision is key when baking gluten-free. With the dry ingredients ready, you can move on to mixing in the wet ingredients and bringing your recipe to life.
Step 3. Add Wet Ingredients
After you've carefully measured and combined the dry ingredients, it's time to add the wet components to your gluten-free recipe. This is where you'll incorporate the liquids that'll bring everything together.
Depending on the recipe, you might need to add things like milk, eggs, oil, or even water. Gently fold these wet ingredients into the dry mixture, being careful not to overmix. You want to achieve a smooth, consistent batter or dough, but don't overwork it.
Overworking can lead to a dense, tough final product. Once the wet and dry ingredients are just combined, you're ready to move on to the next step.
Whether you're baking bread, muffins, or something else, paying close attention to how you add the wet ingredients is crucial for achieving the perfect gluten-free result. Take your time and enjoy the process – the payoff will be worth it!
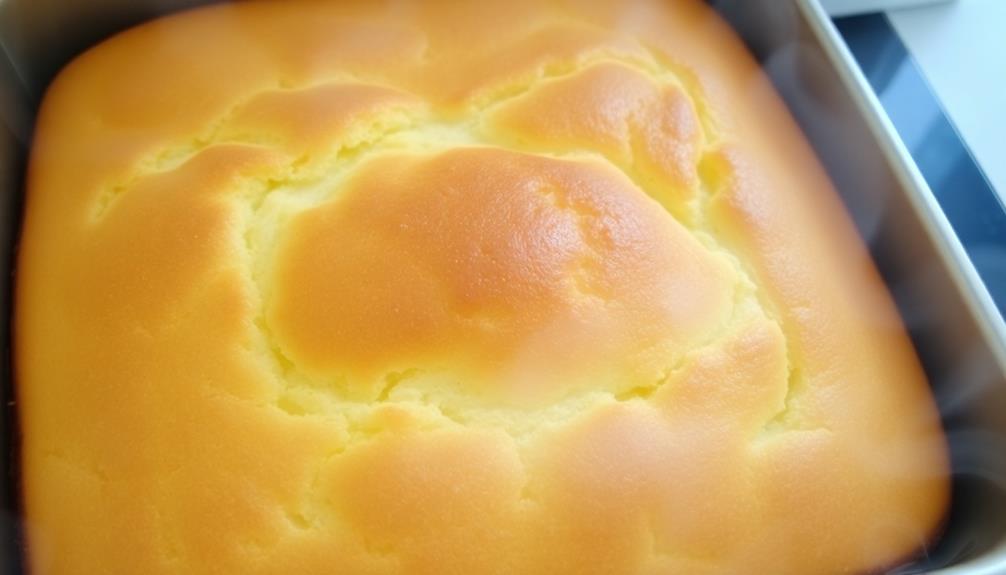
Step 4. Bake at 375°F for 30 Minutes
With the wet and dry ingredients combined, it's time to move on to the baking step.
Preheat your oven to 375°F and get ready to pop those gluten-free treats in. This temperature is perfect for ensuring the outside bakes evenly while the inside stays moist and delicious.
Set a timer for 30 minutes, and keep an eye on them as they bake. You'll know they're done when the tops are lightly golden and a toothpick inserted in the center comes out clean.
Step 5. Allow to Cool Completely
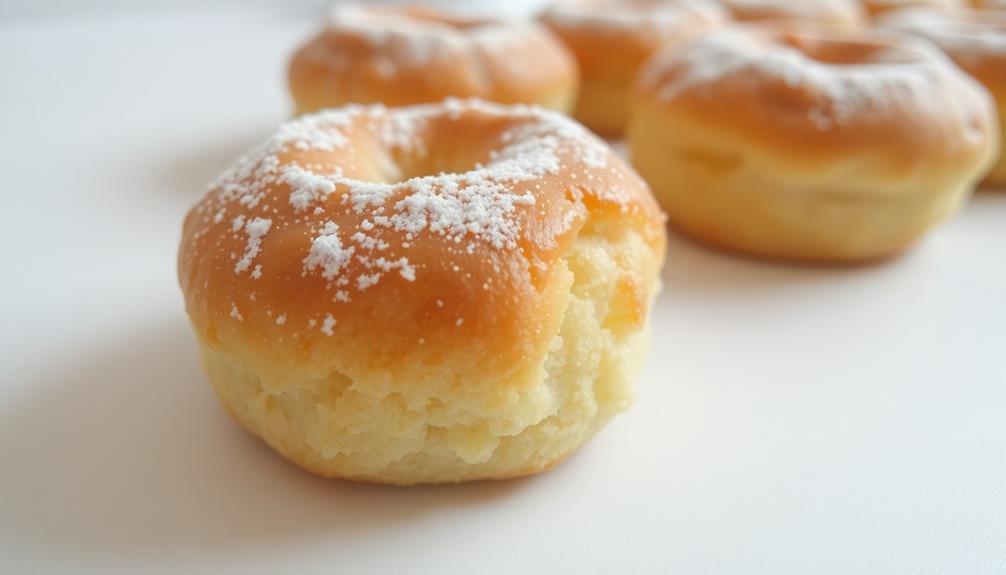
Once the baking time is up, always allow your gluten-free baked goods to cool completely before handling or serving. This step is crucial, as the items need time to finish setting and firming up. Rushing to cut into or move them right away can cause them to fall apart or lose their shape.
Give your muffins, breads, and other baked treats at least 15-20 minutes to cool on the pan. This allows the starches and proteins to fully set. Then, you can carefully transfer them to a wire rack to cool completely, which may take another 30 minutes or more.
For cakes, the cooling process is even more important – let them sit for an hour or more before frosting or slicing. Patience pays off, as properly cooled gluten-free baked goods will have a better texture and hold together much better.
Don't skip this vital step, or you may end up with a crumbly, messy result. Take the time to let them cool thoroughly for best results.
Final Thoughts
Ultimately, understanding gluten-free labeling can empower you to make informed choices and maintain a healthy, balanced diet. Knowing what to look for on food labels ensures you can confidently navigate the grocery store and select products that suit your dietary needs.
Remember, just because a food is labeled "gluten-free" doesn't automatically make it a healthier option – some may still be high in sugar, fat, or calories. It's important to read the full nutrition facts panel and ingredient list to ensure the item aligns with your overall wellness goals.
As you continue on your gluten-free journey, stay curious and don't hesitate to ask questions. Reach out to manufacturers, consult with healthcare professionals, and connect with online communities for support.
With time and practice, deciphering gluten-free labels will become second nature, empowering you to make choices that nourish both your body and your well-being. Being able to identify hidden ingredients that contain gluten, such as maltodextrin and modified food starch, will give you the confidence to navigate the grocery store with ease. This knowledge will also allow you to enjoy a wider range of foods while avoiding the discomfort and potential health risks associated with consuming gluten. Ultimately, taking the time to understand and decipher gluten-free labels will lead to a healthier and happier lifestyle.
Frequently Asked Questions
How Do I Know if a Product Is Truly Gluten-Free?
To know if a product is truly gluten-free, look for the "gluten-free" label on the packaging. This legally-binding claim ensures the product contains less than 20 parts per million of gluten, making it safe for those with gluten sensitivities.
What Should I Look for When Reading Gluten-Free Labels?
When reading gluten-free labels, look for the "gluten-free" claim and check the ingredient list for any wheat, rye, barley, or oats. Avoid products that don't clearly state they're gluten-free or contain questionable ingredients.
Are There Any Hidden Sources of Gluten to Watch Out For?
When scanning for hidden gluten, watch out for ingredients like malt, soy sauce, and even some spice blends. Carefully read labels and avoid anything that doesn't explicitly state it's gluten-free.
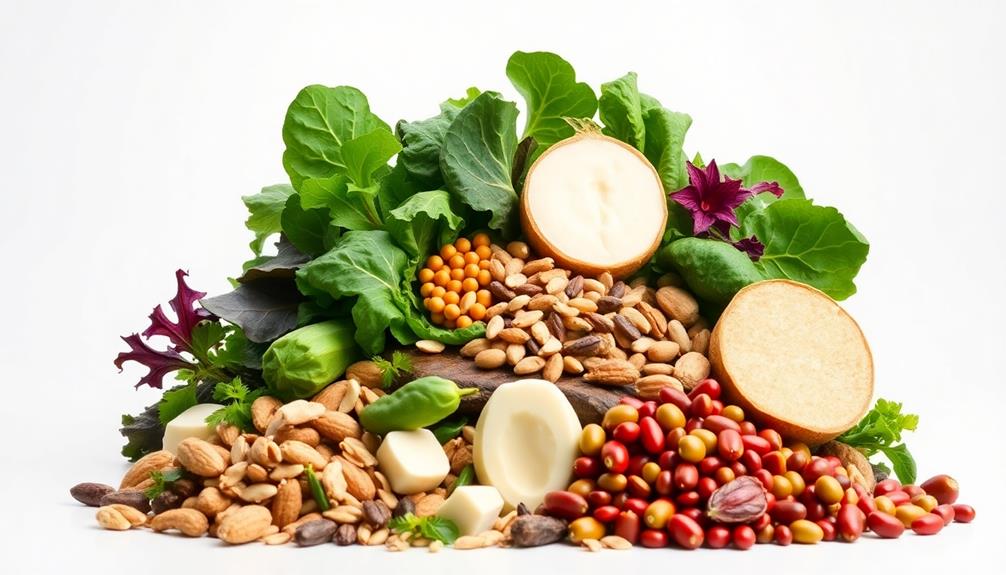
How Can I Ensure a Gluten-Free Diet Is Balanced and Nutritious?
To ensure your gluten-free diet is balanced and nutritious, focus on consuming a variety of whole foods like fruits, vegetables, lean proteins, and gluten-free grains. Supplement with vitamins and minerals if needed to meet your nutritional requirements.
What Are the Potential Health Benefits of a Gluten-Free Lifestyle?
A gluten-free lifestyle may offer several potential health benefits, such as improved digestive function, reduced inflammation, and better management of certain autoimmune conditions. It can also encourage you to consume more whole, nutrient-dense foods.