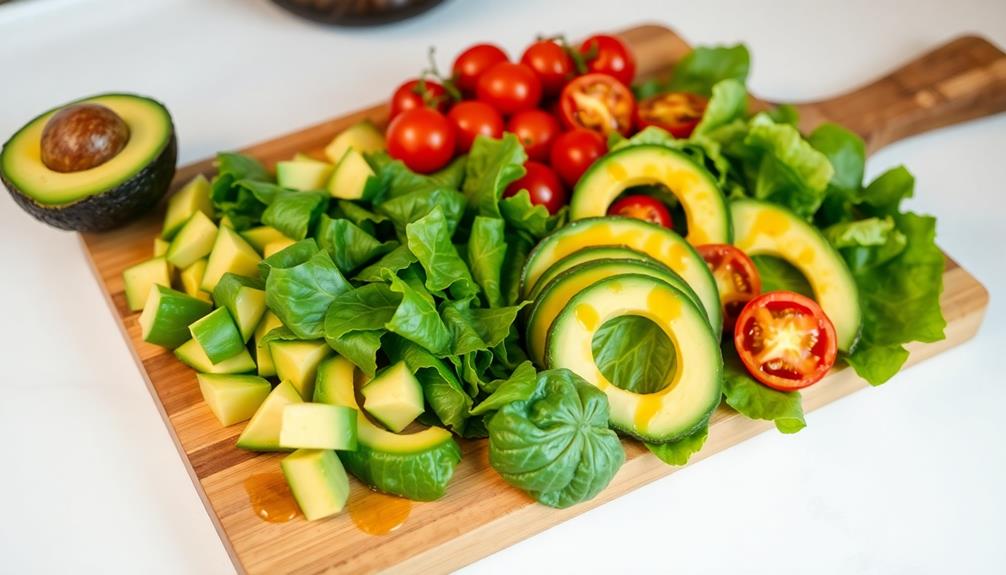
Reintroducing FODMAPs is an important, personalized journey. You'll need patience as you gradually test your tolerance to specific foods. By monitoring your reactions, you'll learn which FODMAPs trigger digestive issues and which you can enjoy. Don't be afraid to revisit previously intolerant foods – your tolerance may change over time. Keep a food diary and work closely with healthcare professionals to manage symptoms. Incorporate a variety of nutrient-rich foods while finding the right balance for your body. The FODMAP approach is flexible, allowing you to craft an eating plan that supports your overall well-being. Discovering your unique FODMAP tolerance opens the door to a fuller, more enjoyable diet.
Key Takeaways
- Reintroducing FODMAPs is a gradual and careful process, requiring patience to understand individual tolerance levels.
- Monitoring reactions to specific foods helps identify triggers, as tolerance to certain FODMAPs may change over time.
- Revisiting previously intolerant foods can yield different results, allowing for a personalized approach to food choices.
- Regular consultations with healthcare professionals are advised to manage symptoms and maintain a balanced, nutrient-rich diet.
- The FODMAP approach is personalized, encouraging flexibility in dietary choices for a more enjoyable and sustainable experience.
Top picks for "reintroduc fodmap test"
Open Amazon search results for this keyword.
As an affiliate, we earn on qualifying purchases.
History
Tracing the roots of the FODMAP approach, the concept was first introduced in the early 2000s by researchers at Monash University in Australia. They discovered that certain carbohydrates, collectively known as FODMAPs (Fermentable Oligosaccharides, Disaccharides, Monosaccharides, and Polyols), could trigger digestive symptoms in people with conditions like irritable bowel syndrome (IBS).
The team at Monash developed a diet that restricted high-FODMAP foods, which proved effective in managing IBS symptoms for many individuals. This groundbreaking research paved the way for the FODMAP approach to gain widespread recognition and adoption around the world.
As more people learned about the potential benefits of a low-FODMAP diet, the need for guidance on properly testing your personal FODMAP tolerance became increasingly important. This article aims to provide you with the insights and strategies to navigate the FODMAP reintroduction process, empowering you to find the right balance of FODMAP-containing foods that work for your unique digestive needs.
Recipe
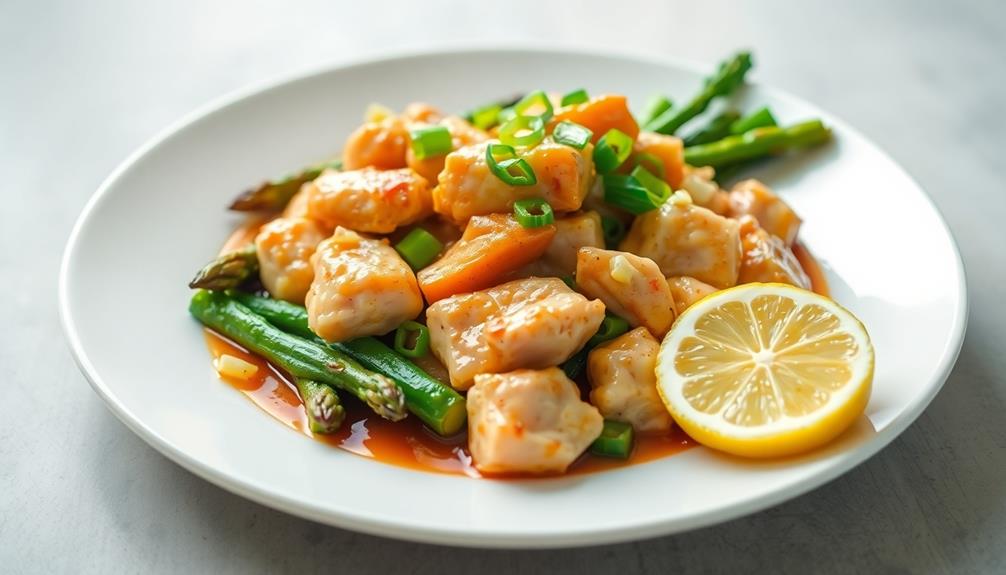
Low-FODMAP Lemon Chicken and Asparagus Stir-Fry
Chicken and asparagus are low-FODMAP ingredients that can be enjoyed by those following a FODMAP-friendly diet. This simple stir-fry dish combines lean protein with fresh vegetables, creating a nutritious and flavorful meal.
The lemon and garlic-infused sauce adds a bright and savory touch, making it a versatile dish that can be enjoyed any night of the week. This recipe is designed to be FODMAP-friendly, with modifications to common stir-fry ingredients to ensure minimal FODMAP content.
By following a low-FODMAP diet, you can identify your personal tolerance levels and enjoy a wider variety of foods.
Ingredients:
- 1 lb boneless, skinless chicken breasts, cut into bite-sized pieces
- 1 lb asparagus, trimmed and cut into 1-inch pieces
- 2 tablespoons olive oil
- 2 tablespoons low-FODMAP garlic-infused oil
- 2 tablespoons low-sodium soy sauce or tamari
- 2 tablespoons freshly squeezed lemon juice
- 1 teaspoon grated lemon zest
- 1/4 teaspoon ground ginger
- Salt and pepper to taste
Instructions:
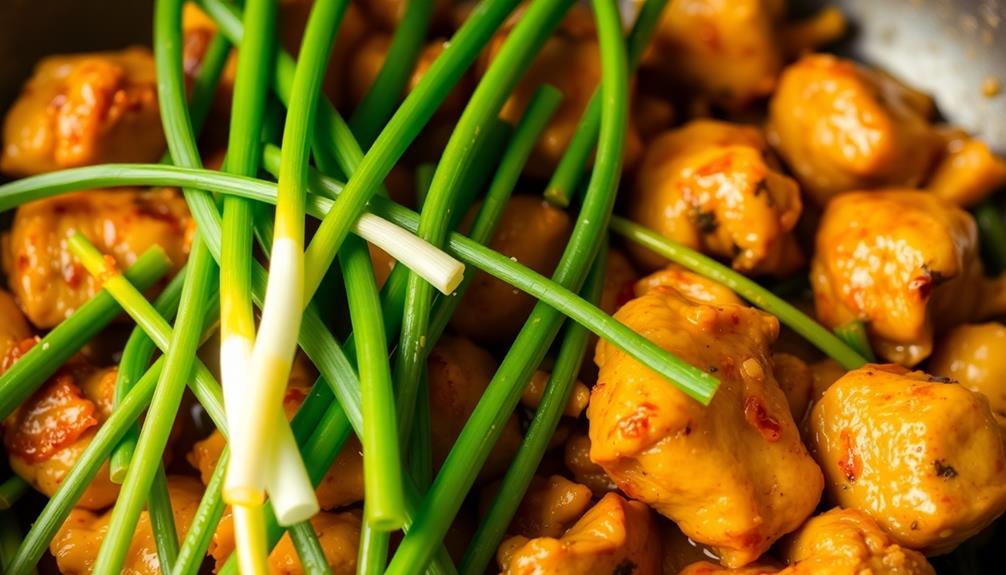
In a large skillet or wok, heat the olive oil and garlic-infused oil over medium-high heat. Add the chicken and stir-fry until cooked through, about 5-7 minutes.
Add the asparagus and continue stir-frying until the asparagus is tender-crisp, about 3-5 minutes. In a small bowl, whisk together the soy sauce, lemon juice, lemon zest, and ground ginger.
Pour the sauce into the skillet and stir to coat the chicken and asparagus. Season with salt and pepper to taste. Serve immediately.
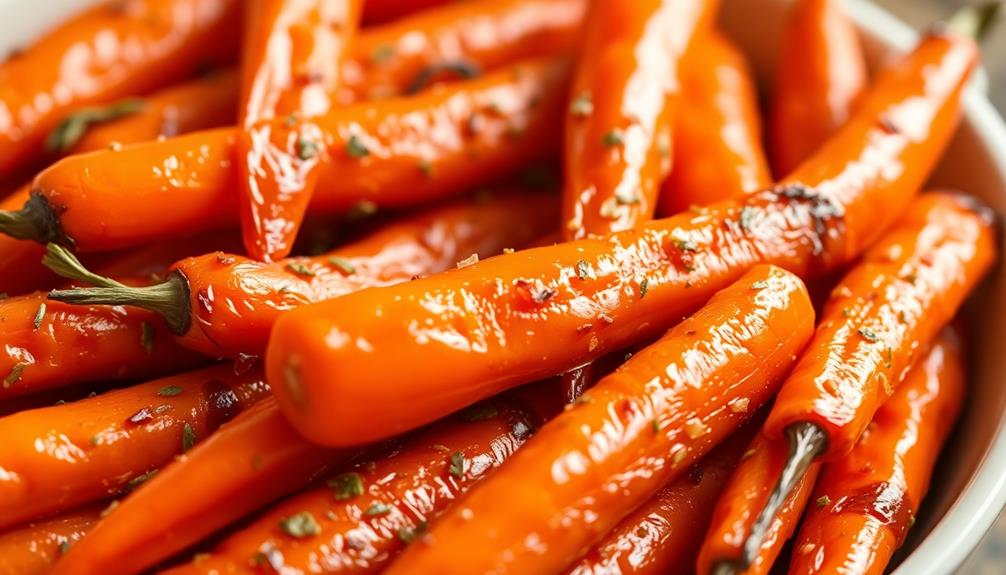
Tip: For an extra burst of flavor, garnish the dish with fresh lemon wedges or chopped scallions (green parts only). Serve over steamed jasmine rice or with a side salad for a complete low-FODMAP meal.
Cooking Steps
First, make sure to prepare the ingredients according to the recipe.
Next, pop the dish in the oven and bake it for 20 minutes at 375°F.
Step 1. Prepare Ingredients According to Recipe

Preparing your ingredients according to the recipe is a crucial step in the low-FODMAP cooking process. Take a close look at the ingredient list and chop, measure, and gather everything you'll need. Carefully read through each step to ensure you have all the necessary items on hand. This will help the cooking flow smoothly and prevent any last-minute scrambling.
Slice, dice, or mince your vegetables as specified. Be mindful of the size – bigger chunks may take longer to cook. Measure out the exact amounts of spices, sauces, and other pantry staples. Double-check that you have the right type, like gluten-free soy sauce or low-lactose milk.
Prepare any proteins, like chicken or tofu, according to the recipe instructions. Setting up your workstation with all the prepped ingredients makes the actual cooking much easier and less stressful. Take the time to get organized, and you'll find the recipe comes together quickly and effortlessly.
Step 2. Bake for 20 Minutes at 375°F

After preheating your oven to 375°F, you'll want to place the prepared ingredients in the baking dish or on a baking sheet. Be sure to spread them out evenly to ensure even cooking.
It's important to set a timer for 20 minutes, as this is the recommended baking time for this recipe. While the dish is in the oven, you can take a few moments to tidy up your kitchen and prepare any additional items you'll need, like a side salad or some fresh bread.
Keep an eye on the food as it bakes, checking for any signs of browning or bubbling. When the timer goes off, use oven mitts to carefully remove the baking dish or sheet from the oven.
Give the contents a quick visual inspection to ensure they're cooked through. If needed, you can return the dish to the oven for a few more minutes. Once you're satisfied with the results, you can begin plating and serving your delicious creation.
Step 3. Let the Dish Cool Slightly

Upon removing the dish from the oven, allow it to cool slightly before serving.
This brief cooling period is crucial, as it'll prevent you from burning your mouth on the piping hot food. Plus, it'll allow the flavors to settle and meld together, enhancing the overall taste.
Resist the temptation to dive in right away – take a few minutes to let the dish cool to a comfortable temperature. You can use this time to set the table or prepare any garnishes or accompaniments.
Once the dish has cooled slightly, you're ready to serve it up and enjoy! This cooling step ensures your meal isn't only delicious but also safe to eat.
Take that extra moment, and you'll be rewarded with a perfectly prepared dish that's at the ideal temperature. Your taste buds will thank you!
Step 4. Serve Immediately With Desired Toppings
With the dish now slightly cooled, it's time to serve it up with your desired toppings. Don't be afraid to get creative!
You can start by sprinkling on some fresh herbs like parsley or cilantro. They'll add a nice burst of flavor and color. If you're in the mood for something a little more substantial, consider adding a protein-rich topping such as eggs or healthy breakfast meats.
Try topping it with a sprinkle of shredded cheese or a dollop of sour cream. The tangy creaminess will complement the dish perfectly.
For a little crunch, you could even add some toasted nuts or breadcrumbs. Just be sure to keep an eye on them so they don't burn.
And if you're looking to make it a heartier meal, a side of steamed veggies or a fresh salad would be the perfect accompaniment.
Step 5. Garnish With Fresh Herbs
Fresh herbs can really elevate the final dish. They add a vibrant pop of color, a burst of fresh aroma, and a delightful contrast of flavors. When garnishing your meal with fresh herbs, consider the types that complement the dish best.
For example, tender herbs like basil, cilantro, and parsley work well with Mediterranean-inspired recipes, while hardier herbs like rosemary, thyme, and oregano pair nicely with heartier, savory dishes. Incorporating fresh herbs can also enhance the overall healthiness of your breakfast, much like the high-protein breakfast options available at various bed and breakfasts.
To garnish, simply pluck the leaves from the stems and scatter them over the top of your prepared meal. You can also chiffonade the herbs by stacking the leaves, rolling them tightly, and slicing them into thin ribbons. This creates a beautiful presentation.
Avoid chopping the herbs too far in advance, as they can start to wilt. For the freshest flavor, add them at the very end, just before serving. A sprinkle of fresh herbs is the perfect finishing touch to elevate your dish.
Final Thoughts
As you reach the end of your FODMAP journey, it's crucial to reflect on the lessons you've learned. Reintroducing foods can be a delicate process, but with patience and dedication, you'll discover which items you can comfortably enjoy.
Remember, your tolerance may change over time, so be open to revisiting foods you once couldn't handle. Throughout this process, you've gained valuable insights into your body's unique needs. Trust your instincts and continue to listen to how your digestive system responds.
Celebrate your successes, but don't be too hard on yourself if certain foods still cause discomfort. The FODMAP approach is a powerful tool, but it's not a one-size-fits-all solution.
As you move forward, maintain a balanced diet with a variety of nutrient-rich foods. Consult with your healthcare team if you have any ongoing concerns.
With the right strategies, you can find the sweet spot between managing your symptoms and enjoying the foods you love.
Frequently Asked Questions
What Is the Best Way to Gradually Reintroduce FODMAP Foods?
The best way to gradually reintroduce FODMAP foods is to start with small portions, monitor your body's response, and slowly increase the amount over time. Be patient and listen to how your body reacts to each food.
How Long Should the Reintroduction Process Take?
The reintroduction process should take several weeks. Start with one FODMAP food group at a time, waiting 2-3 days between each introduction. This allows you to determine your tolerance level for different FODMAP foods.
Can I Reintroduce Multiple FODMAP Groups at the Same Time?
You can reintroduce multiple FODMAP groups at the same time, but it's generally recommended to test one group at a time. This allows you to better identify which foods cause symptoms and to what degree.
What if I Experience Symptoms During the Reintroduction Phase?
If you experience symptoms during the reintroduction phase, stop the reintroduction and go back to your low-FODMAP diet. Consult your healthcare provider to determine which FODMAP group is causing the symptoms and how to proceed with reintroduction.
How Do I Know if a FODMAP Food Is Safe for Me to Consume?
If you experience symptoms during the reintroduction phase, it's a sign that the FODMAP food is not safe for you to consume. You'll need to avoid that food and try reintroducing a different FODMAP group to determine your tolerance.