Whether you're following a gluten-free diet or simply seeking delicious snack alternatives, the world of gluten-free snacks has come a long way. From humble beginnings in the early 20th century, the market has expanded dramatically, with a quarter of Americans now seeking out gluten-free options. You'll find an array of satisfying crackers, chips, and nut-based bites to curb your cravings. Recipes allow for easy customization with mix-ins like nuts, dried fruit, or chocolate chips. And with the right cooling process, you can enjoy these treats without compromising texture or flavor. Ready to explore the rewarding world of gluten-free snacking? Xanthan gum benefits the texture of many gluten-free snacks, providing the chewiness and elasticity that gluten typically lends to baked goods. This ingredient, derived from fermented corn sugar, has become a staple in gluten-free baking, allowing for a more satisfying mouthfeel in snacks like cookies and brownies. With so many options available, it’s easier than ever to find tasty gluten-free snacks that satisfy your cravings and dietary needs. So why not start exploring the world of gluten-free snacking today?
Key Takeaways
- Gluten-free snack options have expanded over the decades, catering to a growing awareness of gluten sensitivities and dietary needs.
- Gluten-free snack recipes can be customized with a variety of mix-ins, such as nuts, dried fruit, or chocolate chips.
- Proper cooling is essential for maintaining the texture and flavor of gluten-free snacks after baking.
- Chia seeds are a common ingredient featured in many gluten-free snack recipes, providing nutritional benefits.
- The gluten-free lifestyle encourages culinary exploration and the discovery of new, satisfying gluten-free snack options.
History
Gluten-free snacks have a long and fascinating history, tracing back to the early 20th century. In the 1920s, researchers discovered that removing gluten from the diet could help manage celiac disease, a severe autoimmune disorder. This sparked the development of the first gluten-free food products, initially targeting the small population with this condition.
Over the decades, as awareness of gluten sensitivities grew, the gluten-free market has expanded exponentially. Today, it's estimated that around 25% of Americans actively seek out gluten-free options, whether for medical reasons or personal preference.
The availability of gluten-free snacks has increased dramatically, providing tasty and convenient alternatives for those avoiding wheat, barley, and rye. From classic crackers and pretzels to innovative vegetable-based chips and nut-based bites, the options are more diverse and accessible than ever before. Many brands are also developing sweet treats like cookies and brownies that cater to gluten intolerances without compromising on flavor. Additionally, glutenfree beer options have become more widely available, allowing beer enthusiasts to enjoy their favorite beverage without the worry of gluten. With these expanding choices, it’s easier than ever for individuals with dietary restrictions to indulge without feeling limited.
This evolution reflects the growing demand for safe, satisfying gluten-free choices to enjoy between meals.
Recipe
Gluten-free snacking can be a delightful and satisfying experience. By carefully selecting ingredients and following simple recipes, you can create tasty treats that cater to a gluten-free lifestyle. In this recipe, we'll explore a delectable gluten-free snack that's sure to satisfy your cravings. Incorporating the health benefits of chia seeds can enhance the nutritional profile of your snacks, making them even more beneficial for your digestive health.
Embracing the versatility of gluten-free ingredients, this recipe showcases the perfect balance of flavors and textures. Whether you're looking for a quick snack or a shareable treat, this dish is sure to delight your taste buds and leave you feeling nourished.
Ingredients:
- 2 cups gluten-free all-purpose flour
- 1 teaspoon baking powder
- 1/2 teaspoon salt
- 1/2 cup unsalted butter, softened
- 3/4 cup granulated sugar
- 1 large egg
- 1 teaspoon vanilla extract
Instructions:
Preheat your oven to 375°F (190°C). Line a baking sheet with parchment paper. In a medium bowl, whisk together the gluten-free all-purpose flour, baking powder, and salt.
In a separate large bowl, cream the softened butter and granulated sugar until light and fluffy. Beat in the egg and vanilla extract until well combined. Gradually add the dry ingredients to the wet ingredients, mixing until a dough forms.
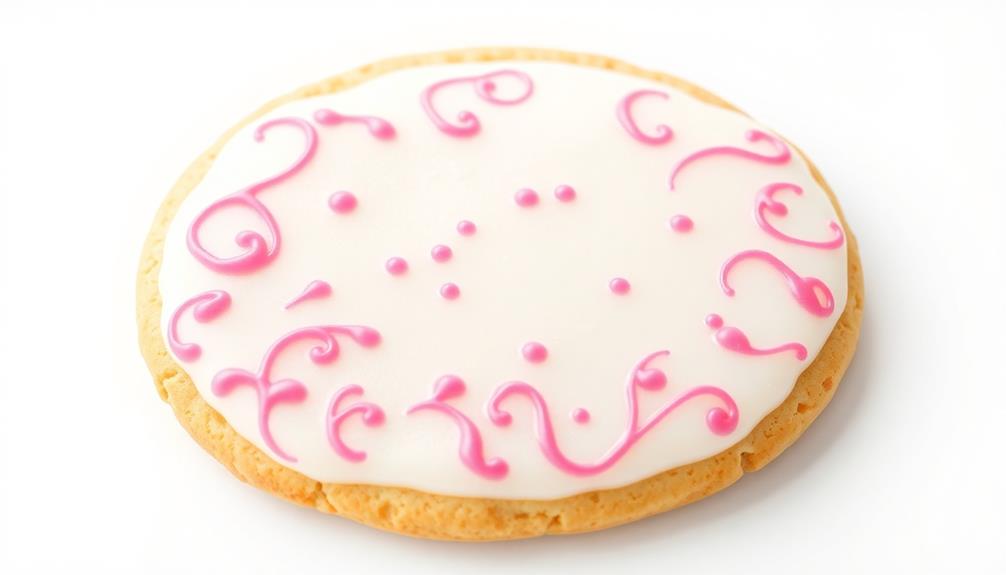
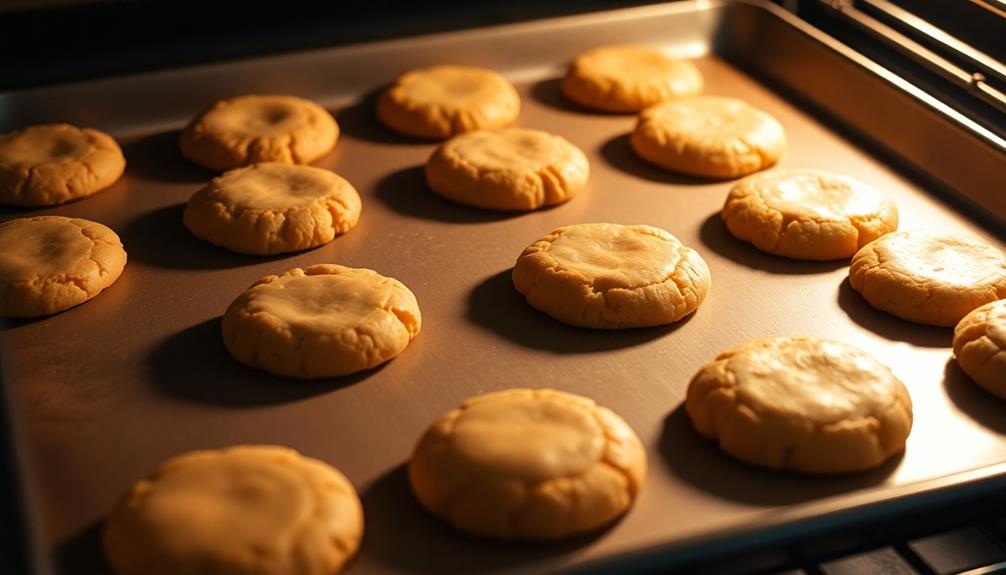
Roll the dough into 1-inch balls and place them on the prepared baking sheet, spacing them about 2 inches apart. Bake for 12-15 minutes, or until the edges are lightly golden. Allow the cookies to cool on the baking sheet for 5 minutes before transferring them to a wire rack to cool completely.
These gluten-free snacks aren't only delicious but also incredibly versatile. Feel free to experiment with different mix-ins, such as chopped nuts, dried fruit, or chocolate chips, to create your own unique variations. You can also try incorporating ingredients like oats, quinoa, or flaxseed to add a nutritional boost to your snacks. With these small tweaks, you can turn these treats into satisfying sweets for blood sugar control. Whether you’re looking for a quick energy boost or a guilt-free dessert, these gluten-free snacks are the perfect choice for any occasion.
Additionally, you can dust the cooled cookies with powdered sugar or drizzle them with melted chocolate for an extra special touch. Enjoy these treats as a satisfying snack or share them with friends and family.
Cooking Steps
First, preheat your oven to 350°F.
Next, you'll mix the dry ingredients together.
Then, add the wet ingredients and stir until the batter is smooth.
Bake for 25-30 minutes, and be sure to let the snacks cool completely before enjoying.
Step 1. Preheat Oven to 350°F
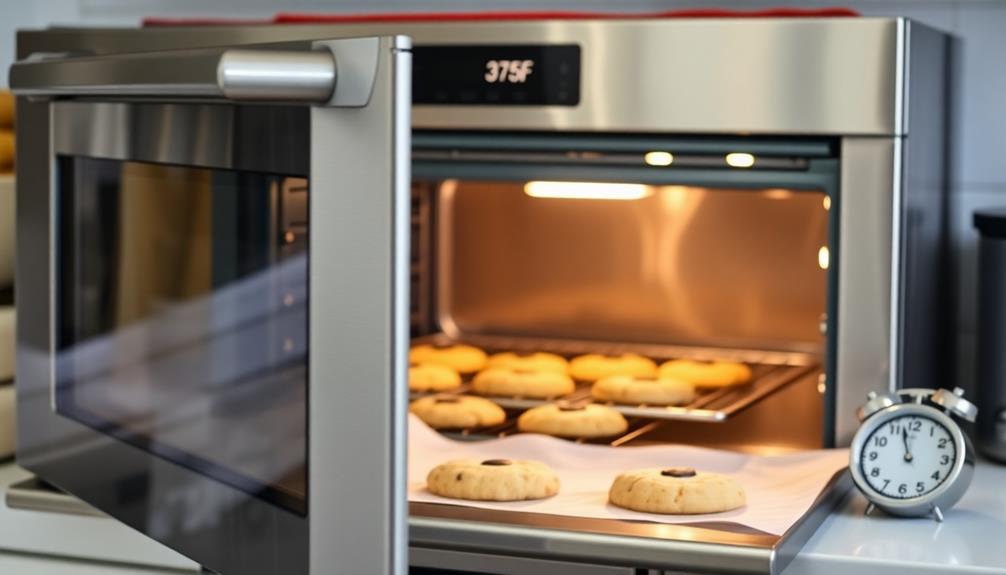
Preheat your oven to a toasty 350°F (177°C) before diving into the recipe's preparation. This crucial first step ensures your oven is hot and ready to bake your gluten-free snacks to perfection.
Allow a few minutes for the oven to reach the target temperature – you don't want to rush this part. While you're waiting, gather your ingredients and prepare your workstation. Having everything ready to go will make the cooking process seamless.
Once the oven beeps, indicating it's preheated, slide in your baking tray or sheet. Keep a close eye on the snacks, rotating the pan halfway through if needed, until they're golden brown and irresistibly crisp.
The aroma wafting through your kitchen will have your family eagerly awaiting their gluten-free treats. With the oven preheated, you're one step closer to serving up satisfying, gluten-free snacks that'll have everyone coming back for more.
Step 2. Mix Dry Ingredients
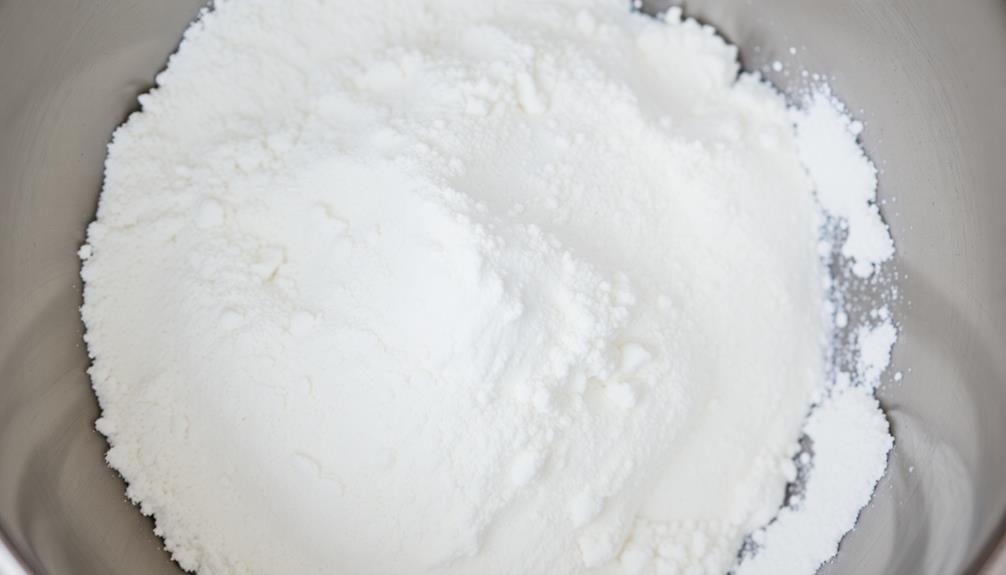
With your oven preheated, it's time to combine the dry ingredients. In a medium-sized bowl, whisk together the gluten-free flour, baking soda, and salt until they're evenly distributed. This step ensures your baked goods have the right texture and rise.
Be sure to use a gluten-free flour blend that's formulated for baking, as these mixes contain the perfect balance of ingredients to replicate the structure of traditional wheat flour.
Next, you'll want to add any other dry spices or seasonings your recipe calls for. Maybe you're making savory crackers and need to mix in some herbs and garlic powder.
Or perhaps you're whipping up sweet cinnamon-sugar cookies, in which case you'd stir in ground cinnamon. Thoroughly incorporating the dry elements will help them disperse evenly throughout your snacks, guaranteeing incredible flavor in every bite.
Once your dry mixture is ready, you can move on to blending in the wet ingredients and shaping your gluten-free treats.
Step 3. Add Wet Ingredients

Your next step is to add the wet ingredients. In a separate bowl, combine the plant-based milk, nut butter, and vanilla extract. Whisk these together until you have a smooth, creamy mixture. Once the wet ingredients are well combined, gradually pour them into your dry ingredients while stirring gently. This step is key to ensuring a well-balanced batter consistency. For those making the transition to dairy-free living, recipes like this show how easy it can be to adapt without sacrificing texture or flavor.
The wet ingredients will help hold your gluten-free snack together and add moisture and flavor. Be sure to incorporate them thoroughly, so every bite is perfectly balanced. Additionally, using ingredients rich in antioxidants, such as celery juice, can enhance the nutritional profile of your snacks.
If your batter seems too thick, you can add a splash more plant-based milk to thin it out. On the other hand, if it's too runny, simply stir in a bit more nut butter. Get a feel for the right consistency – you want it to be soft and pliable, but not dripping wet.
Once the wet and dry ingredients are combined, you're ready to move on to the next step. Stay tuned for instructions on shaping your delicious gluten-free treats!
Step 4. Bake for 25-30 Minutes
Once the batter is ready, preheat your oven to 350°F (175°C). Grab a baking sheet and line it with parchment paper or a silicone baking mat. This will help your gluten-free treats release easily when they're done baking.
Carefully scoop the batter onto the prepared baking sheet, spacing the portions a few inches apart. You can use a spoon or small cookie scoop to get uniform shapes. Gently smooth the tops of the batter mounds if needed.
Pop the baking sheet into the preheated oven and set a timer for 25-30 minutes. Keep an eye on your snacks, as baking times may vary. They're ready when the edges are golden brown and a toothpick inserted in the center comes out clean.
Once baked, let the gluten-free treats cool on the baking sheet for a few minutes before transferring them to a wire rack. This helps them firm up before you dig in.
Enjoy your freshly baked, delicious gluten-free snacks!
Step 5. Allow to Cool Completely

After your gluten-free treats have baked, let them cool completely on the wire rack. This step is crucial to ensure your baked goods maintain their texture and shape. Rushing the cooling process can cause your treats to become crumbly or misshapen.
As the treats cool, the internal temperature will gradually decrease, allowing the structure to set and the flavors to come together. Depending on the size and thickness of your baked goods, this cooling process can take 30 minutes or more. Be patient and resist the temptation to dive in too soon.
Once the treats have fully cooled, you can carefully transfer them to a serving plate or storage container. This prevents any accidental crumbling or damage.
Properly cooled gluten-free snacks will have a delightful texture and retain their flavor. Enjoy your homemade, gluten-free treats at their best!
Final Thoughts
Embracing the gluten-free lifestyle doesn't mean you have to sacrifice the joy of snacking. With the array of delicious and nutritious gluten-free snack options available, including best gluten-free recipes featuring chia seeds, you can indulge your cravings while prioritizing your health.
Remember, the key to successfully incorporating gluten-free snacks into your diet is to experiment and find the ones that truly satisfy your taste buds. Don't be afraid to try new recipes or venture outside of your comfort zone.
As you continue on your gluten-free journey, keep an open mind and stay curious. Explore the vibrant world of gluten-free ingredients and be inspired by the creative ways you can satisfy your snacking desires.
With a little bit of effort and a lot of enjoyment, you'll discover that the gluten-free lifestyle can be both delicious and rewarding. Embrace the freedom to snack guilt-free and savor every moment of your gluten-free culinary adventures.
Frequently Asked Questions
How Do I Identify Gluten-Free Snacks?
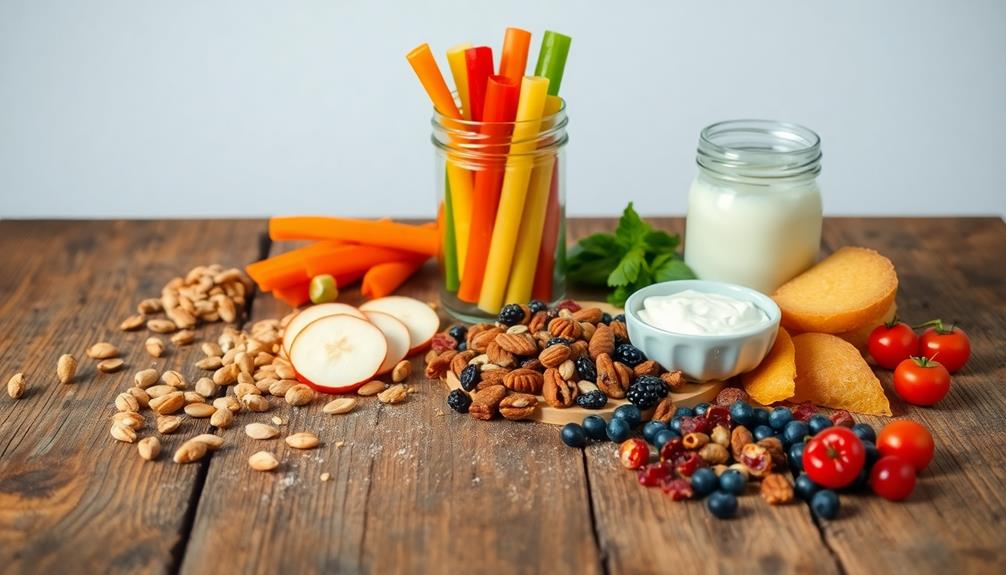
To identify gluten-free snacks, look for labels that clearly state "gluten-free." Check the ingredients list, avoiding items containing wheat, barley, or rye. Opt for naturally gluten-free snacks like nuts, seeds, fruits, and vegetables.
Are Gluten-Free Snacks More Expensive Than Regular Snacks?
Yes, gluten-free snacks are typically more expensive than regular snacks. The specialized ingredients and production processes required to make them gluten-free often drive up the cost compared to conventional snack options.
Can Gluten-Free Snacks Be Consumed by Everyone?
Yes, gluten-free snacks can be consumed by everyone, not just those with gluten sensitivities. They provide a safe and tasty option for anyone looking to avoid gluten in their diet.
How Long Do Gluten-Free Snacks Last?
Gluten-free snacks typically have a shelf life of 6-12 months, depending on the specific product and storage conditions. They can be safely consumed long after the expiration date, as long as they haven't developed any obvious signs of spoilage.
What Are the Health Benefits of Gluten-Free Snacks?
Gluten-free snacks provide several health benefits. They're often higher in fiber, which can improve digestion. They may also be lower in calories and carbs, making them a healthier choice for weight management. Plus, they're a safe option for those with gluten intolerance.