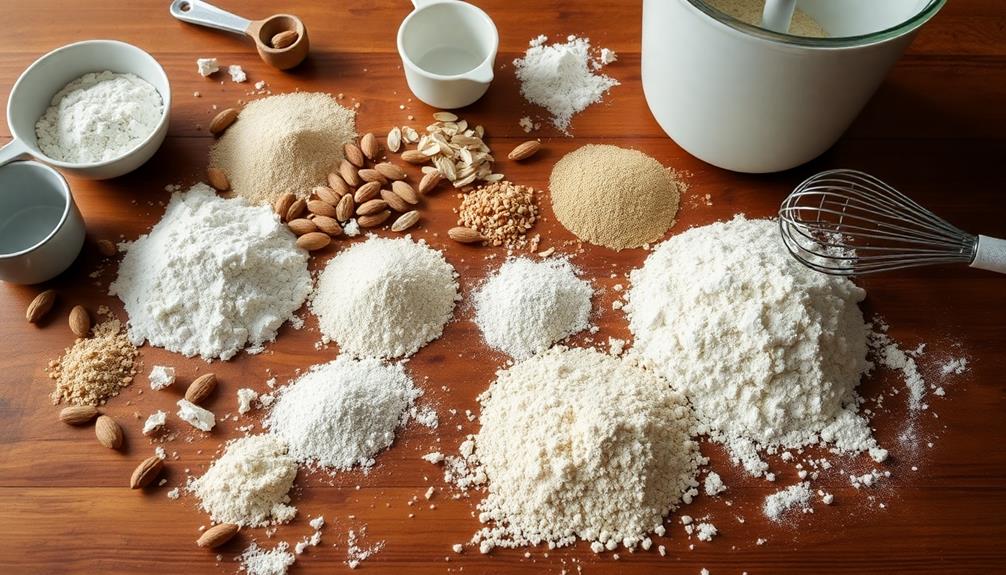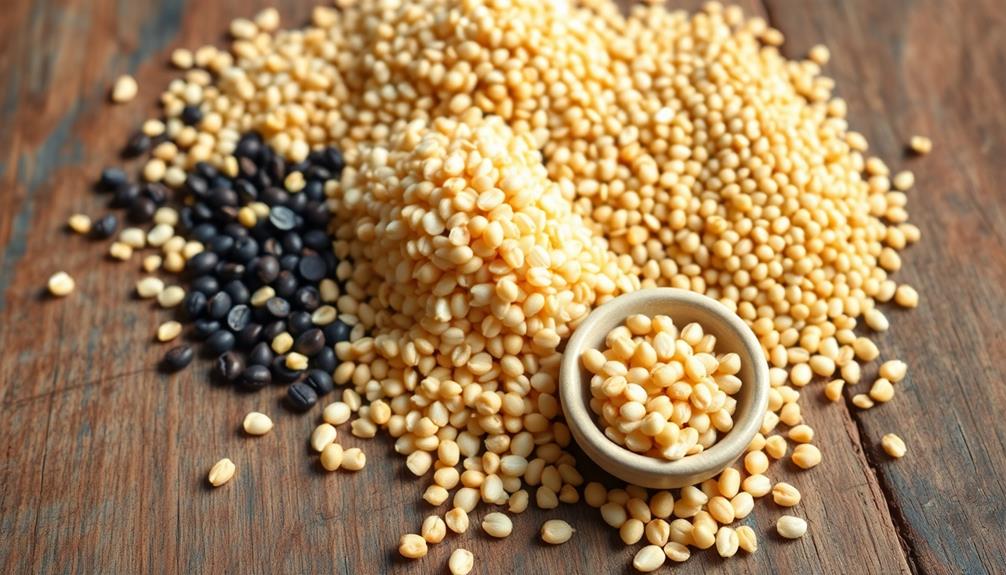
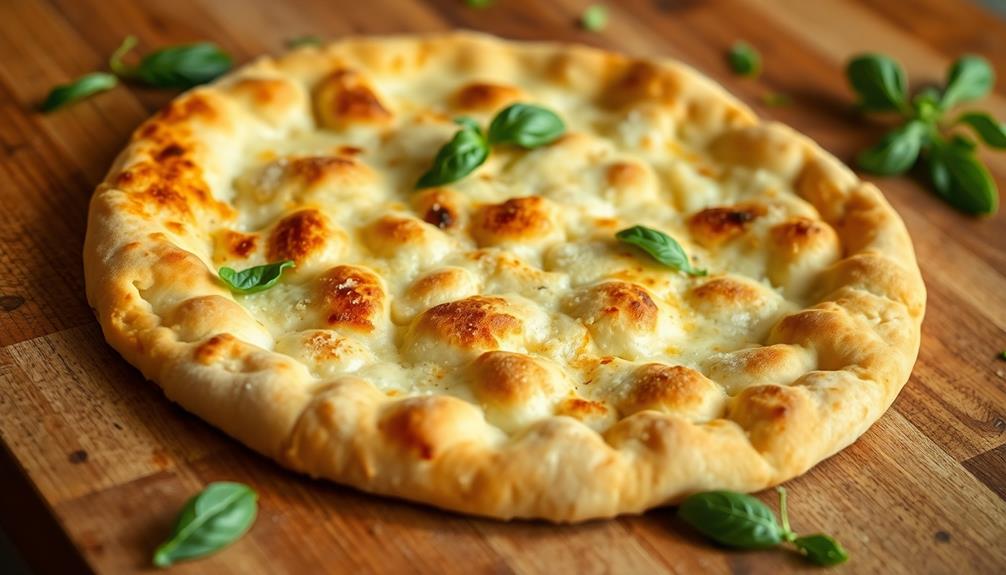
Quinoa, millet, and buckwheat are ancient superfoods that can spice up your gluten-free cooking! These nutrient-dense grains have nourished cultures for thousands of years, and you'll love their unique flavors and impressive health benefits. Quinoa is a complete protein that's rich in antioxidants, while millet and buckwheat offer sustained energy without gluten-related issues. Cooking these grains is a breeze – just rinse, simmer, and fluff. You can use them in everything from salads to baked goods, and don't forget to try adding in some energizing seeds! Keep reading to discover more about incorporating these versatile gluten-free superstars into your meals.
Key Takeaways
- Quinoa, millet, and buckwheat are ancient grains that are naturally gluten-free, rich in essential nutrients, fiber, and protein.
- These gluten-free grains offer various health benefits, including antioxidant properties, sustained energy, and in the case of quinoa, a complete protein source.
- Proper cooking techniques, such as rinsing quinoa and maintaining a gentle simmer, are crucial for achieving the desired texture and flavor of these grains.
- Gluten-free grains can be used in a wide range of dishes, including salads, bowls, pilafs, baked goods, and breakfast options, offering versatility in the kitchen.
- Incorporating seeds like chia can further enhance the nutritional profile and unique textures of gluten-free grain-based meals.
Top picks for "gluten free grain"
Open Amazon search results for this keyword.
As an affiliate, we earn on qualifying purchases.
History
Gluten-free grains have a long and diverse history, dating back thousands of years. Quinoa, for instance, was a staple food of the ancient Incas, who revered it as a sacred crop. These tiny, protein-packed seeds have been cultivated in the Andes for over 6,000 years.
Millet, another gluten-free grain, has been a dietary mainstay in parts of Africa and Asia for millennia. Its cultivation can be traced back to at least 10,000 years ago.
Buckwheat, though not technically a grain, has also been a dietary staple for centuries, particularly in Eastern Europe and Asia. Its origins can be traced to around 6,000 BC in China.
These ancient grains have nourished cultures around the world and are now experiencing a resurgence in popularity as people seek out healthier, more sustainable food options. Their rich histories and unique flavors make them valuable additions to any gluten-free pantry.
Recipe
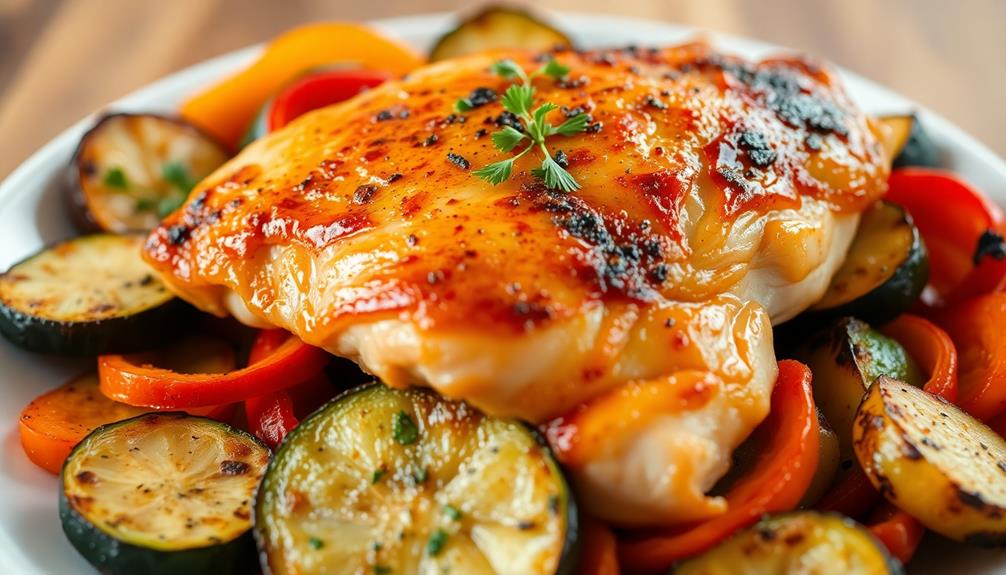
Gluten-free grains offer a delicious and nutritious alternative for those seeking to avoid wheat and other glutinous cereals. One such versatile grain is quinoa, a South American staple that has gained popularity worldwide for its exceptional nutritional profile and easy-to-prepare nature.
Incorporating elements like aromatherapy benefits can enhance your cooking experience, providing a calming atmosphere while you prepare meals. This recipe showcases the versatility of quinoa by transforming it into a flavorful and satisfying dish. The combination of hearty quinoa, fresh vegetables, and aromatic spices creates a well-balanced and satisfying meal that's sure to please both gluten-free and non-gluten-free eaters alike.
Ingredients:
- 1 cup quinoa, rinsed
- 2 cups vegetable broth
- 1 tablespoon olive oil
- 1 onion, diced
- 2 cloves garlic, minced
- 1 red bell pepper, diced
- 1 cup sliced mushrooms
- 1 cup diced zucchini
- 1 teaspoon ground cumin
- 1 teaspoon dried oregano
- Salt and pepper to taste
Instructions:
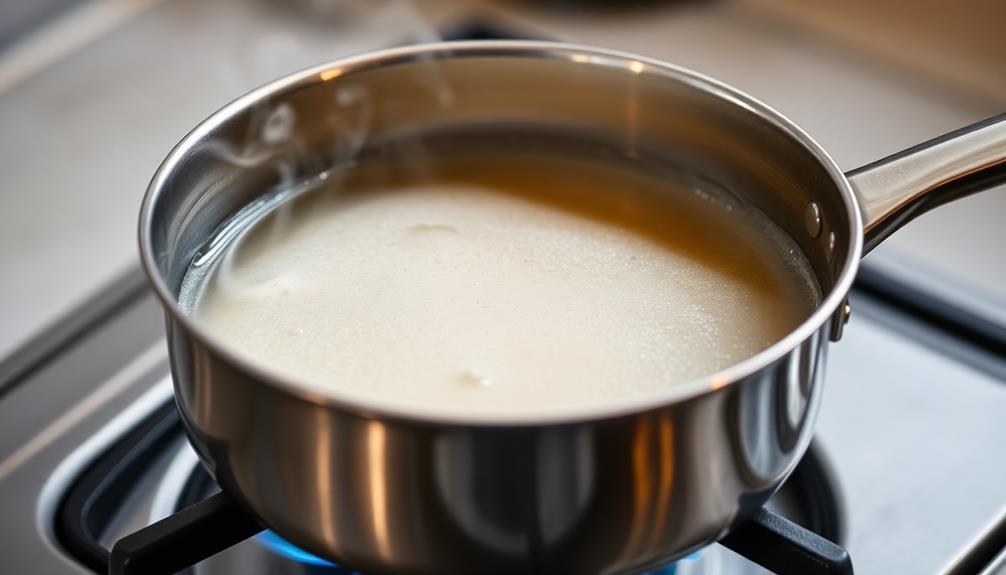
In a medium saucepan, combine the quinoa and vegetable broth. Bring to a boil, then reduce heat to low, cover, and simmer for 15-20 minutes, or until the quinoa is tender and the liquid has been absorbed. Fluff with a fork and set aside.
In a large skillet, heat the olive oil over medium heat. Add the onion and garlic and sauté for 2-3 minutes until fragrant. Add the bell pepper, mushrooms, and zucchini, and continue to sauté for 5-7 minutes, or until the vegetables are tender.
Stir in the cooked quinoa, cumin, and oregano, and season with salt and pepper to taste. Cook for an additional 2-3 minutes, or until everything is heated through.
To ensure the best texture and flavor, be sure to rinse the quinoa thoroughly before cooking to remove any bitterness. Additionally, feel free to adjust the spices to your personal taste preferences, and consider adding other gluten-free vegetables or proteins to make this dish your own.
Cooking Steps
Rinse the quinoa before cooking to remove any residual bitterness.
Bring the quinoa and liquid to a boil, then reduce the heat and let it simmer for 15-20 minutes.
Once the quinoa is cooked, remove the lid and fluff it with a fork, letting it stand for 5 minutes before serving.
Step 1. Rinse Quinoa Before Cooking

Before cooking quinoa, it's important to give it a good rinse. Quinoa is a small, round grain that contains natural compounds called saponins. These can make the quinoa taste bitter or soapy if not properly removed.
To rinse quinoa, place it in a fine-mesh strainer and run it under cool water for about 30 seconds, gently rubbing the grains with your fingers. This will wash away those pesky saponins, leaving you with perfectly sweet and nutty-tasting quinoa.
Be sure to drain the quinoa well after rinsing, then transfer it to a pot and cook it according to the package instructions. Rinsing quinoa only takes a minute, but it makes a big difference in the final flavor.
Trust us, this simple step is well worth the effort for delicious, high-quality quinoa every time.
Step 2. Bring to a Boil
After thoroughly rinsing the quinoa, it's time to bring it to a boil.
Place the rinsed quinoa in a medium saucepan and add the recommended amount of water or broth – typically a 1:2 quinoa-to-liquid ratio. Bring the mixture to a boil over high heat, stirring occasionally to prevent sticking.
Once the liquid reaches a rolling boil, reduce the heat to low, cover the saucepan with a tight-fitting lid, and let the quinoa simmer gently.
Simmering is key – you don't want a rapid boil, as that can cause the quinoa to overcook and become mushy. Set a timer for around 15-20 minutes, or until the quinoa has absorbed all the liquid and the grains are light and fluffy.
Fluff the cooked quinoa with a fork before serving.
Step 3. Simmer for 15-20 Minutes
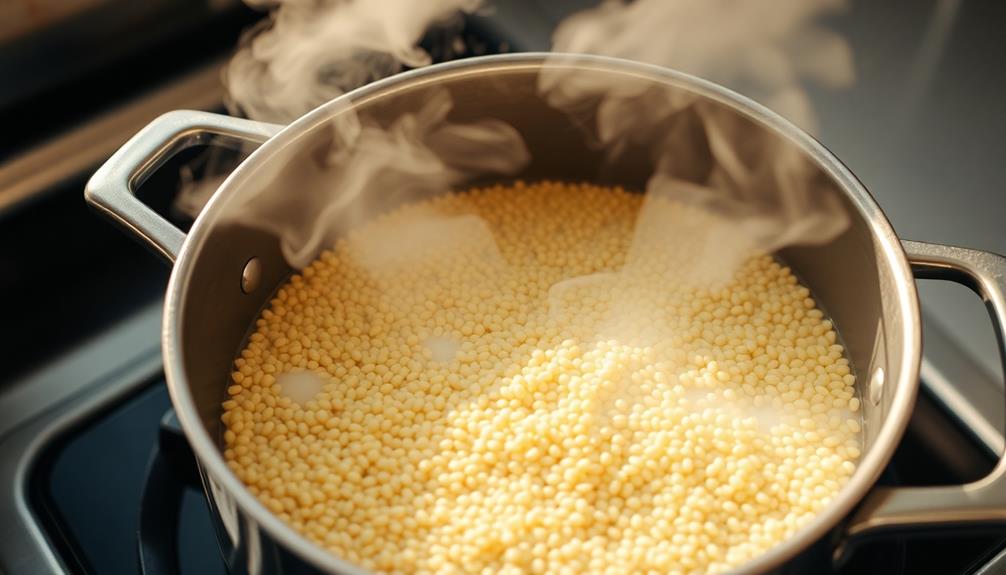
Once the liquid has reached a boil, reduce the heat to low and let the quinoa simmer gently for 15-20 minutes.
This simmering stage is crucial for allowing the quinoa to fully cook and become light and fluffy. Embracing mindfulness during this cooking process can also enhance your overall experience in the kitchen, as it aligns with the principles of personal development that promote focus and intention.
Don't peek too often, as this can disrupt the cooking process. You'll know the quinoa is done when it's tender and has a slight curl to the grains.
At this point, remove the pot from the heat and let it sit for 5 minutes with the lid on. This resting period allows the quinoa to finish absorbing any remaining liquid.
Fluff the quinoa with a fork before serving. The slow, steady simmering ensures the quinoa cooks evenly and develops a delightful texture.
Be patient and resist the temptation to stir or check on it too frequently. With a little time and attention, you'll end up with perfectly cooked quinoa that's ready to be enjoyed in all your favorite gluten-free recipes.
Step 4. Remove Lid and Fluff With Fork

Remove the lid and fluff the quinoa with a fork. This step is crucial for getting light and fluffy quinoa. The steam that built up inside the pot during cooking can make the quinoa sticky if you don't do this.
Gently run the fork through the quinoa, lifting and separating the grains. This allows excess moisture to escape, preventing the quinoa from becoming clumped together.
Fluffing also incorporates air into the quinoa, giving it a light and airy texture. Be careful not to overmix, as this can make the quinoa too dry. Just a few gentle passes with the fork should do the trick.
Once the quinoa is nice and fluffy, it's ready to serve. Fluffing is a simple but important step that transforms quinoa from sticky to light and delicious. Give it a try and enjoy the difference it makes in your quinoa dishes.
Step 5. Let Stand for 5 Minutes
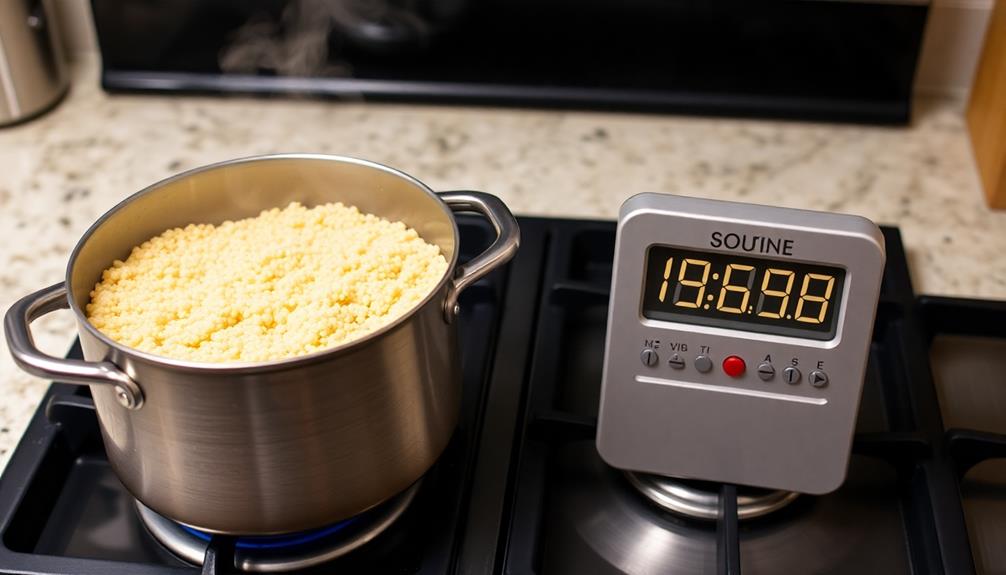
Next, let the quinoa stand for 5 minutes after removing the lid. This resting period allows the grains to fully absorb the liquid, resulting in a fluffy, tender texture.
During these 5 minutes, the quinoa will continue cooking, ensuring it's perfectly cooked all the way through. You'll want to resist the urge to peek or stir the quinoa, as this can disrupt the steaming process and affect the final texture.
Once the time is up, use a fork to gently fluff the quinoa before serving. This simple step helps separate the individual grains, creating a light and airy dish.
The same technique applies to millet and buckwheat as well. Remember to let these gluten-free grains stand for 5 minutes after cooking to achieve the best possible results.
With a little patience, you'll be rewarded with delicious, fluffy grains that are ready to be enjoyed.
Final Thoughts
When it comes to gluten-free grains, you've discovered a world of versatile and nutritious options. Quinoa, millet, and buckwheat offer unique flavors and textures that can elevate your gluten-free dishes.
These grains aren't only naturally free of gluten, but they're also packed with essential nutrients, fiber, and protein. Additionally, incorporating seeds like chia can further enhance your meals, given their benefits of chia seeds for weight loss, making your gluten-free diet even more satisfying.
As you continue your gluten-free journey, remember to experiment with different cooking methods and flavor combinations. Quinoa's fluffy texture and nutty flavor pair beautifully with fresh herbs and roasted vegetables.
Millet's mild taste and slightly crunchy bite can add a delightful contrast to soups and stews. Buckwheat's earthy, nutty notes make it a versatile choice for everything from breakfast porridges to hearty salads.
Embrace the diversity of gluten-free grains and let your culinary creativity shine. With a little exploration, you'll discover a world of delicious and nourishing possibilities that will have you leaving gluten behind without a second thought. With gluten-free grains like quinoa, rice, and buckwheat, you can easily navigate glutenfree Asian cuisine options and create flavorful dishes like sushi, stir-fries, and noodle bowls. Experiment with different spices, sauces, and vegetables to add variety to your gluten-free meals and open up a whole new culinary adventure. Don’t be afraid to try new things and let your creativity flourish in the kitchen.
Frequently Asked Questions
What Is the Nutritional Profile of Gluten-Free Grains?
You'll find that gluten-free grains like quinoa, millet, and buckwheat are packed with nutrients. They're rich in protein, fiber, vitamins, and minerals, making them a healthy alternative to traditional wheat-based grains.
How Do Gluten-Free Grains Compare to Wheat in Terms of Taste and Texture?
Compared to wheat, gluten-free grains often have a more nutty, earthy taste and a slightly coarser texture. While they may take some getting used to, many find their unique flavors and versatility quite appealing.
Can Gluten-Free Grains Be Used to Substitute Wheat in Baking?
Yes, you can use gluten-free grains like quinoa, millet, and buckwheat to substitute wheat in baking. They have a unique texture and flavor, and you'll need to adjust recipes to account for their properties.
How Do I Incorporate Gluten-Free Grains Into My Everyday Meals?
You can easily incorporate gluten-free grains into your everyday meals. Try adding quinoa or millet to salads, stir-fries, and soups. Use buckwheat flour to make pancakes, waffles, or breads. Experiment with new recipes to find your favorites.
Are Gluten-Free Grains More Expensive Than Traditional Wheat Products?
Generally, gluten-free grains tend to be more expensive than traditional wheat products. However, the increased cost is often offset by their nutritional benefits and suitability for those with gluten sensitivities or dietary restrictions.