You'll love creating your own gluten-free flour blend to achieve the perfect texture in your baked goods. Start with a base of gluten-free all-purpose flour, then add in tapioca flour for lightness and potato starch for moisture. Don't forget the xanthan gum as a binder. Experiment with different flour ratios to find your signature blend – you'll be surprised how various gluten-free flours like almond and chickpea each lend unique properties. Master the art of gluten-free baking by closely following recipe instructions and making adjustments as needed. Your journey is just beginning, so get ready to unlock delicious gluten-free possibilities.
Key Takeaways
- Experiment with different gluten-free flour combinations to mimic the properties of wheat flour and achieve desired textures in baked goods.
- Tailor flour blends to specific recipes and dietary requirements by adjusting the proportions of individual flours, starches, and binding agents.
- Measure ingredients precisely, sift dry components, and gradually incorporate liquids to ensure a cohesive dough or batter for successful gluten-free baking.
- Monitor the consistency of the batter and make adjustments as needed to achieve the optimal structure and rise for your gluten-free creations.
- Embrace the trial-and-error process, document your findings, and develop a signature gluten-free flour blend that meets your personal preferences.
History
Gluten-free flour blends have long been a staple in the kitchens of those with dietary restrictions. For centuries, people with celiac disease or gluten sensitivities have experimented with alternative grains and flours to create baked goods that meet their dietary needs. Early pioneers often relied on single-ingredient flours like rice, potato, or tapioca to substitute for wheat flour. Today, however, many commercially available gluten-free flour blends combine multiple alternative flours with starches and binders to more closely mimic the texture and behavior of traditional wheat flour. In addition to baked goods, these blends are also used to create a variety of glutenfree pasta options, providing greater choice and versatility for those avoiding gluten. As a result, individuals with gluten restrictions no longer have to compromise on texture or flavor in their everyday meals.
As awareness of gluten-free diets grew, bakers and food scientists began developing more sophisticated flour blends. These mixes combined multiple gluten-free flours, starches, and gums to mimic the properties of traditional wheat flour. The goal was to achieve similar texture, rise, and flavor in breads, cakes, and other baked goods.
Today, you can find pre-made gluten-free flour blends in most grocery stores, offering home cooks a convenient way to adapt recipes. With a little experimentation, you can even create your own custom blend to suit your tastes and needs.
Recipe
Gluten-free flour blends are a game-changer for those with dietary restrictions or preferences. These versatile mixes offer a range of textures and flavors, allowing you to create delicious baked goods that are safe for those avoiding gluten. Whether you're looking to make fluffy breads, tender cakes, or crisp cookies, a well-crafted gluten-free flour blend is the key to success.
When it comes to gluten-free baking, it's important to understand that a single flour type often lacks the necessary properties to achieve the desired texture and structure. By blending different gluten-free flours, starches, and even gums, you can mimic the properties of wheat flour and produce exceptional results.
- 2 cups gluten-free all-purpose flour
- 1/2 cup tapioca flour
- 1/2 cup potato starch
- 1 teaspoon xanthan gum
- 1/2 teaspoon salt
In a large bowl, whisk together all the ingredients until well combined. Store the flour blend in an airtight container in a cool, dry place for up to 3 months.
When using the gluten-free flour blend, it's important to note that the ratio of blend to other ingredients may need to be adjusted depending on the recipe. Start by substituting the blend in equal parts for the wheat flour called for in the recipe, and then make any necessary adjustments to the liquid or other ingredients to achieve the desired consistency.
With a little experimentation, you'll be able to create delicious gluten-free baked goods that are virtually indistinguishable from their wheat-based counterparts.
Cooking Steps
Measure your gluten-free flour ingredients precisely for best results.
Thoroughly combine the dry ingredients to ensure an even distribution. Adjust the flour proportions as needed to achieve the desired texture.
Add the liquid ingredients and bake according to the recipe instructions for a delicious gluten-free treat.
Step 1. Measure Gluten-Free Flour Ingredients Precisely
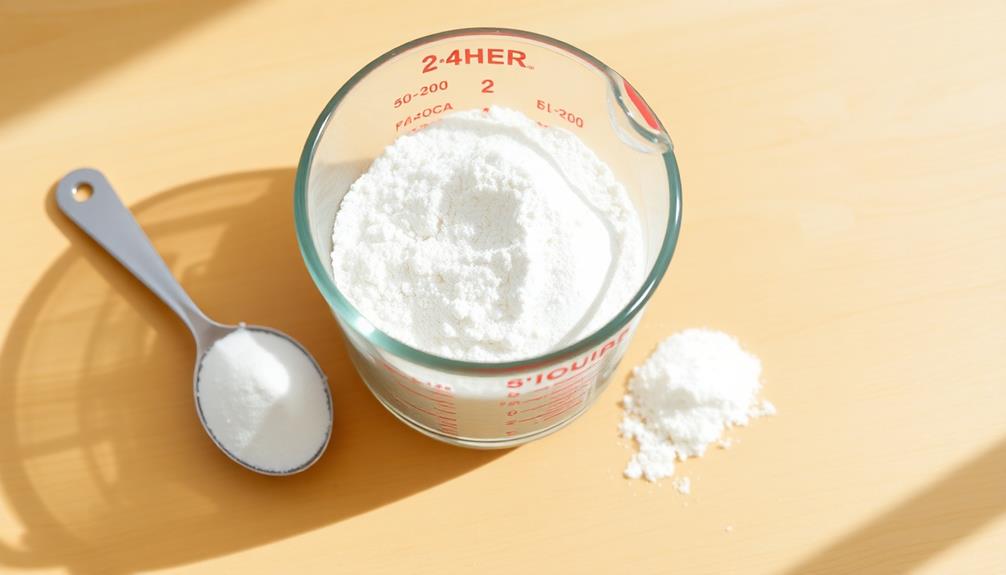
Accurately measuring your gluten-free flour blend ingredients is crucial for achieving the perfect texture and rise in your baked goods. Unlike traditional wheat flour, gluten-free flours can vary greatly in their absorbency and density. Carefully measuring each component ensures your recipe turns out as intended.
Start by lightly spooning the flour into a dry measuring cup, then level it off with a knife. Packing the flour down or scooping it directly from the bag can lead to using too much, affecting the final product. For smaller amounts, use a digital scale for the most precise measurements.
Pay close attention to the ratios of starches, proteins, and binders like xanthan gum. These play a crucial role in recreating the structure of gluten. Deviating from the recipe's proportions can result in baked goods that are dense, crumbly, or fail to rise properly.
With a little practice, you'll master the art of blending gluten-free flours for consistently excellent results.
Step 2. Combine Dry Ingredients Thoroughly
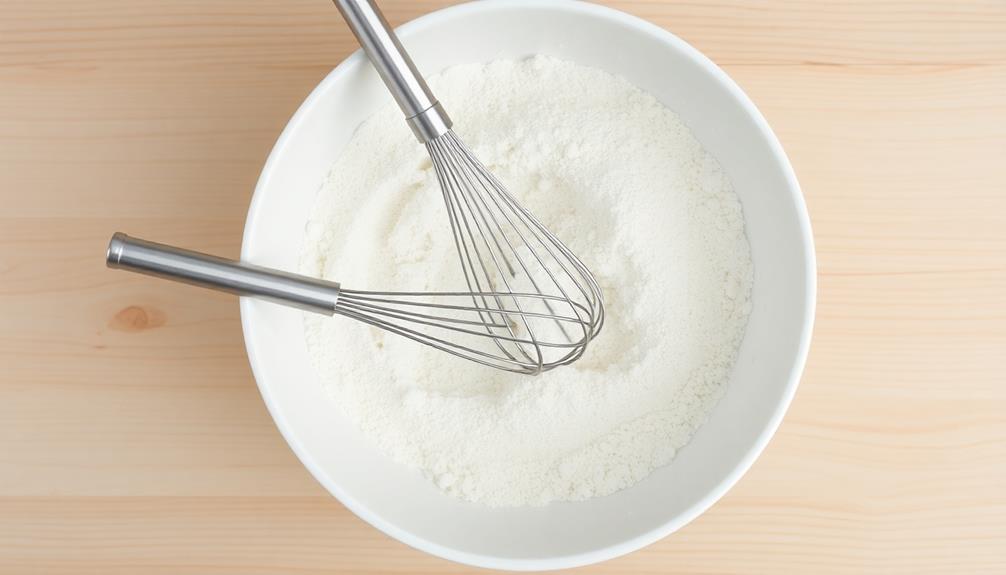
Once you've carefully measured your gluten-free flour blend, it's time to thoroughly combine the dry ingredients. This step is crucial, as it ensures your baked goods have a consistent texture and flavor. Don't skip it!
Start by adding all the dry ingredients – the gluten-free flours, starches, xanthan gum, and any other dry seasonings or leavening agents – to a large bowl. Use a whisk or a fork to mix them together vigorously for at least a minute. This aerates the mixture and helps distribute the ingredients evenly.
You can also try sifting the dry ingredients through a fine-mesh sieve. This breaks up any clumps and further incorporates the components. Just be sure to sift into the bowl, not over it, to avoid making a mess.
Once the dry blend is thoroughly combined, you're ready to move on to the wet ingredients.
Taking the time to properly mix the dry parts will pay off in the end with better-textured and tastier gluten-free baked goods.
Step 3. Adjust Flour Proportions as Needed
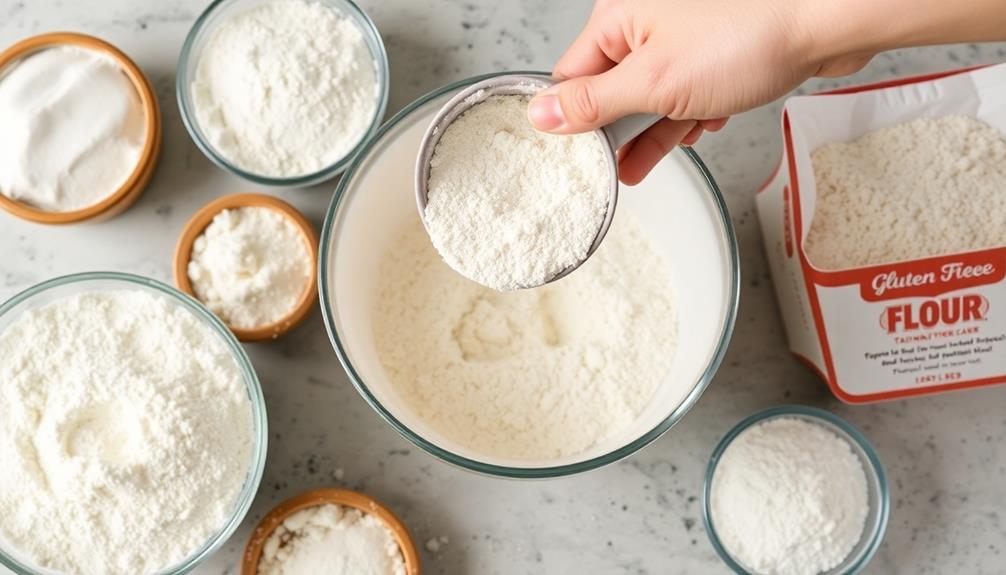
After thoroughly combining the dry ingredients, you may need to adjust the flour proportions in your recipe. The perfect gluten-free flour blend is a delicate balance, and it may take some trial and error to find the right mix for your needs.
Start by following the recipe's recommended ratios, but don't be afraid to tweak them.
If your baked goods are dense or gritty, try increasing the amount of lighter, starchier flours like white rice flour or tapioca flour.
On the other hand, if they're too fragile or crumbly, boost the heartier flours like brown rice flour or sorghum flour.
Pay close attention to the texture and consistency, adjusting as needed until you achieve the desired results.
Step 4. Add Liquid Ingredients
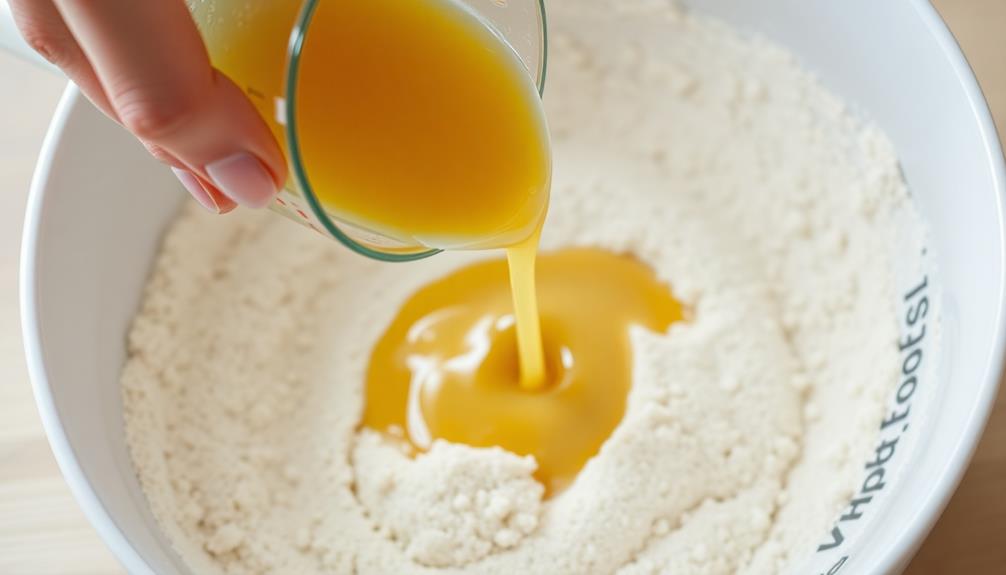
Next, add the liquid ingredients to your dry flour blend. This helps the dry mix blend together into a cohesive dough or batter.
Start by adding any milk, water, or dairy-free milk alternatives your recipe calls for. You'll want to slowly incorporate the liquids, mixing thoroughly after each addition. This allows the starches and gums to fully hydrate, preventing a lumpy or gritty texture.
For a nutritious boost, consider adding ingredients like Greek yogurt to enhance the protein content of your batter.
As you mix, pay attention to the consistency. You're aiming for a smooth, pourable batter or a soft, slightly sticky dough. If it's too thick, add a bit more liquid. If it's too thin, mix in a touch more of your gluten-free flour blend.
Finding the right balance takes some practice, but you'll get the hang of it. Don't be afraid to adjust as needed to reach the perfect texture for your recipe. Properly hydrating your gluten-free flour is key to delicious, well-structured baked goods.
Step 5. Bake According to Recipe Instructions

With your gluten-free flour blend fully hydrated, you're ready to bake. Follow the recipe instructions carefully, as baking times and temperatures may differ from traditional wheat-based recipes. Preheat your oven to the specified temperature, and grease or line any baking pans as directed.
When it's time to add the batter or dough, be gentle and avoid overmixing. Gluten-free flours can become tough if overmixed. Scoop or pour the mixture into the prepared pans, smoothing the top with a spatula.
Bake the item for the recommended time, checking it a few minutes early to prevent overbaking. Gluten-free baked goods often brown more quickly, so keep an eye on them. Use a toothpick or cake tester to check for doneness – it should come out clean when the item is fully baked.
Once baked, allow the item to cool completely before handling or slicing. This helps the structure set and prevents crumbling.
With these simple steps, you'll enjoy delicious gluten-free baked goods every time.
Final Thoughts
As you explore the world of gluten-free flour blends, remember that finding the right combination can take some experimentation.
Don't get discouraged – the effort is worth it when you discover a flour blend that works perfectly for your recipes. Pay attention to how different flours behave and adapt your techniques accordingly.
For example, almond flour tends to be more delicate, while chickpea flour can lend a heartier texture. Keep detailed notes on your trials so you can replicate successes.
Over time, you'll develop a personalized blend that suits your baking style and dietary needs. Along the way, have fun experimenting and embrace the joy of creating gluten-free masterpieces from scratch. To enhance your gluten-free baking skills, consider taking a class or workshop to learn new glutenfree bread techniques. Incorporating different methods and ingredients will help you expand your repertoire and perfect your craft. Don’t be afraid to get creative and think outside the box when it comes to gluten-free baking.
With a little patience and an open mind, you'll unlock a world of delicious possibilities beyond traditional wheat-based baking. Trust the process, and enjoy the journey of finding your signature gluten-free flour blend.
Frequently Asked Questions
How Do I Store My Gluten-Free Flour Blend?
You'll want to store your gluten-free flour blend in an airtight container in a cool, dry place. This will help prevent it from absorbing moisture and going stale. Check the expiration date and use it within that timeframe for best results.
Can I Substitute Regular Flour With a Gluten-Free Blend?
You can substitute regular flour with a gluten-free blend, but you'll need to adjust the recipe. Gluten-free flours behave differently, so you'll have to experiment to get the right texture and consistency for your baked goods.
What Are the Best Gluten-Free Flours for Baking?
The best gluten-free flours for baking are rice flour, almond flour, and coconut flour. These provide structure, moisture, and flavor to your baked goods. You can experiment with blending them to create your desired texture and taste.
How Do I Adjust Recipes When Using a Gluten-Free Blend?
When using a gluten-free flour blend, you'll need to adjust the recipe. Start by reducing the liquid, then add more if needed. You may also need to increase the leavening agents to achieve the desired texture.
Are There Any Health Benefits to Using Gluten-Free Flour?
While there's no inherent health benefit to using gluten-free flour, it can be beneficial for those with celiac disease or gluten intolerance. Switching to gluten-free flour may help alleviate digestive issues and other symptoms associated with consuming gluten.
Samantha specializes in creating delicious meals for those with dietary restrictions, including gluten-free, dairy-free, keto, and low-FODMAP diets. Her focus is on making special diets accessible and enjoyable.