Gluten-free baking takes some experimentation, but it's worth the effort. You'll need to swap traditional wheat flour for alternatives like almond or rice flour, and use binders like xanthan gum. Proper techniques, like gentle mixing and careful baking times, are crucial for achieving the right texture. While the flavors may need some enhancement, you can create delectable wheat-free goods that satisfy any dietary need. With an open mind and a bit of practice, you'll discover the joy of gluten-free baking.
Key Takeaways
- Gluten-free flours like almond, coconut, and rice require unique handling and ratios compared to traditional wheat flour.
- Xanthan gum is essential as a binder to mimic gluten's properties in gluten-free baking.
- Experimentation is crucial to achieve the desired texture and flavor in gluten-free baked goods.
- Adjusting baking times and monitoring doneness with a toothpick are important considerations for gluten-free baking.
- Combining various gluten-free flours can enhance the flavor and texture of baked goods.
History
Tracing the origins of gluten-free baking can provide valuable insights into its evolution.
Gluten-free baking has its roots in the medical necessity to accommodate individuals with celiac disease, an autoimmune disorder triggered by the consumption of gluten, a protein found in wheat, rye, and barley. As early as the 1st century AD, the Greek physician Aretaeus of Cappadocia recognized the condition and recommended a gluten-free diet as a treatment.
However, it wasn't until the 1940s that the link between celiac disease and gluten was firmly established. This pivotal discovery paved the way for the development of gluten-free baking techniques and the creation of alternative flours and ingredients.
Today, the demand for gluten-free products has expanded beyond the celiac community, catering to a wider audience seeking healthier, more inclusive dietary options. The evolution of gluten-free baking has been a remarkable journey, driven by both medical necessity and the growing desire for diverse, wheat-free culinary experiences.
Recipe
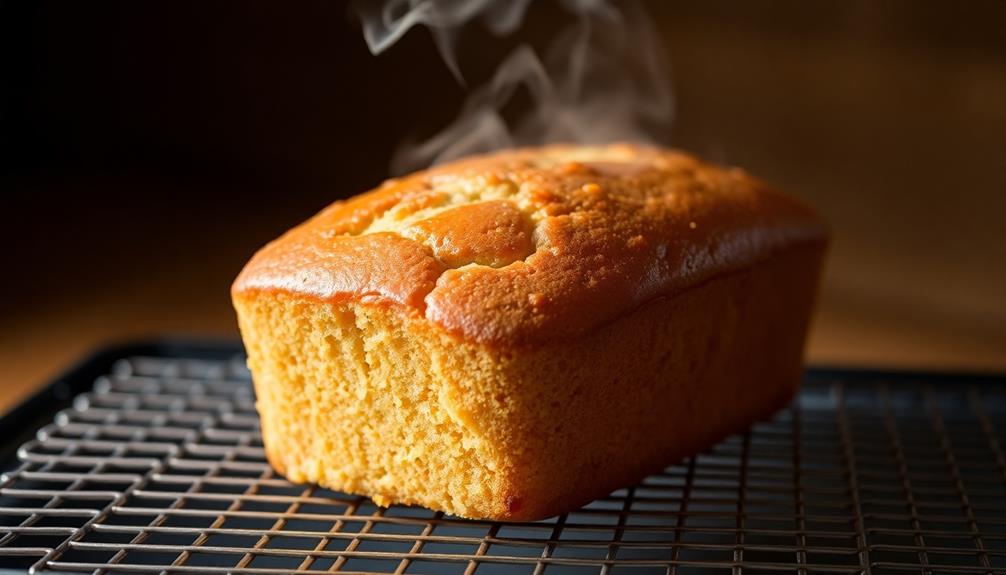
Gluten-free baking can be a delicate art, but with the right techniques, you can create delicious and satisfying treats. This recipe for a classic gluten-free pound cake is a perfect example of how to achieve a tender, moist crumb without the use of wheat flour.
The key to success in gluten-free baking lies in the careful selection and blending of alternative flours. In this recipe, we've combined rice flour, tapioca starch, and almond flour to create a balanced texture and flavor profile. Additionally, the use of xanthan gum helps to mimic the binding properties of gluten, ensuring a cohesive and structurally sound final product.
- 2 cups rice flour
- 1/2 cup tapioca starch
- 1/2 cup almond flour
- 1 teaspoon xanthan gum
- 1 teaspoon baking powder
- 1/2 teaspoon salt
- 1 cup unsalted butter, softened
- 1 1/2 cups granulated sugar
- 4 large eggs
- 1 teaspoon vanilla extract
Preheat your oven to 350°F (175°C). Grease a 9×5-inch loaf pan and line it with parchment paper, leaving a slight overhang on the sides for easy removal.
In a medium bowl, whisk together the rice flour, tapioca starch, almond flour, xanthan gum, baking powder, and salt.
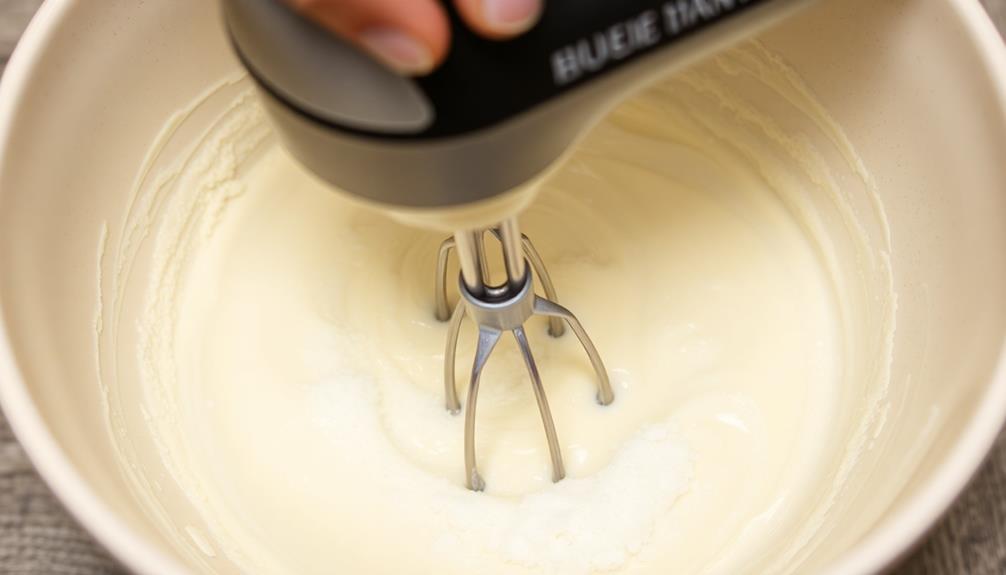
In a separate large bowl, cream the softened butter and sugar until light and fluffy. Beat in the eggs one at a time, then stir in the vanilla extract. Gradually fold in the dry ingredients until just combined, being careful not to overmix.
Pour the batter into the prepared loaf pan and smooth the top. Bake for 55-60 minutes, or until a toothpick inserted into the center comes out clean.
Allow the cake to cool in the pan for 10 minutes before transferring it to a wire rack to cool completely. Enjoy your delightful gluten-free pound cake!
Cooking Steps
First, preheat your oven to 375°F.
Next, sift the dry ingredients together.
Then, add the wet ingredients and combine them with the dry mixture.
Step 1. Preheat Oven to 375°F

Preheating the oven to the correct temperature is a crucial step in ensuring your gluten-free baked goods turn out perfectly. You'll want to set your oven to 375°F. This temperature is ideal for most gluten-free recipes, as it allows the delicate flours and starches to bake thoroughly without burning or drying out.
Once you've set the oven temperature, give it 15-20 minutes to fully preheat. This ensures the oven has reached the desired temperature before you place your baked goods inside. If you don't preheat the oven, your items may not rise properly or could end up undercooked in the center.
While the oven is preheating, you can prepare your baking pans or sheets by lightly greasing them or lining them with parchment paper. This will help prevent your gluten-free doughs and batters from sticking.
Remember to use oven mitts when handling hot pans to avoid burns. With the oven preheated and your pans ready, you're all set to begin baking your delicious gluten-free creations.
Step 2. Sift Together Dry Ingredients
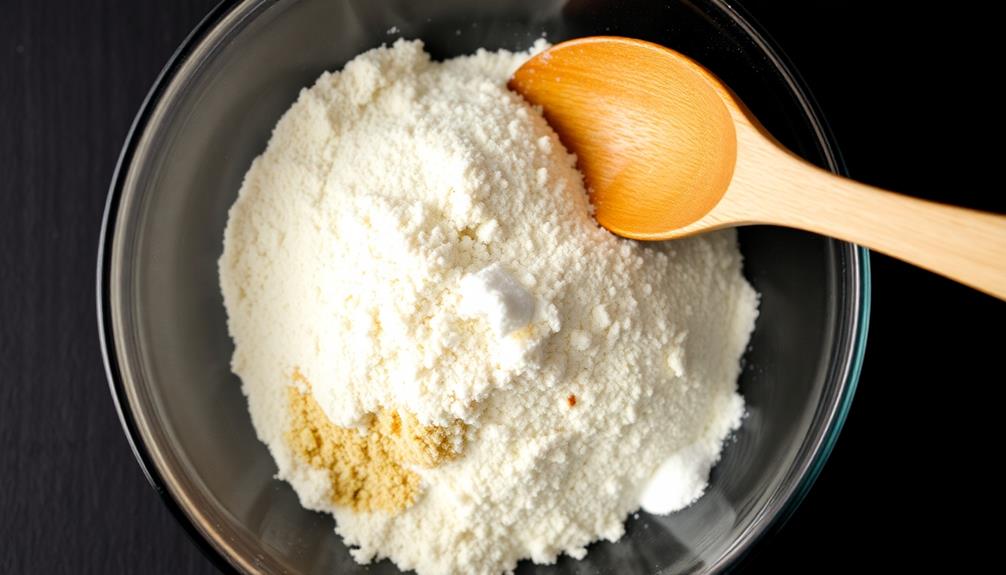
Once you've preheated the oven, it's time to sift together the dry ingredients. This step is crucial in gluten-free baking, as it helps to evenly distribute the flour and other dry components.
Start by gathering your gluten-free flour blend, baking powder, baking soda, and any other dry seasonings or spices the recipe calls for.
Sift these ingredients together using a fine-mesh sieve or a flour sifter. Sifting aerates the flour and breaks up any clumps, ensuring a smooth and consistent texture in your baked goods. Be sure to sift the ingredients into a separate bowl, as this will make it easier to then incorporate the wet ingredients later on.
Once the dry ingredients are sifted, give the bowl a few gentle whisks to further combine them. This step helps to distribute the leavening agents and other dry components evenly throughout the flour.
Remember to sift the dry ingredients just before adding the wet components to maintain their aerated structure.
Step 3. Add Wet Ingredients
With the dry ingredients sifted and ready, it's time to incorporate the wet components.
In a separate bowl, whisk together the eggs, milk, and any other liquid ingredients called for in the recipe.
Pour the wet mixture into the bowl with the dry ingredients and use a wooden spoon or rubber spatula to gently fold the ingredients together.
Be careful not to overmix, as this can develop the gluten-free flours and lead to a dense, tough texture.
Fold just until the wet and dry components are combined, with no dry pockets remaining.
If the batter appears too thick, add a bit more milk, one tablespoon at a time, until it reaches the desired consistency.
Avoid adding too much liquid, which can result in a soggy baked good.
Once the wet and dry ingredients are incorporated, the batter is ready for the next step in your gluten-free baking process.
Step 4. Combine Wet and Dry Ingredients

Combining the wet and dry ingredients is a crucial step in gluten-free baking. Once you've prepared your wet and dry ingredients separately, you'll need to gently fold them together until they're just combined.
Be careful not to over-mix, as this can result in a tough, dense texture. Start by adding the wet ingredients to the dry ingredients and use a rubber spatula to gently fold them together. Incorporate the ingredients in a circular motion, scraping the sides of the bowl to ensure everything is evenly mixed.
Avoid using a whisk or electric mixer, as these can over-aerate the batter. If the batter appears too thick, add a small amount of the liquid ingredient, such as milk or water, and continue to fold until you reach the desired consistency.
The key is to handle the batter as little as possible to maintain the delicate structure of the gluten-free flours. With a light touch, you'll create tender, flavorful gluten-free baked goods.
Step 5. Bake for 25-30 Minutes
After you've carefully combined the wet and dry ingredients, it's time to bake your gluten-free creation. Preheat your oven to the temperature specified in the recipe, typically around 350°F (175°C). Grease your baking pan or line it with parchment paper to prevent sticking.
Gently pour the batter into the prepared pan, being careful not to overmix or deflate the mixture. Smooth the top with a spatula to ensure an even bake.
Place the pan in the preheated oven and set a timer for 25-30 minutes. Keep an eye on your baked goods, as gluten-free items can sometimes bake faster than their wheat-based counterparts.
Use the toothpick test to check for doneness. Insert a clean toothpick into the center of the baked good; if it comes out clean, your creation is ready. If the toothpick has wet batter or crumbs, continue baking in 5-minute increments until it comes out clean.
Allow your gluten-free baked goods to cool completely before serving or slicing.
Final Thoughts
As you've explored the various techniques for gluten-free baking, it's important to keep in mind that achieving the perfect texture and flavor may take some experimentation.
Don't get discouraged if your first few attempts don't turn out exactly as you'd hoped. The key is to be patient and adjust your recipes as needed.
Remember, gluten-free flours can behave very differently from traditional wheat flour, so you'll need to experiment with different combinations and ratios to find what works best for your specific recipe.
Additionally, be mindful of the role of xanthan gum or other binders in achieving the desired consistency.
Ultimately, the joy of gluten-free baking lies in the journey of discovery.
Keep an open mind, be willing to try new things, and don't be afraid to make mistakes.
With time and practice, you'll develop the skills and confidence to create delicious, wheat-free treats that everyone can enjoy.
Frequently Asked Questions
What Are the Common Symptoms of Gluten Intolerance?
The common symptoms of gluten intolerance include abdominal pain, bloating, diarrhea, constipation, fatigue, and headaches. You may also experience skin rashes, joint pain, and nutrient deficiencies if you continue consuming gluten despite your intolerance.
How Do I Store Gluten-Free Baked Goods?
To store gluten-free baked goods, keep them in an airtight container at room temperature. Refrigerate or freeze for longer storage, but be aware that this can affect the texture and flavor. Let frozen goods thaw before serving.
Can I Substitute Gluten-Free Flour in Traditional Recipes?
Yes, you can substitute gluten-free flour in traditional recipes, but you'll need to adjust the recipe. The texture and rise may be different, so be prepared to experiment to get the desired results.
Are There Any Tips for Achieving a Good Texture in Gluten-Free Baking?
To achieve a good texture in gluten-free baking, you'll need to experiment with different flours, binders, and leavening agents. Avoid overmixing and allow your dough or batter to rest before baking for best results.
Where Can I Find Gluten-Free Baking Ingredients?
You can find gluten-free baking ingredients at most grocery stores, specialty health food shops, or online retailers. Look for items like gluten-free flours, starches, gums, and baking mixes to get started with your gluten-free baking.