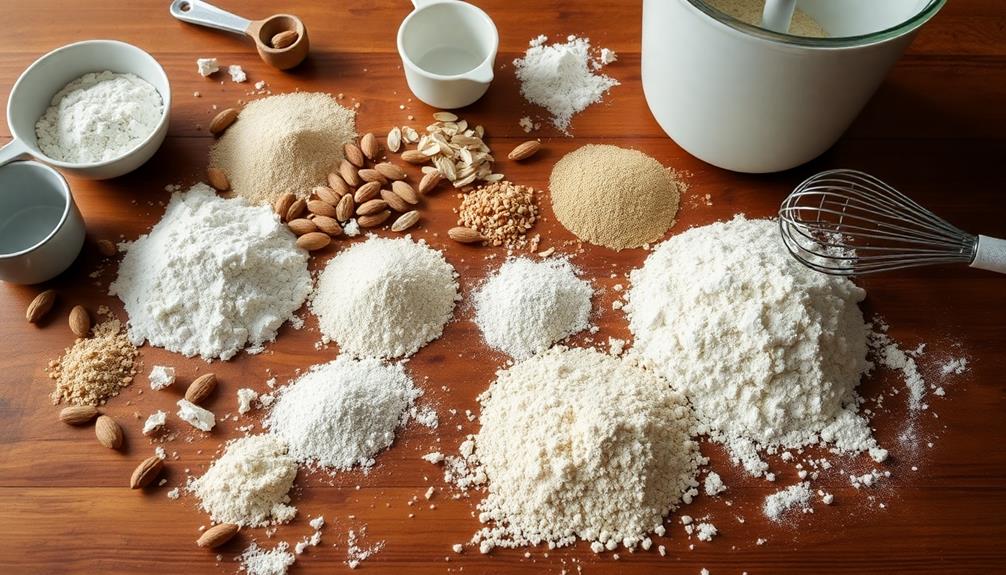
Gluten-free baking has never been more exciting! You can whip up incredible treats using a variety of wholesome flours like nutty almond, absorbent coconut, and light rice. These alternatives offer unique flavors and textures that'll delight your taste buds. Don't forget handy extras like chia seeds to enhance your baked goods. With just a few simple steps, you'll be enjoying freshly-baked, gluten-free perfection. The secret is adjusting the wet-to-dry ratio for the perfect consistency. Ready to explore the world of gluten-free baking and discover new family favorites? Let's dive in!
Key Takeaways
- Gluten-free flour alternatives include almond, coconut, rice, oat, and tapioca flour, each offering unique flavors, textures, and nutritional benefits.
- Adjusting the wet to dry ingredient ratio is crucial for achieving the desired consistency in gluten-free baking.
- Proper preheating of the oven to 350°F and careful monitoring of baking time are essential for successful gluten-free baking.
- Gluten-free baking allows for creativity and exploration of diverse ingredients, catering to those with gluten sensitivities.
- Combining multiple gluten-free flours can enhance the texture and flavor of baked goods, while using gums can improve elasticity.
History
Gluten intolerance has been a dietary concern for centuries, with records tracing it back to ancient civilizations. Throughout history, people with gluten sensitivities have had to find creative ways to enjoy baked goods.
In the Middle Ages, people with gluten intolerance started experimenting with alternative flours like rice, nuts, and beans.
As scientific understanding of celiac disease and gluten intolerance grew in the 20th century, the gluten-free movement gained momentum. Innovative bakers began developing tasty, gluten-free recipes using a variety of flour substitutes.
Today, you can find an abundance of gluten-free flour options, from almond and coconut to quinoa and chickpea. These alternatives allow everyone to indulge in delicious baked treats, no matter their dietary needs. Baking has never been more inclusive!
Recipe
Gluten-free baking can be a challenge, but with the right ingredients and techniques, you can create delicious and satisfying baked goods. Incorporating chia seeds in gluten-free recipes can enhance the texture and nutritional value of your creations.
Whether you have a gluten intolerance or simply prefer to avoid gluten, there are many alternatives available that can help you achieve the same texture and flavor as traditional recipes. One such alternative is the use of almond flour. Almond flour is a popular choice for gluten-free baking as it provides a rich, nutty flavor and a moist, tender crumb.
It's also high in protein and healthy fats, making it a nutritious choice.
- 2 cups almond flour
- 1/2 cup tapioca flour
- 1/4 cup coconut sugar
- 1 teaspoon baking soda
- 1/4 teaspoon salt
- 2 large eggs
- 1/4 cup unsweetened almond milk
- 2 tablespoons melted coconut oil
- 1 teaspoon vanilla extract
Preheat your oven to 350°F (175°C). In a large mixing bowl, whisk together the almond flour, tapioca flour, coconut sugar, baking soda, and salt.
In a separate bowl, beat the eggs, then stir in the almond milk, coconut oil, and vanilla extract. Add the wet ingredients to the dry ingredients and mix until well combined. Spoon the batter into a greased muffin tin or onto a baking sheet lined with parchment paper.
Bake for 18-20 minutes, or until a toothpick inserted into the center comes out clean. Allow the baked goods to cool completely before serving.
When working with gluten-free flours, it's important to be mindful of the ratio of wet to dry ingredients. You may need to adjust the amount of liquid or flour to achieve the desired consistency.
Additionally, be patient and allow your baked goods to cool completely before handling, as gluten-free baked goods can be more delicate than their traditional counterparts.
Cooking Steps
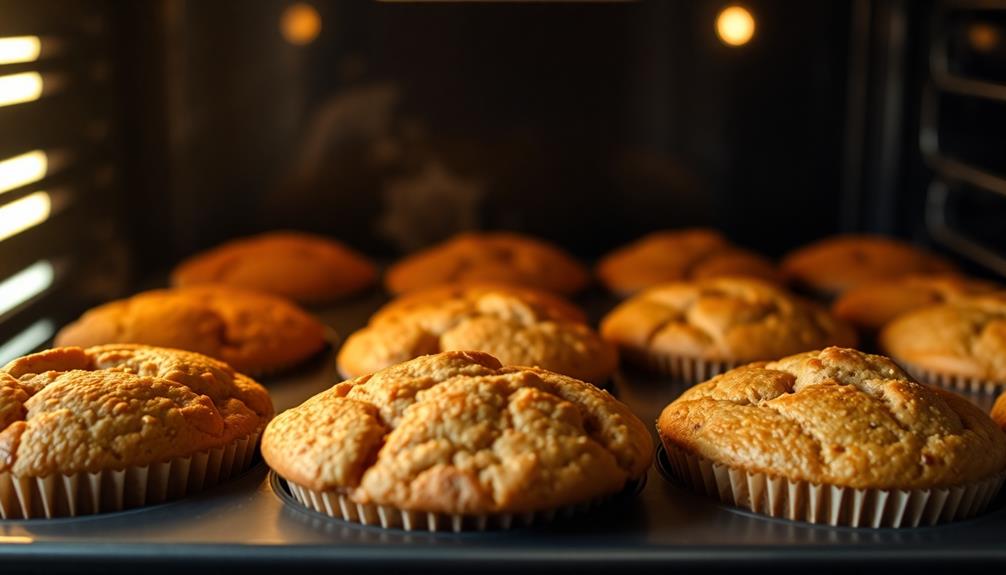
Preheat your oven to a toasty 350°F.
In a big bowl, mix up all the ingredients until they come together.
Then, pop that batter into the oven and bake for 25 to 30 minutes.
When it's golden brown, take it out and let it cool completely before digging in.
Step 1. Preheat Oven to 350°F
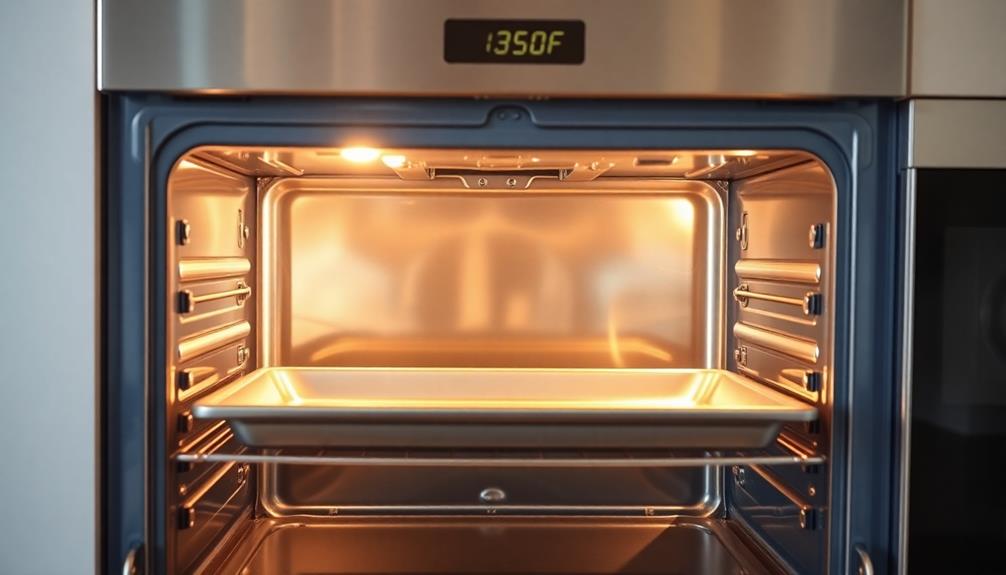
First, you'll want to ensure your oven is preheated to 350°F before beginning the recipe. This is a crucial step in gluten-free baking, as the proper oven temperature helps your baked goods rise and develop a delightful texture.
Once the oven is nice and toasty, you can pop your gluten-free treats right in!
As the oven heats up, you might even catch a whiff of the delicious aromas to come. Can you imagine the warm, inviting scent of freshly baked bread or flaky pie crust? Mmm, it's making my mouth water just thinking about it!
When the timer dings, your oven will be ready, and you can start assembling your recipe with confidence, knowing your baking will turn out beautifully.
Just remember to use oven mitts when handling hot dishes – we don't want any accidental burns!
With your oven preheated to perfection, you're one step closer to enjoying a delightful gluten-free masterpiece.
Step 2. In a Large Bowl, Combine Ingredients
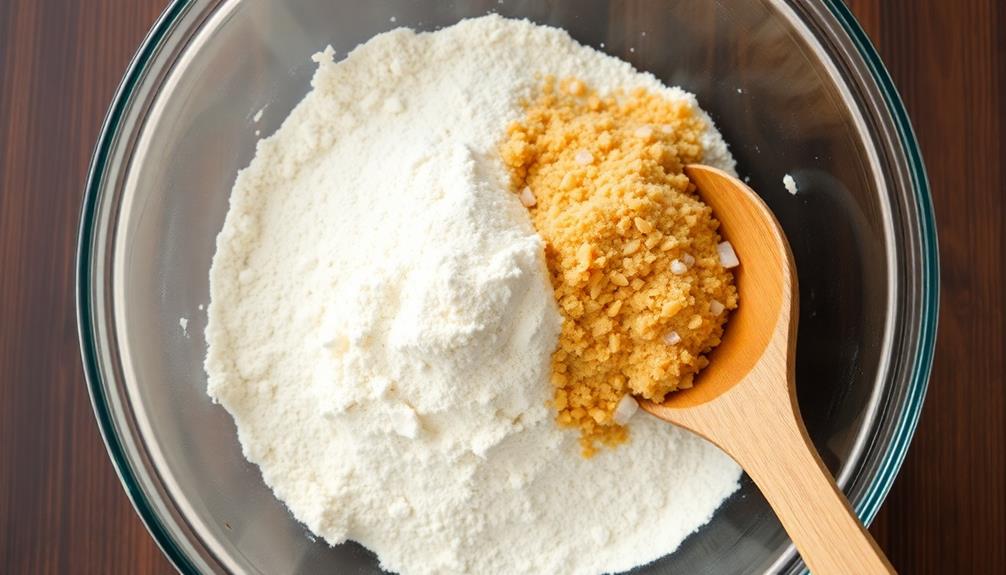
Next, combine the dry ingredients in a large bowl. In this step, you'll mix together all the gluten-free flours, starches, and leavening agents.
Grab a big mixing bowl and add the rice flour, tapioca starch, baking powder, and a pinch of salt. Whisk the dry ingredients together until they're well blended and there are no lumps.
Now, it's time to add the wet ingredients. Crack a couple of eggs into the bowl and pour in some milk or dairy-free milk alternative.
Use a wooden spoon to stir everything together, making sure to scrape the sides of the bowl so no dry pockets remain. The batter should be smooth and creamy, with no dry spots. If it seems too thick, you can add a splash more milk to reach the right consistency.
Once the wet and dry ingredients are perfectly combined, you're ready to move on to the next step – scooping the batter into your prepared baking pan.
Get ready for some delicious gluten-free treats!
Step 3. Bake for 25-30 Minutes
With the batter now ready, you can start preparing your baking pan. Grease the pan with a bit of butter or non-stick cooking spray, making sure to cover all the sides and the bottom. This will help your gluten-free treats release easily once baked.
Next, carefully pour the batter into the prepared pan, using a rubber spatula to scrape every last bit out of the bowl. Gently smooth the top, then pop the pan into your preheated oven. Set a timer for 25 to 30 minutes and try not to peek!
The baking time may vary depending on your recipe, so keep an eye on it. As the baking scents start to fill your kitchen, you'll know your gluten-free goodies are almost ready.
When the timer goes off, use oven mitts to carefully remove the pan. The top should be golden brown and a toothpick inserted in the center should come out clean. Allow the baked treats to cool completely before removing them from the pan.
Now you're ready to enjoy your delicious gluten-free creations!
Step 4. Remove From Oven
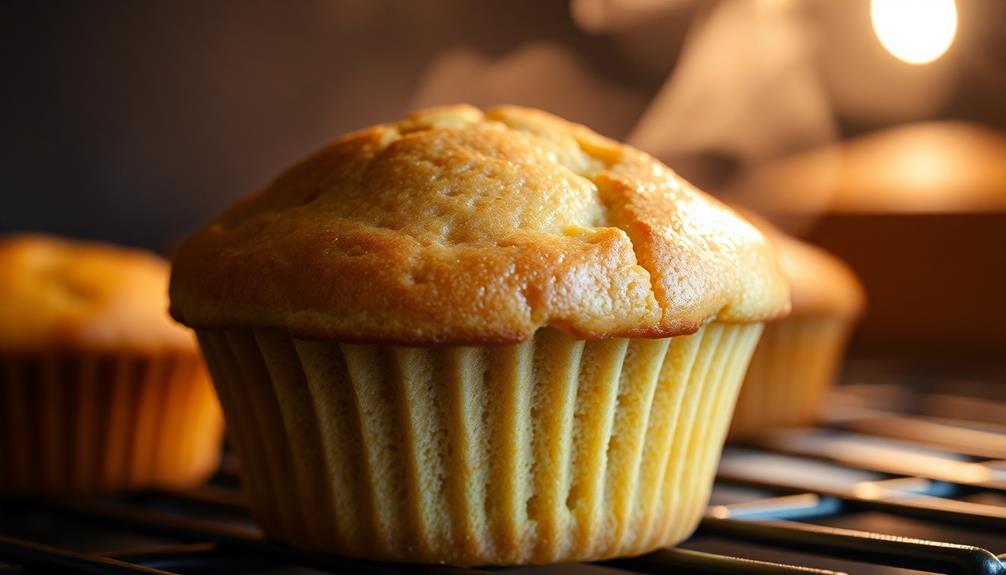
Once the timer goes off, carefully remove the pan from the oven using oven mitts. Be extra cautious, as the pan will be piping hot! Gently set it down on a heat-safe surface, like a cooling rack or potholder.
Now, take a deep breath and admire your handiwork. The tempting aroma of your freshly baked gluten-free treats should be wafting through the air, making your mouth water.
Next, you'll want to let the baked goods cool completely before handling them. This might take 10-15 minutes, depending on the recipe. Resist the urge to dive in right away, as the items will be too soft and delicate straight out of the oven.
Once fully cooled, you can carefully remove the baked goods from the pan, slice, or decorate them as desired.
Enjoy your delicious gluten-free creations! Whether you're serving them to family and friends or savoring them on your own, these homemade treats are sure to be a hit.
Step 5. Allow to Cool Completely

After removing the pan from the oven, let the baked goods cool completely before handling them. This is an important step that should never be skipped!
As the gluten-free treats cool, all the flavors and textures will set, creating the perfect consistency. You'll be able to slice or serve the item without it falling apart. Be patient and let it sit on the counter or a cooling rack until it reaches room temperature. Rushing this process can ruin your hard work.
Once cooled, you'll be able to admire the beautiful final product. The colors will be vibrant, the shapes will hold their form, and you'll be ready to enjoy your delicious gluten-free creation.
Take a deep breath and savor the aroma – doesn't it smell heavenly? Now you can confidently share your baked goods with family and friends, showing off your gluten-free baking skills.
Allow ample time for cooling, and you'll be rewarded with amazing results.
Final Thoughts
Ultimately, gluten-free baking may require some experimentation and adjustment, but the rewards of creating delicious and inclusive treats are well worth the effort.
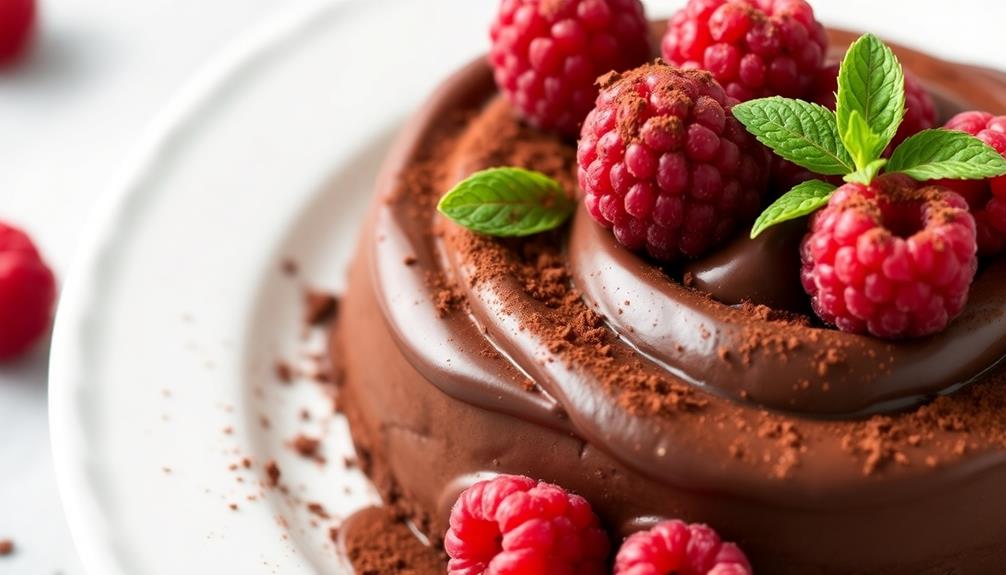
Imagine the joy on your friends' faces when they bite into a fluffy, moist cupcake or a crisp, buttery cookie that everyone can enjoy. The aroma of freshly baked gluten-free goods wafting through your kitchen is truly something special. Not only are these treats perfect for those with dietary restrictions, but they also pair wonderfully with low glycemic index meal ideas, offering a balanced indulgence. From savory quinoa salads to zucchini noodles, you can create a delicious, guilt-free experience from start to finish. Your guests will leave feeling satisfied and nourished without sacrificing flavor!
Don't be afraid to get creative and try new ingredients. Experiment with different flours, like almond or coconut, and see how they perform in your favorite recipes.
You might be surprised by the unique flavors and textures you can achieve. Remember, baking is an art, and the more you practice, the better you'll become.
Frequently Asked Questions
What Are the Benefits of Gluten-Free Baking?
Gluten-free baking can be beneficial for those with celiac disease or gluten sensitivities, as it allows them to enjoy baked goods without experiencing the negative health effects of consuming gluten. Additionally, it can provide a wider variety of options for those seeking a gluten-free diet.
How Do I Substitute Gluten-Free Flour in Recipes?
To substitute gluten-free flour in recipes, start by replacing wheat flour cup-for-cup. You may need to add binding agents like xanthan gum and adjust cooking times. Experiment to find the right combination that works for your recipe.
Can I Use Gluten-Free Flour for All Baking Needs?
Yes, you can use gluten-free flour for all your baking needs, but you'll need to make some adjustments. Gluten-free flours behave differently than wheat flour, so you'll need to experiment to get the right texture and rise.
Are Gluten-Free Baked Goods as Nutritious as Regular Ones?
No, gluten-free baked goods aren't as nutritious as regular ones. While they may meet dietary needs, they often lack the fiber, vitamins, and minerals found in wheat-based products. Consider adding nutrient-dense ingredients to boost the overall nutritional value of your gluten-free bakes.
How Do I Store Gluten-Free Baked Goods Properly?
To store gluten-free baked goods properly, keep them in an airtight container at room temperature. Refrigerate or freeze items to extend their shelf life. Properly storing these items will help maintain their texture and freshness.

Alejandro is a vibrant advocate of traditional Mexican cuisine. From spicy tacos and enchiladas to rich moles and tamales, Alejandro’s dishes celebrate the colorful, bold flavors of Mexico. His recipes bring authentic Mexican street food and home-cooked meals to your table, with a focus on using fresh, flavorful ingredients.