You can indulge in delectable desserts tailored for your dietary needs as a diabetic. Creative recipes use low-glycemic sweeteners, fiber-rich ingredients, and nutrient-dense additives to satisfy cravings without spiking blood sugar. Experiment with almond flour, chia seeds, and spices to craft flavorful treats. Proper cooling and patience are key for achieving the perfect texture and consistency. By balancing sweetness with nutrition, you can enjoy desserts that are both delicious and health-conscious. Explore various ingredient combinations to discover your new favorite diabetic-friendly delight.
Key Takeaways
- Diabetic-friendly desserts use low-glycemic sweeteners, fiber-rich ingredients, and spices to satisfy cravings while managing blood sugar levels.
- Proper cooling and patience are essential for achieving the right texture and consistency in diabetic-friendly desserts.
- Almond flour, unsweetened cocoa powder, and unsweetened applesauce are key ingredients for creating nutritious and delicious diabetic-friendly desserts.
- Monitoring portion sizes and balancing sweetness with nutrition are crucial for enjoying diabetic-friendly desserts without blood sugar spikes.
- Experimenting with various ingredient combinations can help create unique and flavorful diabetic-friendly desserts that cater to individual dietary preferences.
History
Desserts have long held a special place in human history, with various cultures around the world developing unique confections to satisfy their collective sweet tooth. From the ancient Egyptians' honeyed cakes to the intricate pastries of Europe, desserts have evolved alongside our culinary traditions.
In the Middle Ages, sugar was a luxury item, and only the wealthy could indulge in sugary treats. As trade routes expanded and sugar became more accessible, desserts became more commonplace, leading to the emergence of classic confections like baklava, strudel, and crème brûlée.
In the 20th century, the rise of industrialization and mass production made desserts even more widely available, but also introduced challenges for those with dietary restrictions, such as diabetes. This has paved the way for the development of diabetic-friendly desserts, which aim to satisfy our sweet cravings while catering to the unique needs of those managing blood sugar levels.
Recipe
Diabetic-Friendly Desserts: Delectable and Nutritious Treats
Enjoying a sweet treat can be a challenge for individuals with diabetes, but it doesn't have to be. With a little creativity and the right ingredients, it's possible to indulge in delectable desserts that are both satisfying and diabetes-friendly.
These desserts not only cater to dietary restrictions but also provide a wholesome and nutritious alternative to traditional sugary treats. Recognizing the importance of emotional well-being during dietary changes can enhance the overall experience of enjoying these desserts, making them a joyful part of a balanced lifestyle.
Additionally, healing steps for recovery can also apply when transitioning to new eating habits that prioritize health.
Embracing the idea that diabetic-friendly desserts can be just as delightful as their indulgent counterparts, this recipe showcases a mouthwatering option that will leave you craving more. Prepare to delight your taste buds and nourish your body with this delectable creation.
Ingredients:
- 1 cup almond flour
- 1/4 cup unsweetened cocoa powder
- 1/4 teaspoon baking soda
- 1/4 teaspoon salt
- 1/2 cup unsweetened applesauce
- 1/4 cup granulated erythritol or other sugar-free sweetener
- 1 large egg
- 1 teaspoon vanilla extract
- 1/4 cup unsweetened almond milk
Cooking Instructions:
Preheat your oven to 350°F (175°C). In a medium-sized bowl, whisk together the almond flour, cocoa powder, baking soda, and salt until well combined.
In a separate bowl, mix the unsweetened applesauce, granulated erythritol, egg, and vanilla extract until smooth. Gradually add the dry ingredients to the wet ingredients, stirring until a thick batter forms.
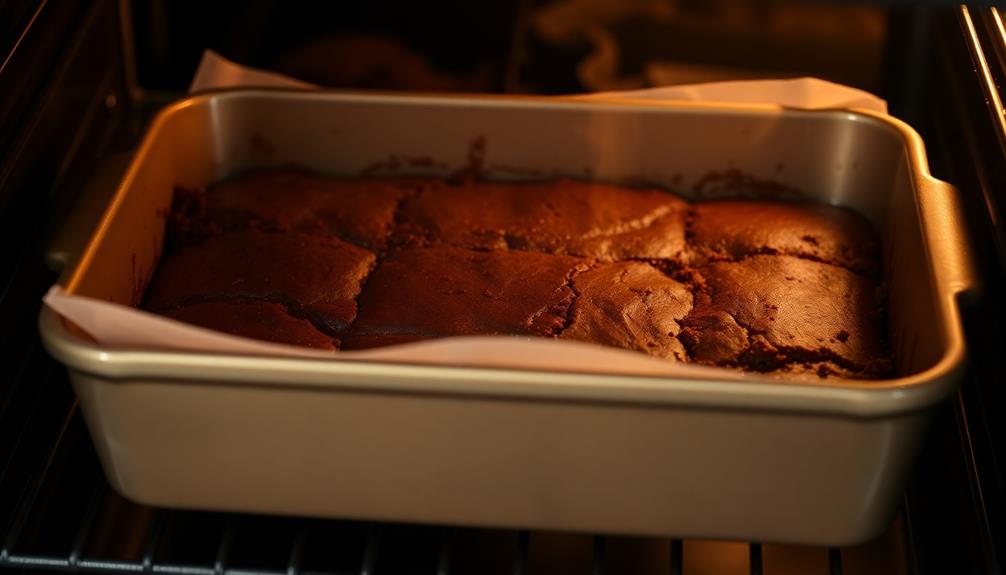
Stir in the unsweetened almond milk until the batter is smooth and well-incorporated. Spoon the batter into a greased 8×8-inch baking dish and spread it evenly. Bake for 20-25 minutes, or until a toothpick inserted into the center comes out clean.
Allow the dessert to cool completely before cutting and serving.
Tips:
For an extra layer of flavor, consider adding a sprinkle of cinnamon or a touch of unsweetened cocoa powder to the top of the dessert before baking.
To enhance the richness, you can also drizzle a small amount of sugar-free chocolate sauce over the top. When storing, keep the dessert in an airtight container in the refrigerator for up to 5 days, ensuring it remains fresh and delightful.
Cooking Steps
Preheat your oven to 350°F.
Next, mix the dry ingredients together in a bowl.
Then, combine the wet and dry ingredients, pour the batter into a baking dish, and bake for 25-30 minutes.
Allow the dessert to cool completely before serving.
Step 1. Preheat Oven to 350°F

Before you begin baking your diabetic-friendly desserts, it's crucial to preheat your oven to 350°F. This step ensures your oven is at the proper temperature, allowing your desserts to cook evenly and prevent any potential issues.
Once you've set your oven to the correct temperature, you'll want to give it some time to fully heat up, usually around 15-20 minutes. This ensures the oven is ready when you're ready to pop your desserts in.
While you're waiting, you can prepare your ingredients and baking dishes, keeping everything organized and within reach.
When the oven is preheated, you'll know it's ready when the indicator light turns off or your oven beeps. At this point, you can confidently begin placing your diabetic-friendly desserts inside, knowing they'll bake to perfection.
Remember to keep a close eye on them, checking for doneness at the recommended baking time. Proper oven temperature is key to creating delicious, blood sugar-friendly treats.
Step 2. Mix Dry Ingredients
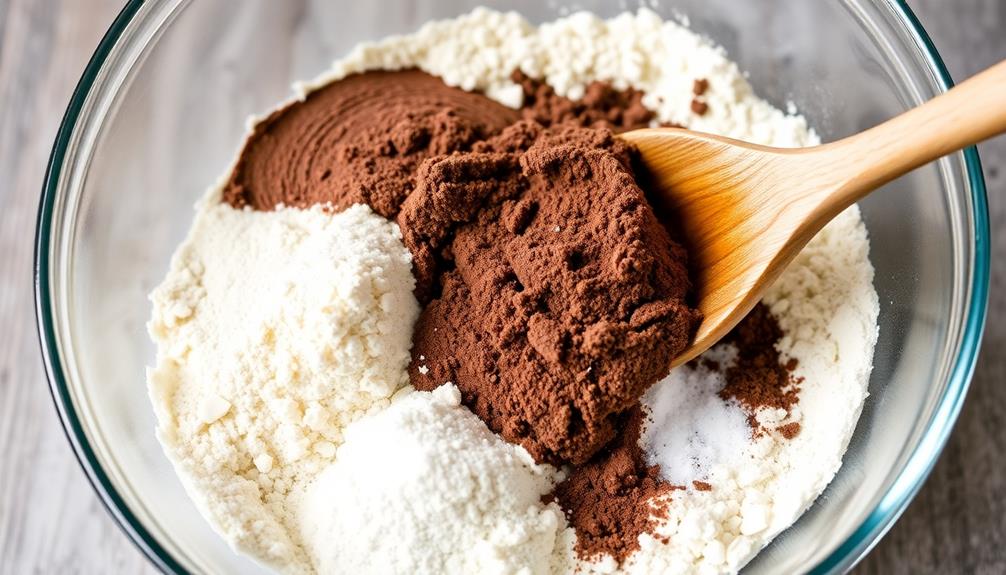
Next, you'll want to gather and mix the dry ingredients for your diabetic-friendly dessert. In a medium-sized bowl, whisk together the all-purpose flour, baking powder, baking soda, and a pinch of salt.
Make sure these are evenly distributed before moving on. If you're using any spices, like cinnamon or nutmeg, add them now and give the mixture a good stir. Proper blending of the dry ingredients is crucial to ensure your dessert has a consistent texture and flavor throughout.
Once you've whisked everything together, set the bowl aside. You'll need to combine these dry ingredients with the wet ingredients later in the recipe.
Take your time with this step, as it'll help you achieve the perfect baked good. Remember, the key to a successful diabetic-friendly dessert is attention to detail, so don't rush through mixing the dry ingredients.
Step 3. Combine Wet and Dry Ingredients
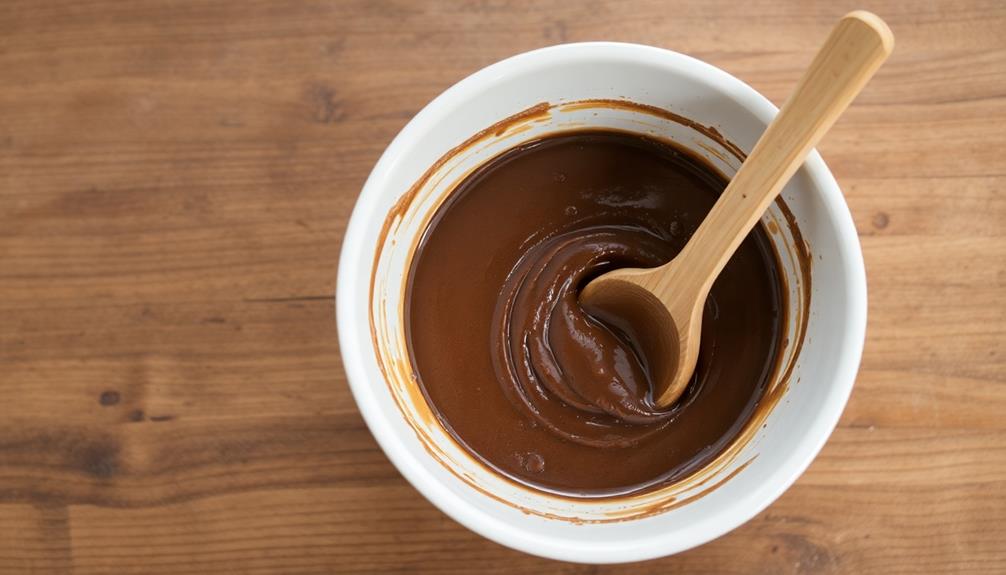
Now that you've properly mixed the dry ingredients, it's time to combine them with the wet ingredients.
In a separate bowl, whisk together the eggs, milk, and vanilla extract until well blended. For added richness and flavor, consider incorporating butter's role in baking to enhance your dessert.
Slowly pour the wet mixture into the bowl with the dry ingredients, stirring constantly to prevent lumps from forming. Gently fold the wet and dry components together until you achieve a smooth, homogeneous batter.
Be careful not to overmix, as this can result in a tough, dense texture. Once the batter is well combined, it's ready to be poured into your prepared baking dish or muffin tin.
Ensure the dish is evenly coated, as this will promote even cooking. With the wet and dry ingredients now married, you're one step closer to enjoying your delectable, diabetic-friendly dessert.
Remember to follow the recipe's remaining instructions for the best possible outcome.
Step 4. Bake for 25-30 Minutes
Preheat your oven to the specified temperature, typically between 350°F and 375°F. This step is crucial as it ensures your dessert bakes evenly and develops a perfect texture.
Once your oven has reached the desired temperature, carefully transfer the prepared baking dish or pan into the oven, making sure to use oven mitts to avoid burns.
Bake your diabetic-friendly dessert for 25 to 30 minutes, keeping a close eye on it. The baking time may vary depending on the specific recipe and the size of your dish, so it's important to check for doneness regularly.
Look for signs like a golden-brown top, a toothpick or knife inserted into the center coming out clean, and the sides pulling away from the pan.
When the timer goes off, use oven mitts to remove the dessert from the oven. Allow it to cool for a few minutes before slicing or serving.
This resting period helps the texture set and enhances the flavors.
Step 5. Allow to Cool Completely
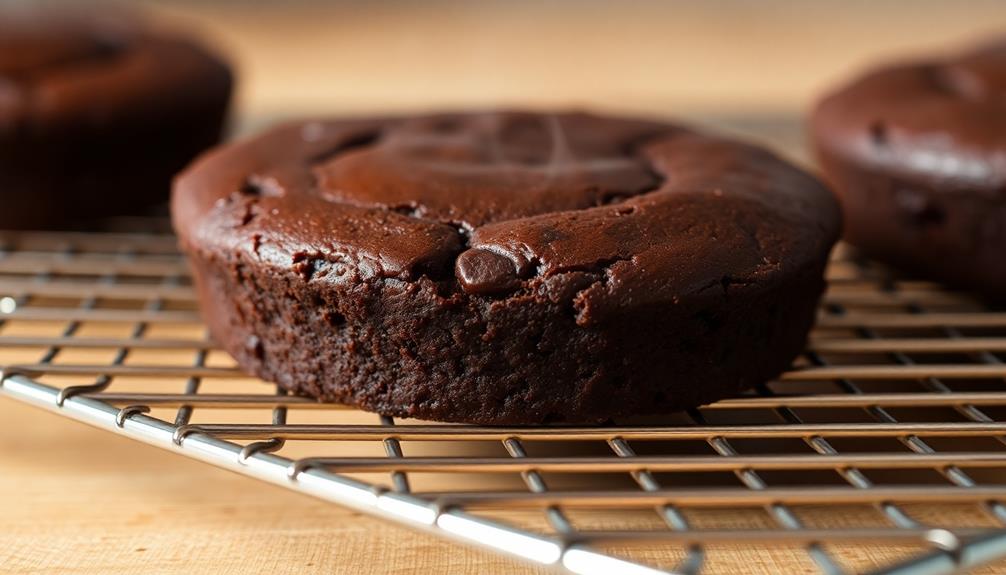
After removing the diabetic-friendly dessert from the oven, allow it to cool completely before serving. This is a crucial step that ensures the dessert has the right texture and consistency.
Rushing to serve it while it's still hot can result in a mushy or crumbly texture, which can be disappointing.
Take the time to let the dessert sit on the counter or cooling rack. Depending on the size and complexity of the recipe, this may take anywhere from 15 to 30 minutes.
You'll know it's ready when you can easily touch the top of the dessert without burning your fingers.
Once cooled, you can then slice, plate, and serve your delicious diabetic-friendly treat. This step allows the flavors to meld and the structure to set, creating a cohesive and satisfying dessert experience.
Don't skip this important part of the process – your patience will be rewarded with a perfectly baked, diabetic-friendly dessert.
Final Thoughts
Ultimately, the key to crafting delectable, diabetic-friendly desserts lies in mastering the balance between satisfying sweetness and nutritional value.
You'll want to use low-glycemic sweeteners, like erythritol or monk fruit, which won't spike blood sugar levels. Incorporating fiber-rich ingredients, such as almond flour or chia seeds, can also help slow the absorption of carbs.
Chia seeds, in particular, aren't only a great source of fiber but also provide nutritional power with essential minerals and antioxidants.
Don't be afraid to experiment with spices and extracts to enhance flavor without adding extra sugar.
Frequently Asked Questions
What Are the Best Sweeteners for Diabetic-Friendly Desserts?
For diabetic-friendly desserts, the best sweeteners are natural options like stevia, erythritol, and monk fruit. They provide sweetness without the blood sugar spike of regular sugar. Experiment to find the one that works best for your taste preferences.
Can I Use Artificial Sweeteners in These Recipes?
Yes, you can use artificial sweeteners in these recipes. They're a great way to satisfy your sweet tooth without spiking your blood sugar. Just be sure to choose ones that are safe and suitable for your dietary needs.
How Can I Adjust Recipes to Reduce Carbohydrate Content?
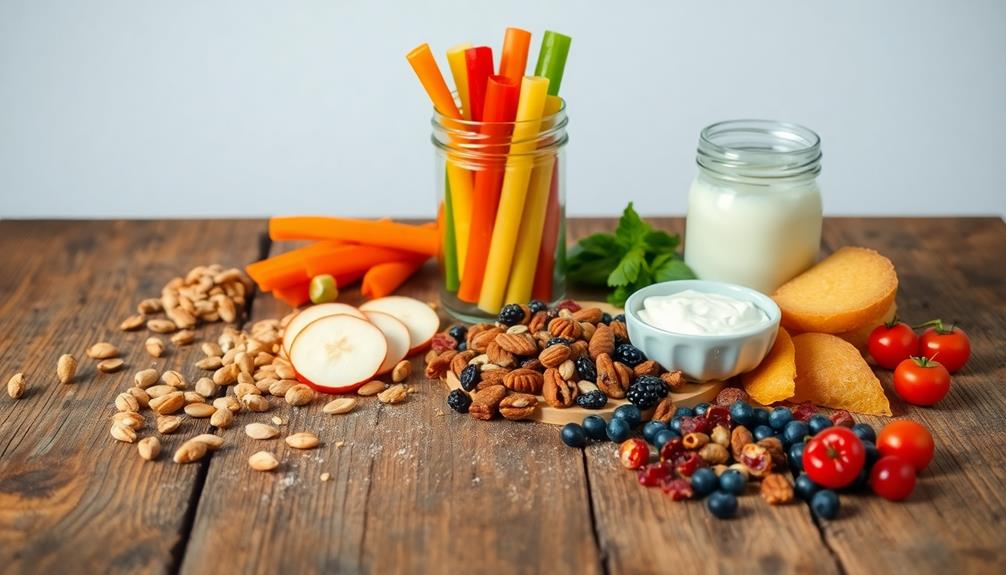
To reduce carb content, swap out sugars for low-calorie sweeteners, replace white flour with almond or coconut flour, use Greek yogurt instead of regular, and increase fiber-rich ingredients like berries and nuts. Experiment to find the right balance for your dietary needs.
What Are the Guidelines for Portion Sizes for Diabetic Desserts?
For diabetic desserts, aim for portions around 1/2 cup or less. This helps control blood sugar spikes. Consider using sugar substitutes and focus on high-fiber, low-carb ingredients to make your sweet treats more diabetic-friendly.
Can I Freeze These Diabetic-Friendly Desserts for Later?
Yes, you can freeze most diabetic-friendly desserts for later enjoyment. Check the recipe instructions, as some may not freeze well. Proper storage and thawing techniques will help maintain the texture and flavor of your frozen treats.